

Advanced Video Effects With a Smoother Creative Workflow
Nov 6, 2026
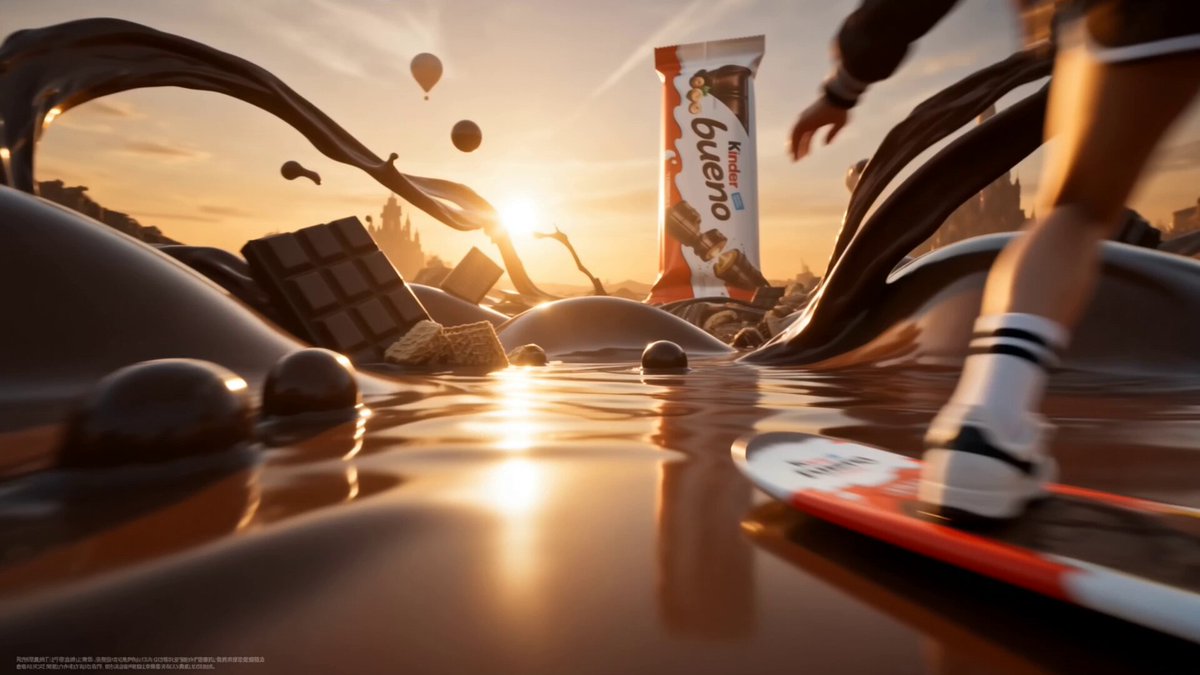
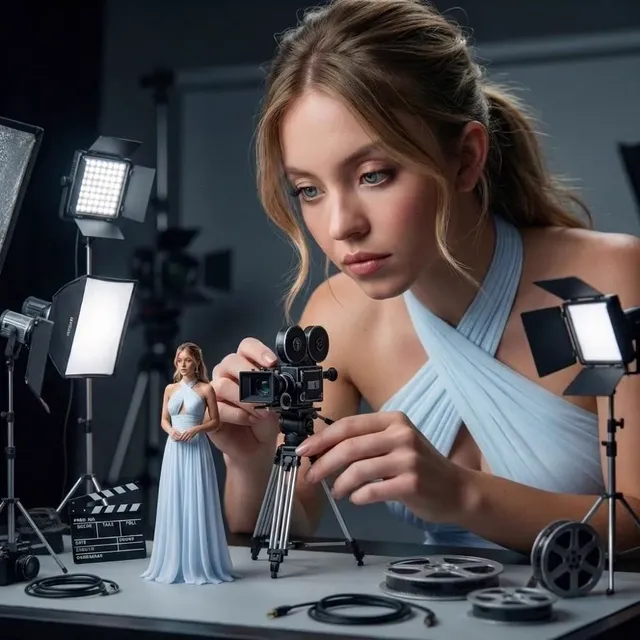
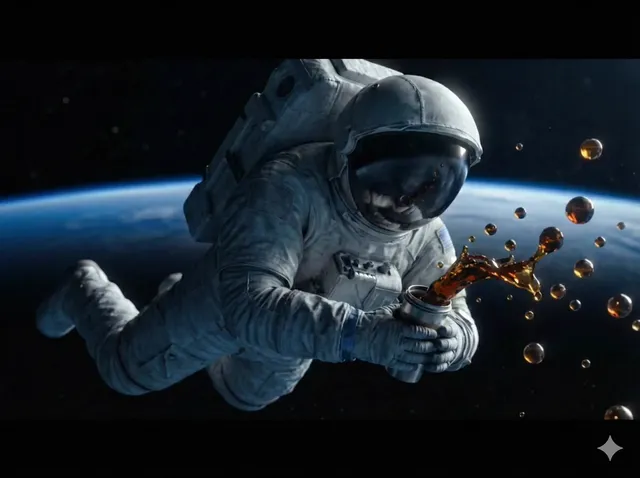
Advanced video effects are no longer limited to big post-production teams. AI-assisted generation, image-to-video tools, motion controls, and smart editing platforms have put cinematic experimentation within reach of solo creators, small studios, and marketing teams. The challenge has shifted. It is less about finding a single impressive effect and more about building a workflow that lets you repeat that effect across shots, revisions, and formats without losing control.
A seamless workflow does not mean pressing one button and accepting whatever appears. It means every tool has a clear job, every asset has a home, and every revision can be traced back to a decision. The goal is creative control: you should know why a shot looks the way it does, how to adjust it, and how to reproduce it when the brief changes. This guide outlines a practical, neutral workflow for advanced AI video effects, from previsualization and model selection to review loops, audio integration, and final delivery.
Start With the Outcome, Not the Effect
Most weak AI video projects begin with an effect looking for a story. A creator sees a swirling transition, a liquid morph, or a dramatic camera move and tries to force it into every scene. Strong projects work in the opposite direction. Start with the emotional or informational outcome, then choose effects that support it.
Before generating anything, write a one-sentence shot intention. For example: the product should feel precise and premium; the character should seem isolated in a crowded street; the transition should make time feel like it is collapsing. That sentence becomes a filter. If an effect does not strengthen the intention, it is decoration. Decoration is useful, but it should not drive the edit.
Next, map the video into shot units. A shot unit is not just a camera setup. It includes the subject, action, environment, lighting, lens feeling, motion direction, and duration. For AI-heavy work, create a simple table with columns for shot number, story purpose, visual reference, generation method, and finishing needs. This table prevents the common trap of generating beautiful clips that cannot be edited together because their lighting, motion, or framing conflicts.
Finally, decide where effects belong in the pipeline. Some effects are best generated in-camera by the model, such as atmospheric light, stylized motion, or surreal transformations. Others are better added in post, such as compositing, color grading, text overlays, lens flares, and cleanup. Generating every effect inside the model often creates brittle results. Finishing in an editor gives you reversible control.
Build a Layered Effects Workflow
A reliable workflow separates exploration from production. Exploration is fast, messy, and cheap in time. Production is controlled, documented, and repeatable. Mixing the two is why many projects stall: creators keep experimenting inside a sequence that is supposed to be locked.
Reference gathering and shot mapping
Collect references for composition, color, motion, texture, and pacing separately. A single reference image rarely communicates everything you need. Use one image for lighting, another for camera angle, and a short clip for motion cadence. Label them clearly so you do not confuse mood references with technical references.
Create a project folder structure before generation begins. A simple structure works: briefs, references, generated clips, selected takes, audio, graphics, project files, and exports. Add a naming convention such as scene-shot-version-purpose. Good names reduce mistakes more than most prompt tricks.
Generation passes
Run three passes. The first is a low-cost exploration pass focused on composition and motion. Do not chase perfection here. The second is a refinement pass where you lock framing, subject continuity, and major lighting decisions. The third is a finishing pass for details such as fabric movement, facial expression, environmental interaction, and edge cleanup.
Keep prompts and settings with each selected clip. A useful habit is to store the prompt, seed if available, reference images, model name, aspect ratio, motion strength, and any negative instructions. This turns a happy accident into a repeatable recipe. When a client asks for the same look in a new scene, you can rebuild it instead of guessing.
Finishing passes
Move selected generations into an editor early enough to test rhythm. AI clips often look impressive alone but fail in sequence because every shot has the same energy. Use temporary music, scratch voiceover, and simple titles to judge pacing. Then apply color correction, grain, stabilization, compositing, and sound design as separate passes. Avoid stacking effects until the cut works with minimal treatment.
Choose the Right Model for Each Shot
No single video model is best at everything. Some excel at photorealistic humans, others at stylized motion, product rotations, anime aesthetics, or precise camera control. A mature workflow treats models like lenses: you choose the one that fits the shot.
Cinematic fidelity and human realism
For dialogue-free character shots, product beauty shots, and natural environments, prioritize models with strong temporal coherence and believable skin, fabric, and light interaction. Test a short clip with the exact motion you need. A model that produces beautiful still frames may struggle with blinking, lip sync, hand movement, or background stability. Pay attention to the first and last frames because those are where continuity breaks are most visible.
Stylized and motion-heavy scenes
For surreal transitions, animated textures, dance sequences, or graphic motion, prioritize expressive models and strong motion controls. These shots often benefit from slightly exaggerated references. A realistic reference can produce timid motion, while a reference with clear directional energy gives the model a stronger cue. Keep a library of motion references by type: push-in, orbit, whip pan, fall, rise, impact, and reveal.
Control and consistency tools
When a sequence needs the same character, product, or environment across multiple shots, control tools matter more than raw beauty. Look for multi-reference support, character or subject preservation, camera direction, pose guidance, depth or edge control, and the ability to lock style while varying composition. If a tool cannot maintain consistency, use it for standalone inserts rather than continuity-critical shots.
A practical test is the three-shot challenge. Generate a wide shot, a medium shot, and a close-up of the same subject in the same environment. If the model cannot keep costume, lighting, and facial identity stable enough, either simplify the sequence or plan more post-production support.
Make Multi-Reference Work for You
Multi-reference generation is powerful because it lets you separate what a shot should look like from what it should do. Use references deliberately rather than uploading a pile of images and hoping the model infers your intent.
Assign roles. One reference can define character identity, another can define environment, a third can define lighting, and a fourth can define motion or camera angle. If the tool supports weighting, increase the importance of identity or product shape while lowering the influence of background style. If it does not, write a prompt that clearly states which reference controls which attribute.
Keep references clean. Cropped, well-lit images with a single subject usually work better than busy mood boards. Remove text, watermarks, and conflicting objects. For products, use multiple angles and consistent lighting. For characters, include neutral expression, three-quarter view, and full-body reference if costume continuity matters.
Avoid over-constraining the model. Too many references can create visual averaging: the output looks like a compromise between every input. Start with two or three essential references, generate a test, then add constraints only where the result drifts. This iterative approach is faster than diagnosing a crowded reference set.
Integrate Audio and Image Tools Earlier
Many creators treat audio as the final layer. That is a mistake in AI video workflows because sound frequently determines whether motion feels real. Early scratch audio helps you judge timing, intensity, and cut points. A camera push that feels slow without sound may feel perfect with a rising ambience. An impact effect that looks excessive in silence may land correctly with a low thud.
Bring image tools into the process before video generation. Upscaling, background removal, relighting, color matching, and texture cleanup can rescue clips that are visually close but not production-ready. Use image processing to create better references, clean up product plates, or prepare style frames. Use video processing for stabilization, frame interpolation, denoising, and compositing.
For dialogue or voiceover, generate or record audio before finalizing shot duration. Then animate mouth movement or performance around the audio rather than forcing audio to fit a generated clip. For music-led edits, build a rough beat map and align major transitions to musical accents. This does not mean every cut must hit a beat, but it prevents accidental clashes between visual and audio rhythm.
Design a Review Loop That Prevents Drift
Creative drift happens when each revision introduces a small change that no one tracks. The result is a final video that no longer matches the brief. Prevent drift with a simple review loop.
First, review at the sequence level, not only clip by clip. Watch the full rough cut without pausing and note where attention drops. Second, review with a checklist: story clarity, visual continuity, motion coherence, audio balance, brand accuracy, and technical delivery. Third, separate must-fix issues from nice-to-have polish. A revision pass that mixes both creates confusion.
Use version names that communicate intent, such as select, alt-motion, cleaned, and final-candidate. Avoid vague names like final-final. Keep a short change log for each review round. When a client or collaborator requests a change, record the reason, not just the instruction. This helps you solve the underlying problem instead of repeatedly tweaking the same shot.
Common Mistakes and How to Avoid Them
One common mistake is generating clips without considering the edit. A shot that looks stunning in isolation may have no natural entry or exit point. Always generate a little extra handle at the start and end so you can trim in the edit.
Another mistake is overusing motion. AI video often encourages constant movement because motion hides imperfections. But relentless motion becomes exhausting. Mix controlled camera moves with static or nearly static shots. Let the viewer rest before a major effect.
A third mistake is ignoring scale and perspective. A product that looks correct in a close-up may appear impossibly large in a wide shot. Use consistent lens language and reference objects. If a shot includes hands, doors, cups, or vehicles, check relative size before committing.
Finally, avoid treating generation as the whole job. Advanced effects need sound design, color grading, typography, and pacing. A polished finish can make a simple generation feel premium, while a complex generation with weak finishing feels unfinished.
A Practical End-to-End Example
Imagine a short brand film about a running shoe. The outcome is speed with control, not chaos. The shot map includes a macro texture shot, a mid-run tracking shot, a water splash, a product rotation, and a final hero frame.
For the macro texture, use a still reference of the fabric and generate a slow push with shallow depth of field. For the tracking shot, use a motion reference of a low camera following a runner, but simplify the background to avoid warping. For the splash, generate several short variations and choose the one with a clear silhouette. For the product rotation, use multiple product angles and lock the background to a neutral studio environment. For the hero frame, generate a clean plate and add typography in the editor.
In post, stabilize the tracking shot, color-match all clips to a cool neutral grade, add impact sounds for the splash, and use a low bass pulse to connect the product rotation to the hero frame. The result is not about one spectacular effect. It is about a chain of controlled decisions that support the same idea.
Decision Checklist Before You Render
Before committing to a final render, ask a few practical questions. Does every effect support the shot intention? Can each selected clip survive a trim without breaking? Are character, product, and environment references consistent? Is the motion rhythm varied enough to hold attention? Does the audio support the visual pacing? Are prompts and settings stored for future revisions? Is there a clean version without baked-in text or overlays?
If any answer is no, fix it before rendering. Renders are cheap compared with rebuilding a sequence after feedback. A few minutes of checklist review can save hours of rework.
FAQ
How do I keep AI video effects consistent across multiple shots?
Use a small set of controlled references, lock the style and subject description, and test a wide, medium, and close-up before generating the full sequence. Store settings and prompts so you can repeat the look. If consistency still breaks, simplify the shot or plan post-production support.
Should I generate effects in the video model or add them in editing software?
Generate effects that depend on scene understanding, such as atmospheric light, character transformation, or complex motion. Add effects that need precise control and reversibility in post, such as text, compositing, lens flares, color grading, and cleanup. A hybrid approach usually gives the best balance.
How many references should I use?
Start with two or three essential references: one for subject identity, one for environment or lighting, and one for motion or composition. Add more only when the output drifts. Too many references can create averaged, muddy results.
What is the best way to review AI-generated video?
Review the full sequence first, then inspect individual clips. Use a checklist for story, continuity, motion, audio, brand accuracy, and technical delivery. Separate must-fix issues from optional polish, and keep a short change log for each round.
Why does my AI video look impressive alone but weak in the final edit?
Because clips need entry and exit handles, varied energy, consistent lighting, and sound support. Generate extra frames, mix motion intensity, color-match the sequence, and test the cut with temporary audio before committing to final renders. The edit is where creative control becomes visible.

Alexander
More Blogs
Read MoreFrom Text to Short Film: A Practical AI Video Workflow
Learn how to turn a written idea into a polished short film with AI video tools: scripting, model choice, shot consistency, sound design, and editing.
AI Transcription and Seamless Video Editing Workflows
Learn how AI transcription enables text-based editing, faster reviews, accessibility, and reliable post-production workflows from rough cut to final delivery.
Photorealistic AI Video Production: A Practical Workflow Guide
Learn a repeatable workflow for photorealistic AI video: model selection, shot planning, prompt design, continuity, audio, and quality control.