
Crear
AI Video Editing Workflow: Effects, Captions, and Consistency
Nov 6, 2026
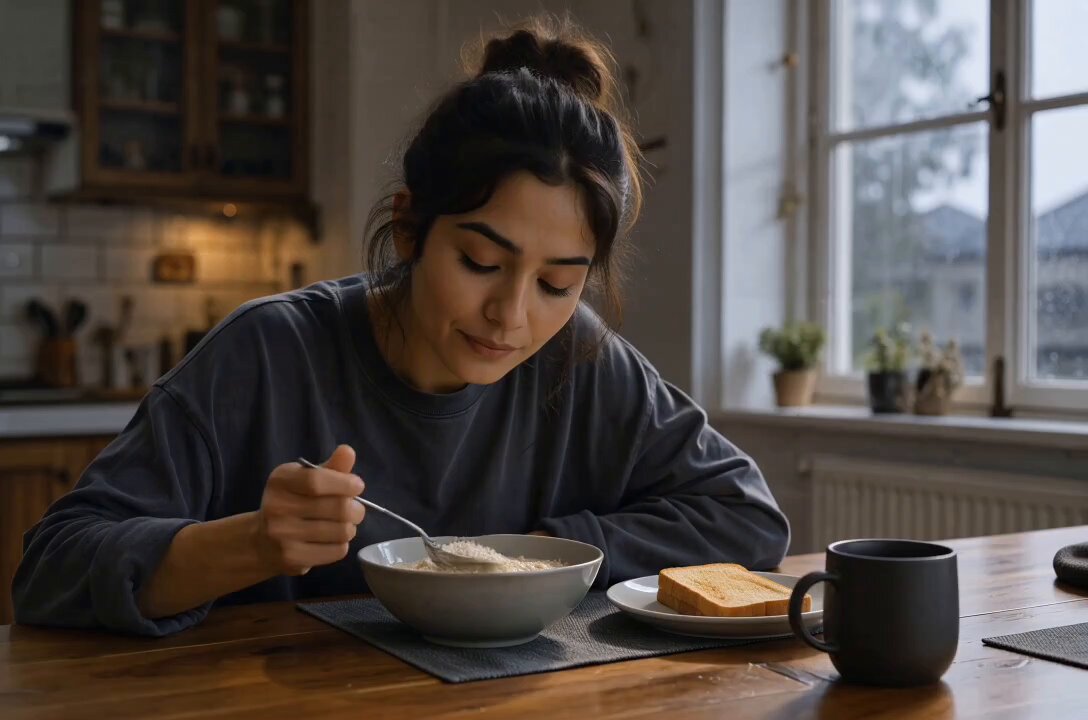
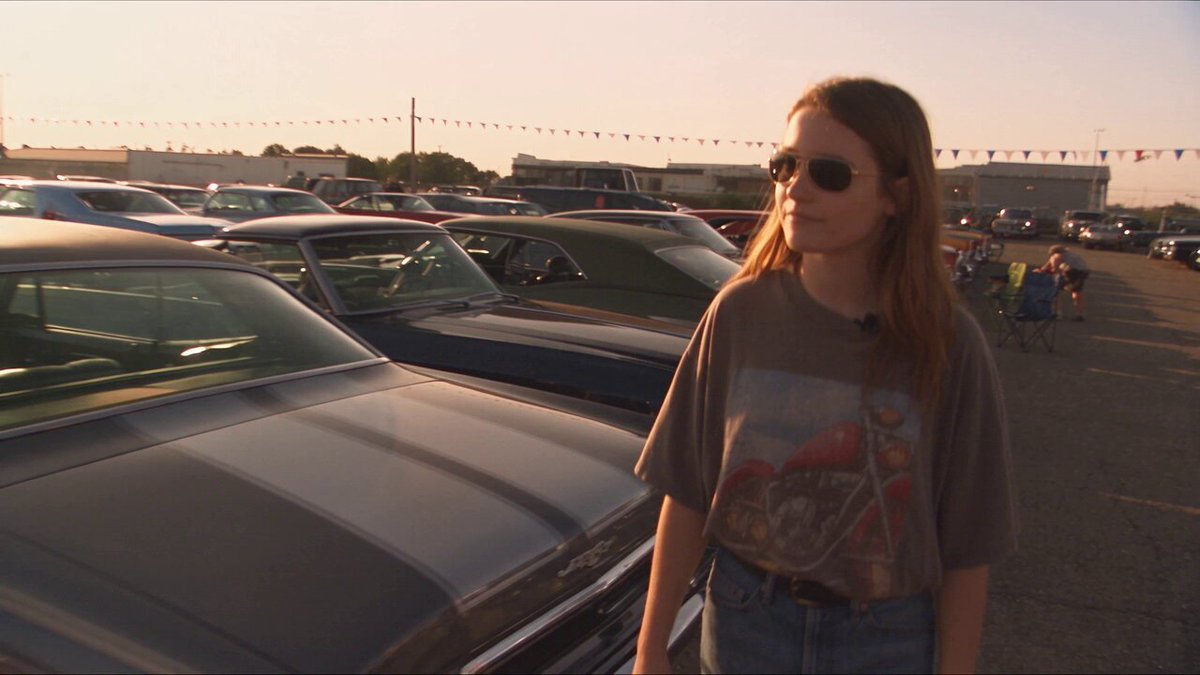
AI video editing is not a single button that turns raw footage into a finished film. It is a set of assistive steps that can speed up assembly, improve accessibility, generate effect plates, and make complex post-production tasks more manageable. The teams that get the best results treat AI as a production assistant with specific strengths and predictable weaknesses. They keep editorial judgment human, organize assets before generation, and check every automated output against the story they are trying to tell.
This guide walks through a practical workflow for AI-assisted video editing. It covers how to structure post-production, choose models for different shot types, design effects that support the narrative, build accurate transcripts and captions, maintain character consistency, integrate sound, and run quality control. The goal is not to use every available feature. The goal is to build a repeatable process that produces clear, polished video without turning the edit into a pile of disconnected experiments.
Why AI editing changes the workflow, not just the toolset
AI tools are most useful when they remove repetitive friction: transcribing interviews, generating rough cut variations, isolating dialogue, creating subtitle drafts, producing background plates, and testing visual directions. They are least useful when they are asked to replace the entire editorial process. A generated clip may look impressive in isolation and still fail in context because the camera direction contradicts the previous shot, the lighting changes between cuts, or the character's wardrobe shifts without explanation.
The practical shift is to separate video production into two tracks. The first track is the story track: script, shot list, interview selects, narrative order, pacing, and emotional beats. The second track is the generation track: model choice, prompts, reference images, effects plates, voice cleanup, and captions. Keep the story track in control. Use the generation track to serve specific needs. When a generated effect becomes the reason for a scene rather than a support for it, the edit usually suffers.
A second shift is version discipline. AI outputs invite endless variation. Without naming rules and review gates, a project can accumulate dozens of near-identical clips with no clear record of which one was approved. Build a simple versioning habit early. Mark generated assets with shot number, take, model, and version. Keep a short decision log. It sounds administrative, but it saves hours when a director asks for the earlier take or when a caption file needs to be matched to a specific cut.
Build a clean post-production pipeline
A reliable AI editing workflow starts before the first prompt is written. Create a project structure that separates source media, generated media, audio, graphics, project files, and exports. Keep original camera files or screen recordings untouched. Place generated clips in a dedicated folder with descriptive names. Use a consistent naming pattern such as project_shot010_take02_model_v03.mp4. The exact pattern matters less than the consistency.
Ingest with a naming convention
During ingest, label every asset with the shot number and a short description. If the project has interviews, include speaker names and take numbers. If it has generated B-roll, note whether the clip is approved, alternate, or rejected. Add a simple text file or spreadsheet that lists the story beat each clip supports. This makes it possible to search for 'kitchen reveal' or 'product close-up' instead of scrubbing through thumbnails.
Proxy editing is still valuable. AI-generated footage can be large, especially at high resolution. Create proxies for the rough cut and switch back to full resolution only for final review. If the editing application supports it, use a consistent color space and frame rate across generated and captured media. Mismatched frame rates are a common source of judder, especially when AI clips are mixed with screen recordings or drone footage.
Make a paper edit first
Before generating effects or polishing transitions, write the paper edit. List the order of scenes, the purpose of each shot, and the approximate duration. Identify where a transition, title, or effect is actually needed. Many effects exist to solve a problem: a jump cut, a change in location, a passage of time, or a shift in tone. If there is no problem to solve, there may be no need for the effect.
A paper edit also reveals where AI can help. Maybe the opening needs a stylized establishing shot. Maybe an interview needs captions and a lower third. Maybe a product demo needs a clean background plate for a rotating object. Matching the task to the tool is easier when the story structure is visible.
Lock picture before polishing
Effects, captions, and sound design should usually follow picture lock, or at least a stable rough cut. If the cut changes every hour, every generated overlay and subtitle timing will need to be redone. Lock the sequence as much as possible, then move into finishing. Keep a backup of the locked sequence before adding heavy effects so you can compare versions and recover quickly if an effect creates problems.
Choose the right AI video model for each shot
Model selection should be driven by the shot's job, not by novelty. A model that excels at cinematic camera movement may be weak at maintaining a character's face. A model that produces beautiful abstract motion may not follow a detailed prompt about product interaction. Evaluate each model against a small set of criteria: prompt adherence, motion realism, style flexibility, clip length, resolution, consistency, generation speed, and how easily the output can be edited or composited.
Cinematic and dialogue-driven shots
For shots that depend on a face, a performance, or precise camera language, prioritize consistency and control over visual spectacle. Generate short clips and review them at full size. Use reference images when the tool supports them. Keep the action simple: a turn of the head, a slow push-in, a hand reaching for an object. Complex choreography often introduces artifacts that are difficult to fix in post.
Premium models can be useful for hero shots where detail and prompt understanding matter, but they are not automatically the right choice for every cut. A simple cutaway may be better served by a cheaper, faster model with a clean output. The decision should include the time spent reviewing and fixing the clip, not just the generation step. A beautiful clip that needs extensive cleanup can be more expensive in practice than a modest clip that cuts cleanly.
Stylized motion and effects plates
Specialized models are often strongest when they are asked to do one thing well: particles, smoke, water, light leaks, abstract transitions, slow-motion textures, or stylized backgrounds. Generate these as separate plates rather than asking one model to create a complete scene with character, dialogue, and complex effects. Separate plates are easier to composite, recolor, retime, and remove if the edit changes.
When generating an effects plate, think about how it will blend. A smoke element needs transparent or dark-background options, consistent motion blur, and a direction that matches the shot. A light leak should feel motivated by a practical source in the scene. A particle overlay should have a clear beginning, middle, and end rather than looping awkwardly across a cut.
Fast inserts and B-roll
Lower-stakes inserts are ideal for rapid iteration. Generate several variations of a texture, background, or abstract transition and choose the one that supports the voiceover. Keep these clips short. Many AI clips work best in two-to-four-second bursts, where the eye reads the motion and moves on before artifacts become noticeable. Build a small library of reusable inserts: grain, paper textures, lens flares, subtle camera shake, and background loops.
| Shot need | What to prioritize | What to avoid |
|---|---|---|
| Character close-up | Face consistency, stable lighting, simple action | Complex hand gestures, fast turns, crowded backgrounds |
| Establishing shot | Clear geography, believable camera move | Too much detail, conflicting light sources |
| Effects plate | Clean edges, motivated motion, easy compositing | Full-screen chaos, random camera movement |
| Product insert | Shape accuracy, controlled reflections | Distorted labels, impossible geometry |
| Transition | Short duration, directional motion | Overlong morphs, mismatched color |
Generate effects that support the story
Effects should clarify or emphasize, not distract. A transition can signal a change in time or location. A speed ramp can highlight a reveal. A particle pass can add energy to a music hit. A subtle glow can separate a subject from a background. Each effect needs a reason. If you cannot explain the reason in one sentence, cut it or simplify it.
Write prompts like a shot list
A useful prompt describes the shot in production terms: subject, action, camera angle, lens, lighting, texture, duration, and style. Instead of writing 'make it cinematic', describe what cinematic means for this shot. For example: 'A slow dolly-in on a ceramic cup on a wooden table, soft morning window light from the left, shallow depth of field, fine film grain, muted earth tones, no camera shake.' This gives the model specific constraints and makes the output easier to judge.
Negative prompts can help, but they should be used carefully. Too many exclusions can confuse the generation. Focus on the most important problems: distorted hands, text artifacts, warped faces, abrupt motion, or unwanted camera movement. If a model ignores a negative prompt, change the composition or simplify the scene rather than adding more instructions.
Composite for believability
Most AI effects do not look convincing because they are poorly integrated, not because the generation is weak. Match the grain, motion blur, color temperature, contrast, and perspective of the source footage. Add contact shadows when an object is supposed to sit on a surface. Use edge blur or light wrap when a foreground element meets a background. If the camera moves, track the effect to the scene rather than letting it drift independently.
Keep full-screen effects short. A two-second transition often feels more polished than a six-second morph. Use cutaways and reaction shots to hide challenging areas. If a generated hand looks wrong, cut before the hand enters the frame or replace it with a practical insert. The audience does not need to see the effect in its entirety; they need to believe the moment.
Use effects as punctuation
Think of effects as punctuation marks in the edit. A hard cut is a period. A dissolve is a comma. A whip pan or speed ramp is an exclamation point. If every sentence ends with an exclamation point, the video feels exhausting. Reserve the strongest effects for chapter changes, reveals, and emotional peaks. Let quieter moments breathe.
Transcription and captions that are accurate and accessible
Transcription is one of the highest-value AI tasks in video production. A good transcript supports captions, search, repurposing, localization, and accessibility. A bad transcript creates embarrassment and extra work. The practical approach is to use AI for the first pass and human review for the final pass.
Start with clean audio
Before transcription, clean the audio. Remove obvious noise, reduce reverb, and normalize dialogue to a consistent level. Use voice isolation carefully; aggressive processing can make speech sound synthetic and reduce transcription accuracy. If there are multiple speakers, label them in the source or note the order so the transcript can assign speaker changes correctly. For interviews, keep a backup of the original audio and compare the cleaned version before committing.
Run an accuracy checklist
Review the transcript for names, product terms, numbers, jargon, homophones, punctuation, and sentence breaks. AI transcription often struggles with accents, overlapping speech, and technical vocabulary. Add custom vocabulary when the tool supports it. Check that the transcript matches the final cut, especially if the edit removed filler words or reordered sentences.
Caption timing deserves its own pass. Read each caption aloud at the speed it appears. Aim for short lines, usually one or two lines on screen. Keep reading speed comfortable; around 15 to 20 characters per second is a useful starting range, though platform and audience matter. Avoid orphan words, awkward line breaks, and captions that cover faces or important action. Use accessible contrast and a readable font size. Do not rely on color alone to convey meaning.
Style subtitles for readability and localization
Create a caption style guide for the project. Define font, size, weight, background, highlight color, and safe margins. Keep the style consistent across episodes. If the video will be localized, leave room for longer translations and avoid text baked into the image. Use separate subtitle files such as SRT or VTT so captions can be updated without re-rendering the entire video.
Localization is more than translation. Idioms, humor, and cultural references may need adaptation. Provide translators with a glossary, character names, and context. Review localized captions for timing and line length. A caption that is accurate but unreadable will still fail the audience.
Turn transcripts into SEO and content assets
A clean transcript can become a blog post, a newsletter section, a searchable video page, and chapter markers. Add chapter titles that reflect what viewers are looking for. Use natural language in descriptions and summaries. Avoid stuffing keywords into captions; it hurts readability and accessibility. The transcript should serve the viewer first, then search engines.
Character consistency and multi-image fusion
Character consistency is one of the hardest parts of AI video production. A model may generate a convincing face in one shot and a different person in the next. The solution is not a single magic prompt. It is a reference system, a shot plan, and a willingness to use editing techniques when generation falls short.
Build a reference kit
Create a character reference kit with multiple angles: front, three-quarter, profile, full body, and a few expressions. Include wardrobe details, hair, accessories, and signature props. Use consistent lighting and background in the references when possible. If the tool supports reference images or character IDs, use them. Keep the references organized so the same approved set is used across shots.
Use multi-image fusion deliberately
Multi-image fusion can help by combining several references into a more stable character keyframe. Use it to establish the character before animating. Keep prompts consistent across shots: same age range, same hair, same clothing, same facial structure. Avoid introducing new accessories or changing the hairstyle unless the story requires it. Generate keyframes first, review them, and then animate approved frames rather than accepting the first animated result.
Audit continuity shot by shot
Keep a continuity log. Check hair direction, clothing, props, eye line, skin tone, and lighting direction. If a character moves from a window-lit room to a hallway, the light should change in a believable way. When consistency fails, reduce the complexity of the shot. Shorter clips with simple action are easier to control. Use reaction shots, cutaways, and over-the-shoulder angles to avoid showing the full face in every cut. The audience will accept a coherent performance even when every frame is not a perfect match.
Integrate audio, music, and sound design
AI can speed up audio cleanup, but the final mix still needs human ears. Clean dialogue first, then build music and sound effects around it. Use voice isolation to reduce room noise, but compare the processed and unprocessed versions for natural tone. Apply gentle compression and EQ rather than heavy processing. Check loudness on multiple speakers and headphones; a mix that sounds full on studio monitors may sound harsh on a phone.
Music should support pacing without fighting dialogue. Duck the music under speech and let it rise in transitions or montages. Sound effects should land on visible actions or implied actions. A door close, a footstep, a cloth movement, or a subtle whoosh can make an AI-generated shot feel more grounded. Keep a small library of reusable Foley and ambience. If you use generated music or sound effects, confirm that the license allows the intended distribution.
Quality control and delivery
Quality control is where AI-assisted edits earn trust. Watch the full video at normal speed, then watch it again with the sound off to check visual continuity. Watch on a phone to catch small captions and safe-area problems. Check the opening three seconds, the transitions, and the ending. Look for flicker, warped faces, unstable text, mismatched color, and audio pops.
Run a three-scale review
Review at full screen for detail, on a laptop for everyday viewing, and on a phone for the real-world experience. Check caption sync at several points, not just the beginning. Confirm that titles do not collide with platform interface elements. Listen for abrupt audio cuts and uneven dialogue levels. If possible, ask someone unfamiliar with the project to watch it and summarize what they understood. Their summary reveals whether the story landed.
Export clean versions
Use a consistent export preset for the main deliverable. H.264 MP4 is a safe choice for most web distribution. Keep a high-quality master and a compressed review copy. Name exports with version numbers and dates, but avoid confusing revision labels. Include captions as a separate file and, when appropriate, a burned-in version for platforms that do not support external captions. Archive the project file, source assets, generated clips, transcripts, and final exports together.
Check accessibility and metadata
Add captions, a transcript, and a clear description. Use chapter markers if the platform supports them. Choose a thumbnail that represents the content honestly. Ensure that important text is readable and that color contrast is sufficient. If the video includes flashing effects or rapid motion, consider whether a warning is appropriate. Accessibility is not an afterthought; it improves the experience for every viewer.
Common mistakes and how to avoid them
Generating before planning. Without a shot list, it is easy to create dozens of attractive clips that do not cut together. Fix: write the paper edit first and generate only what the story needs.
Using too many effects. A video with a transition on every cut feels noisy. Fix: reserve strong effects for moments that need emphasis and let simple cuts do the work.
Skipping transcript review. Automated captions can miss names, numbers, and context. Fix: assign a human review pass and check against the final audio.
Ignoring audio. Viewers forgive minor visual imperfections more easily than bad sound. Fix: clean dialogue, balance levels, and add sound design before final export.
Assuming character consistency is automatic. It is not. Fix: build a reference kit, use consistent prompts, and plan shots that avoid unnecessary face coverage.
Letting captions cover the action. Fix: set safe areas, review on mobile, and move important action away from caption zones.
Working without version control. Fix: use clear file names, keep approved clips in a separate folder, and save project versions before major changes.
Relying on one model for every shot. Fix: match the model to the shot type and keep a fallback approach for difficult scenes.
FAQ
Do I need premium AI models for a polished video?
No. Premium models can help with complex hero shots, but a polished video depends more on planning, editing, sound, and consistency. Many simple inserts and effects plates work well with faster, more affordable tools. Test a small set of models against your specific shot needs instead of assuming the most expensive option is always best.
How accurate should AI transcription be?
Accurate enough that a viewer can trust the captions and a reader can understand the transcript without guessing. Names, numbers, product terms, and technical vocabulary need special attention. Use AI for the first pass, then review against the audio. If the transcript will be published as an article or used for localization, give it a second editorial pass.
How can I keep AI characters consistent across shots?
Use a reference kit with multiple angles, keep wardrobe and hair details locked, generate keyframes before animation, and simplify action. Maintain a continuity log and check each shot against the approved references. When consistency breaks, use shorter clips, cutaways, reaction shots, or over-the-shoulder angles to reduce the need for a perfect full-face match.
How long should AI-generated shots be?
Many AI shots work best in short bursts of two to five seconds, especially when they include motion, faces, or complex effects. Longer shots can work when the action is simple and the camera is stable. Watch the clip in context. If artifacts become noticeable, cut earlier or replace the shot with a practical insert.
What is the best order for an AI video editing workflow?
Start with story planning and asset organization. Generate or collect the shots you need. Build a rough cut and lock picture as much as possible. Then add effects, captions, sound design, and color. Finish with quality control on multiple screens and export clean deliverables. This order prevents repeated work and keeps the story in control.

Alexander
More Blogs
Read MoreSlack-Powered AI Video Workflows: A Practical Guide
Learn how to connect Slack to AI video production for faster reviews, cleaner approvals, and a repeatable studio workflow.
Video SEO Workflow: Transcripts, Thumbnails, and Trends
Learn a practical video SEO workflow for transcripts, captions, thumbnails, platform search intent, metadata, testing, and performance measurement.
Cinematic Transitions With AI Video Tools: A Practical Guide
Learn how to design, prompt, and edit cinematic transitions with AI video tools, from match cuts to morphs, with practical workflows and fixes.