
From Concept to Clip: A Practical AI Video Production Workflow
Nov 7, 2026
Why a Repeatable Workflow Beats Tool Hopping
AI video tools can generate a striking clip in minutes, but speed without process usually creates a folder full of near-misses, inconsistent characters, and edits that cannot be reproduced. A concept-to-clip workflow is not a rigid bureaucracy. It is a chain of clear decisions: what story you are telling, which shots are required, which generation method fits each shot, and what standard a shot must meet before it moves forward.
The most common failure is treating generation as the whole production. Generation is one stage, and often a small one. A 30-second product teaser still needs a message, a script, a shot list, visual references, selects, sound, captions, and delivery versions. Teams that skip those steps often generate twenty attractive but unrelated clips and then wonder why the edit feels incoherent.
A better approach is to define the pipeline before opening any tool. At each stage, name the owner, the deliverable, and the approval rule. For a solo creator, the owner is you, but the written rule still matters because it prevents endless tinkering. For a small team, a simple stage-gate model keeps everyone aligned without adding meetings.
Map the Production Pipeline Before You Generate Anything
Brief, audience, and success criteria
Start with a one-page brief. It should include the audience, platform, target duration, aspect ratio, core message, tone, must-show elements, call to action, and technical constraints. Replace vague goals such as make it cinematic with observable criteria. A useful success criterion might be: a viewer should understand the product benefit within the first five seconds, or the video should work without sound.
The brief also prevents scope creep. If the concept is a calm explainer, do not chase dramatic camera moves just because a model can produce them. If the deliverable is vertical social video, plan for safe zones and captions from the beginning rather than cropping a landscape edit later.
Script, shot list, and asset inventory
Write the script with two layers: spoken narration and on-screen text. Then convert it into a shot list. Useful columns include shot number, duration, framing, action, camera movement, dialogue or voiceover, and reference asset. A shot list turns a vague idea into production units that can be generated, reviewed, and edited.
Build an asset inventory at the same time. Collect logos, product photos, character references, fonts, music options, and any real footage. Decide what must be real and what can be generated. A product close-up with a visible label is often better photographed or screen-captured. Generated footage works well for mood, metaphor, transitions, and impossible scenes.
A simple stage-gate model
Use gates that match the real risks. Gate one is an approved brief. Gate two is an approved script and shot list. Gate three is approved first frames or style tests. Gate four is approved generation selects. Gate five is audio lock. Gate six is delivery approval. Each gate should have one decision maker. The goal is not to slow down; it is to stop expensive rework later.
Choose the Right AI Video Approach
Text-to-video, image-to-video, and hybrid
Text-to-video is useful for exploration, abstract b-roll, and shots where the exact composition matters less than the motion and mood. Image-to-video is stronger when you need a specific character, product, or composition. Start with a designed still, then animate it with controlled motion. Hybrid workflows combine both with real footage, motion graphics, or screen capture.
A practical rule is to use text-to-video for ideation and atmosphere, image-to-video for hero shots that must match references, and traditional editing for structure. Many finished AI videos are not fully generated. They mix generated shots with stock footage, product photography, animated text, and practical inserts. That mix is usually more convincing than forcing one model to do everything.
Model selection criteria
Do not choose a model from demo reels alone. Test the same five-shot mini brief across two or three options. Score prompt adherence, motion realism, character consistency, product fidelity, aspect ratio support, maximum clip length, camera control, start and end frame controls, audio support, export quality, iteration speed, and policy limitations.
Keep a primary model and a backup for specific needs. One model may excel at realistic people, another at stylized motion, and another at quick social iterations. The workflow should specify which model to use for which shot type. That reduces random tool switching and makes results easier to compare.
Build a small test before a full campaign
Before committing to a full campaign, run a pilot with three representative shots. Measure how many generations it takes to get one usable shot. If the yield is low, adjust the approach before scaling. A pilot also reveals whether the model can hold a logo, a face, or a specific camera move. If it cannot, change the shot design rather than hoping the next generation will fix a structural problem.
Build a Visual Bible for Consistency
Character references
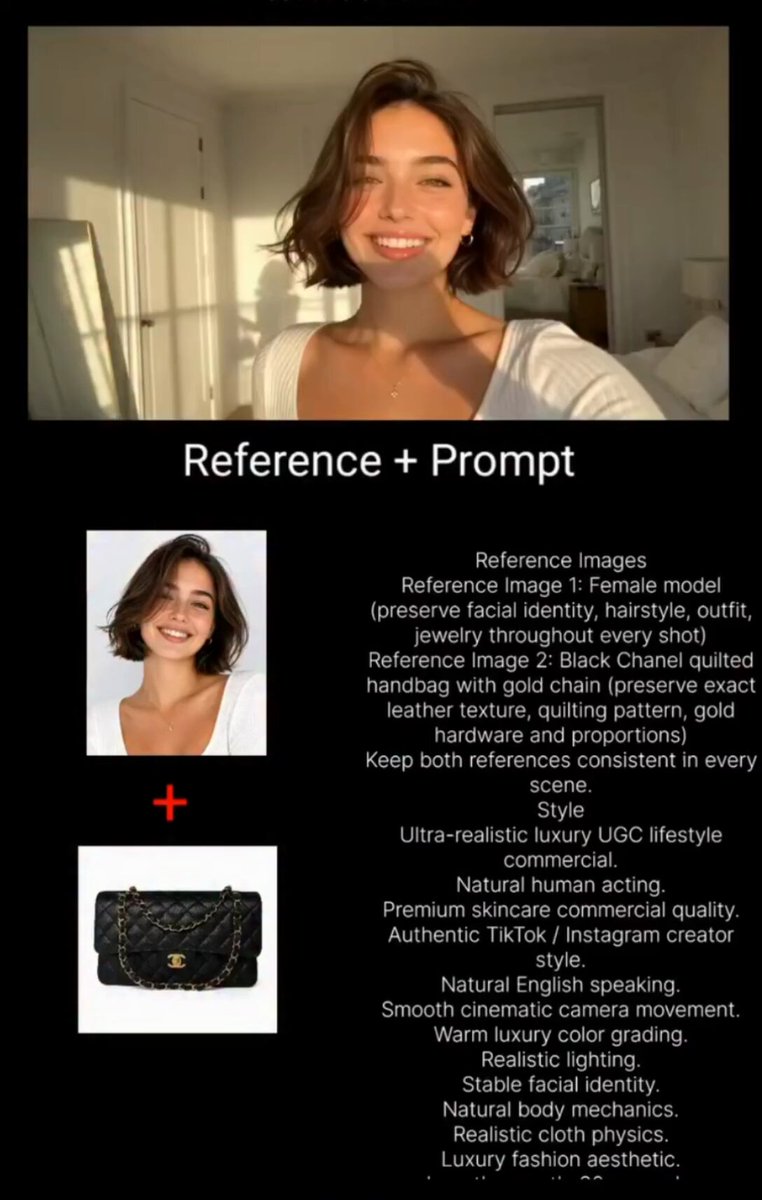
Create a character sheet with front, three-quarter, profile, expression, wardrobe, age, hair, and distinguishing features. Use neutral lighting and a clean background. For recurring characters, keep identity descriptors identical across prompts and change only the action, camera, or environment. Contradictory descriptors such as changing age or hairstyle between shots will cause drift.
If the character speaks or appears in many close-ups, consider real footage instead of a generated face. AI can produce strong stylized characters, but subtle performance and lip sync still require careful review. For brand presenters, consistency and trust often matter more than novelty.
Environment, lighting, and color
Build a moodboard for location, time of day, key light direction, palette, texture, and lens feel. Translate the moodboard into plain language that can be reused: soft window light from the left, warm wood surfaces, muted greens, shallow depth of field, documentary-style handheld. A consistent world is often more convincing than an ultra-detailed individual frame.
Define color rules for brand assets. If the product must remain a specific shade, check it in every shot and correct it in post. Generated footage can shift color between clips, especially when prompts change. A simple color reference image and a fixed grade in the edit can unify the sequence.
Continuity checklist
Before generating the next shot, review the last approved frame. Check wardrobe, props, hair, lighting direction, screen direction, color temperature, and aspect ratio. For complex sequences, use storyboard panels or start and end frames to guide transitions. Keep a continuity log with short notes. It is easier to prevent a mismatch than to fix it in editing.
Turn the Script into Shots and Prompts
A prompt structure that travels well
A reliable prompt structure is subject, action, environment, camera, lighting, style, duration, and constraints. For example: a ceramic coffee cup on a walnut desk, steam rising, slow push-in, soft morning window light from the left, shallow depth of field, realistic product commercial style, five seconds, no text. Keep prompts in a spreadsheet so they can be reused and compared.
Separate creative intent from technical controls. If the tool has camera motion, seed, or reference image settings, use those controls instead of stuffing every instruction into a text prompt. Overprompting can confuse the model. Use consistent phrases for identity and let the action or camera section change.
Negative prompts and control settings
Use negative prompts or controls to reduce common failures: distorted hands, extra fingers, warped logos, flicker, jump cuts, duplicate limbs, and oversaturation. Not every tool supports negative prompts, so learn which settings actually influence the result. For products, protect the label with a clean plate or add it in post. For people, keep shots short and avoid complex hand interactions unless they are essential.
Camera motion should be motivated and modest. Slow push-ins, gentle pans, and locked-off frames often look more professional than fast moves that expose morphing. If a shot needs precise composition, start from an image. If it needs energy, use editing and sound rather than forcing the model to perform a complex camera move.
Storyboard and animatic first
Even rough storyboard panels reveal pacing problems. Build a simple animatic with stills and temporary voiceover. Time each shot. A 30-second video may need eight to twelve shots, but that depends on pace and content. If the storyboard already feels crowded, the final video will feel rushed.
An animatic is much cheaper than generating unusable clips. It also gives stakeholders something concrete to review. Approve structure before approving visuals. Changing the order of shots in an animatic is easy; changing a finished sequence of generated clips is not.
Generate, Review, and Iterate Without Chaos
Batch by shot, not by scene
Generate variations for one shot at a time. Use the same seed or reference image where possible. Name files with a clear pattern: project, scene, shot, take, model, and status. Keep a log with prompt, seed, settings, source image, and approval status. Store only selects plus the best alternates. A messy library slows the whole team and makes revisions expensive.
Review at actual size and on a phone. Judge motion, artifacts, continuity, and emotional fit. A clip that looks impressive full-screen may fail in a small social feed. Use a simple three-point rating: reject, usable with fixes, or select. This keeps review consistent across team members.
Quality gates and acceptance criteria
Define acceptance criteria for technical quality, narrative clarity, continuity, and brand safety. Technical checks include artifacts, resolution, frame rate, and flicker. Narrative checks include clear action and readable performance. Continuity checks include wardrobe, props, lighting, and screen direction. Brand checks include logo accuracy, color, and claims.
Reject early. Do not spend an hour polishing a shot that cannot cut into the sequence. Limit takes to five or eight per shot, then change the approach. If a model repeatedly fails, revise the prompt, switch models, simplify the action, or shoot the shot practically. Persistence is useful only when the method is sound.
Version control for small teams
Use cloud folders with version numbers and a change log. Lock approved assets. One person should own final approval for each stage. Avoid names such as final_final_v7. Use v01, v02, and a short note describing the change. Keep source prompts and reference images with the project archive so the work can be reproduced or updated later.
Audio, Voice, and Sound Design
Voiceover and pacing
Write for speech, not for reading. Use short sentences and read the script aloud before generating voice. AI voice can be efficient, but check pronunciation of brand names, product names, and technical terms. Generate at a slightly slower pace, then edit pauses to match the visuals. Match the voice tone to the brand rather than choosing the most dramatic option available.
For multilingual versions, localize the script instead of translating word for word. Idioms and sentence rhythm rarely survive literal translation. If the video uses on-screen text, check line length and character width for each language.
Music and sound effects
Music sets energy, but it should not mask the voice. Choose a track with clear edit points. Duck the music under narration. Add subtle effects such as whooshes, clicks, and room tone, but use them sparingly. Silence can be more powerful than constant sound. Confirm that every music track and sound effect is properly licensed for the intended use.
Sync and mix
Lock picture before the final mix. Check dialogue intelligibility on phone speakers. Normalize loudness for the target platform and avoid clipping. Add captions because much social video is watched without sound. Keep captions inside safe zones and use high contrast. If the video includes both narration and on-screen text, make sure they reinforce each other rather than repeat the same words.
Edit and Assemble the Final Clip
Timeline and continuity
Assemble selects in story order. Cut on action and use J and L cuts for smoother transitions. Vary shot lengths to create rhythm. If AI clips have inconsistent motion, use transitions sparingly. Match color and screen direction. Add cutaways to hide morphing or awkward hands. For product shots, insert real footage or screen capture when accuracy matters.
A useful editing test is to watch the sequence without music. If the story is unclear, fix the picture before adding sound. Another test is to watch on a phone with the sound off. If the message disappears, improve the captions and visual hierarchy.
Color, captions, and delivery
Color grade to unify sources. Use adjustment layers so changes are easy to revise. Check skin tones, product color, and brand colors. Captions should be readable and not cover key action. Export the correct platform specs: vertical, square, or landscape; the right frame rate; a suitable codec; and an appropriate bitrate. Create a master file and separate platform versions.
Archive the project with fonts, references, prompts, and exported versions. A clean archive saves time when a campaign needs a new cut, a different aspect ratio, or a localized version.
Common Mistakes and How to Avoid Them
Starting with generation before the brief is the most expensive mistake. Fix it with a one-page brief and an approved shot list. Using too many tools creates inconsistent output; keep a primary stack and a backup. Inconsistent characters usually come from weak references, so use character sheets and image-to-video for identity-critical shots.
Overprompting is another common problem. Concise prompts with strong controls usually beat long paragraphs of style words. Ignoring audio creates videos that feel unfinished. Build an animatic with temporary voice early. No naming convention leads to lost selects and duplicated work; use a simple project, scene, shot, take pattern.
Chasing perfection on a single shot can stall the whole project. Set a take limit and change method when needed. Forgetting rights and disclosure creates legal and platform risk. Document assets and follow platform rules. Delivering only one aspect ratio forces awkward crops later. Plan safe zones and export versions from the start. Finally, a missing review gate lets small errors reach the final cut. Use a checklist before delivery.
FAQ
How long does an AI video take?
It depends on duration, shot complexity, and how much consistency is required. A simple social clip can be produced in a few hours. A 30-second explainer with ten shots, voiceover, captions, and multiple versions may take several days. Track how many generations produce one usable shot so you can estimate realistically.
Do I need a video model with audio?
Not always. Separate voice, music, and sound tools often give more control. Native audio is useful for drafts, ambient sound, or quick tests. For polished narration and brand-sensitive pronunciation, a dedicated voice workflow is usually safer.
How do I keep characters consistent?
Use a character sheet, identical identity descriptors, image-to-video for key shots, and short clips that are easier to control. Review continuity after every approved shot. If a character appears repeatedly in close-up dialogue, real footage may be more reliable than generated performance.
Can AI replace a full production crew?
Not for every project. AI reduces certain barriers and enables previz, b-roll, and rapid variations. Planning, editing, sound, brand judgment, and quality control remain human tasks. Use AI where it adds speed or access, and use practical production where accuracy and performance are essential.
What is a good first project?
Choose a 20 to 30 second clip with one clear message, six to eight shots, one character or product, and a simple location. Avoid complex dialogue, stunts, and crowded scenes. Finish the whole pipeline before starting a bigger campaign.
How many generations should I plan per shot?
Plan for four to eight variations, but stop and revise if nothing is usable. A high failure rate is a signal to change the prompt, model, reference image, or shot design. Keep a log so you can compare methods and improve over time.
How do I choose a model?
Test the same shot brief across two or three options. Score motion, prompt adherence, consistency, control, export quality, and iteration speed. Choose per shot type rather than expecting one model to win everywhere. A documented decision is easier to repeat on the next project.

Alexander
More Blogs
Read MoreFrom Text to Short Film: A Practical AI Video Workflow
Learn how to turn a written idea into a polished short film with AI video tools: scripting, model choice, shot consistency, sound design, and editing.
AI Transcription and Seamless Video Editing Workflows
Learn how AI transcription enables text-based editing, faster reviews, accessibility, and reliable post-production workflows from rough cut to final delivery.
Photorealistic AI Video Production: A Practical Workflow Guide
Learn a repeatable workflow for photorealistic AI video: model selection, shot planning, prompt design, continuity, audio, and quality control.