

Affiliazione
Inizia Gratis Ora
AI Animation Video Generators: Script-to-Screen Workflow Guide
Oct 13, 2026

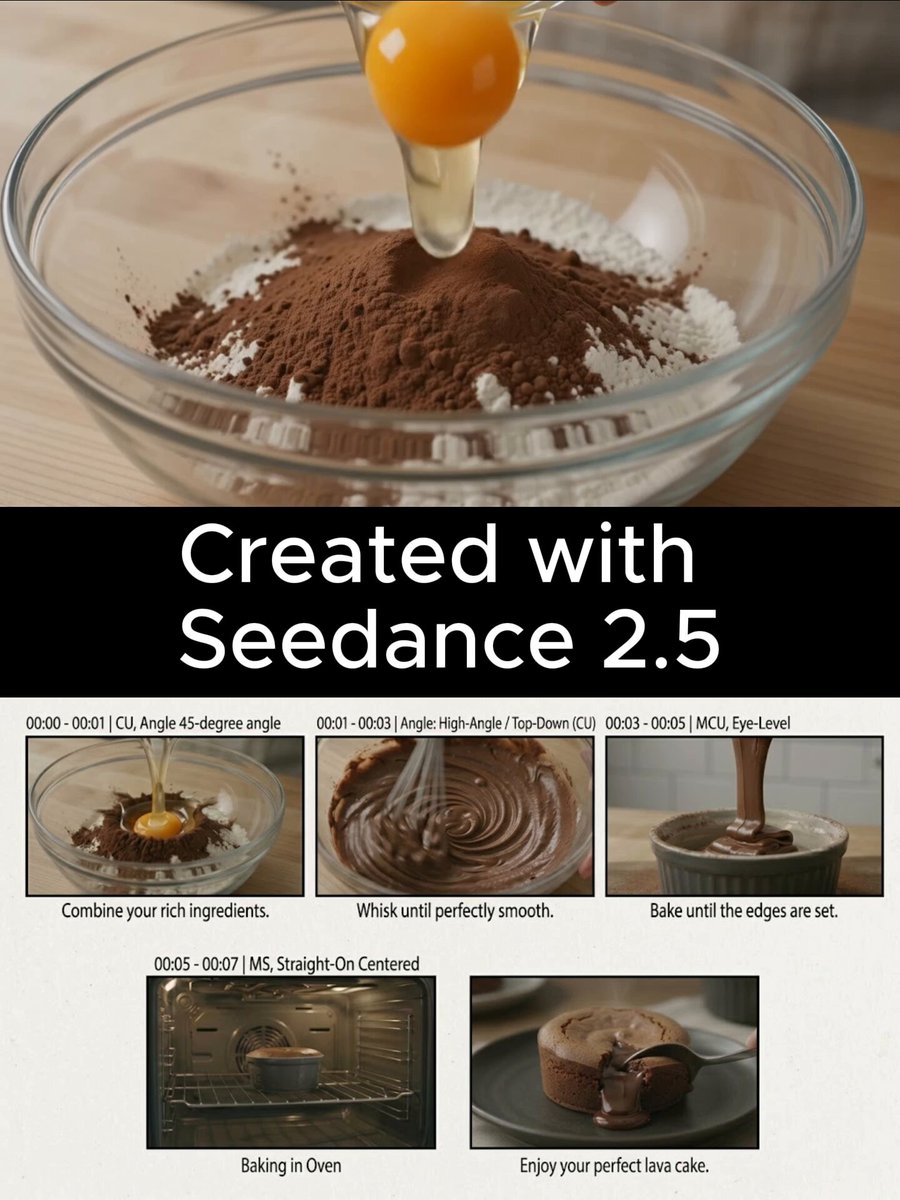
Animated video has moved from a specialist craft to a practical communication format. Marketing teams use it for explainers, educators use it for lessons, product teams use it for demos, and creators use it for social storytelling. What changed is not just the software. Script-to-video systems now handle scene planning, character design, voiceover, captions, music, and rendering in one flow. You can start with a document and end with a publishable asset. The catch is that automation does not replace judgment. A clear workflow still decides whether the result feels polished or generic. This guide explains how AI animation video generators work, how to evaluate them, and how to produce a complete animated video from a script without wasting time on repetitive edits.
Why Script-to-Animation Workflows Matter
The main advantage is compression. Traditional animation requires storyboarding, character design, rigging, background art, voice recording, editing, and sound mixing. Each step can take days or weeks. AI animation tools compress those steps into a guided pipeline. You still make creative decisions, but you make them at the level of direction rather than manual production.
There is also consistency. A template-driven system can keep colors, fonts, character proportions, and transitions aligned across a series. That matters when you publish weekly videos or localize one message into several languages. Without consistency, audiences notice the seams, and the brand feels less trustworthy.
Accessibility is another reason. Teams without animators can produce training modules, product walkthroughs, and social clips. Small businesses can test video marketing without hiring a studio. Teachers can turn a lesson plan into a visual explanation. The barrier is no longer technical skill alone. It is clarity of message and willingness to iterate.
Finally, script-to-animation workflows force better writing. When the script drives the visuals, every sentence has to earn its place. You cannot hide a weak message behind flashy effects. The tools reward concise, structured, spoken-word writing.
How an AI Animation Video Generator Turns a Script into Video
The process looks simple from the outside: paste a script, choose a style, generate. Under the surface, several steps determine quality. Understanding them helps you prepare better inputs and diagnose weak output.
Script parsing and scene segmentation
The system reads the script and breaks it into scenes, beats, or sentences. Good tools detect topic shifts, dialogue, lists, and calls to action. They may also estimate timing based on word count and speech rate. If your script has long paragraphs, the tool may create crowded scenes or awkward cuts. If your script uses clear scene breaks, the output is easier to control.
A practical tip is to write scene headers in your script before uploading. Even if the tool ignores them, they help you think in shots. For example, separate the hook, the problem, the solution, the proof, and the next step. You can also mark on-screen text, lower thirds, or visual notes in brackets. The generator may not use every note, but the structure improves the draft.
Visual generation and character consistency
Many AI animation platforms generate visuals from text prompts, stock libraries, or predefined styles. The strongest ones maintain a consistent character across scenes. That requires memory of facial features, clothing, color palette, and proportions. If the tool cannot keep a character stable, the video may look like a collage of unrelated people.
When consistency matters, choose a platform with character locking or reference images. Use a simple character design with distinctive but not overly detailed features. Avoid dramatic costume changes unless the story requires them. If you need multiple characters, give each one a clear visual role: the guide, the learner, the expert, the customer. Consistency is not only visual. It also applies to voice, tone, and pacing.
Voiceover, timing, and sound
AI voiceover has improved dramatically. Modern voices can sound natural, emotional, and multilingual. Still, voice selection is a creative decision. A warm conversational voice fits an explainer. A confident authoritative voice fits a corporate training module. A playful voice fits social content. Listen to sample lines before you generate the full video. Pay attention to pacing, pronunciation, and how the voice handles numbers, acronyms, and brand names.
Timing is the hidden challenge. Animation needs room to breathe. If the voiceover rushes, scenes feel frantic. If it drags, viewers drop off. Adjust pauses, shorten sentences, and let visual moments land. Music and sound effects should support the message, not compete with it. A simple ambient bed and a few transition sounds often work better than a busy soundtrack.
Rendering and export
Rendering turns the project into a video file. The key choices are resolution, frame rate, aspect ratio, and format. For social platforms, vertical and square versions may matter more than cinematic widescreen. For presentations, 1080p is usually enough. For large screens, 4K may be necessary. Export settings also affect file size and upload speed. Check captions, audio levels, and safe zones before you publish. A video that looks perfect on a laptop may crop awkwardly on a phone.
Core Features to Evaluate Before You Choose a Tool
Not every AI animation generator is built for the same job. Some excel at avatar presenters. Others focus on illustrated explainers, stock media, or text-heavy social clips. Use the following criteria to compare options.
Script-to-video accuracy
Accuracy means the visuals match the meaning of the script. The tool should recognize tone, sequence, and emphasis. A serious compliance module should not generate whimsical cartoon scenes. A playful social clip should not look like a legal briefing. Test the tool with a real script, not a demo script. Check whether it understands negations, comparisons, and step-by-step instructions. If the first draft is wildly off, the editing burden will be high.
Customization and brand control
Look for control over colors, fonts, logos, transitions, character styles, and layouts. Brand control matters for teams that publish regularly. You want to set a visual system once and reuse it. The best tools let you save templates, define safe zones, and lock elements that should not change. If every video requires rebuilding the look from scratch, the workflow will not scale.
Voiceover, captions, and localization
Check voice quality, language coverage, and caption accuracy. Captions are not optional for accessibility and silent viewing. The tool should generate editable captions, not just burned-in text. Localization is valuable if you serve multiple markets. You may need to translate the script, regenerate voiceover, and adjust on-screen text. Some platforms handle this in one project. Others require separate versions.
Asset libraries and media integration
Stock footage, icons, illustrations, and music libraries can speed up production. But library size is less important than relevance and licensing. Make sure assets are cleared for commercial use. Check whether you can upload your own images, logos, product screenshots, and brand footage. The ability to mix AI-generated scenes with real media is often what makes a video feel credible.
Collaboration, review, and versioning
Teams need comments, approvals, and version history. If a subject matter expert needs to review a training video, they should be able to comment on specific scenes. If legal needs to check claims, versioning helps you compare changes. Solo creators may not need heavy collaboration, but they still benefit from drafts and rollback.
Export, aspect ratios, and performance
Confirm the export options you actually need. Vertical for shorts, square for feeds, widescreen for presentations, and perhaps audio-only for podcasts. Check render times and reliability. A tool that crashes during long renders will cost more time than it saves. Also consider whether exports include captions as separate files and whether you can export individual scenes for editing.
A Practical Workflow from Script to Finished Animation
You can use almost any AI animation tool with the same basic workflow. The steps below keep quality high and revisions manageable.
1. Clarify the objective and audience
Write one sentence that states what the viewer should know, feel, or do after watching. Define the audience and the platform. A 30-second vertical clip for social media has different pacing than a 5-minute training module. The objective shapes script length, visual style, and voice choice.
2. Write for the ear, not the page
Read your script aloud. Shorten sentences. Remove jargon. Replace complex clauses with direct statements. Use concrete examples. If a sentence is hard to say, it will be hard to animate. Aim for a rhythm that alternates short and medium sentences. Avoid long lists unless the visuals can support them.
3. Break the script into scenes and beats
Create a simple scene list. Each scene should have one idea. For a 60-second video, aim for 6 to 10 scenes. For a 3-minute explainer, 15 to 25 scenes may work. Mark the visual intent for each scene: character action, diagram, product shot, text overlay, or transition. This step makes the AI draft easier to edit because you already know what each moment should communicate.
4. Choose a visual system before generating
Pick a style that matches the brand and topic. Options include flat illustration, 3D animation, whiteboard, motion graphics, avatar presenter, and mixed media. Choose a color palette, font, and character style. If you use avatars, decide whether they should be realistic or stylized. A consistent visual system is more important than a trendy one.
5. Generate a rough cut quickly
Upload the script, choose the style, voice, and aspect ratio, then generate a draft. Do not aim for perfection. The first goal is to see pacing and structure. Watch the draft without pausing. Note where attention drops, where visuals confuse, and where audio feels rushed.
6. Review pacing, clarity, and retention
Mark timestamps for problems. If a scene feels too long, cut words or split it. If a concept is unclear, add a visual example. If the hook is weak, rewrite the first five seconds. The opening should state the value or tension immediately. Viewers decide quickly whether to keep watching.
7. Refine voiceover and sound design
Regenerate voice lines only where needed. Adjust pronunciation and pauses. Add music that matches the emotional arc. Use sound effects sparingly. Check that the voice is audible over the music. If the video will be viewed on mobile, test with phone speakers.
8. Add captions and accessibility layers
Review automatic captions for accuracy. Fix names, technical terms, and numbers. Add alt text or descriptions where the platform supports it. Ensure color contrast is sufficient for on-screen text. Avoid flashing effects that could discomfort viewers. Accessibility improves the experience for everyone.
9. Run a final quality check and export
Watch the video once with sound, once without sound, and once on a small screen. Check the first three seconds, the transitions, the audio levels, and the ending. Export the correct aspect ratios and resolutions. Name files clearly so the team can find the latest version.
Choosing the Right Tool for Different Production Scenarios
Social clips and creator content
Prioritize speed, vertical templates, captions, and trend-friendly styles. You want to publish frequently without heavy editing. Look for quick scene generation, strong text animation, and easy music replacement. A tool that exports multiple aspect ratios from one project is a major advantage.
Corporate training and onboarding
Prioritize consistency, accessibility, review workflows, and avatar or character reliability. Compliance content requires accurate narration, captions, and version control. You may need to update a policy video without rebuilding every scene. Choose a platform with reusable templates and collaboration features.
Marketing explainers and product demos
Prioritize brand control, product screenshot support, and clear motion graphics. You need to show how something works, not just talk about it. Look for the ability to import UI images, highlight features, and synchronize narration with on-screen actions. A clean visual hierarchy matters more than flashy effects.
Education and course modules
Prioritize structure, chaptering, and the ability to mix illustrations with real examples. Students benefit from consistent characters, clear labels, and recap scenes. If the course is long, check whether the tool supports modules or playlists. Also consider downloadable captions and transcripts for study.
Localized and multilingual campaigns
Prioritize translation quality, voice variety, and text expansion. Some languages require more words or longer on-screen text. Check whether the tool can keep the same character and visual style across languages. A localized video should feel native, not like a dubbed afterthought.
Common Mistakes That Make AI Animation Look Amateur
- Writing a script that is too long for the format. If the video feels rushed, cut words rather than speeding up the voice.
- Changing visual styles between scenes. Stick to one coherent system unless a style change has narrative meaning.
- Ignoring character consistency. Reused characters should look and sound the same across scenes.
- Using generic stock footage without a clear purpose. Every visual should support the current sentence.
- Letting music overpower the voice. Mix for clarity first, atmosphere second.
- Skipping captions. Many viewers watch without sound.
- Forgetting the hook. The first few seconds must earn attention.
- Exporting only one aspect ratio. Repurpose the video for multiple platforms.
- Publishing without a review pass. Small errors in names, numbers, or claims damage credibility.
- Overloading scenes with text. The viewer cannot read and listen at the same time.
Voiceover, Music, and Sound Design for AI Animation
Audio is half the experience. A beautiful animation with weak audio feels unfinished. Start with the voice. Choose a voice that matches the brand personality and the audience. Test a few lines with technical terms and names. Adjust speed and pauses. A slightly slower pace often sounds more authoritative.
Music should support the emotional arc. Use a calm bed for explanation, a brighter track for solution scenes, and a subtle lift for the ending. Avoid tracks with prominent vocals because they compete with the narrator. If you use sound effects, keep them consistent. A whoosh on every transition becomes distracting.
Mixing matters. Voice should sit clearly above music. Check levels on earbuds, laptop speakers, and a phone. If the video will play in noisy environments, captions become even more important. Consider adding a transcript or summary for accessibility and SEO.
Publishing and Repurposing Animated Videos
One animated video can become many assets. Export a widescreen version for your website, a vertical version for shorts, and a square version for social feeds. Cut short clips for teasers. Turn the script into a blog post or newsletter. Extract key frames as images for presentations. Add captions as separate files for platforms that support them.
When publishing, match the video to the platform. Social platforms reward quick hooks and clear text. Learning platforms reward structure and chapter markers. Websites reward autoplay-free, user-controlled players. Email rewards a thumbnail linked to a landing page. Track performance by retention, completion rate, and engagement, not just views. Use those insights to improve the next script.
Quality Checklist Before You Publish
- The first three seconds state the value or tension.
- The script is clear when read aloud.
- The visuals match the narration.
- Characters and branding are consistent.
- Voiceover is audible and correctly pronounced.
- Music and sound effects support the message.
- Captions are accurate and editable.
- On-screen text is readable on mobile.
- The video works with sound off.
- Export settings match the target platform.
- File names and versions are organized.
- The ending gives a clear next step.
FAQ
Can AI animation video generators really work from a full script?
Yes, but the script quality determines the output. A structured script with clear scenes and spoken-word phrasing produces a better draft than a dense article. The tool handles production; you still direct the story.
How long should a script be for a 60-second animation?
A typical speaking rate is around 130 to 160 words per minute. For a 60-second video, aim for 120 to 150 words of narration. Leave room for pauses and visual moments. If you need more detail, make a longer video rather than rushing the audio.
How do I keep characters consistent across scenes?
Use a platform with character locking or reference images. Keep the character design simple. Avoid changing clothing, hairstyle, or proportions unless the story requires it. Reuse the same voice and speaking style for that character.
Do I need editing skills to use these tools?
Basic editing sense helps, but you do not need advanced software skills. You need to judge pacing, clarity, and visual consistency. The ability to rewrite and cut is more valuable than technical editing expertise.
What about captions and accessibility?
Always review automatic captions. They often mishear names, acronyms, and numbers. Provide a transcript where possible. Use high contrast for on-screen text and avoid rapid flashing. Accessibility makes the video better for all viewers.
How do I choose between avatar-led and illustrated animation?
Use avatar-led animation when trust, presentation, or direct address matters. Use illustrated animation when explaining abstract ideas, processes, or stories. Mixed approaches can work if the transitions feel intentional. Match the style to the message, not to the trend.
Can I update a video after publishing?
Yes, if you keep the project file and assets organized. You can regenerate a scene, update the voiceover, or replace a slide. Then export a new version. Version control prevents confusion when multiple people share the file.
What is the biggest mistake in script-to-animation production?
Trying to automate the entire creative process. The best results come from human direction: a strong script, a clear visual system, and a thoughtful review. Use AI to remove repetitive work, not to replace judgment.
Great animation from a script is now a repeatable process. Define the objective, write for the ear, choose a visual system, generate a draft, and refine with intention. The tools will keep improving, but the workflow principles remain stable. When you treat AI as a production partner rather than a magic button, you can publish animated videos that are clear, consistent, and genuinely useful to your audience.

Alexander
More Blogs
Read MoreVidu Q4 Alternatives: 4K AI Video Models Compared (2026)
Vidu Q4 alternatives compared: Kling 4.0, Seedance 2.5, Wan 3.0, and Runway Gen-4 — 4K support, input modes, durations, audio, and what each costs in credits on Domer.
Top 4K AI Image Generators in 2026: 5 Models Compared on Real Costs
The top 4K AI image generators on Domer compared: Flux 3 Klein, Nano Banana 2.1, GPT Image 2.5, GPT Image 2, and Nano Banana Pro — 4K credit costs, reference limits, and speed.
Nano Banana 2.1 vs GPT Image 2.5: Which Image Model Should You Use? (2026)
Nano Banana 2.1 vs GPT Image 2.5 Flare compared: credit costs per resolution, aspect ratios, reference images, text rendering, and which tasks fit each model.