
Crea
Affiliazione
Inizia Gratis Ora
AI Video Generation Workflow: From Prompt to Polished Scene
Oct 13, 2026
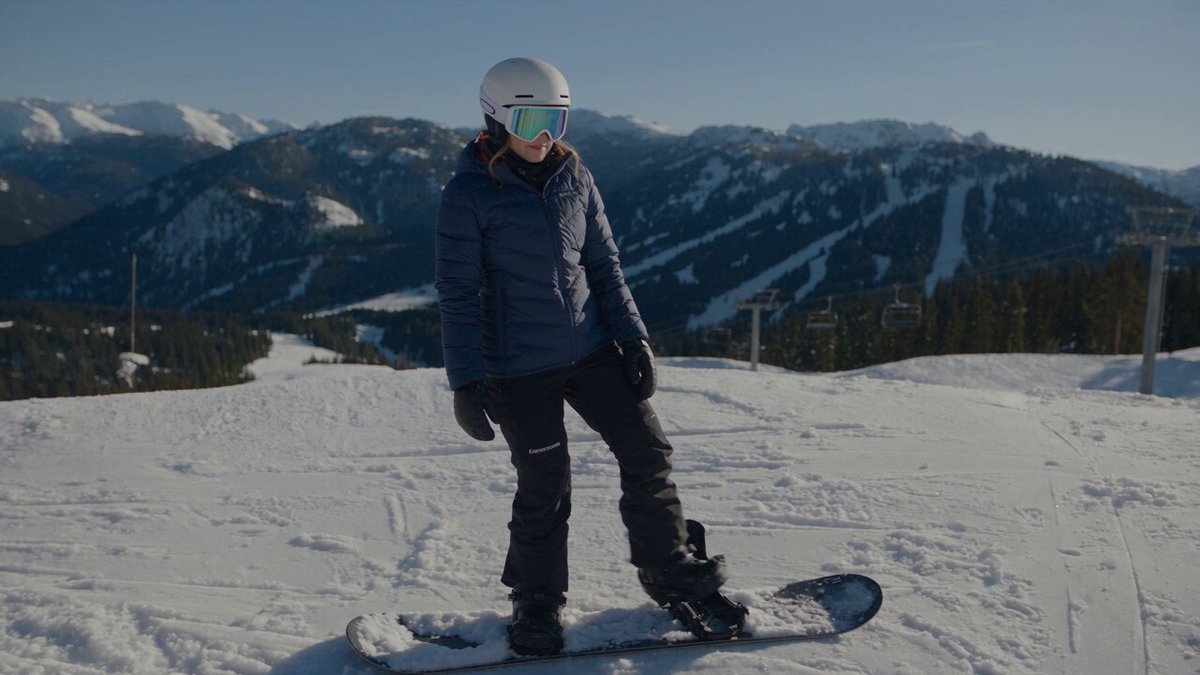
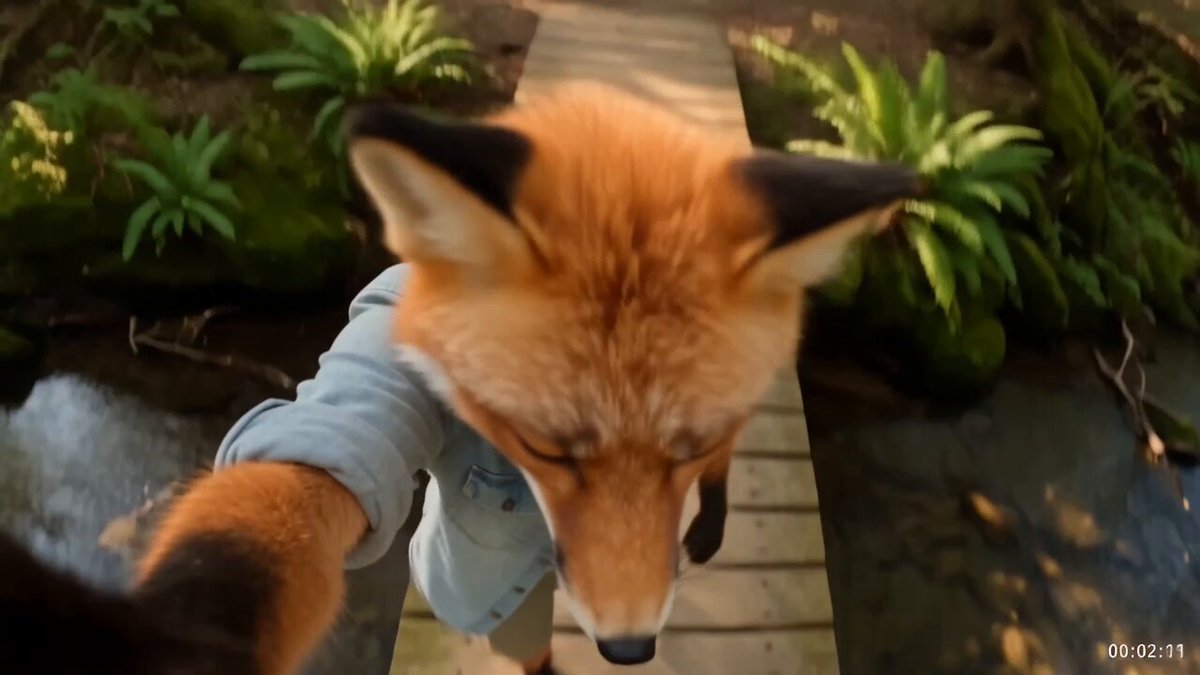
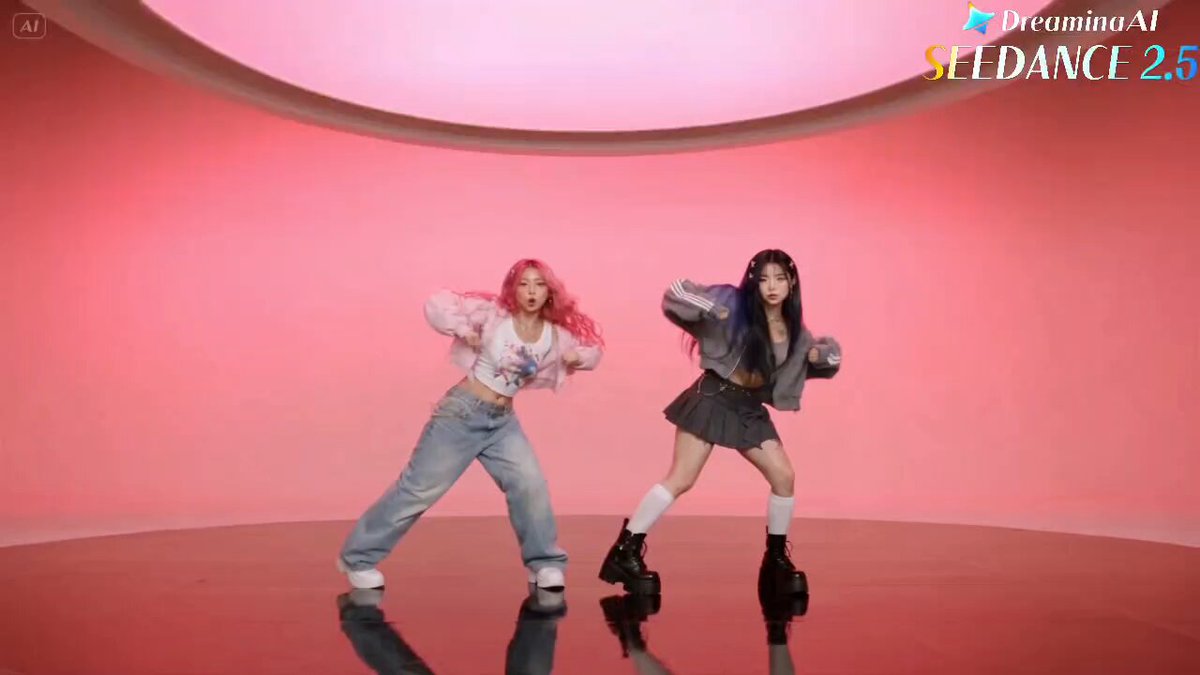
Generative video has stopped being a novelty demo. Modern models can produce a slow push-in on a product, a character walking through rain-slicked streets, or a drone glide over a coastline at dusk. The bottleneck is no longer whether a model can generate motion. It is whether you can build a repeatable workflow that turns unpredictable output into a finished piece on a deadline.
This guide is about that workflow. It covers what these tools genuinely do well, how to write prompts that survive contact with reality, how to keep characters and locations consistent across shots, and how to assemble the results into an edit that does not feel like a collection of disconnected clips.
What Modern AI Video Generators Actually Do Well
Before deciding on a tool or a technique, it helps to be honest about the current capabilities. Models are strong at atmosphere, texture, and camera movement. They are weaker at precise physical interaction, hands, text rendering, and long continuous action. Build your plan around that asymmetry.
Text-to-video: strengths and limits
Text-to-video is best for establishing shots, mood pieces, abstract transitions, and B-roll where the exact identity of the subject does not matter. A prompt like "slow aerial push over a foggy pine forest at sunrise, volumetric light, 35mm film grain" produces something genuinely usable. A prompt like "a man signs a contract with his right hand while smiling at the camera, text on the document reads 'Agreement'" will produce something close to usable but will almost certainly mangle the hand and the document text.
Treat text-to-video as a way to generate atmosphere and motion, not to execute precise choreography.
Image-to-video and reference-driven shots
Image-to-video is where most production work happens. You supply a strong still — a rendered frame, a photograph, a designed composition — and the model animates it. Because you control the starting frame, you control composition, color, and subject identity. The model only has to solve motion.
This is also the cheapest way to keep a visual brand consistent. If your hero image is on-brand, most of your clip will be on-brand.
Where results still fall apart
Expect trouble with: rapid directional changes, subjects entering or leaving frame, reflections, mirrors, crowds, complex hand interactions, on-screen text, and any shot longer than a few seconds that requires narrative continuity. Plan cuts around these weaknesses rather than trying to prompt your way through them. A two-second shot of a hand reaching for a cup is far more reliable than an eight-second shot of someone setting a table.
Choosing the Right Tool for the Job
There is no single best generator. Different tools win on different axes, and the right choice depends on your project rather than on benchmark charts.
Motion realism versus stylistic control
Some models prioritize physically plausible motion; others prioritize visual style, painterly rendering, or anime aesthetics. If you are producing a brand film, motion realism usually matters more. If you are producing a stylized music video, style transfer and consistency of look matter more than perfect physics.
Clip length, resolution, and frame rate
Longer clips cost more time and more compute and usually degrade in quality toward the end. Many teams generate several short clips and stitch them rather than generating one long take. Check whether your tool supports the resolution and frame rate your delivery spec requires before you build a whole project around it — upscaling after the fact adds another step and another set of artifacts.
Ecosystem fit
Ask practical questions. Does the tool export formats your editor handles cleanly? Can you lock a seed or a reference image? Does it support first-frame and last-frame control? Does it offer any audio, or will you handle sound entirely elsewhere? Workflow friction kills more projects than model quality does.
Cost and throughput planning
Most services bill through subscription tiers with usage limits, or through metered generation. Whatever the mechanism, estimate your real volume before committing: a 90-second piece at three seconds per clip plus retries can easily mean 60 to 100 generations. Budget for retries, because a first-pass hit rate of one in three is realistic. Also decide whether you need priority processing, commercial licensing, or higher resolution tiers, since those are often the real drivers of plan choice.
The Prompt Structure That Produces Usable Clips
Prompting a video model is closer to writing a shot list than to writing a paragraph. Vague prose produces vague motion.
Subject, action, setting, camera
Use a four-part skeleton and keep the order stable:
- Subject: who or what is on screen, with one or two defining details
- Action: one clear, continuous movement
- Setting: location, time of day, weather, atmosphere
- Camera: shot size, angle, and movement
Example: "An older fisherman in a yellow raincoat, mending a net, standing on a wooden dock at dawn, mist on the water, medium shot, slow dolly to the right, shallow depth of field."
One subject. One action. One camera move. That is the formula that produces the highest hit rate.
Lighting and lens language
Lighting descriptors do more work than most people expect. "Golden hour backlight," "overcast soft light," "hard noon sun with deep shadows," and "practical neon at night" each push the render in a clearly different direction. Lens language — "35mm," "anamorphic flare," "macro," "telephoto compression" — adds texture and helps the model avoid the flat, over-processed look that makes AI footage obvious.
Negative instructions and failure modes
Many tools accept negative prompts. Use them surgically: "no on-screen text, no extra limbs, no fast camera shake." Overloading negatives tends to confuse the model. If a specific artifact keeps appearing, add one targeted negative rather than a wall of them.
Reusable prompt templates
Build a small library. A product shot template, a character introduction template, a transition template, and an establishing-shot template will cover most of a project. Templates save time and, more importantly, keep the look coherent across a whole sequence.
Image-to-Video: Turning Stills Into Moving Shots
Image-to-video is the most controllable path to good footage, but it rewards preparation.
Preparing the reference frame
Give the model a clean frame: clear subject, uncluttered background, good contrast. Crop to the final aspect ratio before generating. If you can, remove artifacts and text from the source image first — the model will animate whatever is there, including mistakes.
Directing motion without warping
Describe motion in terms of what the camera does and what the subject does, in that order. "Static camera, subject turns head slowly toward the light" is safer than "subject spins around and walks toward the camera." Large, fast, or multi-directional motion is where warping and identity drift appear.
First-frame and last-frame control
If your tool supports keyframe interpolation, use it. Providing both a start and an end frame forces the model into a predictable trajectory and dramatically improves the usefulness of the clip — especially for transitions, reveals, and match cuts. When only a start frame is supported, keep the described motion small and let editing supply the rest of the energy.
Keeping Characters and Scenes Consistent Across Shots
Consistency is the single hardest problem in AI video production. Solving it is mostly discipline, not luck.
Lock wardrobe, palette, and props
Write a short character sheet and copy its exact wording into every prompt: hair color and length, clothing items, accessory, general build. Do the same for locations: wall color, furniture, weather, time of day. Models respond to consistent repetition. Paraphrasing between shots is how you get three different people wearing three different jackets.
Handle camera continuity deliberately
Decide on a visual grammar and stick to it. If eye lines are consistently left-to-right in one scene, keep them that way. If a character moves right across the frame, they should keep moving right until a scene change. AI clips rarely respect screen direction on their own, so you enforce it at the edit.
A practical consistency checklist
- Same subject description, word for word, in every prompt
- Same lighting vocabulary across the sequence
- Same lens and shot-scale family
- Same color grade applied to every clip in post
- A reference image reused as the opening frame whenever possible
Run this checklist before generating, not after. Regenerating twenty clips because the jacket changed color is an expensive way to learn the lesson.
Audio, Dialogue, and Sound Design
Video without sound feels like a technical demo. Audio is also where you can hide a lot of visual imperfection.
Voiceover and lip sync
If a character speaks on camera, the risk of mismatched lip movement is high. Two safer options exist: shoot the speaking moment as a wider shot where the mouth is not the focus, or use voiceover over unrelated visuals. When lip sync is essential, generate the dialogue audio first and animate to it — not the other way around.
Music and ambience
Ambience sells realism more than music does. Wind, distant traffic, room tone, and cloth movement make generated footage feel grounded. Add ambience under every clip, even quiet ones, then place music on top.
Simple mixing rules
Keep dialogue dominant, ambience two steps below it, and music below that. Duck music under speech. Cut ambience at every hard cut or crossfade it with the picture — a continuous ambience bed under a scene change is one of the fastest ways to make a video feel artificial.
Assembling the Edit: From Clips to a Finished Piece
The edit is where generated clips become a film. Treat raw output as footage, not as a finished shot.
Shot selection and trimming
Generated clips often have a strong middle and weak ends. Trim aggressively. Start each clip a few frames after the motion stabilizes and end it before the model starts to drift. A confident two-second shot beats a shaky five-second one every time.
Transitions that hide artifacts
Use cuts on motion, whip pans, match cuts on shape or color, and brief overlays. Avoid long dissolves between clips with different lighting, because the blend exposes the mismatch. When a clip has an unavoidable artifact in one corner, crop in slightly or place a graphic over it rather than reshooting.
Color and grain matching
Apply one grade across the whole sequence: shared contrast curve, shared white balance, shared saturation target. Add a light grain layer over everything. Uniform grain is the cheapest and most effective way to make clips from different generations feel like they came from the same camera.
Export settings
Match your delivery spec exactly — resolution, frame rate, bitrate, and color space. If a platform will re-encode your file, export at a higher bitrate than the platform's recommended minimum to survive the second compression pass.
A Repeatable Production Workflow
Here is a sequence that works for short films, ads, and social content alike:
- Write the shot list first. Describe each shot in one sentence before opening any tool.
- Generate stills. Create or source a strong reference frame for every shot. Approve the look on stills, where iteration is fast and cheap.
- Animate the approved stills. Move to image-to-video with controlled, modest motion.
- Batch by scene, not by shot. Generate all shots in a scene together so lighting and palette stay aligned.
- Review with a pass/fail rule. Keep a clip if it works at normal speed; reject it if you have to explain why it works.
- Assemble a rough cut silent. Confirm the story reads without audio. If it does not, fix the edit before adding sound.
- Layer ambience, then music, then dialogue. Build the mix from the bottom up.
- Do one final pass for consistency. Grade, grain, and check that every shot respects your character sheet.
Batching matters. Generating one clip at a time encourages perfectionism on shots that will end up as a half-second cutaway.
Common Mistakes That Slow Projects Down
- Overloading prompts. Three ideas in one prompt produce a muddled clip. Split them into three shots.
- Chasing realism in the wrong place. Spending an hour on a background that will be blurred is wasted effort.
- Ignoring screen direction. Clips that look great individually can feel chaotic in sequence.
- No reference frame. Text-only generation for a recurring character guarantees drift.
- Skipping the silent cut. Problems with pacing are much easier to see without music.
- Not archiving prompts. When a shot works, you need to know exactly what produced it so you can make a matching one.
- Underestimating retries. Plan your schedule around the fact that a meaningful share of generations will be discarded.
FAQ
How long should a generated clip be?
Short. Two to four seconds covers most needs, and shorter clips have fewer artifacts. Generate longer only when a single unbroken camera move is essential to the shot.
Is text-to-video or image-to-video better for a client project?
Image-to-video, almost always. It gives you control over composition and identity, which makes approvals faster and revisions cheaper.
Can I keep the same character across an entire video?
Yes, with discipline: a fixed character description reused verbatim, consistent lighting language, and reference images wherever the tool supports them. Expect to reject some generations — consistency is a filtering problem as much as a prompting one.
Do I still need an editor?
Yes. Generation produces footage; editing produces meaning. Trimming, pacing, sound, and grading are where a project stops looking generated.
What should I learn first?
Prompt structure and still-image preparation. Most quality problems trace back to a vague shot description or a weak reference frame, not to the model.
The Takeaway
AI video generation rewards planning more than it rewards luck. Decide what each shot needs to accomplish, build a clean reference still, describe one action and one camera move, generate in batches, and treat the output as footage to be edited rather than as a finished result. Do that consistently, and the tools stop feeling unpredictable and start feeling like a fast, inexpensive second unit.

Alexander
More Blogs
Read MoreVidu Q4 Alternatives: 4K AI Video Models Compared (2026)
Vidu Q4 alternatives compared: Kling 4.0, Seedance 2.5, Wan 3.0, and Runway Gen-4 — 4K support, input modes, durations, audio, and what each costs in credits on Domer.
Top 4K AI Image Generators in 2026: 5 Models Compared on Real Costs
The top 4K AI image generators on Domer compared: Flux 3 Klein, Nano Banana 2.1, GPT Image 2.5, GPT Image 2, and Nano Banana Pro — 4K credit costs, reference limits, and speed.
Nano Banana 2.1 vs GPT Image 2.5: Which Image Model Should You Use? (2026)
Nano Banana 2.1 vs GPT Image 2.5 Flare compared: credit costs per resolution, aspect ratios, reference images, text rendering, and which tasks fit each model.