
Affiliazione
Inizia Gratis Ora
AI Video Pre-Production and Post-Production Workflow Guide
Oct 13, 2026
Why AI Video Pre-Production Decides the Outcome
Generative video tools have driven the cost of a single shot close to zero. They have not driven down the cost of a wrong shot. A badly planned sequence still burns hours of generation time, leaves you with mismatched characters, and forces you into an edit that no amount of color grading can rescue. The teams that consistently produce strong AI video work are not the ones with the longest list of models at their disposal — they are the ones who treat pre-production as the real craft and generation as the execution step.
Think of it this way: a generator is a camera with no memory and no taste. It will happily give you a beautiful shot that belongs to a different film than the one you are making. Pre-production is how you install memory and taste into the process before a single frame is rendered. A clear creative brief, a locked shot list, a character reference library, and a defined delivery format transform generation from a slot machine into a manufacturing line.
This guide walks through a complete AI video workflow, from the first creative brief to final delivery. It assumes you are working on something that matters: a short film, a brand piece, a competition entry, or a client project where consistency and polish are judged against professional standards. The principles are tool-agnostic, so you can apply them whether you are working with text-to-video generators, image-to-video pipelines, or a hybrid of both.
Start With a One-Page Creative Brief
Before you open any generator, write a single page that answers five questions. If you cannot answer them, generation will not help you discover the answers — it will only multiply the confusion.
1. What is the single emotional beat? Every strong short piece has one feeling it wants to land. Awe, unease, warmth, momentum. Name it. Every subsequent decision — lens choice, pacing, palette, music — is measured against whether it serves that beat.
2. Who is on screen, and how do they change? Not a biography. A before-and-after. Characters who end the piece in the same state they started are set dressing, not story.
3. What is the visual grammar? Decide on aspect ratio, movement style, lens language, and color temperature. "Handheld, 2.39:1, cool shadows with warm practicals, slow push-ins" is a grammar. It gives every prompt a shared anchor.
4. What is the runtime and shot count? A 60-second piece typically needs 12-20 generated shots once you account for inserts and cutaways. Two minutes needs 25-40. Knowing the count keeps you honest about scope.
5. What is the delivery spec? Resolution, frame rate, aspect ratio for each platform, caption requirements, and audio loudness target. Deciding this at the end guarantees a re-render at the start of a deadline.
Keep this page open while you work. It is the tiebreaker for every argument you will have with yourself at 2 a.m. about whether a shot is good enough.
Build a Shot List Before You Generate Anything
A shot list is the difference between a collection of clips and a film. Write it in a spreadsheet or a table with one row per shot and these columns: shot number, scene, duration, framing, subject action, camera movement, lighting, audio, and reference image.
Write every shot as an action, not a mood
"Melancholy rooftop" is not a shot. "Wide static shot, woman in a grey coat stands at the rooftop edge, wind moves her hair, city lights soft in the background, slow 2% push-in" is a shot. Generators respond to physical descriptions of subject, action, and camera. Adjectives about mood get diluted into generic prettiness.
Design for the cut, not for the clip
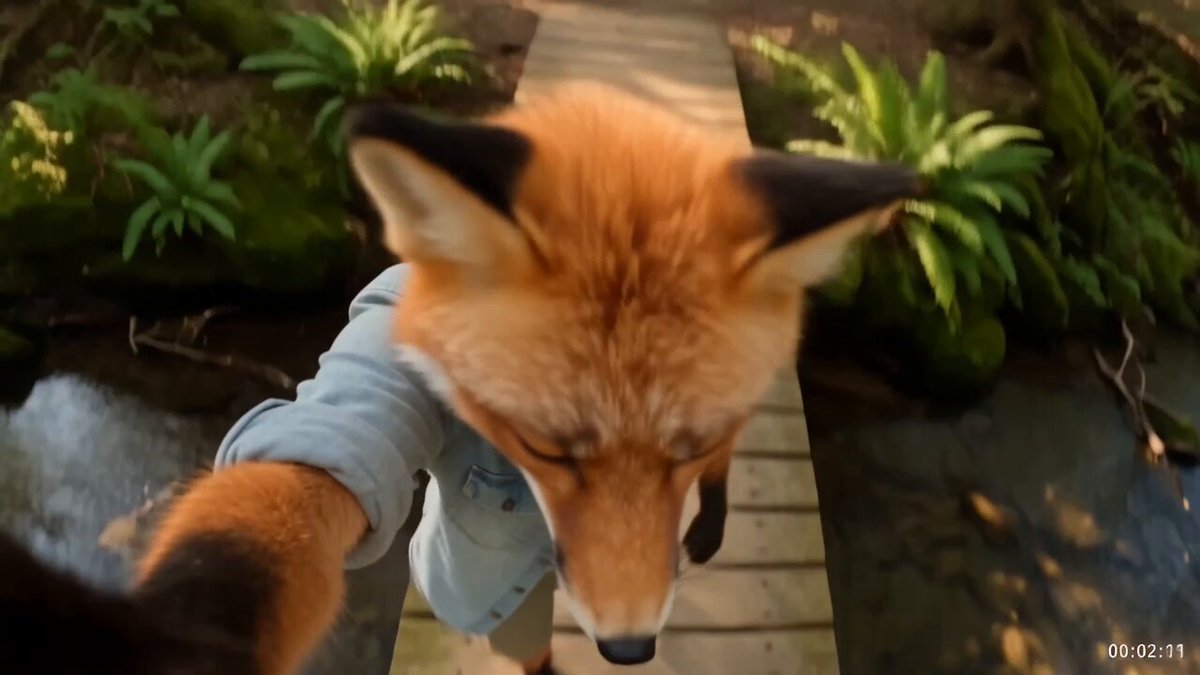
AI shots frequently have weak beginnings and endings because the model has no idea what comes before or after. Plan an entry and exit: a hand entering frame, a subject already mid-motion, a camera move that resolves. Shots that start and end in motion cut together far better than shots that begin and end in stillness.
Mark the load-bearing shots
Identify the three to five shots the piece cannot survive without — usually the opening image, the turn, and the final image. Give those shots more generation attempts, more reference material, and more of your review time. Side shots and transitions can be produced fast and replaced without consequence.
Keep Characters and Environments Consistent
Consistency is the single hardest technical problem in AI video, and it is solved with references, not with hope. Build a small library before you shoot anything.
Create a character reference sheet
Generate or photograph the character from five angles: front, three-quarter left, three-quarter right, profile, and back. Keep the same lighting and neutral background across all five. Then generate a wardrobe sheet with the same character in each costume used in the film. These images become your reference anchors for every shot the character appears in.
When a tool supports multi-reference or multi-image conditioning, feed it two to four images at once: one face reference, one wardrobe reference, and one framing or lighting reference. Combining references this way locks identity while still letting the composition change — a much better result than repeating the same single image and accepting a frozen pose.
Freeze the environment grammar
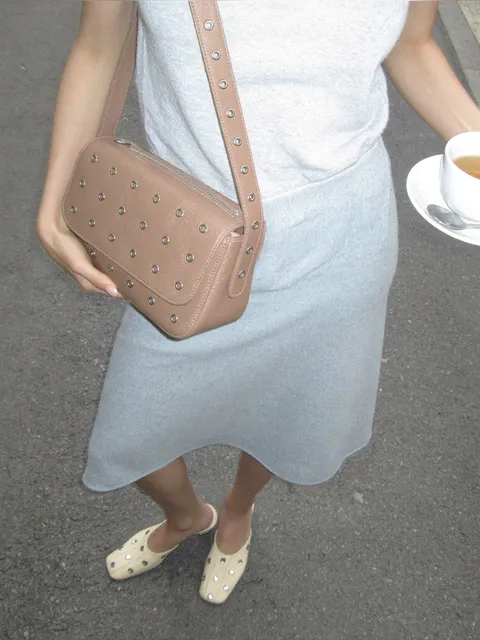
Environments drift just as faces do. Write a short palette and material description for each location — "concrete, wet asphalt, sodium vapor, teal shadow with amber rim" — and paste it into every prompt set in that location. Capture a clean plate of each location and reuse it as a background reference for inserts and close-ups, so a coffee cup on a table sits in a room that actually matches.
Audit for drift every ten shots
Export ten consecutive shots and place them side by side. Look for changes in skin tone, hair length, jawline, prop placement, and light direction. Fixing drift at shot ten costs minutes. Fixing it at shot forty costs a full regeneration cycle and a reshoot of your edit.
Choose Models by Narrative Job, Not by Popularity
No single generator is best at everything. Test a handful on the same prompt and categorize them by what they reliably deliver.
- Character performance and dialogue: look for tools with strong facial micro-expression and lip sync. Test with a line of dialogue at conversational volume, not shouting.
- Landscape and establishing shots: prioritize tools with coherent depth, atmospheric perspective, and stable camera moves. Wide shots expose geometry errors.
- Motion and physical action: prioritize tools that handle limb tracking and object permanence. Test a hand picking something up; it is the fastest way to expose a weak model.
- Stylized and graphic looks: prioritize tools that preserve a consistent illustration or animation style across cuts. Style drift is more visible than realism drift.
- Fast iteration and variants: prioritize speed and cost efficiency. Reserve your slowest, highest-fidelity tool for the load-bearing shots only.
Run a two-hour test before committing
Take three representative shots from your list — one close-up, one wide, one motion-heavy — and run them through each candidate. Score them on identity fidelity, motion coherence, artifact count, and how many attempts it took to get a usable take. The results will often surprise you: the tool with the best demo reel is rarely the best tool for your specific shot mix.
Document your findings in a model sheet with example outputs. When you return to a project after a week away, that sheet saves you from repeating the same experiments.
Generate in Batches and Review Like an Editor
Generating one shot at a time feels controlled but is inefficient. Generate in batches of four to six variants per shot, then review them in a batch with your shot list open.
Set a strict rule: three attempts per shot before you change something. If a shot fails three times, the problem is almost never the seed. It is the prompt, the reference set, or the shot's ambition. Rework the input instead of rerolling blindly.
During review, judge each take on four criteria:
- Identity and continuity: does this match the neighboring shots?
- Motion quality: does anything warp, flicker, or teleport?
- Cut points: are the first and last half-second clean enough to edit?
- Story value: if this shot vanished, would the piece suffer?
Keep a rejection log with a one-line reason for each discard — "hands merge," "too dark to match scene," "motion resolves too early." Patterns will appear within an hour, and those patterns tell you exactly which prompt phrases or reference combinations to stop using.
Export approved takes into a folder named by shot number so your editor never has to guess which file is canonical.
Assemble the Edit: From Assembly to Fine Cut
Import approved shots in numeric order and build an assembly cut. Do not polish anything yet. The assembly exists to answer one question: does the story work?
Work in passes
- Pass one — structure: only shot order and rough duration. Ignore continuity errors and color.
- Pass two — rhythm: tighten. Remove every frame that does not earn its place. Short AI pieces usually improve when cut 15 percent shorter.
- Pass three — continuity: fix eyelines, screen direction, and lighting jumps. Use speed ramps, punch-ins, or short inserts to bridge mismatches you cannot regenerate.
- Pass four — polish: color grade, stabilize, remove artifacts, and add transitions or effects.
Control keyframes deliberately
When you animate a still or extend a generated shot, place keyframes at the moments that matter — the start of a movement, its peak, and its settle. Too many keyframes create jitter; too few create mechanical motion. For camera moves, animate position and rotation together and keep the curve easing rather than linear.
Repair instead of regenerate when possible
A mismatched shot is often fixable with an editor rather than a generator: crop to a tighter framing, mirror the image (careful with text and logos), add a slight blur, or place it in a darker scene. Reserve regeneration for shots where identity or motion is genuinely broken.
Sound Design Is Half the Film
Audiences forgive imperfect images far more readily than bad audio. Plan sound with the same rigor as picture.
Dialogue: generate lines one at a time with a consistent voice reference. Keep sentence lengths natural, add breath pauses, and avoid reading punctuation aloud. If a voice sounds flat, adjust the pacing before switching voices — most flatness is a rhythm problem.
Room tone: every environment should have a continuous bed. A silent scene reads as broken, not as tense.
Foley: footsteps, cloth movement, a cup on a table. These small sounds are what make generated footage feel physically present in the world.
Ambience layers: build two or three layers per scene — a base bed, a mid detail, and a sparse accent. Crossfade layers as the camera moves.
Music: choose music that supports the single emotional beat you identified in the brief. Duck it under dialogue, and let it drop out entirely before the most important line.
Mix to a consistent loudness target, typically in the range your delivery platform expects, and check the mix on phone speakers, laptop speakers, and headphones. Most viewers will hear your film through the worst of the three.
Asset Management and Delivery Specs
A project with forty generated shots, three voice takes each, and multiple music beds becomes unnavigable without naming discipline. Adopt a convention on day one:
project_scene-shot_take_version.ext — for example, rooftop_s03-07_t02_v03.mp4
Keep three folders: source for originals, approved for canon takes, and export for deliverables. Never edit from the source folder. When you make a change, increment the version instead of overwriting; you will want the earlier take back at least once.
Before export, verify the delivery checklist:
- Resolution and frame rate match the destination platform
- Aspect ratio is correct per version (vertical, square, widescreen)
- Captions are burned in or supplied as a sidecar file
- Audio loudness is consistent and peaks are not clipping
- The first two seconds contain something that stops a scroll
- File names match the client or platform convention
Render a small proof export at low resolution first. Watching the piece at low fidelity is an excellent way to spot structural problems that high resolution disguises.
Mistakes That Sink Otherwise Strong AI Videos
Generating before writing. Every hour spent generating without a locked shot list produces clips that do not belong together.
Treating every shot as a hero shot. If everything is a slow cinematic push-in, nothing is. Vary framing and duration deliberately.
Ignoring screen direction. Two characters facing the same way in consecutive shots read as a continuity error even when nothing else is wrong.
Over-relying on one model. Different shots need different strengths. Keep a small toolkit and assign shots to the right tool.
Skipping room tone. Silent scenes feel unfinished, and viewers may not know why.
Polishing before the structure works. Color grading an assembly cut that has a broken second act is time you will spend twice.
Never testing the opening on a stranger. Show the first five seconds to someone who has no context. If they ask what is happening, the hook is not working.
FAQ
How many generation attempts should a shot get?
Three focused attempts with a changed variable each time. If it still fails, revise the prompt, the references, or the shot design — not the seed.
Do I need a reference image for every character?
Yes, if the character appears in more than two shots. Five angles plus wardrobe references is the minimum for reliable continuity across a piece longer than a minute.
Should I generate at final resolution?
Usually not at first. Iterate at a lower resolution to lock composition and motion, then regenerate or upscale approved shots at delivery resolution.
How do I fix a shot that will not match its neighbors?
Try three fixes in order: regenerate with the neighboring shot's reference image included, reframe in the edit so the mismatch is out of frame, or darken and shorten the shot so it reads as a transitional beat.
What runtime should I aim for?
As short as the story allows. A tight 45 seconds outperforms a padded two minutes in almost every context where attention is being competed for.
Can I mix live-action footage with generated shots?
Yes, and it often produces the most convincing results. Match grain, color temperature, and lens character in post, and keep generated shots away from the most complex physical interactions.
What is the biggest time saver?
The shot list. Teams that write one before generating routinely finish in half the time, because they are not guessing what to make next.
Putting the Workflow Together
Production excellence with AI video is not about access to the newest generator. It is about a disciplined pipeline: a one-page brief that names the emotional beat, a shot list written as physical actions, reference libraries that lock identity, model selection matched to narrative jobs, batched generation with an honest rejection log, an edit built in deliberate passes, and sound treated as half the film rather than an afterthought.
Run this pipeline once on a small piece — sixty seconds, fifteen shots — and you will feel the difference immediately. The generation step becomes fast and almost boring, which is exactly what you want. The interesting decisions happen earlier, where they are cheap to make and easy to change. That is where strong work is actually built, and it is the part of the process that keeps working no matter which generator you happen to be using this month.

Alexander
More Blogs
Read MoreVidu Q4 Alternatives: 4K AI Video Models Compared (2026)
Vidu Q4 alternatives compared: Kling 4.0, Seedance 2.5, Wan 3.0, and Runway Gen-4 — 4K support, input modes, durations, audio, and what each costs in credits on Domer.
Top 4K AI Image Generators in 2026: 5 Models Compared on Real Costs
The top 4K AI image generators on Domer compared: Flux 3 Klein, Nano Banana 2.1, GPT Image 2.5, GPT Image 2, and Nano Banana Pro — 4K credit costs, reference limits, and speed.
Nano Banana 2.1 vs GPT Image 2.5: Which Image Model Should You Use? (2026)
Nano Banana 2.1 vs GPT Image 2.5 Flare compared: credit costs per resolution, aspect ratios, reference images, text rendering, and which tasks fit each model.