
Affiliazione
Inizia Gratis Ora
How to Apply Video Transitions in Premiere Pro with AI
Oct 13, 2026
Why Transitions Make or Break AI-Generated Footage
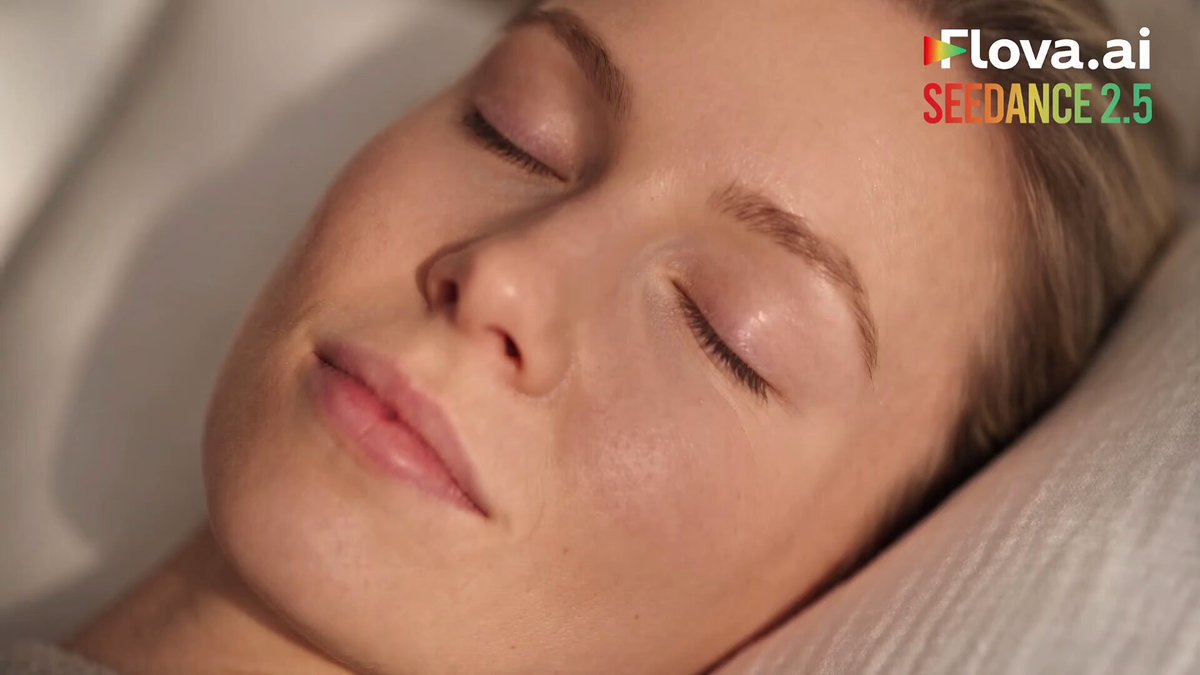
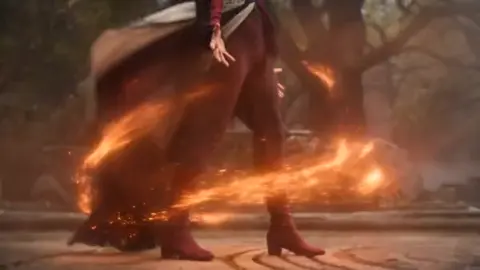
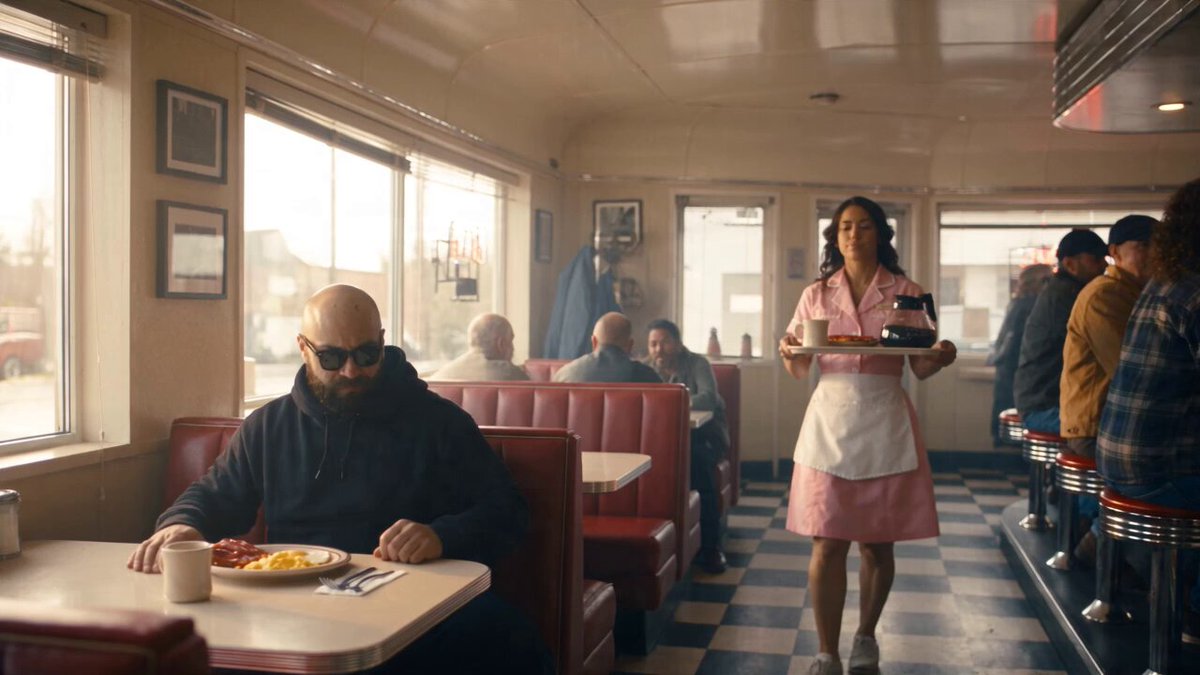
AI video generators have become remarkably good at producing a single convincing shot. Ask for a slow dolly through a rain-soaked alley at dusk and you will get something usable in a couple of minutes. Ask for six shots that feel like they belong to the same film, and the cracks start to show. Lighting drifts, wardrobe changes, lens character shifts, motion direction reverses. The footage is individually beautiful and collectively incoherent.
That is exactly where transitions earn their keep. A transition is not decoration bolted onto a cut. It is a continuity tool. A well-placed dissolve buys you the fraction of a second the viewer needs to accept that the next shot belongs to the same world. A whip pan covers a hard change in direction. A light leak hides a jump in color temperature. When you are editing AI-generated clips, transitions do double duty: they carry rhythm and they disguise discontinuity.
This guide walks through a practical hybrid workflow: generate clips with an AI video tool, bring them into Adobe Premiere Pro, and use both standard transitions and custom motion effects to make the sequence feel intentional rather than assembled.
The Hybrid Workflow at a Glance
Before diving into individual tools, it helps to see the whole pipeline. Most editors who work comfortably with AI footage follow roughly the same six stages:
- Generate and select. Produce more clips than you need, then pick the takes with the most stable motion and the cleanest endpoints.
- Ingest and normalize. Bring everything into Premiere Pro, match frame rates and resolutions, and transcode anything that chokes playback.
- Rough cut first, transitions second. Build the sequence with hard cuts only. Get the story and pacing right before you style anything.
- Transition pass. Add dissolves, wipes, or motion transitions where the cut is weak or the rhythm demands a beat.
- Polish. Tune duration, easing, sound design, and color so the transitions disappear into the edit.
- Export and review. Watch the export on a phone, a laptop, and headphones before you call it done.
The order matters. Editors who start styling transitions before the rough cut is locked end up redoing everything when a shot gets swapped. Treat transitions as a layer on top of a finished structure, not as part of the structure itself.
Preparing AI-Generated Clips for Clean Transitions
Transitions fail more often because of the source material than because of the transition itself. Two clips with mismatched frame rates, wildly different motion, or no handles at the ends will fight any effect you apply. A short preparation pass saves hours later.
Normalize frame rate, resolution, and color space
Check the frame rate of every generated clip. AI tools often output 24, 25, or 30 fps depending on the model and settings, and mixing them in one timeline creates stutter that a dissolve cannot hide. Decide on a single timeline frame rate, then conform or interpret footage to match. For resolution, upscale or crop to your delivery size before editing rather than letting Premiere Pro scale on the fly — scaling during playback makes scrubbing sluggish and can soften detail.
Color space is the quieter problem. Some generators output footage with slightly different gamma or white balance between shots. You do not need a full grade yet, but a quick pass with Lumetri to match exposure and temperature will make every later transition feel smoother.
Trim with handles
A transition needs material to work with. If a clip is trimmed exactly to its first frame, a dissolve has nothing to blend into. Leave at least half a second of extra footage at the head and tail of each clip, then trim inward after the transition is applied. This is the single most common reason a dissolve looks like a glitch instead of a blend.
Inspect motion at the cut point
The eye reads motion continuity before it reads content. If the outgoing clip ends with a camera push and the incoming clip begins with a pull, a dissolve will feel like a collision. Note the direction and speed of movement at each clip's boundary. When motion matches, a hard cut works. When it opposes, either reorder the shots or use a transition that masks the reversal, like a whip pan or a directional wipe.
Organize with bins, labels, and proxies
AI generation produces volume. Twenty takes of the same prompt is normal. Build a bin structure that separates selects, alternates, and rejects, and use color labels for shot type rather than for quality. If your footage is 4K or higher, generate proxies for editing and switch back to full resolution before export. The speed difference in a transition-heavy timeline is significant.
Choosing the Right Transition: A Decision Framework
Premiere Pro ships with dozens of transitions, and most editors use five. Rather than memorizing effects, think in terms of what problem each one solves.
Hard cuts
A hard cut is the default and the strongest choice when two shots share motion, framing logic, or subject. Do not replace a good cut with a dissolve out of habit. Dissolves soften; sometimes you want the audience to feel the snap.
Dissolves
Cross Dissolve is the workhorse. Use it for time passing, for a change of location, or to smooth a subtle continuity mismatch that a hard cut would expose. Keep durations short — eight to sixteen frames for most narrative work produces a visible but unobtrusive blend. Long dissolves read as montage or memory, so use them deliberately.
Dip to Black and Dip to White are emotional punctuation. Dip to black ends a chapter; dip to white suggests a flashback, a memory, or a transition into a dream state. Both are heavy, so use them sparingly and never back-to-back.
Wipes, slides, and pushes
Wipes get a bad reputation because they are easy to overuse, but directional wipes are genuinely useful with AI footage. When two generated clips have mismatched lighting or a slightly different subject, a wipe that travels with the on-screen motion feels motivated. A left-to-right wipe paired with a subject walking left to right reads as a single continuous movement.
Slide and Push presets in the Slide, Push, and Wipe folders work the same way. The key is matching the transition's direction to the motion already in the frame.
Zoom, whip pan, and motion blur transitions
These are not the default effects in the Transitions bin — they are usually built from scale and position keyframes, sometimes with a Directional Blur or Transform effect layered on top. They are the most cinematic option for AI footage because they convert a discontinuity into an intentional gesture. A fast zoom out of one clip and into the next hides almost any mismatch, provided the blur is heavy enough during the swap.
Fine-Tuning Transitions with Effect Controls
Once a transition is on the timeline, Effect Controls is where you make it feel custom rather than stock. Select the transition in the timeline and open the panel.
Duration and alignment
Duration is the first lever. Premiere Pro defaults to one second, which is almost always too long for a cut between two fast-moving shots. Shorten it. Alignment determines whether the transition is centered on the cut, starts at the cut, or ends at it. Centered works for dissolves; start-at-cut works for transitions where the outgoing clip should leave immediately.
Start and end at cut point
This checkbox is easy to ignore and worth understanding. When enabled, the transition uses the trimmed edges of both clips rather than pulling extra frames. It is useful when you have limited handles, but it also removes the blend room, so use it only when you have no alternative.
Easing and reverse
Premiere Pro's transition presets include easing curves that control acceleration. A linear dissolve feels mechanical; an eased dissolve feels organic. If a transition has a Reverse option, toggling it will often fix a wipe that travels the wrong way relative to the on-screen motion.
Build a reusable preset
Once you have tuned a dissolve or a whip pan to taste, save it. Right-click the transition in the timeline, choose Save Preset, and give it a descriptive name such as "Web Dissolve 12f" or "AI Whip L-R." Presets turn a fiddly setup into a one-click action, which matters when a sequence has thirty cuts. Applying presets consistently also makes the whole edit feel like it has a house style instead of random choices.
Timing Transitions to Rhythm and Pacing
Transitions are rhythmic events, not just visual ones. A dissolve that lands on a musical downbeat feels intentional; the same dissolve half a beat late feels sloppy. Build a habit of marking the beat before you place transitions.
Lay markers on your music track, then align transition midpoints with those markers. For dialogue-driven content, place transitions in the natural pauses rather than mid-sentence. For social video, transition on every beat can work, but only if the cuts are tight and the durations are short — one or two frames of drift across a whole edit is normal, a consistent half-second overshoot is not.
Pacing also scales with content type. Explainer videos tolerate longer dissolves because the viewer is processing information. Action-driven sequences want hard cuts with occasional motion transitions. Documentary interviews want almost no stylistic transitions at all; a slow dissolve between B-roll shots is usually enough.
A useful exercise is to watch your rough cut with the sound off. If you cannot follow the story without audio, transitions are doing too much work and the underlying edit needs attention.
Advanced Techniques: Morph Cuts, Masks, and Motion Graphics
Morph cut and where it fails
Morph Cut is designed to smooth jumps within a single interview take by interpolating frames between two similar shots. It works well when the background is static and the subject barely moves. It fails badly with AI-generated footage that has any background movement, because the interpolation tries to morph background detail that does not exist in both frames. If a morph cut produces a smeared, melty result, abandon it and use a short dissolve, a cutaway, or a subtle scale adjustment instead.
Motion graphics and overlays as transitions
Some of the most effective transitions are not transition effects at all. They are graphics: a shape that sweeps across the frame, a light leak that blows out the screen, a paper texture that wipes away. Import a graphic, place it on a track above the cut, and time it so the opaque moment covers the edit point. This approach is flexible because you can color-match the graphic to your palette and reuse it across a series.
The classic version of this technique is the luma wipe, where a black-and-white graphic drives a Track Matte Key. White areas reveal the next clip, black areas keep the previous one. With a hand-drawn or animated matte, you get a completely custom transition that no template can replicate.
Masked reveals and match cuts
A match cut aligns a shape, color, or movement in the outgoing clip with something similar in the incoming clip. With AI footage, this is easier than it sounds: generate the second shot with a prompt that references the first, then find the frame where the compositions overlap. Add a mask if needed to isolate the matching element, and let the transition happen through the composition rather than through an effect.
Sound and Color: The Invisible Half of a Transition
Viewers notice bad audio before they notice bad video. A dissolve that is timed perfectly but leaves a hard audio jump will still feel broken.
Crossfade audio across every visual transition. For short dissolves, a four- to eight-frame audio crossfade is enough. For larger transitions, add a whoosh, a riser, or an impact that lands exactly on the new shot. Sound effects give the eye permission to accept the cut, and they are especially valuable with AI footage, where visual continuity is already the weak point.
Color continuity works the same way. Apply a consistent look across the sequence, then check each transition frame by frame. If the outgoing clip is warm and the incoming clip is cool, a dissolve will pass through an unpleasant muddy middle. Either match the shots with Lumetri before the transition or shorten the transition so the blend is barely visible.
Common Mistakes and How to Fix Them
Using transitions to hide weak storytelling. If a sequence does not work with hard cuts, transitions will not save it. Fix the structure first.
Long default durations. One-second dissolves everywhere create a sluggish, amateur feel. Shorten to taste.
Transitioning on every cut. Variation creates rhythm. Mix hard cuts, dissolves, and motion transitions within a single piece.
Ignoring handles. A dissolve with no extra frames will freeze or stutter. Always leave room at the clip edges.
Mismatched motion. Overlapping a push and a pull makes the cut feel like a collision. Match direction or use a masking transition.
No audio support. Visual transitions without a sound cue feel thin. Add a subtle effect even if it is barely audible.
Forgetting to check the export. Playback in the timeline can hide frame drops. Watch the exported file on a different device at least once.
Export Settings and Review Loop
Before exporting, confirm your sequence settings match your delivery target. For most web destinations, H.264 with a high bitrate is fine; for broadcast or further grading, export a high-quality intermediate instead. Avoid variable frame rate exports when the footage contains motion transitions, because variable frame rate can introduce micro-stutters exactly at the moments the audience is paying closest attention.
After export, watch the file once with sound and once without. Watch it on a phone. If the transitions still read well on a small screen with compressed audio, they will read well anywhere.
FAQ
What is the best transition for AI-generated video clips?
Short cross dissolves and motion-based transitions such as whip pans and fast zooms handle AI footage best, because they cover small continuity mismatches. Hard cuts work when motion and lighting already match.
Why does my dissolve look like a glitch?
Usually a lack of handles. If either clip is trimmed to its exact boundary, the transition has no frames to blend. Leave extra frames at the head and tail, then re-trim.
How long should a transition be in Premiere Pro?
For narrative work, eight to sixteen frames is a reliable range. Social video often benefits from four to eight frames. Anything over a second reads as a deliberate stylistic choice rather than a smoothing device.
Can I use Premiere Pro transitions with footage generated at 24 fps in a 30 fps timeline?
You can, but you should conform the footage first. Mixed frame rates cause judder that becomes more visible during a blend, because the transition is interpolating between frames that do not line up evenly.
Do I need After Effects for custom transitions?
No. Most custom transitions — zooms, whips, light leaks, luma wipes — can be built in Premiere Pro with keyframes, adjustment layers, and mattes. After Effects is helpful for complex motion graphics but rarely required.
How do I make transitions feel consistent across a series?
Save presets. Apply the same two or three transition styles throughout, keep durations within a narrow range, and pair each with a recognizable sound cue. Consistency reads as craft.
What should I do when two AI clips simply will not blend?
Stop trying to blend them. Insert a cutaway, a graphic, or a shot of a different scale — a close-up between two wides, for example. Sometimes the cleanest transition is a shot that gives the viewer somewhere else to look.

Alexander
More Blogs
Read MoreVidu Q4 Alternatives: 4K AI Video Models Compared (2026)
Vidu Q4 alternatives compared: Kling 4.0, Seedance 2.5, Wan 3.0, and Runway Gen-4 — 4K support, input modes, durations, audio, and what each costs in credits on Domer.
Top 4K AI Image Generators in 2026: 5 Models Compared on Real Costs
The top 4K AI image generators on Domer compared: Flux 3 Klein, Nano Banana 2.1, GPT Image 2.5, GPT Image 2, and Nano Banana Pro — 4K credit costs, reference limits, and speed.
Nano Banana 2.1 vs GPT Image 2.5: Which Image Model Should You Use? (2026)
Nano Banana 2.1 vs GPT Image 2.5 Flare compared: credit costs per resolution, aspect ratios, reference images, text rendering, and which tasks fit each model.