

Affiliazione
Inizia Gratis Ora
Best AI Music Video Generators: A Practical Comparison Guide
Oct 13, 2026


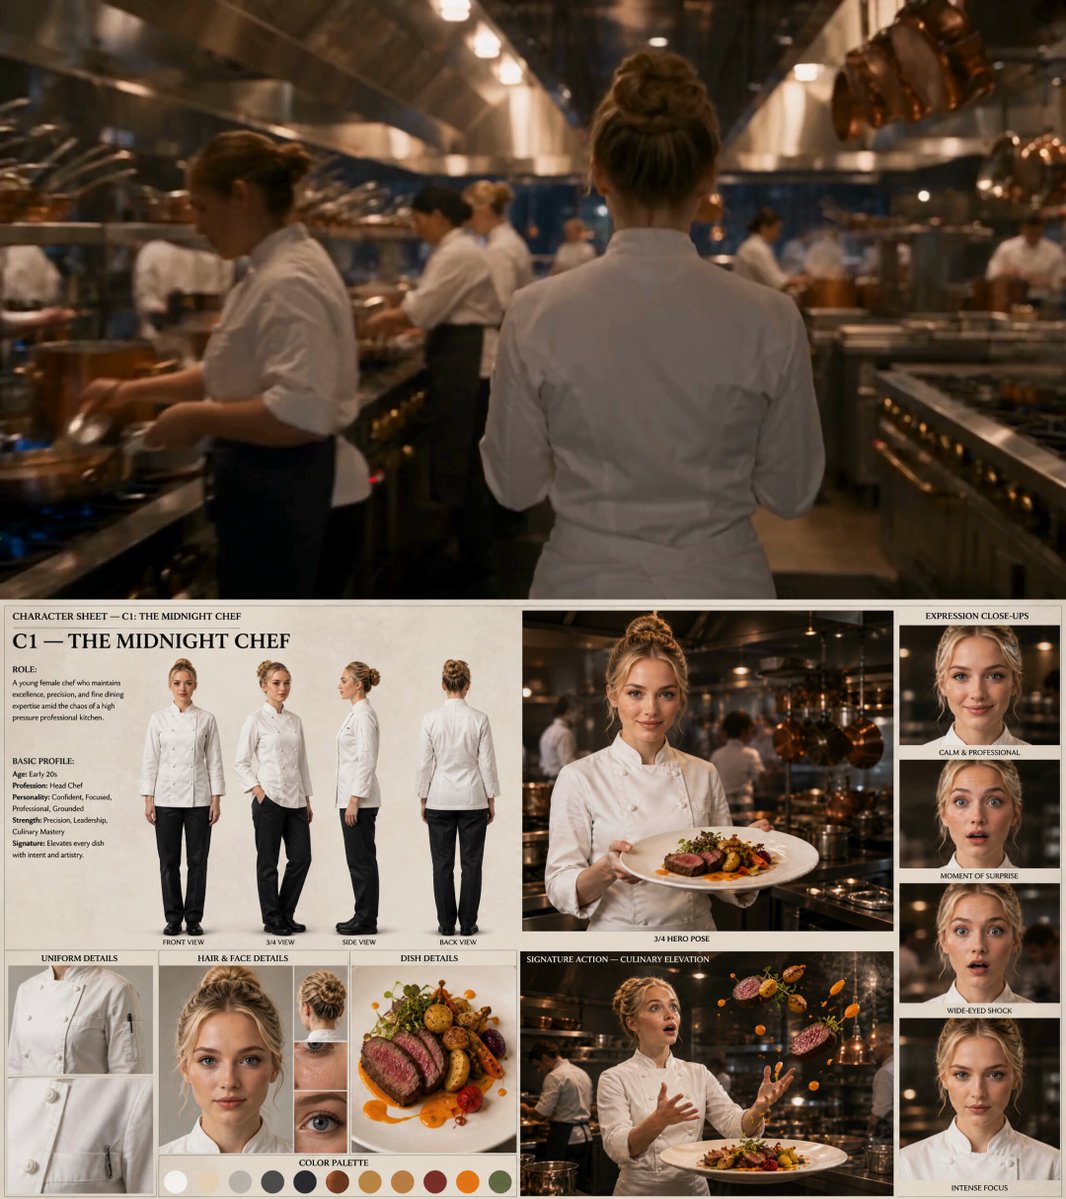
Why Music Videos Became the Test Case for AI Video
Music videos sit at an awkward intersection of art and logistics. They need a strong visual identity, they need to hold attention for three to five minutes without a script, and they traditionally demand a crew, a location, lighting, and a post-production pipeline. That combination is exactly why AI video generation found one of its most enthusiastic audiences here.
A single artist with a laptop can now produce a video that looks intentional rather than improvised. But the gap between "I generated some clips" and "I made a music video" is wider than most tool landing pages admit. This guide walks through how to judge AI music video generators, how the major categories differ, and how to build a repeatable workflow that turns a finished track into a finished video.
What an AI Music Video Generator Actually Does
At its core, these tools do one of three things, and most platforms blend them:
- Text-to-video generation. You describe a scene, the model renders motion. Best for abstract, surreal, or heavily stylized visuals where realism is not the goal.
- Image-to-video animation. You supply a still frame, the model adds motion, parallax, and camera movement. This is the workhorse of music video production because it gives you far more control over composition.
- Style transfer and video-to-video. You feed existing footage and re-render it in a new visual style, which is useful for lyric videos, performance footage, and archival material.
Almost every credible platform today also handles some form of timing: you can set clip durations, control motion intensity, or align cuts to beats. The quality of that timing layer is often the real differentiator, not raw render fidelity.
The Criteria That Actually Matter
Visual fidelity and stylistic range
Resolution numbers are the least interesting part of this conversation. A 4K render of a badly composed shot is still a bad shot. What matters more is whether the model can hold a consistent aesthetic across dozens of clips. Can it keep the same character face, the same color palette, the same film grain? Consistency is what separates a video from a demo reel.
Test this before committing to any platform: generate five clips from the same prompt with slight variations and see whether they look like they belong to the same world. If they don't, you will spend more time in post than you saved in production.
Control: image-to-video, style references, and camera moves
The most useful AI video tools are the ones that accept constraints. Look for:
- Start-frame and end-frame conditioning, so you decide where a shot begins and ends.
- Camera controls such as dolly, orbit, crane, zoom, and handheld shake.
- Style or character references that lock a look across a sequence.
- Motion strength sliders, because low motion often reads as more cinematic than high motion.
- Aspect ratio presets for vertical, square, and widescreen delivery.
The more of these you have, the less you are gambling and the more you are directing.
Audio sync and beat awareness
This is where music-specific workflows earn their keep. A generator that simply produces pretty clips forces you to eyeball every cut. A generator or editor that accepts an audio track and marks transients lets you snap edits to the beat automatically. Even when a tool lacks native beat detection, you can export a marker map from a digital audio workstation and use it as a cutting guide.
Look for tools that let you set exact clip durations, since many generators only offer fixed lengths like four or eight seconds. Exact durations mean you can build a shot that fits a two-bar phrase instead of trimming a clip down to size.
Render speed, iteration cost, and export options
Speed changes creative behavior. If a render takes ninety seconds, you will experiment. If it takes twenty minutes, you will settle. Prioritize platforms with fast preview modes, batch queues that let you fire off multiple variations, and clear exported file formats.
Also check practical details: frame rate options (24p for cinematic feel, 30p or 60p for smoother motion), codec support, alpha channel export for overlays, and whether you can download individual clips rather than only a stitched timeline.
General-Purpose Generators vs. Music-Focused Tools
There are two broad families of tools, and choosing between them is the biggest decision you will make.
General-purpose video generators offer the widest stylistic range and the most advanced motion models. They are excellent for conceptual shots: floating landscapes, dream sequences, abstract textures, character moments. Their weakness is structure. They do not know your song exists, so rhythm, pacing, and narrative arcs are entirely your responsibility.
Music-focused tools and editors trade some generation quality for workflow. They typically include audio import, timeline editing, lyric support, beat markers, and templates for common video formats like vertical shorts or full-length visualizers. They are the better starting point if your goal is a complete, publishable video rather than a folder of clips.
A practical hybrid is common: generate plates in a general-purpose model, then assemble and sync them in a music-oriented editor or a standard nonlinear editor. This gives you the best of both worlds at the cost of one extra step.
Emerging hybrid tools are worth watching because they increasingly combine both sides: generation plus timeline, with beat-aware cutting and template libraries. New platforms appear constantly, so the safer strategy is to learn the workflow rather than over-investing in one specific interface.
A Practical Workflow: From Track to Finished Video
Step 1: Break the track into moments
Listen to the song with a timer running and note structural changes: intro, verse, pre-chorus, chorus, bridge, outro. Mark where the energy shifts. Most AI-generated videos fail because every section gets the same visual treatment. Map energy to visual intensity instead — sparse, static shots for verses, dense, moving shots for choruses.
Step 2: Build a shot list and style bible
Write one line per shot: close-up of wet asphalt reflecting neon, slow dolly right. Aim for roughly twenty to forty shots for a three-minute song, assuming average shot lengths of four to eight seconds. Then write a style bible: three to five sentences describing palette, lighting, lens character, film grain, and era. Paste that style bible into every prompt. This single habit improves consistency more than any model upgrade.
Step 3: Generate plates and animate
Generate still images first if you need precise composition, then animate them. This two-stage approach is slower per shot but produces far more usable results than pure text-to-video. Keep motion low. A slow push-in on a well-composed frame reads as intentional; a fast, wobbly orbit reads as a glitch.
Generate three or four variations per shot and pick the best. Batch generation is your friend here — queue everything overnight if the platform supports it.
Step 4: Cut to the beat
Import clips into your editor alongside the audio. Place markers on the downbeats. Cut on the beat for energetic sections, and cut across the beat for moments that need to feel dreamy. A useful rule: match the cut rate to the tempo. At 120 BPM, a cut every two beats is four cuts per bar, which is fast. Every four beats is calmer and safer for a first pass.
Step 5: Grade, grain, and finish
AI output often has inconsistent color and contrast between clips. A simple corrective grade — lift shadows, unify white balance, apply one shared look — stitches everything together. Add 35mm grain, a subtle vignette, and a light chromatic aberration pass if you want a filmic feel. Finish with a title card and a clean end frame.
Prompt Patterns That Produce Usable Shots
Prompting for video is different from prompting for images. You are describing motion, camera, and mood, not just subject matter.
A reliable structure is: subject + action + camera movement + lighting + lens + style + duration hint.
Examples:
- Lone figure in a red coat walking through fog, slow dolly left, backlit haze, 35mm anamorphic, muted teal palette, cinematic, four seconds
- Macro shot of water droplets on glass, gentle rack focus, warm tungsten light, shallow depth of field, film grain, three seconds
- Aerial view of desert highway at dusk, steady forward drift, long shadows, high contrast, desaturated, six seconds
Three patterns worth internalizing:
- Name the camera move. Models respond well to dolly, pan, tilt, orbit, crane, and zoom. Without a stated move, you often get unwanted drift.
- Keep one subject. Two characters in a prompt frequently produce morphing faces. One subject, one action.
- Specify duration loosely. Even if the tool uses fixed clip lengths, mentioning pace influences motion speed.
Negative prompts matter too. Common exclusions: warped hands, extra limbs, text artifacts, flickering, jitter, overexposure, sudden cuts.
Common Mistakes and How to Avoid Them
Treating every shot as a hero shot. If every clip is a sweeping cinematic reveal, the video feels monotonous. Contrast is what makes spectacle land. Pair a wide vista with a static close-up.
Ignoring the song's dynamics. A quiet bridge with high-energy visuals creates cognitive dissonance. Let the visuals breathe when the music breathes.
Over-relying on one style. Picking a single aesthetic for the whole video is a valid choice, but it works best when the style has internal variety — different locations, times of day, and framing within the same palette.
Skipping the rough cut. Many creators generate all their clips and then try to assemble a story. Build a rough cut with placeholder clips first, then generate the final shots to fill specific slots.
Forgetting delivery formats. If the track will be posted vertically, generate vertical compositions. Cropping horizontal shots to 9:16 destroys framing and often cuts off the subject.
Neglecting audio mastering. Video platforms normalize loudness. Make sure your track is mixed for streaming before you export, or your carefully timed cuts will feel off against a quiet master.
How to Evaluate Output Before Committing
Before you build a whole project on one platform, run a small stress test:
- Generate ten clips across three different styles and check consistency.
- Test a character across five prompts and inspect facial stability.
- Test a fast-motion prompt and a slow-motion prompt to see how the model handles extremes.
- Export one clip and inspect it at full resolution on a large screen.
- Time your actual iteration cycle from prompt to usable clip.
That last metric is the most predictive. A platform with slightly lower fidelity but a three-times-faster iteration loop will usually produce a better finished video, because you can afford to explore.
Practical Considerations: Resolution, Length, and Rights
Plan around your distribution channel. Social platforms compress aggressively, so a well-graded 1080p export often looks better than a soft 4K one. For live visuals or installations, higher resolution and longer clips matter more.
Clip length limits shape your editing style. If the maximum is five seconds, plan a fast-cut video. If you can generate fifteen-second shots, you can build longer, more meditative sequences.
Also review licensing terms for generated content carefully. Policies around commercial use, ownership, and training data differ between providers and change over time. If you are producing a video for a label, brand, or client, confirm commercial rights explicitly before you start, and keep a record of the terms that applied at the time of generation.
Finally, think about provenance. Some platforms embed content credentials or metadata marking output as synthetic. That is usually helpful, but it can complicate delivery pipelines, so check what gets embedded in your export.
FAQ
Do I need video editing experience?
No, but basic editing literacy helps enormously. Understanding cuts, pacing, and color correction will improve your results more than any single tool.
How long does a music video take with AI?
A three-minute video typically takes a few days of focused work: one day for planning and shot lists, one to two days for generation and iteration, and half a day for editing, grading, and export.
Can I use AI music videos commercially?
It depends on the platform's terms and your local regulations. Check commercial usage rights and ownership clauses before publishing anything monetized.
What is the biggest quality bottleneck?
Consistency, not fidelity. Modern models render beautiful single frames; keeping dozens of clips in the same visual world is the hard part.
Should I generate whole clips or animate stills?
Animate stills when composition matters. Use text-to-video for abstract textures, transitions, and background plates.
How do I make cuts feel musical?
Mark beats in your editor, then alternate between cutting on the beat and cutting across it. Variation prevents visual monotony.
Is vertical or horizontal better?
Match your primary distribution channel. Generate in the target aspect ratio rather than cropping later.
How many variations should I generate per shot?
Three to five. Fewer risks settling for mediocre output; more wastes time on options you will never use.
Final Thoughts
The best AI music video generator is not the one with the longest feature list. It is the one that fits your workflow: fast enough to iterate, controllable enough to direct, and consistent enough that your finished video feels like a single artistic statement rather than a collection of experiments.
Start small. Pick one song, one visual concept, and one tool. Build a fifteen-second section end to end, including the cut and the grade. Once that feels right, scale to a full track. The workflow skills you develop — shot lists, style bibles, beat markers, consistency checks — transfer across every platform, which means your next video gets easier no matter which tool you use.

Alexander
More Blogs
Read MoreVidu Q4 Alternatives: 4K AI Video Models Compared (2026)
Vidu Q4 alternatives compared: Kling 4.0, Seedance 2.5, Wan 3.0, and Runway Gen-4 — 4K support, input modes, durations, audio, and what each costs in credits on Domer.
Top 4K AI Image Generators in 2026: 5 Models Compared on Real Costs
The top 4K AI image generators on Domer compared: Flux 3 Klein, Nano Banana 2.1, GPT Image 2.5, GPT Image 2, and Nano Banana Pro — 4K credit costs, reference limits, and speed.
Nano Banana 2.1 vs GPT Image 2.5: Which Image Model Should You Use? (2026)
Nano Banana 2.1 vs GPT Image 2.5 Flare compared: credit costs per resolution, aspect ratios, reference images, text rendering, and which tasks fit each model.