

Affiliazione
Inizia Gratis Ora
Mobile AI Video Generator Apps: A Practical Workflow Guide
Oct 13, 2026
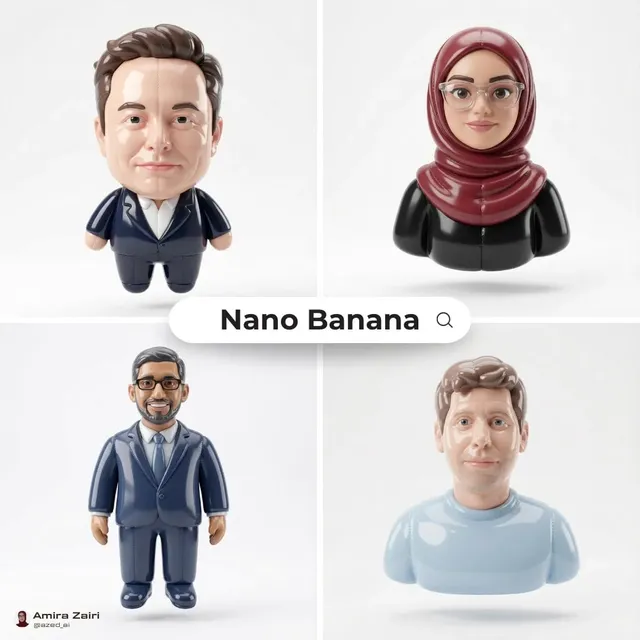
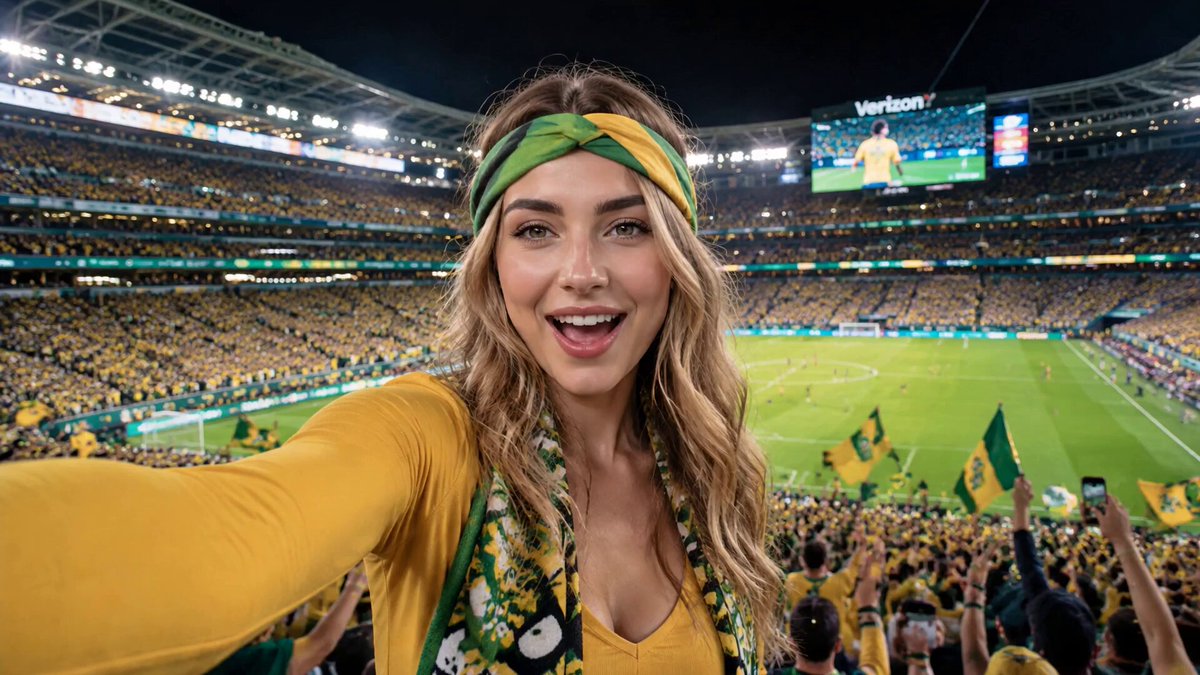
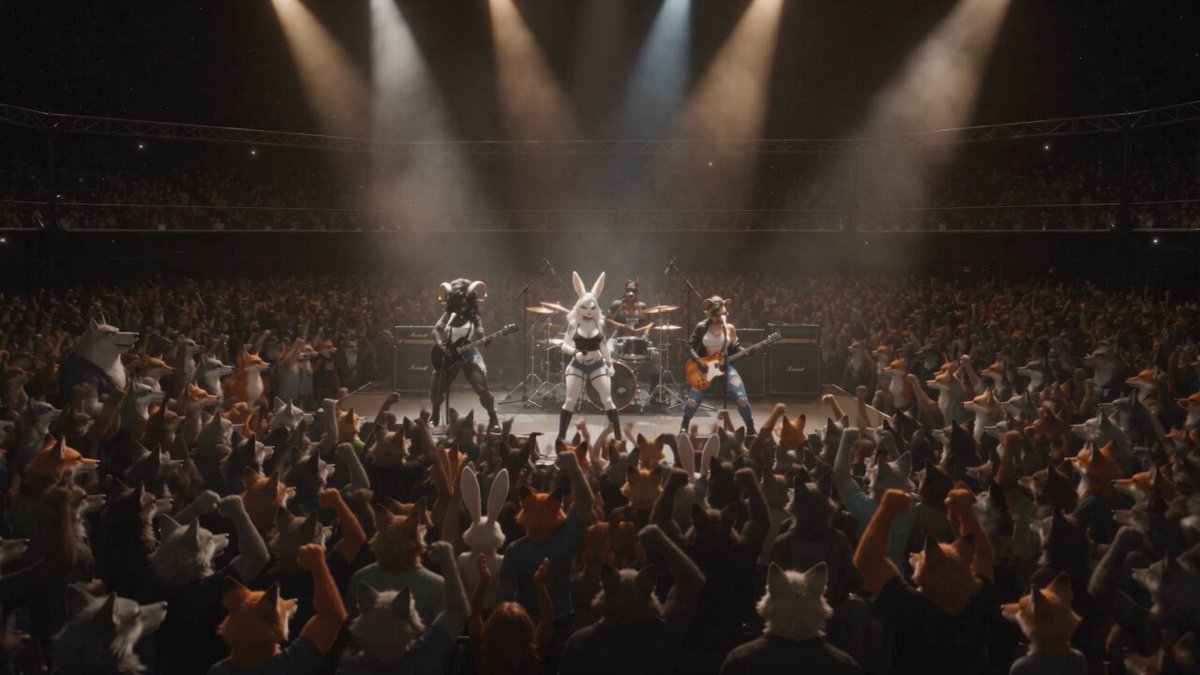
Mobile AI video generator apps have moved from novelty experiments to practical production tools. You can now write a short prompt, add a reference image, and receive a usable clip in minutes without opening a desktop editor. But the real value is not the generation step alone. It is the workflow around it: how you plan shots, choose an app, prompt for usable footage, assemble clips, fix audio, export the right format, and check quality before publishing. This guide walks through that entire mobile-first process. It focuses on repeatable decisions, not brand hype, so you can apply it whether you are creating social shorts, product demos, educational explainers, or personal projects.
Why Mobile AI Video Generation Is Different
Mobile AI video generation is not simply desktop AI video generation squeezed onto a smaller screen. The constraints and strengths of a phone change the creative process. On one hand, you deal with limited screen space, shorter attention windows, battery drain, thermal throttling, and occasional connectivity gaps. On the other hand, you carry a camera, microphone, location sensor, and instant publishing pipeline in your pocket. That combination makes mobile AI video uniquely suited to fast iteration.
The best mobile workflows lean into short, focused clips. Instead of generating a three-minute sequence in one pass, you generate several 3-to-8-second shots and assemble them in a mobile editor. This approach gives you more control, reduces the chance of a single bad generation ruining the entire video, and matches how social platforms reward pacing. It also lets you mix AI footage with real footage, screen recordings, product shots, or stock clips.
The mobile-first creative loop
A practical mobile loop looks like this: capture or collect inputs, generate a few variations, select the strongest moment, refine it with editing tools, then export and review. Each cycle can take only a few minutes. That speed encourages experimentation, which is exactly what AI video needs because the first output is rarely the best output. You can test a camera angle, a lighting description, or a motion cue before committing to a full edit.
Constraints as creative filters
Mobile constraints can actually improve your results. Shorter prompts, simpler scenes, fewer characters, and clear single actions tend to produce more coherent AI video than sprawling descriptions. If you want a complex story, break it into multiple shots. If you want a specific character, use a reference image and keep the character description consistent across prompts. If you want realistic motion, avoid asking for too many simultaneous actions. Treat the phone as a director's viewfinder, not a full production studio.
How Mobile AI Video Generators Actually Work
Most mobile AI video generators combine several technologies behind a simple interface. A text encoder interprets your prompt. A generative model, often a diffusion or transformer-based system, creates frames or a latent representation. A temporal consistency layer tries to keep motion and appearance stable across frames. Then upscaling, frame interpolation, and audio synchronization may run before the final file is delivered. Some apps also use image-to-video, video-to-video, or avatar-based pipelines.
The processing may happen on the device, in the cloud, or in a hybrid setup. On-device generation can be private and fast for short clips, but it is limited by phone hardware. Cloud generation can produce higher quality and longer clips, but it depends on upload speed and data policies. Hybrid apps often preview on the phone and render in the cloud. Your choice should depend on your privacy needs, how quickly you need results, and how much control you want over the final output.
Common model families
Text-to-video models turn a written description into a clip. Image-to-video models animate a still image, which is useful for product photos, portraits, and concept art. Video-to-video models restyle or transform existing footage. Avatar and lip-sync models generate a talking presenter from a script and a portrait or video. Template-based tools use pre-built scenes and effects, which can be faster but less flexible. Most mobile apps mix several of these families, so check which one matches your project.
Choosing the Right App for Your Workflow
The app store is crowded, and feature lists can look identical. Instead of chasing the longest list, evaluate apps against your actual workflow. Start with output requirements: aspect ratio, resolution, frame rate, clip length, and whether you need watermark-free exports. Then check editing features: trimming, speed control, transitions, text overlays, captions, music, and color adjustments. Finally, consider practical factors like offline mode, export speed, privacy policy, learning curve, and how easy it is to organize projects.
A simple scorecard can help. Give each app a score from one to five for generation quality, editing flexibility, export options, ease of use, reliability, and privacy. Weight the categories based on your priorities. For example, a social media manager might weight export presets and captions heavily. A product marketer might care more about image-to-video quality and brand consistency. A teacher might prioritize avatar tools and the ability to correct captions.
Match app type to project type
Social shorts usually need vertical 9:16 output, quick captions, trending audio, and punchy pacing. Product demos benefit from image-to-video, clean backgrounds, and text callouts. Real estate walkthroughs need smooth camera motion and realistic lighting. Educational explainers often rely on avatar presenters or animated diagrams. Travel montages work well with video-to-video styling and beat-matched music. Choosing an app that specializes in your project type will save more time than choosing the app with the most features.
Questions to ask before committing
Does the app let you export without a watermark? Can you edit captions after generation? Does it support the aspect ratios you need? How does it handle motion blur and fast movement? What happens when the generation fails? Can you save prompt presets? Does it work offline? Are your inputs stored or used for training? These questions reveal whether an app is a toy or a tool.
A Step-by-Step Mobile AI Video Workflow
A repeatable workflow prevents random experimentation from turning into wasted time. The following process works for most mobile AI video projects, whether you are making a ten-second short or a one-minute explainer.
Phase 1: Define the deliverable
Before opening any app, write one sentence that describes the final video. Include the platform, aspect ratio, target length, and desired action. For example: "A 15-second vertical Instagram Reel that shows three quick uses of a reusable water bottle and ends with a shop link." This sentence becomes your filter for every creative decision.
Phase 2: Write a shot list
Break the video into shots. For a 15-second short, aim for three to five shots. For a 60-second explainer, aim for eight to twelve shots. Each shot should have a clear subject, action, setting, and camera idea. A shot list keeps you from over-generating and helps you see gaps before you start editing.
Phase 3: Gather inputs
Collect reference images, product photos, logos, music, and any real footage you want to include. If you are using image-to-video, choose images with clear subjects and simple backgrounds. If you are using text-to-video, prepare a short prompt for each shot. Keep a folder or album for each project so assets do not get lost in your camera roll.
Phase 4: Generate variations
Generate three to five variations for each shot, especially for hero shots. Change one variable at a time: camera angle, lighting, motion, or style. This controlled testing teaches you what the model responds to. Save the prompts that work so you can reuse them later.
Phase 5: Select and refine
Review clips on your phone, but do not trust the small screen alone. Check for warped faces, unstable backgrounds, flickering textures, and unnatural motion. Pick the best take, then use the app's editing tools to trim, slow down, or stabilize it. If a clip is almost right, regenerate with a more specific prompt rather than trying to fix everything in post.
Phase 6: Edit and assemble
Import your chosen clips into a mobile editor. Arrange them in story order, then adjust timing to match the rhythm of your audio. Add transitions only when they serve the story. Use text overlays for key points, and keep them on screen long enough to read. Add captions for accessibility and silent viewing.
Phase 7: Add sound and captions
Sound design is half the experience. Choose music that matches the energy of your video, then adjust levels so voiceover or dialogue stays clear. Use auto-captions as a starting point, but correct names, technical terms, and punctuation. Add subtle sound effects for transitions, actions, or emphasis.
Phase 8: Export and review
Export using the platform's recommended settings. Watch the final file on at least two devices: your phone and a larger screen. Check audio sync, text legibility, color consistency, and the first three seconds. If the hook does not land immediately, re-edit before publishing.
Phase 9: Publish and archive
Publish with a clear title, description, and relevant tags. Save the project file, final export, and prompt list. Archiving your prompts and settings makes future videos faster and more consistent.
Prompting and Input Strategies for Better Clips
Prompting is a skill, and mobile prompts benefit from brevity. A useful formula is: subject + action + setting + camera + lighting + style + duration + aspect ratio. Not every prompt needs all eight elements, but the formula helps you notice what is missing. For example: "Close-up of a barista pouring latte art into a ceramic cup, warm morning light, shallow depth of field, slow handheld camera, 5 seconds, vertical." This gives the model enough detail without overwhelming it.
Negative prompts can also help. If the app supports them, exclude common problems like "extra fingers, distorted face, text, watermark, jump cuts, flickering." For image-to-video, use a high-quality reference image and describe only the motion you want. For video-to-video, describe the style change while preserving the original composition. For avatar videos, write in natural spoken language and keep sentences short.
Prompt template you can reuse
Use this template as a starting point: "[Shot size] of [subject] [action] in [setting], [lighting], [camera movement], [visual style], [duration], [aspect ratio]." Then adjust one element at a time. If the motion is too fast, add "slow, gentle movement." If the scene looks flat, add "cinematic lighting" or "golden hour." If the subject changes shape, simplify the action and reduce the number of objects.
Common prompt mistakes
The most common mistake is overprompting. Too many subjects, conflicting camera moves, and vague style words confuse the model. Another mistake is asking for complex physics, such as a person juggling while walking through a crowd. A third is ignoring aspect ratio, which leads to awkward crops later. Finally, many creators forget to describe the camera. A simple "static wide shot" or "slow push-in" can dramatically improve the result.
Editing, Assembly, and Polish on a Phone
Mobile editing has become surprisingly capable. Apps like CapCut, InShot, VN, and others offer multi-track timelines, keyframes, masks, and AI-assisted tools. You do not need a desktop editor for most short-form work. The key is to keep your timeline organized. Name your clips, group them by scene, and avoid stacking too many effects. A clean edit with strong pacing usually outperforms a busy edit with every transition enabled.
Color consistency matters when you mix AI clips from different generations. Use a simple color adjustment—temperature, contrast, saturation—to bring clips closer together. If one clip is much sharper than another, apply a slight blur or grain to the sharper clip. If one clip has a different color cast, correct it before adding a global look. These small adjustments make AI footage feel more intentional.
Captions and accessibility
Captions are no longer optional. Many viewers watch without sound, and captions improve retention. Use auto-captions to save time, but edit them for accuracy. Keep captions within safe zones so platform UI does not cover them. Use high-contrast text, avoid thin fonts, and break long sentences into short phrases. If you use animated captions, keep the animation subtle so it does not distract from the video.
Sound and music
Music sets the emotional tone. Choose a track that matches your pacing, then cut your video to the beat. Use ducking to lower the music when voiceover plays. Add sound effects for movement, transitions, and emphasis. If you use AI voiceover, listen for unnatural pauses and pronunciation errors. A little manual editing can make synthetic audio sound much more natural.
Export Settings, Quality Checks, and Delivery
Export settings can make or break a mobile AI video. For vertical social video, 1080x1920 at 30 or 60 frames per second is a safe baseline. For YouTube, 1920x1080 or higher is standard. For feed posts, 1080x1080 or 1080x1350 works well. Use a high bitrate to avoid compression artifacts, especially if your video has lots of motion or detailed textures. Export audio at a standard sample rate and check that the loudness is consistent with other videos on the platform.
Before publishing, run a quality check. Watch the video once with sound, once without sound, and once at 2x speed. Check the first three seconds, the middle transition, and the ending call to action. Look for black frames, audio pops, out-of-sync captions, and text that disappears too quickly. If you can, view it on a tablet or desktop to catch issues that a phone screen hides.
Platform-specific considerations
Each platform has its own ideal format. TikTok, Instagram Reels, and YouTube Shorts prefer vertical 9:16 with strong hooks and captions. YouTube long-form favors 16:9 with clear chapters and consistent audio. LinkedIn and Facebook feeds often perform well with 1:1 or 4:5 aspect ratios. Save export presets for each platform so you do not have to remember settings every time.
Common Mistakes and How to Avoid Them
Many mobile AI video projects fail for predictable reasons. Avoiding these mistakes will improve your results faster than upgrading your phone or app.
- Overprompting. Too many details create chaos. Simplify to one subject and one action.
- Ignoring aspect ratio. Choose the final format before generating, not after.
- Skipping the shot list. Random generation leads to random edits.
- Using too many AI clips. Mix AI with real footage, graphics, and text to create variety.
- Neglecting audio. Bad audio makes good visuals feel amateur. Fix levels and captions.
- Exporting at the wrong settings. Match resolution, frame rate, and bitrate to the platform.
- Reviewing only on the phone. Check on a larger screen for hidden artifacts.
- Relying on defaults. Customize prompts, transitions, and color to match your brand.
- Forgetting accessibility. Captions and contrast help everyone.
- Not backing up. Save project files and prompts in the cloud or on a drive.
Advanced Techniques for Repeatable Results
Once you have a basic workflow, you can build systems that make mobile AI video faster and more consistent. Start a prompt library organized by project type, mood, camera angle, and subject. Keep a style guide with colors, fonts, caption styles, and music preferences. Batch generate clips when you have a stable internet connection and time to review. Use reference frames to maintain character or product consistency across shots. Apply upscaling or frame interpolation only when it improves the clip; sometimes a slightly softer image feels more natural than an over-sharpened one.
Building a mobile prompt library
Create a note or spreadsheet with columns for shot type, prompt, negative prompt, settings, and result rating. After a few projects, you will see patterns. For example, you might learn that "slow dolly in" works better than "zoom" for product shots, or that "soft window light" produces more realistic skin tones than "studio lighting." This library becomes your competitive advantage.
Consistency across clips
Consistency is the hardest part of AI video. To keep characters, products, and environments stable, reuse the same reference images, keep lighting descriptions identical, and avoid changing too many variables between shots. If a character's clothing changes, add that detail to every prompt. If a product logo appears, use a reference image and check each clip for distortion.
Quality control pipeline
Build a simple review checklist: first frame, last frame, motion smoothness, audio sync, text legibility, color consistency, and platform format. Run every video through the same checklist. This reduces the chance of publishing an embarrassing error and makes your output feel more professional.
Frequently Asked Questions
Are mobile AI video generators good enough for client work?
For short-form social content, product teasers, internal communications, and concept previews, yes. For high-end commercials or cinematic films, use mobile AI as a pre-visualization or supplementary tool, then finish in a professional editing suite.
Do I need a high-end phone?
Not necessarily. Cloud-based apps can handle heavy processing, but more RAM and storage make editing smoother. A mid-range phone with a stable internet connection can produce excellent results if you keep projects simple.
Can I use AI-generated videos commercially?
It depends on the app's terms and the model's license. Check whether commercial use is allowed, whether you need to disclose AI generation, and whether the model was trained on copyrighted material. Avoid generating recognizable characters, brands, or voices without permission.
How long should AI video clips be?
For social media, 3 to 8 seconds per shot works well. You can stitch several clips together for a longer video. Longer single generations often lose coherence, so break your story into smaller pieces.
What about privacy and data?
Cloud-based apps upload your prompts and inputs. Review the privacy policy before using sensitive material. If privacy is critical, look for on-device generation or offline modes, and avoid uploading confidential images.
How do I make AI video look less robotic?
Use natural motion prompts, add real footage, vary pacing, include sound design, and color grade your clips. Small imperfections like grain, camera shake, and natural lighting can make AI footage feel more authentic.
Which aspect ratio should I choose?
Use 9:16 for TikTok, Reels, and Shorts; 16:9 for YouTube and presentations; 1:1 or 4:5 for feed posts. Decide before you generate so you do not have to crop important details later.
How many variations should I generate?
Three to five variations per shot is a good starting point. For hero shots or complex scenes, generate more. For simple inserts, one or two may be enough.
Can I edit AI clips in regular video apps?
Yes. Export your AI clips as standard video files, then import them into any mobile editor. This gives you more control over captions, music, transitions, and color.
What is the biggest mistake beginners make?
Trying to generate a complete video in one prompt. Think in shots, not in finished videos. A shot-based workflow gives you more control and better results.
Mobile AI video generation is most useful when it becomes part of a disciplined workflow. Define the deliverable, plan shots, choose an app that matches your format and editing needs, prompt with clarity, assemble with intention, and check quality before publishing. The tools will keep changing, but the process remains stable. Master the process, and you can create professional-looking videos from your phone without relying on luck.

Alexander
More Blogs
Read MoreVidu Q4 Alternatives: 4K AI Video Models Compared (2026)
Vidu Q4 alternatives compared: Kling 4.0, Seedance 2.5, Wan 3.0, and Runway Gen-4 — 4K support, input modes, durations, audio, and what each costs in credits on Domer.
Top 4K AI Image Generators in 2026: 5 Models Compared on Real Costs
The top 4K AI image generators on Domer compared: Flux 3 Klein, Nano Banana 2.1, GPT Image 2.5, GPT Image 2, and Nano Banana Pro — 4K credit costs, reference limits, and speed.
Nano Banana 2.1 vs GPT Image 2.5: Which Image Model Should You Use? (2026)
Nano Banana 2.1 vs GPT Image 2.5 Flare compared: credit costs per resolution, aspect ratios, reference images, text rendering, and which tasks fit each model.