
Crea
Affiliazione
Inizia Gratis Ora
Photorealistic AI Video: Offline Exposure Mapping Workflow
Oct 13, 2026
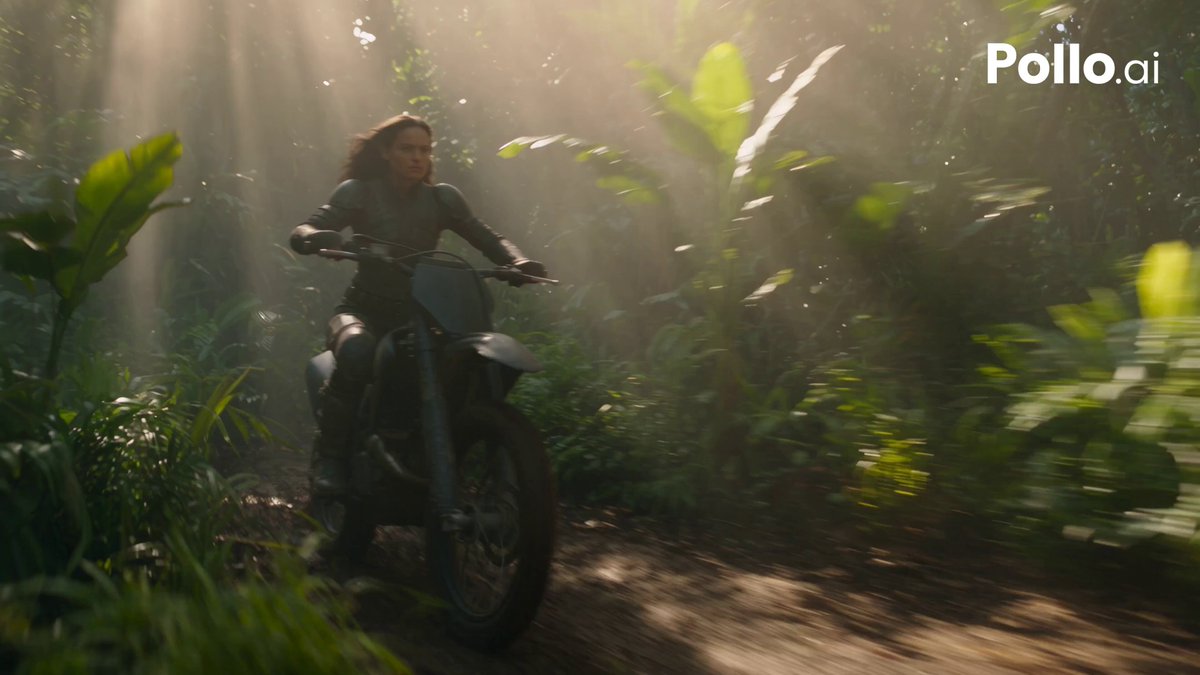

Why Exposure Mapping Decides Whether AI Video Looks Real
Generative video models have become remarkably good at inventing plausible scenes. Ask for a neon-lit alley in the rain or a wheat field at golden hour and the first frame often reads as real. Look closer and the illusion tends to collapse for one specific reason: light behaves inconsistently. A highlight that should bloom softly clips to flat white. A shadow that should hold detail turns into a muddy gray patch. Between shots, the same face drifts half a stop brighter.
Exposure mapping is the discipline that fixes this. In photography and visual effects it describes how a scene's enormous range of real luminance gets compressed into a displayable image, and how that compression stays stable across a sequence. Pointed at AI-generated footage, it becomes the bridge between "convincing still" and "convincing film."
Offline exposure mapping means doing that work as a deliberate, separate stage instead of hoping the generator gets it right. You generate, you export in a format that preserves headroom, and you remap luminance with full control. What follows is the reasoning behind it, a repeatable pipeline, the tools that do the heavy lifting, and the mistakes that quietly ruin photorealism.
How AI Video Models Handle Light — and Where They Break
Most text-to-video and image-to-video systems learn from enormous libraries of finished footage: compressed, tone mapped, and display-referred. The model never sees the scene-referred data behind those pixels, and it has no true exposure value to reason about. It learns lighting as appearance, not as physics.
The practical consequence is that exposure decisions are baked in at generation time. If the model decides a window should be blown out, nothing downstream can recover detail that was never recorded. If it decides the shadow side of a face should sit at a flat mid-gray, that is what you inherit.
Failure modes worth memorizing
- Highlight clipping without rolloff. Real bright objects transition gradually into white. Synthetic ones frequently snap to pure white with a hard edge, which the eye reads instantly as computer-generated.
- Lifted, noiseless shadows. Generators often fill dark regions with smooth mid-gray to avoid visible artifacts. The result looks plastic rather than dark.
- Exposure flicker. Frame-to-frame brightness drifts when the model re-evaluates scene statistics between frames.
- Inconsistent key light. Not strictly an exposure problem, but it compounds every other issue when you try to match shots.
- Banding in gradients. Skies, fog, and backdrops fall apart when values are pushed hard in post.
Why prompting harder does not solve it
Descriptive prompts shape composition and mood. They do not enforce arithmetic. Asking for "properly exposed highlights" gives the model a soft preference rather than a numeric ceiling, and results vary between seeds. You need a stage downstream where exposure is a number you control.
Building an Offline Exposure Mapping Pipeline
Step 1: Generate and export with headroom
Treat the generator as a camera shooting a rough negative. Export to a high-bit-depth intermediate — 10-bit at minimum, 16-bit or float when your pipeline allows — and prefer a log-like or linear-ish container over a heavily compressed delivery codec. This single decision determines how much you can recover later. Also record the seed, prompt, and model settings for every shot; when you need a retake, reusing exact settings is far cheaper than re-grading from scratch.
Step 2: Normalize into a known color space
Bring everything into a color-managed working space before you touch a single value. A framework such as OpenColorIO, configured around ACES or a comparable scene-linear architecture, gives you predictable transforms between input, working space, and display output. Skipping this step is the most common reason a grade looks fine on one monitor and broken on another.
Step 3: Build the exposure map
An exposure map is a per-pixel or per-region multiplier derived from measured luminance. Several approaches work:
- Luminance-derived masking. Blur a log-encoded copy of the frame heavily, then drive a curve from its values. Cheap, stable, and effective for skies and windows.
- Key and fill decomposition. Separate the frame into a dominant light direction and its ambient counterpart, then lift or lower each independently.
- Relighting models. AI-based intrinsic decomposition can estimate albedo and shading, letting you relight a shot rather than merely brighten it. Powerful, but it needs temporal smoothing to stay stable.
- Manual curves per shot. Slow but predictable — often the right answer for hero shots.
Step 4: Apply temporally stable tone mapping
Here is where most AI video grades fall apart. A tone mapping operator applied independently to every frame will flicker, because small changes in the exposure estimate produce visible jumps in the curve. Fix it by keyframing the curve parameters and interpolating between them, by low-pass filtering the exposure estimate across a window of frames, or by clamping the maximum rate of change per frame. Scene-cut detection should reset the filter so transitions do not smear.
Step 5: Validate before you deliver
Check the waveform and a false-color view, not just your eyes. Compare the darkest and brightest shots in the sequence side by side. Watch the result on a phone at arm's length, since that is where most audiences will actually see it. And check it once with the room lights on — dark-room grading hides crushed shadows.
Tools and Their Roles: Generators, Compositors, Graders
Think in layers rather than products, because specific names change every few months while the layers stay the same.
The generator layer
Text-to-video and image-to-video models — the Sora, Runway, Kling, Luma, and Flux-style families among them — produce the raw material. Their job is composition, motion, and plausible lighting, not final exposure. Pick them for motion quality and temporal coherence first, and for resolution second; a stable 1080p shot is worth more than a flickering 4K one.
The compositing and grading layer
DaVinci Resolve handles most of this work with node-based grading and solid color management. After Effects, Nuke, and Fusion suit heavier compositing where you need tracking, rotoscoping, or per-element exposure control. Blender's compositor is a capable free option if you already work in that ecosystem.
The utility layer
Command-line tools such as FFmpeg for batch conversion, plus a small Python script with NumPy or OpenCV for custom tone mapping, save hours on large shot counts. Writing your own curve lets you apply the exact same math across every shot, which is the real goal: consistency that is mechanical rather than manual.
Tone Mapping Techniques Compared
| Operator | Character | Best for | Watch out for |
|---|---|---|---|
| Reinhard (extended) | Neutral, low contrast | Fast highlight recovery | Flat, reportage-like results |
| Filmic (Hable-style) | Punchy shoulder | Stylized footage | Desaturated bright areas |
| ACES-style RRT | Filmic, standardized | Consistent deliverables | Requires correct input transforms |
| Custom curve or LUT | Total control | Signature looks | Drifts between shots |
Global versus local mapping
Global operators apply one curve to the whole frame. They preserve scene coherence and almost never produce artifacts, which makes them the safer default. Local operators vary the curve by region, recovering far more shadow and highlight detail — but edge-aware filtering is mandatory, or you get halos around every high-contrast edge. Use local mapping sparingly and dial it back until the halos disappear.
Where to place the operator in the chain
Apply tone mapping late, after primary balance and before creative grading. Apply it earlier and your color correction fights the curve; apply it later and the curve undoes your contrast work. Anchoring it in the middle keeps the rest of the chain predictable.
Temporal Consistency: The Hardest Part
Flicker is not a rendering problem, it is a measurement problem. Frame-by-frame exposure estimates are noisy, and any curve driven by a noisy signal will jitter. The fix is statistics:
- Estimate over a window. Compute exposure from a rolling average of 5–15 frames rather than a single frame.
- Clamp the derivative. Limit how much the value can change between frames, then let it catch up over time.
- Reset on cuts. Detect scene changes and restart the filter so a bright shot does not leak into the dark one after it.
- Match to a reference. Instead of targeting an absolute ideal, histogram-match each shot to a hero frame. Relative consistency reads as professional even when absolute values are imperfect.
- Reuse seeds. Shots generated from the same seed and prompt share latent structure, which makes matching substantially easier.
Motion blur and bloom interact with all of this. Adding bloom after tone mapping produces a soft, pleasant glow; adding it before can push highlights past the shoulder and create hard clipping. Keep the order consistent across every shot in a sequence.
Decision Criteria: Choosing Your Stack
For solo creators
Prioritize a single application that handles grading and export. DaVinci Resolve plus one generation tool covers nearly everything. Work in 10-bit, keep a project-level LUT for your tone curve, and resist the urge to hand-tune every shot.
For small teams
Standardize on one color management configuration and one tone mapping operator, documented in a short internal guide. The variance between two artists' instincts is usually larger than any technical limitation.
For studio pipelines
Separate exposure map generation from the grade so it can be versioned, scripted, and reviewed independently. Automate histogram matching and flicker detection as part of quality control, and keep a reference display in the review room.
Questions that make the decision quickly
- How many shots per deliverable? Under twenty favors manual curves; over a hundred demands scripting.
- Is the target SDR, HDR, or both? Dual delivery justifies a proper scene-linear pipeline.
- How often will you retake shots? Frequent retakes favor seed reuse and templated grades.
Mistakes That Kill Photorealism
- Grading a compressed delivery file. Once values are clipped and banded, no amount of skill recovers them.
- Applying curves per frame without smoothing. Instant flicker.
- Chasing contrast instead of controlling it. Deep blacks look impressive on a grading monitor and crushed everywhere else.
- Exposing only for the midtone. Skin is the reference point; if faces are wrong, nothing else matters.
- Leaving the display transform until the end. It changes how every earlier decision looked.
- Mixing color spaces silently. Importing log footage interpreted as Rec.709 produces baffling results.
- Overusing local tone mapping. Halos are the tell.
- Treating each shot in isolation. Sequences are judged in motion, not as stills.
- Ignoring bloom and motion blur order. Small ordering mistakes read as cheap.
- Never checking on a phone. Half your audience watches a small screen in daylight.
FAQ
Can AI generators output true HDR or log footage?
Some export wider containers and higher bit depth, but the underlying scene data is still estimated from display-referred training material. Treat it as a wide intermediate, not as genuine camera negative.
Do I need a dedicated exposure mapping tool?
No. A node-based grader plus a consistent curve covers most needs. Custom scripting matters mainly at scale or when you need identical math across many shots.
How do I stop exposure flicker without flattening the image?
Smooth the exposure estimate, not the image. Filter the signal that drives the curve, and keep the curve itself punchy.
Is local tone mapping ever worth the risk?
Yes, for skies and practical lights in wide shots. Use edge-aware filtering, keep strength low, and check at 100% zoom before trusting it.
What bit depth should I work in?
10-bit minimum for delivery, 16-bit or float for any stage involving heavy curve work. The file size difference is trivial next to a re-render.
How do I match a generated shot to live-action footage?
Match black and white points first, then midtone gamma, then saturation. Use a shared display transform and compare on scopes rather than by eye alone.
Should exposure mapping happen before or after color grading?
After primary balance, before creative grading. That keeps both the curve and your color decisions readable.
How many frames should the smoothing window cover?
Five to fifteen frames works for most footage. Longer windows are steadier but slower to respond to real lighting changes within a shot.
Putting It All Together
A reliable offline exposure workflow looks like this: generate with headroom, normalize into a managed color space, build an exposure map from a smoothed luminance estimate, apply a single documented tone mapping operator, and validate on scopes and on a phone. Keep seed and settings for every shot so retakes stay cheap. Standardize the curve across a sequence rather than perfecting individual frames.
The payoff is not merely prettier images. It is footage that survives scrutiny — highlights that roll off, shadows that hold shape, and a sequence whose brightness does not distract from the story. Photorealism in AI video is rarely about resolution. It is about light behaving the way the audience already knows it should.

Alexander
More Blogs
Read MoreVidu Q4 Alternatives: 4K AI Video Models Compared (2026)
Vidu Q4 alternatives compared: Kling 4.0, Seedance 2.5, Wan 3.0, and Runway Gen-4 — 4K support, input modes, durations, audio, and what each costs in credits on Domer.
Top 4K AI Image Generators in 2026: 5 Models Compared on Real Costs
The top 4K AI image generators on Domer compared: Flux 3 Klein, Nano Banana 2.1, GPT Image 2.5, GPT Image 2, and Nano Banana Pro — 4K credit costs, reference limits, and speed.
Nano Banana 2.1 vs GPT Image 2.5: Which Image Model Should You Use? (2026)
Nano Banana 2.1 vs GPT Image 2.5 Flare compared: credit costs per resolution, aspect ratios, reference images, text rendering, and which tasks fit each model.