
Crea
Affiliazione
Inizia Gratis Ora
Picture to Video AI: A Practical Creator Workflow Guide
Oct 13, 2026
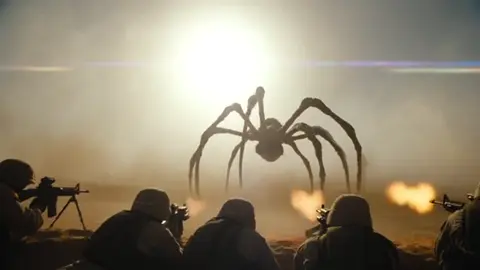
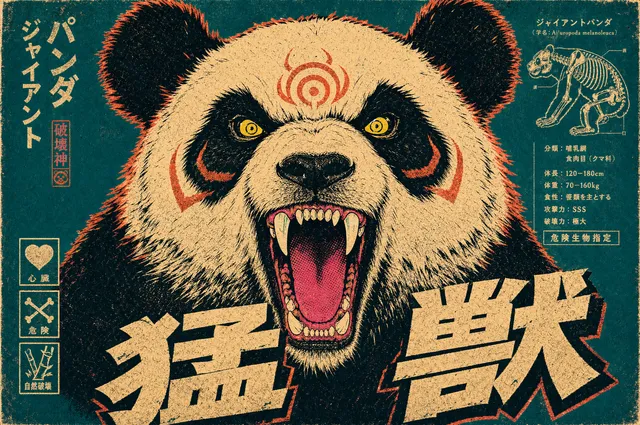
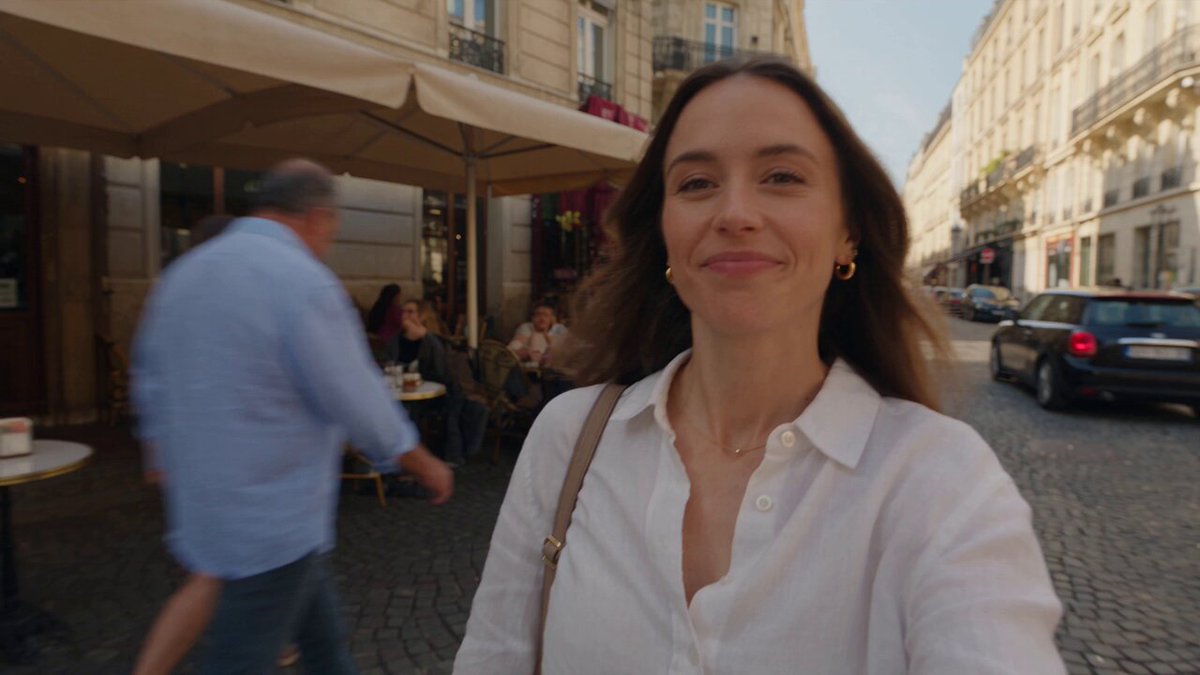
Why Picture to Video AI Moved From Novelty to Everyday Tool
Static photographs hold detail and memory, but they cannot show a gesture, a glance, or the way light slides across a face as someone turns. For years, turning a photograph into motion meant expensive 3D reconstruction, frame-by-frame rotoscoping, or a slideshow with a slow zoom. Generative video models collapsed that cost. You can now upload one image, describe a movement in plain language, and receive a short clip that feels like it was filmed a second after the shutter closed.
The practical consequences matter more than the novelty. Marketing teams need short product clips built from still photography they already own. Documentary editors need to illustrate archival moments without fabricating historical footage. Game and animation artists want to preview how a character silhouette behaves before committing to a full rig. Photographers want animated covers for their portfolios. In every case the need is the same: convert an existing still into believable motion without reshooting anything.
This guide is written as a working manual. It explains how picture to video systems generate frames, how to choose a tool for a specific job, how to prepare a source image, how to control camera and subject movement, and how to catch the failure modes that make synthetic clips look artificial. The emphasis is on repeatable process, because the difference between a convincing result and an uncanny one is usually preparation, not luck.
How Image to Video Generation Actually Works
Most current systems share a similar architecture. An encoder first converts your still image into a latent representation, a compressed mathematical description of the scene. A video model then predicts how that representation should change over time, and a decoder renders each predicted state back into visible pixels. The interesting part is the prediction step, where the model decides what moves, how fast, and in which direction.
Three ingredients shape that prediction: the image itself, the text prompt, and any control signals you provide, such as a motion brush, trajectory, or camera preset. When these three agree, output looks natural. When they conflict, artifacts appear. A subject walks forward while the prompt asks for a dolly back, and the model produces smeared limbs and warped backgrounds.
Diffusion and motion priors
Diffusion-based generators learn by removing noise from corrupted training data. In video, they also learn statistical patterns of movement: how water falls, how hair swings, how crowds drift. Those learned motion priors are why a well-chosen prompt works even without detailed control. They are also why models tend to over-animate. Give a diffusion video model a portrait and it may add head turns and blinking you never requested, because those motions dominate the training distribution.
Scene understanding and segmentation
Before generation, many pipelines run segmentation and depth estimation. Segmentation separates foreground subjects from backgrounds so motion can be applied selectively. Depth estimation creates a rough 3D understanding, which lets the model move a virtual camera without flattening the scene. Tools that expose these controls give you far more precision. You can push the background laterally while keeping a face anchored, which mimics a parallax shot from a real camera move.
Temporal coherence: the hardest problem
Frame consistency is where older systems fell apart. Each generated frame looked fine alone, but flicker, texture crawl, and identity drift accumulated within seconds. Modern approaches enforce coherence by generating several frames jointly, then refining them with reference attention back to the original still. This is why short clips look excellent and longer clips still degrade: coherence cost grows faster than clip length.
What Separates a Strong Tool From a Weak One
Tool selection should follow your deliverable, not the demo reel. A generator that produces stunning five-second hero shots may be useless if you need twenty variations for A/B testing, and a fast batch tool may be wrong if your brand depends on precise facial likeness.
Evaluate candidates against these criteria:
- Motion control depth. Can you specify camera movement, subject trajectory, and speed separately, or only through text?
- Temporal stability. Watch a full clip, not a looped highlight. Look for warping at edges and texture shimmer on skin or fabric.
- Input flexibility. Does it accept portrait, square, and wide images, and can it handle more than one reference frame?
- Length and resolution. Note the native clip length and the upscale path available to you.
- Aspect ratio coverage. Vertical output matters for social, horizontal for film and web, square for catalog work.
- Consistency tools. Face reference, style reference, and seed locking determine whether a series of clips looks like one project.
- Export and post-production fit. Codec, frame rate, and matte options decide how easily the clip drops into your timeline.
- Iteration speed. How long from upload to first useful result? Slow tools force you to plan instead of explore.
A practical test: run the same three images through each candidate. Use one portrait, one wide landscape with a clear subject, and one product shot on a plain background. Score each on motion realism, identity preservation, and background stability. The winner in that small test is usually the winner in your real workflow.
Preparing an Image the Model Can Actually Use
Source quality dominates output quality. Most disappointing results trace back to the input, not the model.
Resolution and sharpness
Feed the model the largest clean version you have. Heavy JPEG compression creates blocky textures that the generator then animates, producing crawling noise. Upscale before generation if necessary, but avoid aggressive sharpening. Halos get amplified into visible rings around edges.
Framing and negative space
Leave room where the motion goes. If a subject will walk left, the empty space should be on the left. If the camera will push in, keep the subject slightly off-center so the move has somewhere to travel. Tight crops limit what the model can reveal.
Subject isolation and background complexity
Clean separation between subject and background makes segmentation reliable. Busy backgrounds with repeating patterns, such as fences, crowds, or foliage, are the most common source of texture crawl. If you cannot reshoot, consider a gentle depth-of-field treatment before generation.
Color and lighting consistency
Match the light direction you want the motion to respect. A portrait lit from the right but prompted to turn left will fight itself. Also check white balance. Models often shift color temperature slightly across frames, and a neutral starting point makes that drift easier to correct.
Motion Planning: The Skill That Decides the Result
Text prompts describe intent; motion controls define geometry. Treat them as two separate layers.
Camera moves worth mastering
- Slow push in. The most reliable emotional move. Use it for portraits and product reveals.
- Lateral track. Adds parallax and depth. Keep speed under a few percent of frame width per second.
- Arc. Great for statues, vehicles, and architecture. Small angles read as cinematic; large angles expose flat geometry.
- Handheld drift. Subtle rotation and translation create documentary realism. Overdo it and viewers notice the wobble.
- Crane or tilt. Best on landscapes with strong vertical structure.
Subject motion and micro-expression
Micro-motion sells realism: a blink, a breath, a slight weight shift. Ask for too much and the model invents anatomy. If your tool supports motion brushes, paint small regions and let the rest of the frame stay still. Stillness is a feature. It makes the moving part read as intentional.
Matching motion to genre
Product footage wants clean, mechanical motion. Fashion wants fabric movement and a confident walk. Documentary illustration wants slow, restrained camera work that does not editorialize. Horror benefits from almost imperceptible drift. Whenever you are unsure, halve the speed. Slow motion looks considered; fast motion looks generated.
A Repeatable End-to-End Workflow
- Define the shot. Write one sentence describing what the viewer should feel. If you cannot, the clip will not have direction.
- Select and prepare the still. Crop for motion space, clean compression, set aspect ratio, and check subject separation.
- Write the prompt in layers. Order: subject, action, camera, lighting, style. Keep it under roughly sixty words.
- Set motion controls. Pick the camera move first, then any subject trajectory, then speed.
- Generate short first. Produce a low-resolution or short test before committing to a full render.
- Review for stability, not beauty. Check edges, textures, hands, and facial identity frame by frame.
- Iterate one variable at a time. Change the prompt or the motion, never both, or you will not learn what caused the improvement.
- Export, then finish in your editor. Add grade, grain, sound, and cut rhythm. A finished clip is rarely the raw render.
Audio, Voice, and the Final Ten Percent
Silent AI clips look like tests. Sound is what makes them feel like footage. Three layers do most of the work: ambience, movement sound, and music.
For dialogue, generate a clean voice track separately and align it to mouth movement rather than the reverse. Some tools include lip synchronization; check that the phoneme timing survives fast speech and that consonants do not blur. If the subject's mouth is small in frame, skip lip sync entirely and use voice-over. Audiences forgive mismatched mouths far less than they forgive narration.
Ambience is the cheapest realism upgrade available. Room tone, distant traffic, wind, and fabric rustle tell the brain that a real microphone was present. Add a subtle reverb that matches the implied space. A portrait shot in a studio should not carry cathedral reverb.
Common Failure Modes and Fixes
- Melting faces. Usually caused by too much motion or a low-resolution source. Reduce speed, upscale the still, and lock identity with a reference image if supported.
- Texture crawl on backgrounds. Segment the subject and freeze the background, or apply a light blur to busy regions before generation.
- Warped straight lines. Architecture and text break first. Keep camera rotations small and avoid wide-angle moves on interiors.
- Extra limbs or objects appearing. The model is filling space it cannot interpret. Simplify the prompt and remove ambiguous description.
- Flicker between frames. Reduce clip length, increase overlap between segments, or regenerate with a fixed seed for continuity.
- Motion that ignores the prompt. Check for conflicts between text and motion controls, and reorder the prompt so the subject action leads.
Quality Checklist Before You Publish
Run every clip through the same gate. Watch once at full speed with sound, then once frame by frame. Confirm the subject keeps its identity across the full duration. Confirm edges of the frame are stable. Check hands, teeth, eyes, and any written text. Verify the motion resolves, because a camera move that starts but never settles feels unfinished. Confirm the aspect ratio and frame rate match the destination platform. Finally, watch on a phone. Most viewers will, and small artifacts are either invisible there or glaring.
Also test whether the clip survives a cut. Drop it into a sequence between two real shots. If it disrupts the rhythm or reads as obviously synthetic next to live footage, either shorten it or bury it under motion graphics, titles, or faster cutting.
FAQ
How long should generated clips be?
Two to five seconds covers most needs and holds quality best. For longer sequences, generate multiple short clips and cut between them rather than stretching one render.
Can I animate a group photo?
Yes, but keep motion minimal. Ask for subtle breathing, slight camera drift, and a small push in. Large movements in multi-subject images cause faces to merge.
Do I need a powerful computer?
Not necessarily. Browser-based generators do the heavy lifting remotely. Local tools require a capable GPU and typically more setup time.
Is one image enough, or do I need several?
One strong image can produce an excellent short clip. Additional reference frames improve identity consistency, and reference stills of the same subject help across a series.
What about watermarks or licensing?
Read the terms of the specific tool, especially for commercial use. Keep a record of the source images and confirm you hold the rights to them.
Why does the same prompt give different results?
Video generation is stochastic. Fix the seed for repeatability, or accept variation and treat it as a way to explore options quickly.
Where to Take It Next
The best next step is a small, finished project: six clips, one subject, one visual style, one soundtrack. Constraints teach faster than experimentation without a goal. Build a personal library of motion presets, such as a push in, a lateral track, and a handheld drift, then reuse them so your output has a recognizable feel. Keep a notes file recording which prompts, speeds, and source treatments worked, because tool interfaces change but your own tested recipes remain valuable.
As models improve, the technical barrier keeps dropping and the creative one keeps rising. Composition, timing, and restraint will separate good work from generic work. Treat picture to video AI as a camera you are learning to operate, not a button you press, and the results will look less like a demonstration and more like footage someone actually shot.

Alexander
More Blogs
Read MoreVidu Q4 Alternatives: 4K AI Video Models Compared (2026)
Vidu Q4 alternatives compared: Kling 4.0, Seedance 2.5, Wan 3.0, and Runway Gen-4 — 4K support, input modes, durations, audio, and what each costs in credits on Domer.
Top 4K AI Image Generators in 2026: 5 Models Compared on Real Costs
The top 4K AI image generators on Domer compared: Flux 3 Klein, Nano Banana 2.1, GPT Image 2.5, GPT Image 2, and Nano Banana Pro — 4K credit costs, reference limits, and speed.
Nano Banana 2.1 vs GPT Image 2.5: Which Image Model Should You Use? (2026)
Nano Banana 2.1 vs GPT Image 2.5 Flare compared: credit costs per resolution, aspect ratios, reference images, text rendering, and which tasks fit each model.