
Crea
Affiliazione
Inizia Gratis Ora
Create Seamless AI Video From Still Images: A Workflow Guide
Oct 13, 2026
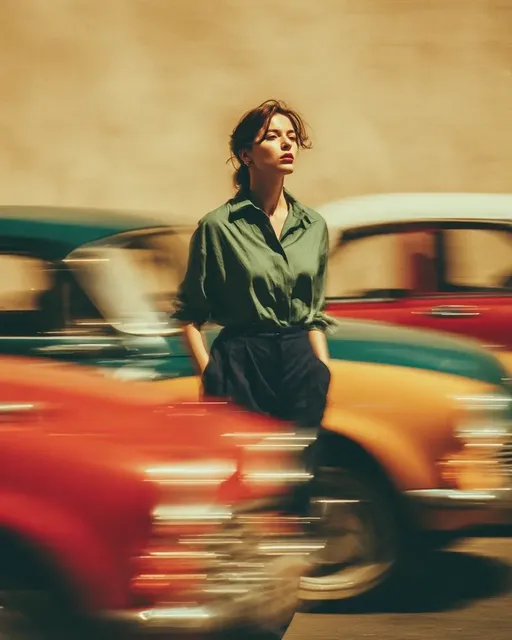
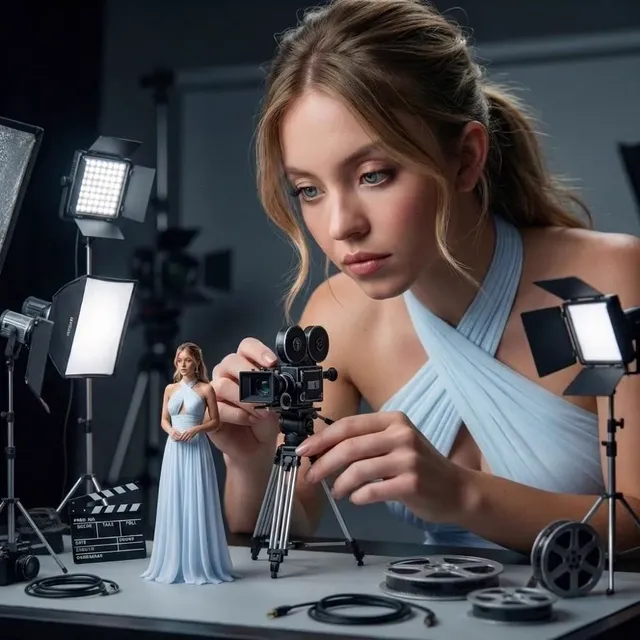
A visible cut is rarely the problem. The problem is that the two shots on either side of it live in different worlds — different light, different lens, different physics. When that happens, editors reach for a dissolve, a whip pan, or a speed ramp to hide the seam. It works, sort of, but it also tells the audience that the footage doesn't belong together.
The more durable approach is to stop treating transitions as a fix and start treating continuity as an input. Modern image-to-video models make this practical: you generate or choose a strong still frame, then let the model animate forward from it, so every shot inherits the same lighting, palette, and geometry. The cut becomes invisible because there is nothing to hide.
This guide walks through a complete workflow for building transition-free sequences from stills — how to prepare anchor images, how to plan shots, how to prompt for continuity instead of spectacle, and how to repair the small failures that survive generation.
Why Transitions Are a Symptom, Not a Solution
Ask yourself why a cut feels abrupt. Nine times out of ten, the answer is one of three things: the subject jumps position, the camera logic breaks, or the lighting shifts direction. None of those are editing problems. They are continuity problems that editing can only disguise.
A dissolve over a continuity break reads as a nervous tic. Audiences feel it even when they can't name it. Compare that to two shots that share a horizon line and a consistent key light, cut hard on motion — the edit disappears and the audience simply follows the story.
This is why image-anchored generation changes the economics of short-form and mid-form video. Instead of generating dozens of clips and hunting for two that happen to match, you define the visual conditions once and let each shot inherit them. You spend your effort on storytelling decisions rather than on reconciliation.
There is also a commercial argument. Video that holds a consistent look reads as intentional. Brand work, product films, explainers, and narrative shorts all depend on the viewer trusting that what they're seeing is deliberate. A sequence glued together with cross-dissolves signals the opposite.
So the goal isn't "no transitions ever." It's that when you do cut, the cut is a choice about rhythm rather than a rescue operation.
The Image Anchor: Turning a Still Into a World
An anchor image is the still frame a shot is generated from. Its job is to answer every question the model would otherwise guess at: where the light comes from, what the lens is doing, what the palette is, and where the subject sits in frame.
The stronger the anchor, the less the model improvises. Improvisation is where continuity dies.
Building a seed frame that survives motion
Start with an image that has room to move. A perfectly centered portrait with a tight crop gives the model almost nowhere to go; motion becomes a subtle drift and nothing else. A frame with foreground, midground, and background gives the camera something to travel through.
Look for four qualities in a candidate anchor:
- Clear depth cues. Overlapping elements, atmospheric haze, or a strong perspective line.
- A directional light source. Light from one side gives the model a stable shading model to maintain.
- Uncluttered subject edges. Hair, fabric, and foliage are the usual places where generated frames fall apart.
- A coherent color story. Two or three dominant hues are easier to preserve than a rainbow.
If your source still is a photo, upscale it deliberately rather than aggressively. Over-sharpened edges become shimmering artifacts once the model starts to move.
Composition, lens, and light as continuity controls
Treat your anchor like a shot card. Note the focal length feel (wide, normal, telephoto), the camera height, and the direction of light. When you generate the next shot in the sequence, reuse those notes as constraints.
A practical shortcut: build a small reference pack per project containing three to five approved frames plus a one-paragraph style note. If the next shot drifts, you have something concrete to compare against rather than a vague sense that something is off.
Designing a Transition-Free Shot Plan
Continuity is a planning discipline. Before generating anything, map the sequence as a series of states rather than a series of pretty images.
Treat the storyboard as a state machine
Write down, shot by shot, what changes and what stays the same. For example:
- Shot 1: Wide, subject left of frame, warm interior light.
- Shot 2: Medium, subject still left, same warm light, camera moved closer.
- Shot 3: Close, subject now center, light unchanged, background blurred.
The rule is simple: change one variable at a time. Camera distance, subject position, and lighting are variables. If two of them change between shots, the cut will feel like a jump even in a perfectly rendered sequence.
Set a motion budget per shot
Every generated shot has a finite amount of believable motion before artifacts appear. Budget it. A wide establishing shot can carry a slow push and ambient movement — drifting clouds, passing figures. A close-up should carry almost nothing: a blink, a breath, a slight head turn.
When you front-load motion into every shot, you get a sequence that feels like a highlight reel of unrelated clips. When you vary the motion budget, you get rhythm, and rhythm makes cuts feel intentional.
Prompting for Continuity Instead of Spectacle
Most prompt failures in image-to-video come from asking for too much at once. The model tries to satisfy every clause and produces a frame that satisfies none of them well.
The anchor-motion-subject triad
Write prompts in three parts:
- Anchor restatement — a short description of the frame you supplied, so the model doesn't reinterpret it.
- Camera motion — one movement, described in plain language (slow push in, subtle handheld drift, static tripod).
- Subject action — one action, described in the present tense.
A working example: "Interior cafe at dusk, warm lamp light from the left, subject seated at the window. Slow push in, no rotation. Subject lifts a cup and takes a sip, then sets it down."
That's it. No lens flares, no dramatic reveals, no crowd. Restraint is what keeps frame 180 looking like frame 1.
Negative prompts and known failure modes
Keep a running list of what breaks in your specific project and add those items to your negative prompt. Common offenders:
- Warping or melting facial features during head turns.
- Hands that change finger count mid-shot.
- Background elements that slide or breathe unnaturally.
- Text or signage that mutates letter by letter.
- Lighting that shifts direction without a motivated source.
If a failure appears in more than two takes, it isn't bad luck — it's a constraint you haven't specified. Either name it in the negative prompt or change the shot so the failure can't occur.
Multi-Image Fusion and Scene Expansion
Sometimes a sequence needs to move through space that a single anchor can't cover: a room, a street, a landscape. Instead of cutting, you can bridge the space by supplying the model with two or more related frames and letting it interpolate the journey between them.
The practical rules for this technique:
- Keep the light consistent across all supplied frames. If frame A has window light from the left and frame B has it from the right, the model will produce a lighting flip mid-move.
- Keep scale plausible. Two frames that imply wildly different focal lengths will generate a zoom that feels like an error, not a move.
- Overlap the content. Frames that share an object — a doorway, a lamp, a tree — give the model an anchor point to track.
Used well, this produces the effect of a single continuous take without the cost of generating one enormous shot. Used carelessly, it produces the exact morphing artifacts that transitions were invented to hide.
A useful trick is to build the intermediate frame yourself. If you can produce one plausible still from the midpoint of the move, include it. Three well-matched frames interpolate far more reliably than two loosely related ones.
Choosing the Right Model for the Job
There is no single best image-to-video model. There are models that are better at different jobs, and the difference shows up most clearly in how they handle complex motion over time.
When a generalist model wins
Generalist models tend to be strong at interpreting natural-language descriptions of camera movement and at producing visually polished single shots. If your sequence is built from distinct, self-contained shots — a product turning, a landscape at sunrise, a person walking through a doorway — a generalist is usually the efficient choice. You get a good first take quickly, and you can iterate on wording.
When a specialist model wins
When the sequence depends on a specific subject staying recognizably itself across many shots — a character, a branded product, a real location — specificity beats generality. Prioritize models and workflows that accept reference images directly and keep identity stable, even if they're slower per render.
Practical selection criteria, in order of importance:
- Identity retention across at least three consecutive shots.
- Motion coherence — does the camera move like a camera, or like a parallax effect?
- Artifact behavior — when it fails, does it fail gracefully or spectacularly?
- Iteration speed — how fast can you test a prompt variation?
- Output resolution and frame rate — matched to your delivery target.
Test all five against your own footage. A model that wins a public benchmark can still lose on your specific subject matter.
Post-Production: The Invisible Glue
Generation gets you 90% of the way. The last 10% is where a sequence stops looking like a collection of clips.
Take selection and frame repair
Generate more takes than you need, then judge them on continuity rather than on individual beauty. A slightly less impressive take that matches the previous shot's light will cut better than a stunning one that doesn't.
For local failures — a hand that flickers for eight frames, a logo that shivers — don't regenerate the whole shot. Repair it. Rotoscope the area, paint it out, or mask a clean frame from a neighboring take. This is the single highest-leverage post-production skill in image-to-video work.
Sound design as continuity
The fastest way to make two shots feel like one is to never let the audio stop. A room tone that runs across the cut, a music bed that doesn't restart, a sound effect that bridges the edit point — all of these tell the audience that the space is continuous.
Do the same with color. A single grade across the whole sequence, applied after assembly, flattens the small differences between takes. If you grade each clip in isolation, you'll bake in the mismatches you were trying to remove.
Common Mistakes That Reintroduce the Seam
Even with a solid workflow, a few habits reliably bring transitions back:
- Changing the anchor mid-sequence. If shot four comes from a different source image with different light, no edit will save it.
- Over-prompting. Five clauses of action in one shot guarantees that something fails.
- Chasing spectacle. Big camera moves feel impressive in isolation and terrible in sequence.
- Ignoring screen direction. If a subject exits frame right, the next shot should respect that direction.
- Mixing resolutions silently. Upscaling one clip and not another creates a texture mismatch.
- Editing before you've locked the look. Grade and sound decisions made late expose continuity gaps you could have fixed at generation time.
Most of these come down to the same underlying error: treating each shot as an independent creative act rather than as one state in a continuous sequence.
A Repeatable Workflow Checklist
If you want a process you can run every time, this is the one that holds up:
- Write the sequence as states. A table of shots with camera, subject position, and lighting noted for each.
- Build one anchor per scene, not per shot, whenever possible.
- Create a reference pack with three to five approved frames and a short style note.
- Generate the widest shot first. Lock the world before you move in.
- Move the camera in one direction per shot. No compound moves.
- Budget motion by shot size. Less motion as you get closer.
- Generate two to three takes per shot and select on continuity.
- Repair locally instead of regenerating globally.
- Assemble, then grade once across the full sequence.
- Lay continuous audio before you evaluate the cut.
Run this on a short piece first — thirty to sixty seconds. The workflow is easier to internalize when the whole sequence fits in your head at once.
FAQ
Do I still need transitions at all?
Yes, but as punctuation rather than repair. A dissolve that marks a passage of time, or a hard cut that lands on a beat, is a deliberate storytelling choice. The difference is that you're choosing it, not hiding behind it.
How many anchor images do I need for a one-minute video?
Typically two to four scene anchors, with individual shots derived from each. Fewer anchors means tighter continuity but less visual variety.
What if my anchor image is a photograph rather than a generated image?
That's often ideal. Photographs carry real lens behavior and lighting that models reproduce well. Make sure you have the rights to use the image, and avoid heavy sharpening before feeding it in.
Why does my subject's face change between shots?
Usually because the model is being asked to reinterpret the subject rather than preserve it. Supply the anchor directly, keep the prompt's subject description identical across shots, and avoid strong emotion changes between consecutive shots.
How do I fix a shot where the background is breathing?
Reduce the camera motion to near-static and let the subject do the work. Background drift is often a symptom of the model trying to invent parallax from insufficient depth information.
Is it worth generating longer clips to avoid cuts entirely?
Sometimes. Long single takes are impressive, but they're expensive in generation time and harder to repair. A well-matched series of shorter shots usually gives you more control for the same effort.
What's the biggest lever for improving continuity quickly?
Consistent lighting. If you fix nothing else, fix the direction and color of the key light across every anchor and every shot. Everything else gets easier after that.
The shift from stitching clips to anchoring shots isn't a minor technical upgrade — it changes how you plan, prompt, and edit. Once continuity is something you design rather than something you patch, transitions stop being a crutch and start being a tool.

Alexander
More Blogs
Read MoreVidu Q4 Alternatives: 4K AI Video Models Compared (2026)
Vidu Q4 alternatives compared: Kling 4.0, Seedance 2.5, Wan 3.0, and Runway Gen-4 — 4K support, input modes, durations, audio, and what each costs in credits on Domer.
Top 4K AI Image Generators in 2026: 5 Models Compared on Real Costs
The top 4K AI image generators on Domer compared: Flux 3 Klein, Nano Banana 2.1, GPT Image 2.5, GPT Image 2, and Nano Banana Pro — 4K credit costs, reference limits, and speed.
Nano Banana 2.1 vs GPT Image 2.5: Which Image Model Should You Use? (2026)
Nano Banana 2.1 vs GPT Image 2.5 Flare compared: credit costs per resolution, aspect ratios, reference images, text rendering, and which tasks fit each model.