
Crea
Affiliazione
Inizia Gratis Ora
Synthesia Workflow: Cinematic AI Avatar YouTube Videos
Oct 13, 2026
Why Avatar Videos Need a Cinematic Layer
An AI avatar reading a script is a delivery mechanism, not a story. That distinction explains why so many avatar-led YouTube videos plateau: the information may be accurate, the voice may be natural, but nothing on screen rewards the viewer for staying past the first twenty seconds. YouTube's recommendation system does not measure how good your script is — it measures watch time, retention curves, and session behavior. A flat, evenly lit presenter against a generic office backdrop gives viewers no visual reason to keep watching.
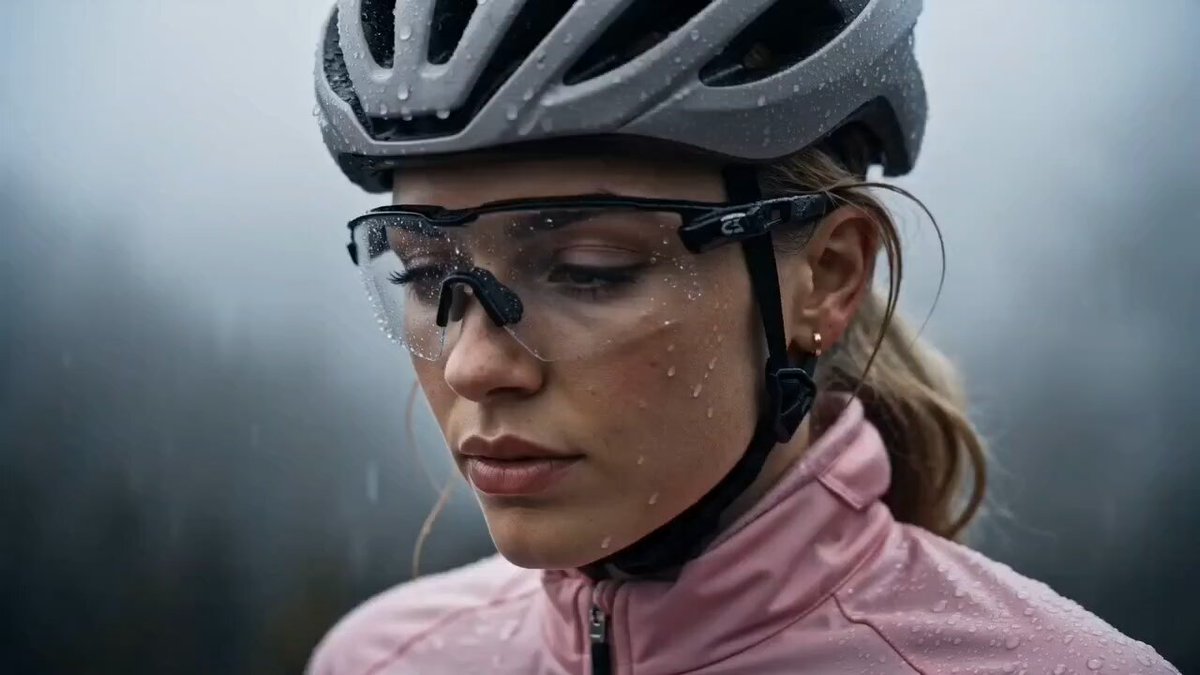
Cinematic flair is not about expensive equipment or a film crew. It is a set of deliberate choices: how the frame is composed, where light falls, when the camera moves, how b-roll interrupts the talking head, and how sound creates continuity between shots. When you layer those choices on top of an avatar pipeline, you get the production efficiency of synthetic video with the pacing and texture of a produced piece.
The practical goal is simple: make the viewer forget they are watching a generated presenter. Every technique in this guide serves that outcome.
The End-to-End Workflow at a Glance
Before diving into individual steps, it helps to see the full pipeline. Most creators who struggle with avatar video are not missing a tool — they are missing a stage. They jump from script to render to upload, skipping the layers that create atmosphere.
| Stage | Output | Typical Time |
|---|---|---|
| Script and shot plan | Timed script with scene beats | 45-90 min |
| Avatar and scene setup | Branded presenter template | 20-40 min |
| B-roll and insert generation | 8-20 supporting clips | 60-120 min |
| Voice, music, and SFX | Mixed audio bed | 30-60 min |
| Assembly and grade | Master timeline | 45-90 min |
| QA and export | Publish-ready file | 20-30 min |
The order matters. Generating b-roll before the script is locked wastes render time on shots you will cut. Mixing audio before assembly makes it harder to judge pacing. Treat each stage as a gate you pass through once.
Step 1 — Write a Script Built for an Avatar
Avatar delivery punishes certain writing habits. Long subordinate clauses, rapid-fire statistics, and dense sentence stacks all read well on a page but sound mechanical when spoken. Write for the ear first.
Structure beats around visual change
Every 20-40 seconds, something on screen should change. That change is your cue to write a new beat. A practical structure looks like this:
- Hook (0-10 seconds): a claim, a question, or a tension the viewer recognizes.
- Context (10-40 seconds): why the problem exists, delivered straight to camera.
- Demonstration (40 seconds - 3 minutes): the avatar steps back and b-roll or screen capture takes over.
- Payoff (final 30 seconds): a concrete takeaway and a next action.
Mark each transition in your script explicitly with a note like [B-ROLL: slow push through city at dusk]. These notes become your shot list later, and they force you to design visual variety before you render anything.
Control rhythm with punctuation and pauses
Synthetic voices follow punctuation more literally than human speakers do. Commas create short breaths, periods create fuller stops, and ellipses create hesitation. Use them as timing tools:
- Replace em dashes with periods when you want a firm stop.
- Break any sentence over roughly 22 words into two sentences.
- Insert a standalone line like "Here is the part that matters." to create a natural pause before a key point.
Read the script aloud with a stopwatch. If a section takes more than 90 seconds without a visual break, add one — either a b-roll insert or a framing change.
Keep numbers and names simple
Acronyms, product version numbers, and unusual proper nouns are where synthetic narration slips. Write them phonetically in the script if needed, or rephrase to avoid them entirely. "Version two point four" is safer than a string of digits the voice engine may read inconsistently.
Step 2 — Set Up the Avatar, Scene, and Brand Frame
Pick an avatar that matches your channel's tone
Avatar selection is a casting decision. Ask three questions:
- Energy level: does the presenter feel like a calm explainer or an enthusiastic host?
- Wardrobe: will the outfit still look current in six months of uploads?
- Continuity: can you reuse the same avatar across dozens of videos so viewers build recognition?
Consistency beats novelty. A recognizable presenter is worth more than a rotating cast, because returning viewers are scanning for familiarity.
Compose the frame like a real set
Most default avatar framing is centered and static, which reads as "webcam." You can improve it immediately with a few adjustments:
- Offset the subject. Place the avatar slightly off-center so text overlays and b-roll cards have room.
- Add depth. A blurred background with foreground elements — a desk edge, a plant, a lamp — creates separation between subject and backdrop.
- Vary shot size. Alternate between a medium shot for explanation and a tighter shot for emphasis. Even a small scale change signals a new beat.
- Leave headroom. Cropping too tight at the top makes the presenter feel trapped.
Build a reusable brand frame
Create two or three scene templates and reuse them across episodes: an intro scene, a main explainer scene, and a closing scene. Store your lower-thirds, progress bars, and subscription reminders as overlay assets so you can drag them in rather than rebuilding them each time.
Step 3 — Generate Cinematic B-Roll and Inserts
This is where the video stops looking like a presentation and starts looking like a film. Generative video tools can produce establishing shots, abstract textures, and conceptual visuals that would be impractical to film.
Write prompts with camera language
The difference between an amateur and a cinematic AI shot is usually the vocabulary. Describe the camera, not just the subject:
- Lens and depth: "shallow depth of field, 50mm look, subject sharp, background softly blurred"
- Movement: "slow dolly forward," "gentle handheld drift," "static locked-off frame"
- Light: "golden hour backlight," "single practical lamp, hard shadows," "soft overcast diffusion"
- Mood and palette: "muted teal and amber, low contrast, film grain"
A prompt like "a modern workspace" produces a stock image. A prompt like "a cluttered desk at night, single warm lamp, shallow focus on a laptop screen, slow push in, moody amber grade" produces a shot you can cut into a sequence.
Match b-roll to the spoken line, not the topic
Weak b-roll illustrates a topic; strong b-roll illustrates a specific sentence. If the narration says "most teams abandon the idea in week three," do not show generic teamwork footage. Show a calendar with crossed-out dates, a fading deadline timer, or an empty meeting room. Specificity is what makes a cut feel intentional.
Preserve visual consistency
AI generation drifts. Across a batch of clips, lighting direction, color temperature, and environment details will wander unless you constrain them. Keep a reference block of text that describes your visual world — palette, time of day, lens character, grain — and paste it into every prompt alongside the shot description. Reuse the same starting frame or style reference for clips that appear in the same scene.
Plan for cut points
Generate each b-roll clip four to six seconds long and make sure the first and last second are stable. Movement that starts mid-frame or ends abruptly will limit where you can place the cut. When in doubt, generate a slower, simpler motion and speed it up slightly in the edit.
Step 4 — Sound Design, Music, and Voice Polish
Viewers forgive imperfect images far more readily than imperfect audio. Treat the mix as a first-class production stage.
Voice settings that read as human
Slight variation is what makes synthetic speech believable. Adjust pacing so that important sentences are a touch slower than transitional ones, add small pauses before key reveals, and avoid identical emphasis on every line. If your platform supports it, generate the narration in short chunks rather than one long take — you gain finer control and can re-render a single paragraph without redoing the whole video.
Music as a pacing tool
Choose one bed track per video and use it structurally:
- Duck the music under narration so the voice always sits on top.
- Remove music entirely for eight to twelve seconds before a major reveal, then bring it back.
- Let the track end cleanly rather than fading under the outro, or fade fully if you want a softer close.
Layer ambience and sound effects
A quiet room tone under every b-roll shot removes the "stitched together" feeling. Add subtle effects — a keyboard click, a whoosh on a graphic transition, a low hit on a chapter card — but keep them below the narration level. If you notice an effect as a distinct event, it is probably too loud.
Step 5 — Assemble, Grade, and Finish the Cut
Build the timeline in passes
Work in layers rather than trying to finish each section as you go:
- Lay the narration across the full timeline.
- Place avatar segments where the presenter speaks.
- Insert b-roll over the narration where it adds information.
- Add overlays, captions, and chapter markers.
- Do the audio mix.
- Apply the final grade and export.
This order keeps you from polishing a shot you later cut.
Grade for consistency, not drama
The purpose of color work on an avatar video is to make disparate sources — a rendered presenter, generative b-roll, screen recordings — feel like they came from one camera. Pull a single reference frame and match the others to it: neutralize whites, unify skin tones, and apply one consistent look across the entire timeline. A mild film grain or a slight contrast curve goes further than heavy stylized grading.
Keep an eye on runtime
YouTube rewards videos that hold attention, not videos that are long. If your draft runs past twelve minutes, look for any explanation that repeats a point already made visually. Cutting a minute of redundancy almost always improves retention more than adding another example.
Step 6 — Pre-Publish QA Checklist
Run the same checklist before every upload:
- Audio: narration intelligible at low volume, no plosives, music never masking speech.
- Lip sync: check the first five seconds and every avatar re-entry point for drift.
- Captions: auto-captions reviewed for names, numbers, and jargon. Burned-in captions only if you need them for silent autoplay.
- Thumbnail: one clear subject, one short phrase, legible at mobile size. Test it at 120 pixels wide before committing.
- Title and description: the title should promise exactly what the video delivers; the description's first two lines should stand alone.
- Chapters: timestamps for each major beat so viewers can navigate.
- End screen: a genuine next step, not a generic subscribe prompt.
Repurpose the same master file
Once the master is finished, a single render session can produce a vertical cut, a square cut for community posts, and three to five short clips for short-form feeds. Because you already have clean narration and b-roll, cropping to vertical is mostly a reframing task — keep the avatar centered and let the b-roll fill the frame.
Common Mistakes That Flatten the Cinematic Look
Uniform lighting across every scene. Real productions vary light with mood. Reuse your brand palette, but change key direction, intensity, and color temperature between acts.
B-roll used as wallpaper. Footage that runs under unrelated narration reads as filler. If a clip does not illustrate the exact sentence, cut it and let the avatar carry the moment.
Too many overlays. Every additional text element competes with the presenter. Limit yourself to one overlay idea per beat.
Static framing for full sections. Even a slow, gentle scale change on the avatar shot every thirty seconds keeps the eye engaged.
Ignoring the first three seconds. The hook is the single highest-leverage part of the video. Test two or three opening lines and keep the one that survives a scroll test.
Skipping the mix. A great grade cannot rescue narration buried under music.
Rendering at the last minute. Generative shots occasionally need a re-run. Build a buffer day into your publishing schedule so a bad clip does not force a rushed export.
FAQ
How long should a Synthesia-style avatar video be?
Most explainer content performs best between six and twelve minutes. Longer is fine if every minute adds new information. If you are testing a channel for the first time, start closer to five minutes and grow as you learn what your audience tolerates.
Do I need a separate tool for b-roll if my platform already generates video?
Not necessarily, but many creators run a hybrid setup: the avatar platform handles narration and presenter shots, while a dedicated generative video tool produces atmospheric inserts. The hybrid approach usually wins when visual quality matters, because each tool is used for what it does best.
How do I keep the same character across multiple episodes?
Lock your avatar choice at the start and treat it as part of your channel identity. Save the exact scene settings, lighting values, and overlay assets in a template so every new episode begins from the same configuration rather than a blank project.
What resolution and aspect ratio should I export?
Export 16:9 at 1080p or higher for the main upload, and create separate vertical and square versions from the master timeline. Avoid uploading a vertical crop with black bars — re-render for each aspect ratio instead.
How can I tell whether cinematic additions are actually working?
Compare retention graphs between avatar-only videos and videos with layered b-roll, music, and grading. Look specifically at the 30-second and 60-second marks; the bigger the improvement there, the more your visual pacing is doing its job.
Can I produce this workflow alone without a team?
Yes. The pipeline splits cleanly into writing, generation, and assembly, and each stage can be completed in a single sitting. Batch similar tasks — write two scripts in one session, generate b-roll for both, then edit them back to back — to reduce context switching.
How often should I change my visual style?
Change it on a season cadence, not per video. Viewers build recognition from repetition, so a stable look with small seasonal refreshes tends to outperform constant reinvention.
Where to Focus Next
The biggest gains in avatar video production rarely come from a better model. They come from treating the work like filmmaking: writing for the ear, designing shots instead of slides, mixing audio properly, and reviewing your retention data honestly. Pick one stage from this workflow — usually b-roll specificity or sound design — and improve it across your next three uploads. Small, consistent upgrades compound into a channel that looks and sounds genuinely produced.

Alexander
More Blogs
Read MoreVidu Q4 Alternatives: 4K AI Video Models Compared (2026)
Vidu Q4 alternatives compared: Kling 4.0, Seedance 2.5, Wan 3.0, and Runway Gen-4 — 4K support, input modes, durations, audio, and what each costs in credits on Domer.
Top 4K AI Image Generators in 2026: 5 Models Compared on Real Costs
The top 4K AI image generators on Domer compared: Flux 3 Klein, Nano Banana 2.1, GPT Image 2.5, GPT Image 2, and Nano Banana Pro — 4K credit costs, reference limits, and speed.
Nano Banana 2.1 vs GPT Image 2.5: Which Image Model Should You Use? (2026)
Nano Banana 2.1 vs GPT Image 2.5 Flare compared: credit costs per resolution, aspect ratios, reference images, text rendering, and which tasks fit each model.