

AI 3D Animation Workflow: From Script to Rendered Scene
Oct 13, 2026
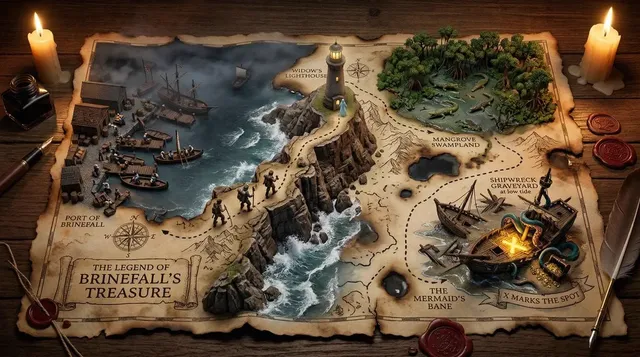
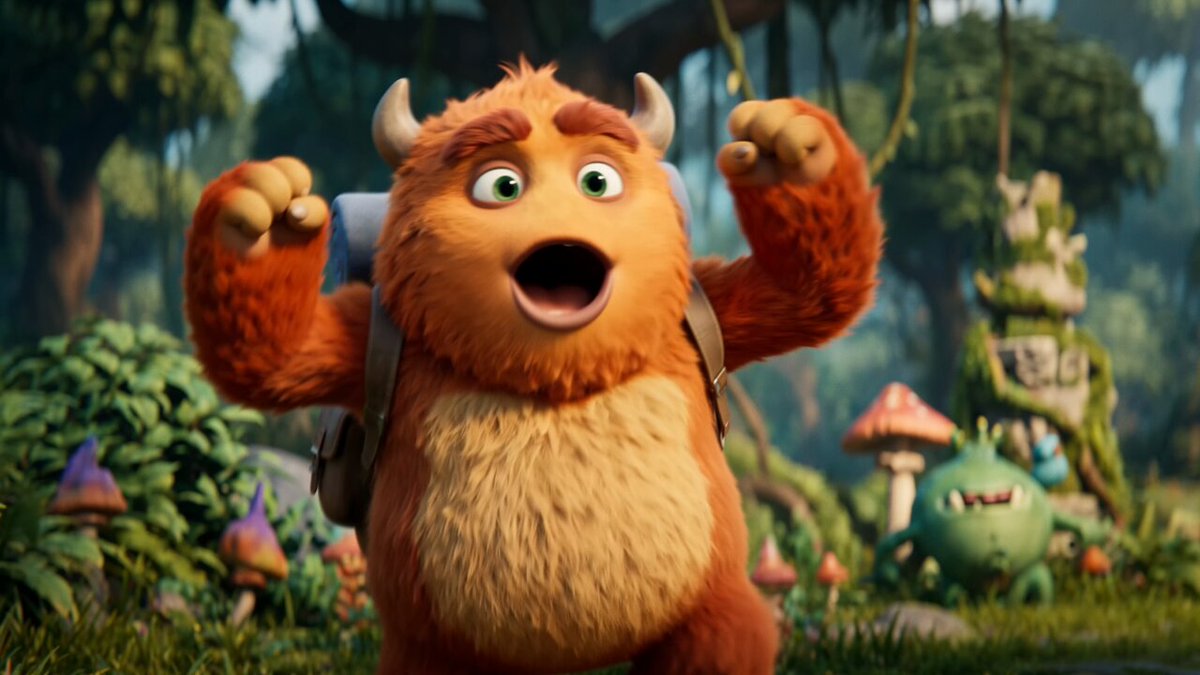
Why 3D Animation Is the Next Frontier for AI Video
3D animation has always been a craft of patience. A single hero shot can pass through modeling, UV layout, texturing, rigging, layout, animation, simulation, lighting, rendering, and compositing before anyone sees a frame. Each stage has its own vocabulary, its own file formats, and its own failure modes. That complexity is why AI took longer to make a visible dent in 3D than in still image generation — and why the gains feel so large now that it has arrived.
The shift is not that a model presses a button and a finished film falls out. The shift is that the expensive, repetitive middle of the pipeline is collapsing. Blockouts that took a day can be sketched in an hour. Placeholder textures, rough lighting passes, camera variations, and motion reference can be produced fast enough to explore twenty directions instead of three.
For small teams this changes the shape of a project. A two-person studio can now afford the kind of iteration that used to require a department. For larger studios it changes the economics of previz and pitch work, where speed of exploration matters more than final fidelity.
The practical question is no longer whether AI belongs in a 3D pipeline. It is where to put it so that it accelerates the work without flattening the look into something generic.
What AI Actually Does Inside a 3D Pipeline
Generation versus assistance
It helps to separate two very different jobs that both get labeled "AI 3D." The first is generation: producing geometry, textures, or motion from a prompt or a reference image. The second is assistance: accelerating a decision a human is already making, such as suggesting a camera move, retargeting a walk cycle, or cleaning up a matte.
Generation gets the headlines. Assistance delivers most of the real productivity. A tool that reliably renames and organizes 400 shots in a pipeline is worth more day to day than one that produces one impressive but unusable mesh.
Where the time actually goes
Track a real production week and you will usually find the hours distributed something like this: a small slice on creative decisions, a large slice on technical iteration, and a surprisingly large slice on waiting — for renders, for exports, for a colleague to finish an asset.
AI tools attack the middle category directly and the waiting category indirectly. Faster previews mean fewer blocking waits. Automated material assignment means fewer manual passes. Neither removes the creative judgment, which is the point.
The limits you should plan around
AI-generated geometry still struggles with clean topology. Generated textures often break at seams or under strong perspective changes. Generated motion frequently lacks weight and follow-through. Knowing these failure points in advance lets you design a workflow where the human touches the fragile parts and the machine handles the bulk.
The Core Building Blocks of an AI-Assisted Workflow
Text and image to 3D geometry
Prompt-to-mesh and image-to-mesh tools are best used as starting points. Their output is usually a dense, unstructured surface that renders beautifully from one angle and falls apart from another. The realistic use case is concepting: get a rough shape into the scene in seconds, then decide whether it is worth rebuilding properly.
For hard-surface objects — props, vehicles, architectural elements — the results are genuinely usable after a retopology pass. For characters, treat generated meshes as maquettes rather than final assets.
Rigging, retargeting, and motion
Automatic rigging has become dependable enough for background characters and one-off creatures. The typical workflow is: generate or build the mesh, run an auto-rig, inspect the joints at extreme poses, then fix the elbows, shoulders, and fingers by hand.
Motion retargeting is the quieter revolution. Capturing or sourcing a performance once and applying it across differently proportioned characters saves enormous time in crowd and background work. The caveat is that retargeted motion often looks correct and feels wrong — the timing survives, the weight does not.
Materials, lighting, and look development
AI-assisted texture generation shines when you need many variants of the same material: six tile patterns, four wall finishes, a range of fabric weaves. It is weaker when a single hero asset needs a specific, art-directed surface.
For lighting, the useful applications are more about exploration than final output. Generating several lighting moods from a single scene setup lets a director react to options instead of imagining them from a description.
Rendering, upscaling, and denoising
Denoisers and upscalers are the most invisible and most valuable AI in the pipeline. They let you render at lower sample counts and lower resolutions, then reconstruct a clean image. On a long sequence, that can cut total machine time dramatically without a visible quality loss — if you verify the result frame by frame rather than trusting the default settings.
A Practical End-to-End Workflow
Step 1: Brief, references, and constraints
Before touching a tool, write down three things: the visual reference, the technical constraint, and the delivery format. A vertical short for social, a 4K landscape hero shot, and a looping background for a game all demand different choices. Most failed AI experiments are really failed briefs.
Step 2: Storyboard and previz
Use image generation to explore framing and color quickly. Then move into a rough 3D layout — even a crude one. Previz exists to solve spatial problems that drawings cannot: does the camera actually clear the doorway, does the character's silhouette read at that distance.
AI helps here by generating camera variants and alternate angles from the same scene, giving you a contact sheet of options in minutes.
Step 3: Asset generation and blockout
Generate or gather the assets you need at the lowest fidelity that still communicates scale. Blockout quality matters less than composition. Replace placeholders only once the shot structure is locked, because every asset you polish before lock is work you may throw away.
Step 4: Animation and camera
This is where human judgment dominates. Use AI for reference, for in-betweening suggestions, for retargeting crowds, and for physics-based secondary motion. Keep the primary performance decisions manual — weight, timing, and intention are what separate animation from motion.
A useful habit: animate the camera last. Shots that are blocked with a locked camera force the performance to carry the scene, which is almost always better.
Step 5: Look development and rendering
Build a lighting rig on a single representative frame, then propagate it. Render at low resolution with a denoiser until the look is approved, and only then push final quality. Use upscaling for background layers and effects passes where the tolerance for softness is higher.
Step 6: Post, compositing, and delivery
Compositing is where AI-assisted shots most often fall apart. Generated elements rarely match grain, motion blur, and lens character perfectly, so budget time for matching. Roto and matte assistance tools can save hours here, but always check edges against a moving background rather than a still.
Deliver in the format you planned in step one, and export a clean, layered master so future revisions do not require rebuilding.
Choosing Tools Without Locking Yourself In
Decision criteria that actually matter
- Format interoperability. Can the tool import and export the formats your pipeline already uses? A brilliant generator that only exports video is useless in a geometry-driven workflow.
- Determinism. Can you reproduce the same result twice? Non-deterministic tools are difficult to use in a revision-heavy production.
- Local versus hosted. Hosted tools remove hardware barriers but add upload time and privacy questions. Local tools are faster to iterate with but demand serious hardware.
- Licensing clarity. Understand how generated output can be used commercially before you build a deliverable around it.
- Failure transparency. Good tools tell you when they are unsure. Bad tools produce confident garbage.
An interoperability checklist
Run every candidate tool through the same short test: generate an asset, bring it into your main 3D application, light it, animate it, render it, and composite it. If any step requires an export that loses information, that tool belongs at the concepting end of your pipeline, not the production end.
Where to keep a human in the loop
Keep a person on topology, on character performance, on final color, and on anything that carries the story. Delegate blocking, variants, cleanup, upscaling, and bulk asset generation. The dividing line is simple: automate what is repeatable, protect what is expressive.
Hybrid Workflows: When Manual Still Wins
AI is not automatically the faster path. Manual modeling wins when an asset needs clean topology, precise dimensions, or will be reused across many shots. Manual animation wins for hero performances and any moment the audience is meant to feel. Manual lighting wins when the look is the brand.
A reliable rule of thumb: use AI where the tolerance for imperfection is high and the volume of work is large. Use manual craft where the shot is seen up close, held for a long time, or carries emotional weight.
Many teams settle into a hybrid rhythm — AI for exploration and background density, manual for the ten percent of shots that define the piece. That ratio tends to hold across commercials, short films, and explainer content alike.
Common Mistakes and How to Avoid Them
Chasing fidelity too early. Polishing a generated asset before the shot is locked is the most common way to waste a week. Block out everything first.
Trusting auto-rigs without inspection. Auto-rigged characters look fine in a T-pose and collapse at forty-five degrees of shoulder rotation. Test extreme poses immediately.
Ignoring seams and texture continuity. Generated textures rarely tile cleanly. Always check a material under motion, not on a static render.
Mixing styles between shots. Because AI tools default to their own aesthetic, a sequence assembled from separate generations can drift visually. Build a look reference and match every asset against it.
Skipping the format plan. Discovering at delivery that your renderer cannot output the required codec or alpha channel is an expensive lesson.
Assuming speed equals quality. A generated shot in ten minutes that takes four hours to fix is slower than one built properly in three.
Quality Control Before You Deliver
A short checklist prevents most embarrassing mistakes:
- Watch the full sequence at normal speed, then again at half speed.
- Check the first and last frame of every shot for pops.
- Scan for topology artifacts on any generated geometry, especially at silhouettes.
- Verify grain and motion blur consistency across composited layers.
- Confirm frame rate, color space, and audio sync against the delivery spec.
- Test the final file on a device other than the one you made it on.
None of this is glamorous, but it is the difference between an impressive demo reel and a deliverable.
Frequently Asked Questions
Can AI replace a 3D artist?
No. It removes repetitive labor, which changes what an artist spends time on. The judgment calls — staging, timing, silhouette, color — remain human work.
Do I need a powerful GPU to use AI 3D tools?
It depends on whether the tool runs locally or in the browser. Hosted tools shift the hardware requirement to your internet connection; local tools need a capable graphics card and enough memory for the scenes you plan to build.
Is AI-generated 3D animation good enough for client work?
For backgrounds, props, previz, and density work, often yes after cleanup. For hero characters and close-up performances, most studios still rebuild or hand-animate.
What file formats should I standardize on?
Pick one geometry format your main application reads cleanly, one image format that preserves color depth, and one video format that preserves alpha if you need it. Standardizing early prevents conversion loss later.
How do I keep a consistent look across many generated shots?
Create a fixed reference frame and reference palette, keep prompts and seeds consistent where the tool allows it, and grade everything at the end in a single pass rather than per shot.
How long does an AI-assisted 3D shot take?
A simple prop shot can go from concept to final in a few hours. A character performance shot with cleanup, lighting, and compositing typically takes days regardless of how the assets were made.
Where This Is Heading
The direction of travel is clear: the barrier between "can imagine it" and "can build it" keeps getting thinner. Geometry generation gets cleaner, motion gets more believable, and the assistive tools get better at fitting into existing pipelines rather than replacing them.
The teams that benefit most are not the ones chasing every new release. They are the ones who build a stable pipeline, identify the three or four stages where AI genuinely saves them time, and keep their creative standards fixed while the tools underneath them change.
Start small. Pick one stage — previz, or texture variants, or upscaling — and measure whether it actually saves time on a real project. Then expand. That approach keeps the craft intact while the technology does what it is good at.

Alexander
More Blogs
Read MoreMontaggio video rapido: transizioni e software per l'AI
Guida pratica al montaggio video rapido con AI: transizioni fluide, software, workflow, coerenza visiva, errori da evitare e FAQ operative.
Building an AI Video Production Workflow From Concept to Cut
A practical guide to planning, generating, editing, and finishing AI-assisted videos with consistent characters, clear shot lists, and reliable review loops.
A Repeatable Post-Production Workflow for Polished AI Video
Build a repeatable AI video post-production pipeline: organize assets, cut story-first, design transitions, refine audio, and review versions calmly.