

AI Animation Workflow Guide: Storyboard to Final Render
Oct 13, 2026

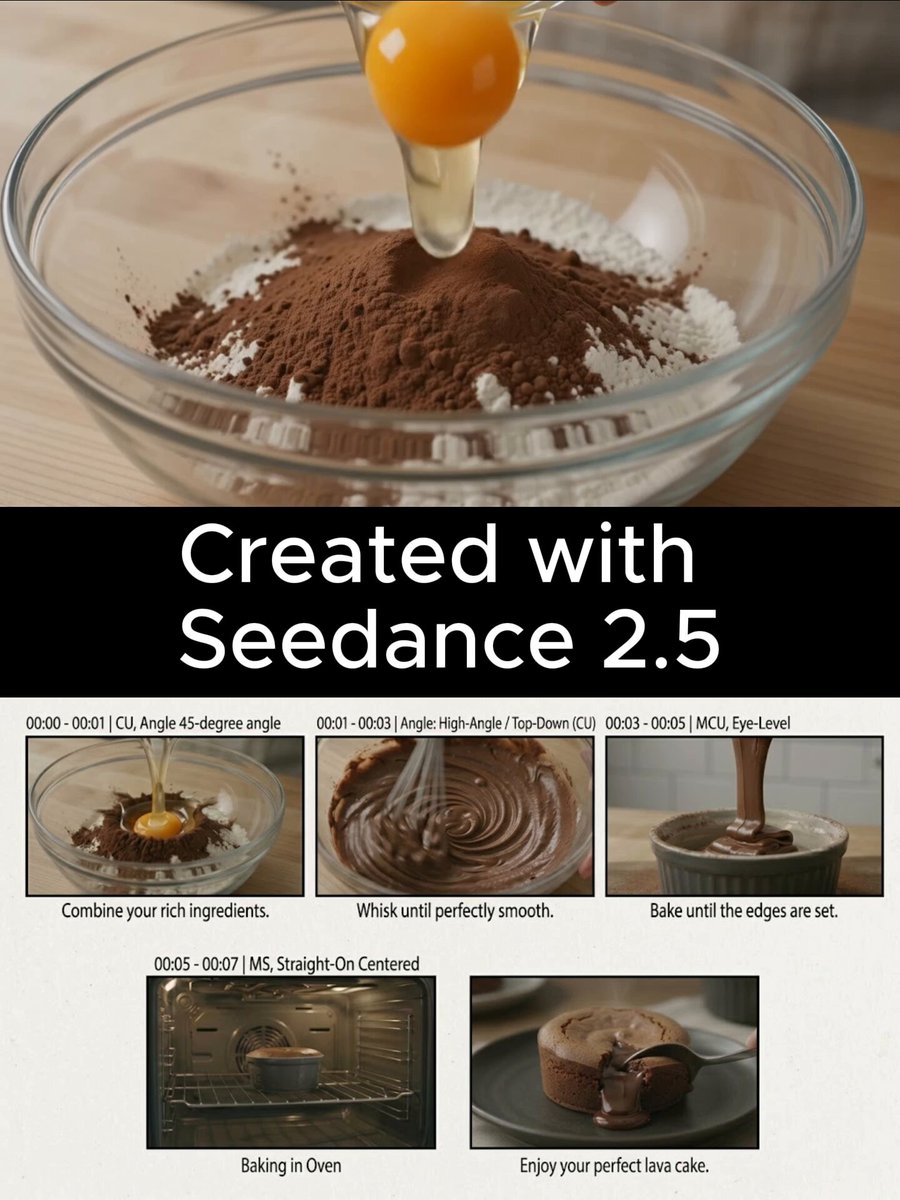
Animation has always been expensive in one specific way: time. Every second of finished footage is the sum of story decisions, layout, key poses, timing, cleanup, compositing and sound. AI does not remove any of those decisions, but it changes who can make them and how quickly they can be revised. That is the real story behind AI animation tools, and it is why a team of two or three people can now ship work that once required a small studio.
This guide is a working playbook rather than a list of magic buttons. It maps the classic animation pipeline onto AI-assisted stages, shows where generated footage genuinely helps, where it quietly creates extra work, and how to choose tools based on control, consistency and output specs instead of marketing claims.
Why AI Animation Workflows Reshape the Production Math
Traditional animation has a brutal cost curve. A rough pass is cheap, a clean pass is expensive, and every note after the clean pass is more expensive still. Because notes are inevitable, studios protect themselves with long timelines and generous buffers.
AI-assisted pipelines invert part of that math. Generating a rough moving version of a shot takes minutes instead of days, so directors can evaluate timing, framing and staging before anyone commits to polished artwork. Feedback arrives early, when it is still cheap to act on.
Four shifts matter most:
- Iteration becomes nearly free. Ten variations of a camera move can be generated, compared and discarded before lunch.
- The bottleneck moves downstream. Generation stops being the hard part. Selection, consistency and finishing become the hard part.
- Style becomes a reusable asset. Once a look is locked through reference frames, written style notes and a small library of approved images, it can be applied across dozens of shots.
- Roles blur. Illustrators start directing motion, editors start generating plates, and solo creators take on work that used to require a pipeline of specialists.
None of this means a prompt replaces an animator. It means the animator spends less time on mechanical interpolation and more time on performance, staging and rhythm. The craft does not disappear; it relocates.
Mapping the Animation Pipeline to AI Stages
The fastest way to adopt AI without wrecking a project is to attach each tool to a specific stage. Tools that claim to do everything usually do one thing well and create cleanup problems everywhere else.
Pre-production: script, beat boards and style frames
Pre-production is where AI delivers the highest return with the lowest risk. You are generating references, not final pixels, so imperfection is acceptable.
A practical sequence looks like this: break the script into beats, generate three to five visual options per beat, pick a direction, then produce a short animatic using image-to-video on the approved frames. Temp dialogue and a scratch music track make the animatic readable. By the time you have spent a full day, you know whether the rhythm works.
This stage also produces your style bible. Collect five to eight frames that define palette, line weight, lighting direction and character proportions. Those frames become the reference set for every later generation, and they are the single biggest lever for consistency.
Production: blocking, roughs and in-betweens
Production is where AI is most seductive and most dangerous. Generated motion looks impressive in isolation and inconsistent in a sequence.
Use AI for blocking and roughs first. Ask for a moving version of an approved key frame, evaluate the camera move and the silhouette, then decide whether to keep it, reshoot it with stronger references, or hand it to a traditional animator. Keep a shot library of what worked, because matching a successful shot later is far easier than inventing a new look from scratch.
Tweening and pose-driven tools handle the mechanical middle. If you have a clean key pose on frame one and frame twenty-four, an interpolation tool can propose the frames between them. The result usually needs cleanup on hands, hair and cloth, but it compresses the most tedious part of the schedule.
Post-production: compositing, cleanup and finishing
Post is where AI quietly saves entire days. Upscaling, deflicker, matte extraction, background replacement, frame interpolation to a higher frame rate, audio noise reduction and automatic subtitle alignment are all mature enough to trust with supervision.
Treat every enhancement as a layer, not as a replacement. Keep the original plate, render the enhanced version separately, and compare them side by side before committing. Enhancement passes that stack without review create a soft, plasticky look that is very hard to reverse.
Choosing Tools by Stage, Not by Hype
There is no single best animation tool, and any list that claims otherwise is selling something. What exists is a small set of categories, each with clear strengths.
Text-to-video and image-to-video generators
Text-to-video is best for mood pieces, abstract transitions and background plates. Image-to-video, where you supply a frame and describe the movement, gives you far more control and should be your default for anything with a character or a specific composition.
Representative options include Runway, Luma Dream Machine, Kling, Pika, and the OpenAI and Google video models. They differ in motion realism, prompt adherence, clip length and how gracefully they handle a locked camera. Test each one on the same three shots from your own project before deciding.
Character and style consistency engines
Consistency is the hardest problem in AI animation. Solutions fall into three families: reference-image conditioning, trained style adapters, and workflow graphs that reuse the same seed, prompt and reference set across shots. ComfyUI-style node workflows and Stable Diffusion pipelines with motion modules give the most control; hosted tools give the most convenience.
A simple practical trick: build a character sheet with front, three-quarter and profile views, plus two expression variations, then attach it to every generation request. Even loosely supported tools improve dramatically when the reference is clear.
Motion and pose-driven tools
If your shot depends on a specific performance, drive it with motion data rather than describing it in words. Pose extraction from reference video, then re-targeting onto your character, produces far more believable results than any verbal description of a walk cycle. This is also the most reliable route to consistent locomotion across a sequence.
Cleanup, upscaling and assembly
Editing and finishing tools matter as much as generators. A typical stack includes an editor such as DaVinci Resolve, Premiere Pro or Final Cut, an upscaler for final delivery resolution, and a compositor such as After Effects or Fusion for matte work. Blender remains the most versatile free option if you want real 3D cameras and lights in the mix.
A Practical End-to-End Workflow for a 90-Second Short
Abstract advice is easy; a concrete pipeline is better. Here is a workflow that fits a two-person team and a short animated piece.
Step 1: lock the script and shot list
Write the script, then convert it into a numbered shot list with an estimated duration for each shot. Total the durations and cut until the sum matches your target length minus ten percent. Animation almost always runs long.
Step 2: build style frames and a beat board
Generate ten to twenty style frames, then narrow to a direction. Build the beat board from those frames. Do not skip this: the beat board is what keeps later generations from drifting into five different films.
Step 3: generate animatic plates
Turn each beat-board frame into a four to six second moving plate using image-to-video. Place the plates on a timeline with scratch audio. Watch it three times without stopping and write down where attention drops. Those notes are your edit.
Step 4: promote the shots that survive
Only shots that survive the animatic deserve real effort. Re-generate them with tighter prompts, stronger references and, where needed, pose-driven motion. Expect roughly a third of your plates to be replaced entirely.
Step 5: refine, composite and clean
Fix hands, eyes and cloth in a paint tool, composite backgrounds, stabilise camera moves and unify grain across shots. Grain and contrast matching do more for perceived quality than resolution does.
Step 6: sound, mix and deliver
Add foley, ambience and music, then mix. Sound is the cheapest way to make generated motion feel intentional. Export masters at your target frame rate and keep a clean version without subtitles for future reuse.
Prompt Patterns That Produce Usable Frames
Prompting for animation is closer to writing a shot brief than to writing poetry. Structure beats vocabulary.
- Describe the shot, not the story. Camera angle, lens feel, subject action, environment, lighting and mood, in that order.
- State what must not change. Locked camera, single character, no text, consistent costume.
- Name the medium. Two-dimensional cel animation, stop-motion with visible fingerprints, watercolour with paper texture, or three-dimensional render with soft global illumination.
- Quantify motion. Slow push in, gentle parallax, subtle head turn of about fifteen degrees. Vague verbs produce vague movement.
- Reuse successful phrasing. Keep a running document of prompts that worked, grouped by shot type.
A useful template: a [medium] shot of [subject] in [environment], [camera move], [lighting], [mood], consistent with the attached reference, locked character design, no text.
Decision Criteria: How to Evaluate Any Animation Tool
Before subscribing to anything, score it against these criteria on a real project.
Consistency and control
Can you attach reference images? Can you lock a seed? Can you specify a camera move precisely? Can you extend a clip without visible seams? Tools that answer yes to all four are worth more than tools with prettier demo reels.
Speed versus polish
A tool that produces a usable frame in thirty seconds is better than one that produces a beautiful frame in ten minutes if you need sixty shots. Match the tool to the shot count, not to the highlight reel.
Output specifications and rights
Check maximum resolution, frame rate options, clip length, watermark policy, commercial usage terms and how your uploaded references are handled. For client work, written clarity on usage rights is non-negotiable.
Cost structure
The question is not the sticker price but the cost per finished second, including failed generations. Track how many attempts a usable clip requires. A cheap tool that needs twenty attempts is an expensive tool.
Integration
Can you export a clean, high-bitrate file? Does it support alpha channels or mattes? Does it fit your existing editing and compositing setup? Integration friction costs more hours than generation quality does.
Common Mistakes and How to Avoid Them
Most failed AI animation projects fail for predictable reasons.
- Starting with generation instead of story. A beautiful generated shot with no narrative purpose is a screensaver.
- Chasing one perfect clip. Sequences need rhythm, not perfection in a single shot.
- Ignoring continuity. Track costume, props, lighting direction and screen direction in a spreadsheet. It is unglamorous and it saves the project.
- Over-relying on one tool. Different shots suit different engines; a hybrid approach almost always looks better.
- Skipping the animatic. Without a timing pass, you will discover pacing problems at the most expensive moment.
- Neglecting sound. Weak audio makes competent animation feel amateur.
- Delivering at the wrong frame rate. Choose your frame rate at the start and never mix.
Time, Team and Cost Planning Without Surprises
Plan the schedule around review cycles, not generation time. Generation is fast; deciding is slow. A realistic short piece breaks down roughly into one fifth pre-production, two fifths production and generation, one fifth refinement, and one fifth sound and delivery.
For a solo creator, batch your work by task rather than by shot. Write all prompts, then generate all plates, then review everything in one sitting. Context switching is the hidden cost of AI workflows.
For small teams, assign clear ownership: one person owns look and consistency, another owns timing and assembly. Two people arguing about a single shot is the most expensive thing in the room.
Budget a contingency of at least twenty percent of your time for regeneration. Some shots simply refuse to cooperate, and the honest answer is to redesign the shot rather than keep retrying it.
Quality Control Checklist Before You Deliver
Run this list on the full timeline, not on individual clips.
- Continuity check: costume, props, lighting direction, screen direction.
- Motion check: no warped limbs, no morphing faces, no rubber props.
- Grain and contrast check: shots match when placed side by side.
- Audio check: levels consistent, no clipped dialogue, ambience continuous across cuts.
- Text check: no accidental lettering generated inside the frame.
- Spec check: resolution, frame rate, colour space and audio sample rate all match the brief.
- Export check: watch the final file start to finish on a different device before sending.
Frequently Asked Questions
Can AI fully animate a short film on its own?
Not reliably. It can generate plates, interpolate between poses, clean up footage and accelerate post, but narrative structure, performance choices and continuity still come from a human. The realistic model is AI as a fast assistant inside a human-led pipeline.
How do I keep characters consistent between shots?
Build a reference sheet with multiple angles and expressions, attach it to every request, lock your seed and prompt phrasing, and keep a continuity document. Consistency is a documentation problem more than a model problem.
Is image-to-video better than text-to-video for animation?
For anything with characters, specific compositions or a locked camera, yes. Ship a frame you already approved and describe only the motion. Text-to-video is best reserved for mood, transitions and backgrounds.
How long should a generated clip be?
Keep clips short, usually four to eight seconds, and cut them together in an editor. Longer generations tend to drift, degrade or introduce movement you did not ask for, and they are harder to repair.
What frame rate should I animate at?
Match your delivery target: twenty-four frames per second for a cinematic feel, twenty-five or thirty for broadcast and online, sixty for smooth motion graphics. Interpolation tools can raise the frame rate later, but planning your timing around the final rate avoids retiming artefacts.
Do I still need traditional animation skills?
Yes, and they become more valuable. Understanding weight, timing, spacing and staging is what turns generated footage into performance. Tools change; these principles do not.
How do I keep a consistent look across many shots?
Lock a reference set, a written style guide and a small palette of approved frames. Then generate everything against that set, and reject anything that drifts. Consistency is enforced by discipline in review, not by hoping the model remembers.
Final Thoughts
The best AI animation workflow is unglamorous: a clear shot list, a locked style reference, short generated clips, honest review passes, and a finishing stage that treats generated footage as raw material rather than as a finished product.
Start small. Pick a fifteen-second scene, run it through the stages described here, and measure where the time actually goes. Most creators discover that their bottleneck is decision-making, not rendering. Once you know that, the tool choice becomes obvious, and animation stops being a question of budget and starts being a question of craft.

Alexander
More Blogs
Read MoreMontaggio video rapido: transizioni e software per l'AI
Guida pratica al montaggio video rapido con AI: transizioni fluide, software, workflow, coerenza visiva, errori da evitare e FAQ operative.
Building an AI Video Production Workflow From Concept to Cut
A practical guide to planning, generating, editing, and finishing AI-assisted videos with consistent characters, clear shot lists, and reliable review loops.
A Repeatable Post-Production Workflow for Polished AI Video
Build a repeatable AI video post-production pipeline: organize assets, cut story-first, design transitions, refine audio, and review versions calmly.