

AI Anime Art Generators: A Practical Creator's Guide
Oct 13, 2026
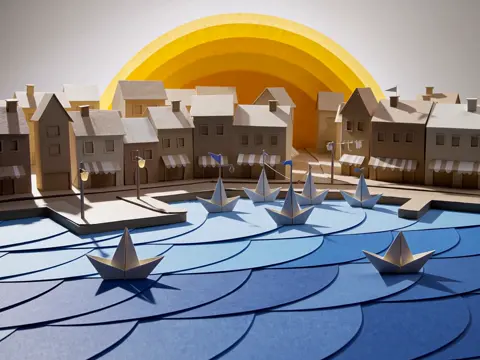
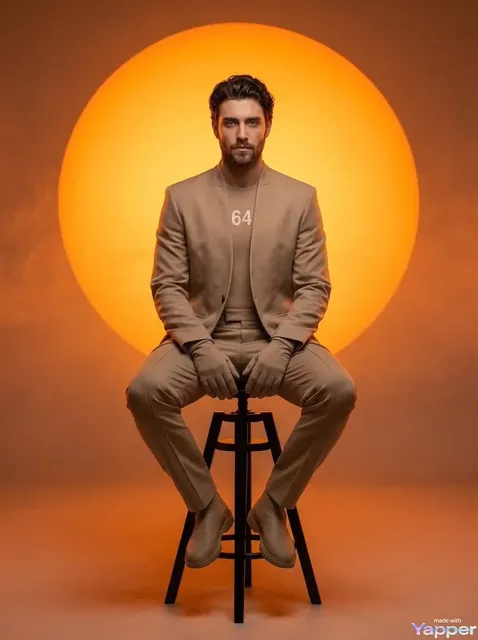
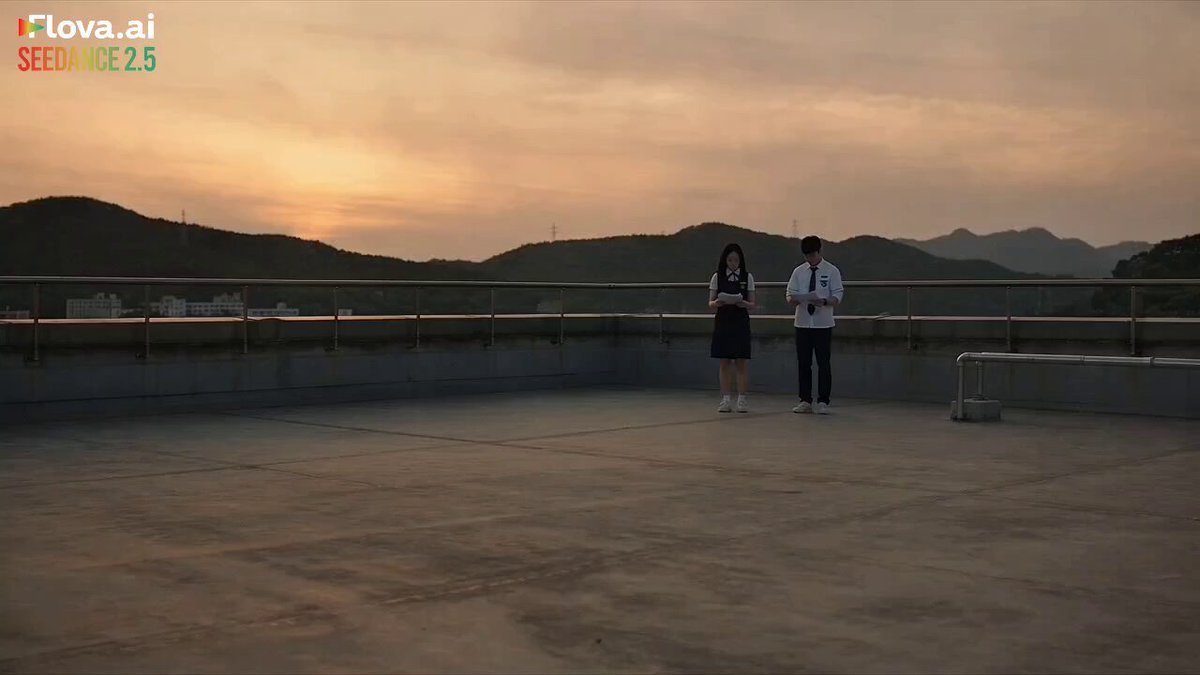
Anime has become one of the hardest tests for generative media. The style rewards clean line work, deliberate color blocking, expressive faces, and motion that reads instantly — and it punishes the slightest wobble in anatomy, perspective, or timing. That is exactly why anime-style generation has become a benchmark category for image and video models, and why creators keep comparing notes on which tools handle it best.
This guide is not a ranking list. It is a workflow-first look at how anime art generation actually works, which tool families fit which jobs, how to keep characters consistent across shots, and how to avoid the mistakes that make AI anime output look generic.
Why Anime Style Generation Became a Serious Workflow
Anime is a commercial format before it is a hobby. Opening sequences, character key art, short-form social clips, visual novels, indie games, and fan productions all need large volumes of consistent, on-model visuals. Traditional production chains handle this with character sheets, model packs, and strict style guides. AI generation promises the same output at a fraction of the turnaround time — but only if you impose similar discipline on the process.
The reason anime specifically attracts so much experimentation comes down to three properties:
- Style is legible. A viewer can tell within one frame whether the output reads as anime or as a generic illustration. That makes quality easy to judge, which accelerates community feedback loops.
- Line work is unforgiving. Soft, mushy edges read as a mistake rather than as a stylistic choice, so models that preserve crisp contours stand out immediately.
- Motion is stylized. Anime animation uses held frames, smears, impact frames, and speed lines. These conventions are not physically accurate, which means a physically accurate video model is not automatically the right choice.
A practical workflow therefore treats anime as a design system: fixed proportions, a locked palette, a consistent line weight, and a defined camera language. The model is the rendering engine, not the art director.
How Anime-Tuned Models Actually Work
Most current tools are built on diffusion-based image models paired with video models that extend a still into motion. Understanding the mechanics helps you predict where a tool will fail.
Diffusion, Transformers, and Style Priors
Diffusion models learn to reverse a noise process, gradually turning static into an image that matches the statistical patterns of their training data. Transformer-based architectures have pushed this further by handling longer-range relationships between parts of an image, which improves hands, eyes, and consistent background geometry.
The practical consequence is that every model carries a style prior — a bias toward the images it saw most during training. Some models lean toward soft, painterly, semi-realistic illustration. Others are tuned for high-contrast cel shading with strong outlines. Neither is better in the abstract; they are better or worse for your specific project.
What "Anime Style" Really Means to a Model
The phrase is not a single visual target. It describes a family of conventions that a model may or may not have learned:
- Cel shading — flat regions of color with hard transitions rather than gradients.
- Line discipline — outlines that vary in weight but stay continuous.
- Facial shorthand — simplified noses and mouths, enlarged irises, symbolic expressions.
- Compositional grammar — close framing on faces, speed lines, dramatic negative space.
When a prompt says "anime style" and the result looks off, the problem is usually that you were describing a genre rather than a rendering method. Naming the rendering method — cel shaded, flat color, clean outline, 2-tone shading — is far more reliable.
The Tool Landscape, Grouped by Job to Be Done
Rather than ranking tools, it helps to group them by what they are actually good at. Most anime projects need several of these capabilities, so assume you will combine at least two tools.
Cinematic Character Animation: Runway and Kling AI
These tools are strongest when you need a character to move with believable weight — a turn of the head, a walk cycle, a hand reaching for something. They tend to respect a source image and preserve facial structure across frames, which matters enormously for anime, where a shifted eye line reads instantly as a different character.
Use them for hero shots: the opening beat, the transformation sequence, the emotional close-up. They are less efficient for filler shots where a simpler tool will do.
Stylized Motion and Rapid Iteration: PixVerse, Pika, and Luma Ray
This family is built for speed and stylistic control. You get quick drafts, a wide range of motion presets, and a lower barrier to experimentation, which makes them ideal for storyboards, animatics, and social-first clips. Their weakness is consistency across a long sequence — motion may drift, and a character can subtly morph over several seconds.
Treat them as your sketching layer. Generate twenty options, then commit to the one that actually serves the story.
Atmosphere, Backgrounds, and Lighting: MiniMax Hailuo, Vidu, and Tencent Hunyuan
Backgrounds carry a huge share of the emotional weight in anime. A rooftop at dusk, a rain-slicked street, a classroom with late-afternoon light — these are the frames viewers remember. This group of tools tends to handle environment detail, atmospheric depth, and lighting gradients well, and several are capable of longer, more coherent shots.
If your project is a music video or a mood piece rather than a character-driven narrative, start here.
Keyframe and Reference Control: Still Image Models With Video Extension
For the front half of the pipeline, a strong still-image model with reference-image support is often the most important tool you own. Look for the ability to feed in a character reference, a pose control, and a style reference simultaneously. Flux-family models are a common choice for keyframes because they respond well to structured prompts and hold detail at high resolution.
The pattern that works most reliably is: generate keyframes as stills, approve them, and only then hand them to a video model. Generating motion from an unapproved frame multiplies the cost of every bad decision.
Building a Repeatable Anime Art Pipeline
Here is a pipeline that scales from a single clip to a short film. It works regardless of which specific models you prefer.
Step 1: Define the Look Before You Generate Anything
Write a one-page style sheet. Include the palette (five to seven hex values), the shading model, the line weight, the eye and hair design, and the camera language. Then generate nine reference images and pick three. Everything downstream references those three images.
This step feels slow and saves the most time. Without it, you will produce hundreds of attractive but incompatible images.
Step 2: Lock Character Consistency
Character drift is the single biggest failure mode in AI anime production. Counter it with four habits:
- Train or collect a reference set. Ten to twenty images of the same character from different angles beats any amount of prompt tweaking.
- Repeat the description verbatim. Copy and paste the character block into every prompt rather than paraphrasing.
- Use identity tools. Reference images, face-locking features, and pose controls are more reliable than adjectives.
- Check at thumbnail size. If the character is unrecognizable as a small silhouette, the design is too generic.
Step 3: Generate Keyframes, Not Shots
Storyboard first, then generate one still per shot. Approve each one at full resolution, checking hands, eye direction, and the continuity of props and clothing. Fixing a still takes seconds; fixing a rendered video clip takes a full re-render.
Step 4: Animate With Restraint
Anime is full of limited animation. Characters hold poses, backgrounds pan, and mouths move in simple loops. You can exploit this: generate short clips of three to five seconds with a single clear action, then cut on the action rather than trying to sustain continuous motion.
Avoid asking a video model to do three things at once. "She turns, lifts the sword, and the camera pushes in" is far more likely to break than "she lifts the sword."
Step 5: Assemble, Grade, and Deliver
Edit in a standard editor. Apply a consistent grade, add sound design early — anime reads dramatically differently with music — and export at the aspect ratios you actually need. Vertical crops should be planned at the keyframe stage, not cropped blindly afterward.
Prompting Patterns That Survive a Model Swap
Prompts written for one model often fail on another. A structured prompt reduces that risk.
A Reliable Order
Use this sequence: subject, action, style descriptors, camera, lighting, medium, then technical notes.
A high school student in a navy uniform, standing on a rooftop, cel-shaded anime illustration, clean variable-weight outlines, three-tone shading, medium close-up, low angle, warm late-afternoon backlight, digital animation frame, high detail on hair and fabric folds.
Order matters because most models weight the beginning of a prompt more heavily.
Negative Constraints
Instead of listing everything you do not want, name the failure you are seeing. If faces are melting, add terms for clean facial structure. If colors are muddy, specify a limited flat palette. Broad negatives like "bad quality" do very little.
Iterate One Variable at a Time
Change the camera angle, then re-run. Change the lighting, then re-run. Batch generation encourages the opposite habit, but disciplined iteration is what produces a usable shot list.
Choosing the Right Tool: Decision Criteria
When you are comparing options, score them against your actual constraints rather than their demo reels.
| Criterion | What to look for |
|---|---|
| Style fidelity | Does it produce cel shading and clean lines without heavy prompting? |
| Character consistency | Can it accept reference images and hold identity across shots? |
| Motion quality | Does it handle a single, clear action without morphing? |
| Clip length | Can it produce the duration you need, or will you stitch? |
| Resolution | Is the native output usable, or does it require upscaling? |
| Iteration speed | How fast is a draft, and how fast is a final render? |
| Control features | Poses, depth, camera moves, motion brushes, seeds. |
| Licensing | Are commercial uses permitted, and under what terms? |
A useful rule: pick one still-image model as your foundation, one video model for hero shots, and one fast model for drafts. Three tools is usually enough. Rotating between ten tools a week produces inconsistency, not quality.
Common Mistakes That Ruin Anime Output
- Describing a genre instead of a rendering method. "Anime style" is vague; "cel shaded with flat two-tone color" is actionable.
- Overloading a single prompt. Characters, camera, lighting, mood, and action compete for attention. Split them.
- Ignoring anatomy in stylized frames. Simplified proportions still require consistent joint placement.
- Chasing detail on hair and fabric before fixing the silhouette. Silhouette first, always.
- Animating unapproved keyframes. You will render flaws into motion.
- Letting the model choose the palette. Lock colors yourself; consistency across shots is more important than any individual frame being pretty.
- Skipping audio. Timing feels wrong until sound design is in place.
Rights, Ethics, and Community Norms
Anime fandom has strong opinions about generated art, and those opinions are worth understanding rather than avoiding. Three practical rules keep projects out of trouble:
- Check the license for every tool you use, including whether commercial use is allowed and whether outputs can be trained on further.
- Do not prompt for a living artist's name or a specific studio's signature style in commercial work. Describe techniques instead.
- Be transparent with collaborators. Editors, composers, and voice actors should know how the visuals were produced.
Community platforms reward disclosure and punish evasion. Labeling your work accurately usually costs you nothing and protects you when a project grows.
FAQ
Do I need a powerful computer?
For cloud-based tools, no. Local generation of high-resolution images and video benefits enormously from a strong GPU, but most pipelines in this guide run entirely in a browser.
How do I stop characters from changing between shots?
Use reference images plus a written identity block that you paste verbatim. Keep the same seed when comparing variants, and generate keyframes before animating.
Which should I learn first, images or video?
Images. Nearly every video tool performs better when it starts from a strong, approved keyframe, and still-image skills transfer directly.
Why does my output look like generic AI art rather than anime?
Your prompt is probably missing rendering instructions. Name the shading model, the outline behavior, and the palette size, and reduce the number of unrelated concepts in one prompt.
How long should a clip be?
Three to five seconds per generated clip is a reliable default. Cut between clips rather than pushing a single generation toward ten seconds.
Can I use generated anime art commercially?
It depends entirely on the license of the tool you used. Read the terms before you build a project around a specific platform.
What about hands?
Generate hands as separate close-up stills, fix them manually, and composite. It is faster than rerolling a full scene.
Where to Take This Next
Start with a single 15-second piece: one character, three shots, a locked palette, and finished sound. Build your style sheet during that project rather than before it — you will learn more from one finished clip than from a week of tool comparisons. Once that piece works, the pipeline scales. Add a second character, then a location, then a longer runtime, and you will find that the hard part was never the generation. It was the consistency.
Keep your prompts structured, keep your references locked, and keep your tool count small. That combination produces anime-style work that reads as intentional rather than generated.

Alexander
More Blogs
Read MoreMontaggio video rapido: transizioni e software per l'AI
Guida pratica al montaggio video rapido con AI: transizioni fluide, software, workflow, coerenza visiva, errori da evitare e FAQ operative.
Building an AI Video Production Workflow From Concept to Cut
A practical guide to planning, generating, editing, and finishing AI-assisted videos with consistent characters, clear shot lists, and reliable review loops.
A Repeatable Post-Production Workflow for Polished AI Video
Build a repeatable AI video post-production pipeline: organize assets, cut story-first, design transitions, refine audio, and review versions calmly.