
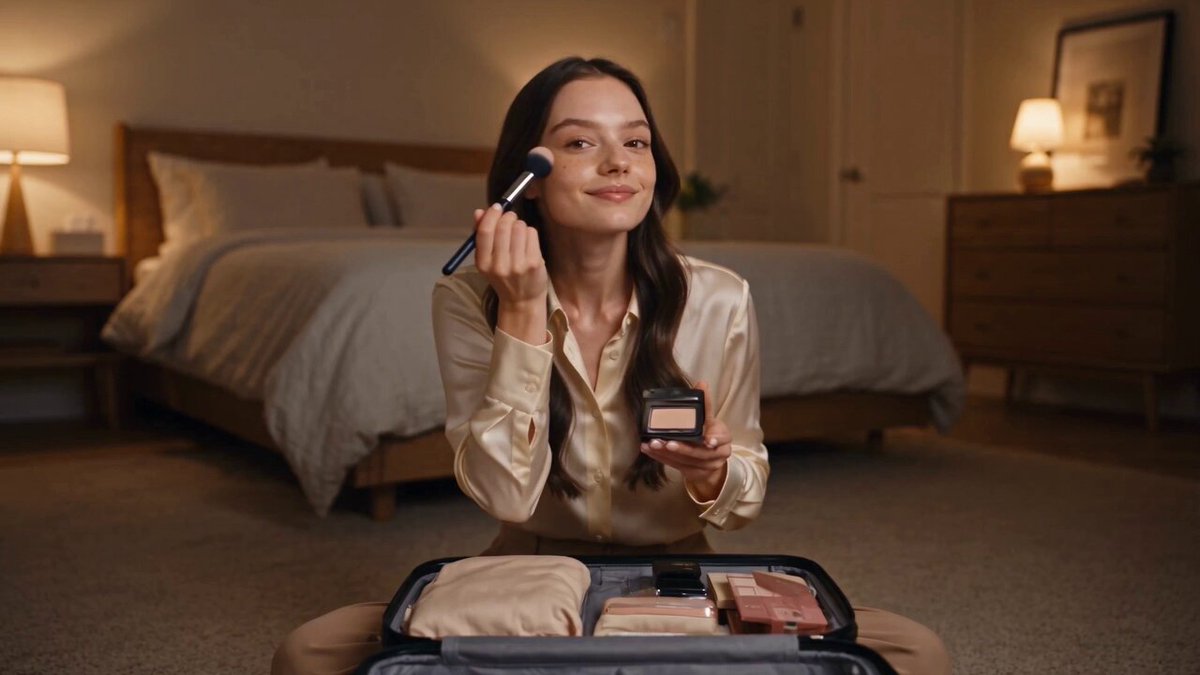
AI Reel Generator Workflow: Make Better Short-Form Video
Oct 13, 2026
Why AI Changes the Economics of Short-Form Video
Short-form video rewards one thing above everything else: iteration speed. A reel that misses the first two seconds dies in the algorithm, and a reel with a strong hook can reach thousands of people without a marketing budget. That asymmetry pushes creators and small teams into a volume game — but producing volume the traditional way is brutally expensive. Location scouting, talent, lighting, reshoots, and edit cycles all add friction that makes it hard to test ten different hooks in a week.
AI generation removes most of that friction from the first stage of production. Instead of booking a shoot to find out whether an idea works, you generate the shot in a few minutes, review it, and move on. The bottleneck shifts from "can we produce it?" to "which version is worth keeping?" — a much better problem to have, because it rewards taste and testing rather than budget.
That shift has three practical consequences:
- Alternates are cheap. You can produce five variations of an opening shot and pick the one with the clearest visual promise.
- Ideas can be validated before they are polished. Rough generated footage is enough to test whether a concept holds attention.
- The edit becomes the differentiator. When everyone can generate similar-looking clips, pacing, sound, captions, and structure decide who wins.
What AI does not do is replace editorial judgment. Generated footage still needs a reason to exist: a hook, a payoff, a rhythm. The teams getting the best results treat generation as one stage of a pipeline, not as a magic button.
The End-to-End Reel Workflow With AI
A reliable short-form pipeline has six stages. Skipping any of them shows up immediately in the final clip.
Stage 1: The brief and the hook
Before opening a generation tool, write one sentence that describes what the viewer gets from watching. Then write the hook — the first 1.5 seconds of visual and text. The hook should create an information gap: a result shown before the method, a surprising before-and-after, a question the viewer cannot answer without watching.
Keep a hook bank. Whenever you see a reel that stops your scroll, write down the mechanism, not the topic. "Shows the finished result in frame one, then rewinds" is reusable across dozens of subjects.
Stage 2: Shot list and beat sheet
Convert the idea into 4–8 shots of 2–4 seconds each. For each shot, note:
- Subject and action
- Shot size (wide, medium, close)
- Camera movement (static, push in, orbit, handheld)
- Lighting and color mood
- What changes between this shot and the next
This list is the single most valuable document in the process. It is also the document that makes AI generation predictable, because each line becomes a prompt instead of an improvisation.
Stage 3: The generation pass
Generate the shots that are hardest to fake first — usually anything involving a face, a product interaction, or a complex motion. If those fail, the concept changes before you have invested time in the easy shots. Generate two or three variations per prompt and keep a notes column on why each one worked or failed.
Stage 4: Assembly
Import everything into an editor, drop the shots on a timeline in beat order, and cut to a rough rhythm before adjusting anything else. A useful starting rhythm for vertical video: cut every 1.5–2.5 seconds in the first five seconds, then relax to 3–4 seconds. Do not let a shot linger just because it looks good — hold time should serve information.
Stage 5: Sound and captions
Vertical video is watched muted far more often than horizontally oriented content. Captions are not optional. Add a music bed, layer two or three sound effects at transitions, and check that the audio does not fight the voiceover. If you use a synthetic voice, slow it down slightly and add small pauses; listeners forgive an imperfect voice more easily than a rushed one.
Stage 6: Publish and measure
The first hour of performance tells you more than a week of guessing. Track three numbers: three-second retention, average watch time, and shares. Weak three-second retention is a hook problem. Weak average watch time with decent retention is a pacing problem. Shares indicate that the content made someone feel something worth passing on.
Choosing the Right Generation Mode
Not every shot should be produced the same way. Matching the mode to the shot saves hours.
Text-to-video
Best for establishing shots, abstract visuals, scenery, and anything where exact identity does not matter. It is the fastest path from idea to footage and the most forgiving when a take fails. Its weakness is control: specific characters, logos, and precise product geometry drift between generations.
Image-to-video
Best when identity or composition must be locked. Generate or photograph a still first, then animate it. A clean, well-lit still with a clear subject produces far more stable motion than a text prompt alone. This is the default choice for product shots, character shots, and any frame where the viewer will notice a mistake.
Hybrid multi-shot pipelines
Most polished reels mix both approaches. Use image-to-video for hero shots and text-to-video for texture, backgrounds, and transitions. Some tools also support first-frame and last-frame control, which lets you design a match cut by specifying where a shot begins and where it must end — extremely useful for seamless transitions.
A practical rule: if a human face or a branded object appears, generate from an image. If the shot is atmosphere, generate from text.
Prompt Frameworks That Produce Usable Clips
Vague prompts produce vague video. The most reliable prompts read like a shot description from a storyboard.
A six-part shot prompt
- Subject — who or what, with one or two identifying details (age range, wardrobe, material, color).
- Action — a single continuous motion, not a sequence of events.
- Setting — location, time of day, weather, background elements.
- Camera — shot size, angle, movement, lens character.
- Lighting and color — key light direction, contrast, palette, grade.
- Format — aspect ratio, frame rate feel, level of realism.
Example: "Medium close-up of a ceramicist's hands shaping a bowl on a spinning wheel, clay slipping under her fingers, workshop at dusk, warm tungsten light from the left with soft shadows, slow push in, shallow depth of field, muted earth tones, vertical 9:16, naturalistic."
Notice the prompt describes one continuous action. Asking for two events in a single clip — "she shapes the bowl, then carries it to the shelf" — usually produces a morphing mess.
Camera and motion vocabulary
Generation models respond well to standard film language. Useful terms: static lock-off, slow push in, pull back, dolly left, orbit, crane up, handheld follow, rack focus, whip pan, tilt down. Pair one camera instruction with one subject instruction and stop there. Stacking three movements rarely produces all three.
Negative constraints and failure modes
Most tools accept a list of things to avoid. Common entries that improve output: no text, no watermarks, no extra fingers, no duplicate limbs, no sudden cuts, no camera shake, no warping background. It also helps to describe what should stay still. Motion is the enemy of realism, so give the model a reason for movement rather than letting it fill the frame.
Consistency: Characters, Products, and Visual Style
Nothing breaks the illusion of a professional reel faster than a character whose face changes between shots. Consistency is a system, not a single setting.
Reference images and character sheets
Build a character sheet before you animate: three to five stills of the same person from different angles and in different light. Feed the strongest one as a reference for image-to-video generation. When a shot requires a new angle, generate a still first, check it against the sheet, and only then animate. This two-step process costs a few extra minutes and saves entire reshoots.
Seeds, style locks, and wardrobe rules
Where seeds are available, reuse the same seed with edited prompts to keep the visual signature stable. Keep wardrobe simple and specific — a mustard jacket and a black scarf are easier to reproduce than "a casual outfit." Write down the exact wording you used for lighting and grade so you can paste it into later prompts unchanged.
Continuity across cuts
Match three things between adjacent shots: direction of movement, light direction, and color palette. If a character walks left to right in shot one, they should not walk right to left in shot two unless the geography justifies it. Small continuity notes in your shot list prevent these errors before generation rather than after.
Editing, Sound, and Captions: Where Clips Become Reels
Raw generated footage is source material, not a finished piece. Editing is where most of the perceived quality comes from.
Cut rhythm. Trim the first and last quarter-second of every generated clip. Models tend to add a soft ramp at the beginning and a drift at the end, and those frames read as amateur.
Transitions. Use hard cuts by default. Reserve match cuts, whip transitions, and speed ramps for moments that need emphasis. A transition every two seconds becomes noise.
Motion within stillness. If a shot is static, add a slow digital push or a subtle scale change. Perceived motion keeps attention even when the subject is not moving.
Sound design. Build three layers: music, ambience, and accents. Ambience — room tone, wind, traffic — does more for realism than any visual effect. Accents at cuts give the edit a sense of intention.
Captions. Use a legible sans-serif, keep them inside the safe zone, and animate them in small groups rather than word by word unless the style calls for it. Burned-in captions are safer than platform-generated ones for brand and accuracy, but keep a clean version of the video for other placements.
Export settings. Vertical 1080x1920 at a high bitrate is the safe baseline. Export a master file without captions, then create captioned versions per platform so you are not re-encoding repeatedly.
Tool Selection Criteria: What to Compare
Feature lists are noisy. These criteria actually predict whether a tool fits a workflow:
| Criterion | Why it matters |
|---|---|
| Control granularity | Whether you can specify camera, first frame, last frame, and motion separately |
| Character consistency | Whether identity survives across multiple shots |
| Resolution and aspect ratios | Native vertical support beats cropping a landscape render |
| Generation speed | Short iteration loops matter more than peak quality |
| Audio support | Native sound or dialogue generation can replace a separate step |
| Editing integration | Export formats, project handoff, and versioning |
| Licensing and usage terms | Commercial use, model training policies, and asset ownership |
| Learning curve | Time from first login to a publishable clip |
| Cost structure | Whether pricing scales with volume in a way that matches your output |
A practical test: take one real shot from your shot list and produce it in two or three tools. Compare stability, realism, and how many attempts each needed. The tool that gets you a usable take in two attempts usually beats the one with prettier demos.
Common Mistakes and How to Avoid Them
- Starting with the tool instead of the idea. If you cannot describe the hook in one sentence, generation will not fix it.
- Prompting sequences instead of single actions. One clip, one continuous motion.
- Ignoring the first frame. Viewers judge the video before the story starts. Design frame one deliberately.
- Overusing effects. Speed ramps, glitches, and lens flares become a style only when they are used sparingly.
- Letting captions drift outside the safe zone. Platform UI covers the bottom third on most apps.
- Reusing the same generated clip across multiple posts. Audiences notice, and repetition suppresses reach.
- Skipping sound. Silent-feeling video performs worse even when it is watched muted, because rhythm is missing.
- Never archiving prompts. The prompt that worked is an asset. Store it with the shot it produced.
Publishing, Testing, and Iteration
Treat publishing as the beginning of the experiment, not the end of production.
Test one variable at a time. Hook, length, caption style, and music are four separate tests. Changing all four at once teaches you nothing.
Batch production. Generate and edit in blocks — one day for scripting and shot lists, one for generation, one for editing and captions. Batch work keeps prompt context fresh and reduces setup time.
Recycle winners. A reel that performed well can be re-edited into a different angle: longer version, different hook, carousel adaptation. Do not reshoot what already worked; restructure it.
Keep a swipe file of your own data. Note which hook types, lengths, and formats performed best in your account specifically. Platform-wide best practices are a starting point; your own retention curves are the real guide.
FAQ
Do I need editing experience to use AI video tools?
Basic editing skill helps more than generation skill. Knowing how to trim, pace, and mix sound is what turns clips into watchable reels. Most editors used by short-form creators are learnable in a weekend.
How long should an AI-generated reel be?
Most successful short-form content lands between 15 and 40 seconds. Test shorter versions first: if a 15-second cut holds attention, a longer version has room to work.
Can AI video tools create talking-head footage?
Yes, with caveats. Avatar and lip-sync tools work well for straightforward delivery and poorly for subtle emotion. For anything performance-driven, shoot real footage and use AI for b-roll and inserts.
How do I stop characters from changing between shots?
Generate a still first, approve it, then animate it with image-to-video. Reuse the same reference image, wardrobe description, and lighting wording across every shot in the sequence.
Is AI-generated video allowed on major platforms?
Generally yes, but disclosure rules for synthetic or altered media exist and are tightening. Label AI content when required, avoid realistic depictions of real people without permission, and check each platform's policy before publishing.
What is the fastest way to improve output quality?
Improve your prompts before changing tools. Adding shot size, camera movement, and lighting direction to a prompt typically produces a bigger jump than switching models.
Should I generate audio or record it?
Record real voiceover when the content depends on trust, expertise, or personality. Use generated music and sound effects freely; they are the lowest-effort, highest-impact upgrade to any reel.
How many variations should I generate per shot?
Two or three is a good working number. More than that slows the pipeline without improving the finished edit, because selection quality drops once you are skimming.
What is the best way to start a batch session?
Write the hook and shot list for three reels before generating anything. Context switching is the biggest hidden cost in AI-assisted production, and batching eliminates most of it.

Alexander
More Blogs
Read MoreMontaggio video rapido: transizioni e software per l'AI
Guida pratica al montaggio video rapido con AI: transizioni fluide, software, workflow, coerenza visiva, errori da evitare e FAQ operative.
Building an AI Video Production Workflow From Concept to Cut
A practical guide to planning, generating, editing, and finishing AI-assisted videos with consistent characters, clear shot lists, and reliable review loops.
A Repeatable Post-Production Workflow for Polished AI Video
Build a repeatable AI video post-production pipeline: organize assets, cut story-first, design transitions, refine audio, and review versions calmly.