
AI Video Generation Workflow: A Practical Production Guide
Oct 13, 2026
Why AI Video Generation Rewrote the Production Playbook
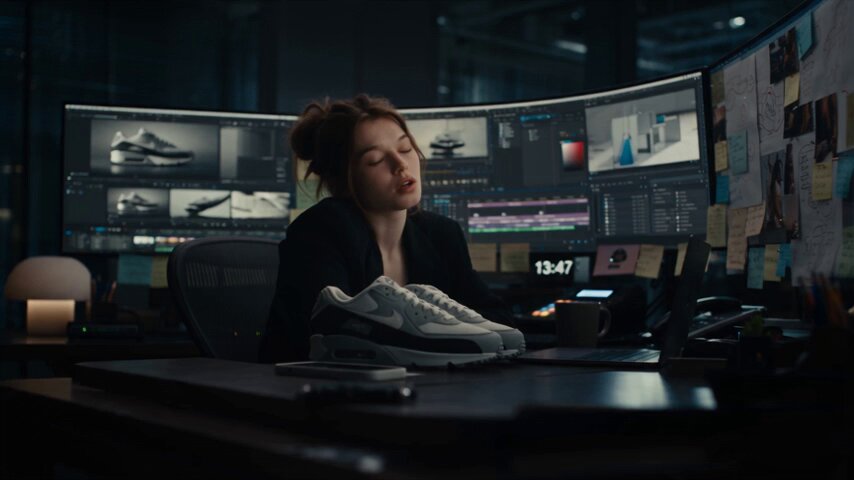
For decades, the cost of a video was dominated by the cost of a shoot. You needed a location, a camera package, lighting, talent, a sound recordist, and enough time to capture everything twice for safety. Even a modest social spot could swallow a week of planning and a full day on set. Generative video models changed the arithmetic. A shot that once required a permit, a crew, and a permit-adjacent amount of patience can now be approximated in a browser tab in under a minute.
That does not mean production got easy. It means the bottleneck moved. When capture was expensive, the scarce skill was logistics: scheduling, budgeting, and getting the shot right the first time. Now that capture is cheap, the scarce skill is judgment. Anyone can generate forty clips. The difference between a professional result and an obvious AI dump is knowing which three of those forty belong in the edit, and knowing what to change when none of them do.
This guide walks through a neutral, tool-agnostic workflow for AI video production. It covers how current models behave, how to choose between them, how to prompt effectively, how to catch artifacts before they reach an audience, and how to keep a series looking like it came from one brain instead of six different generators.
What AI Video Models Do Well — and Where They Still Struggle
Getting good results starts with an honest map of capability. Models like the Kling family and its contemporaries are genuinely strong in some areas and still unreliable in others, and treating them as interchangeable all-purpose machines is the fastest route to disappointment.
Where current models shine
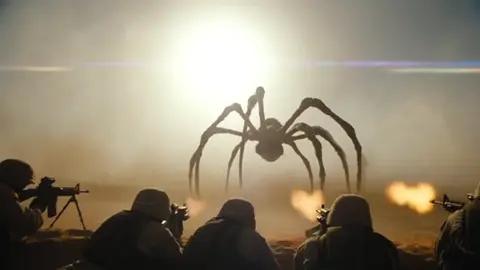
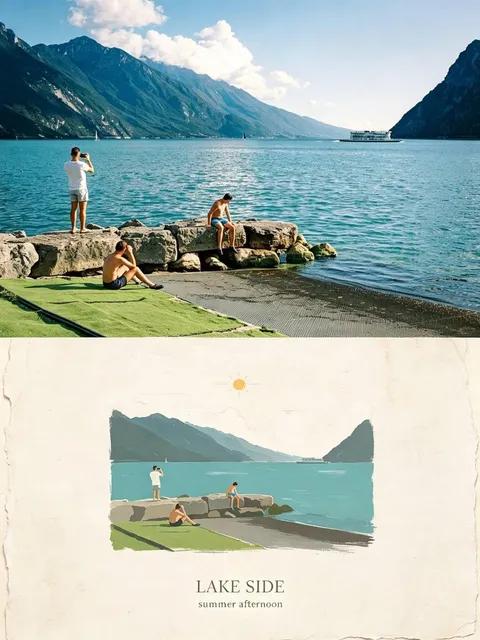
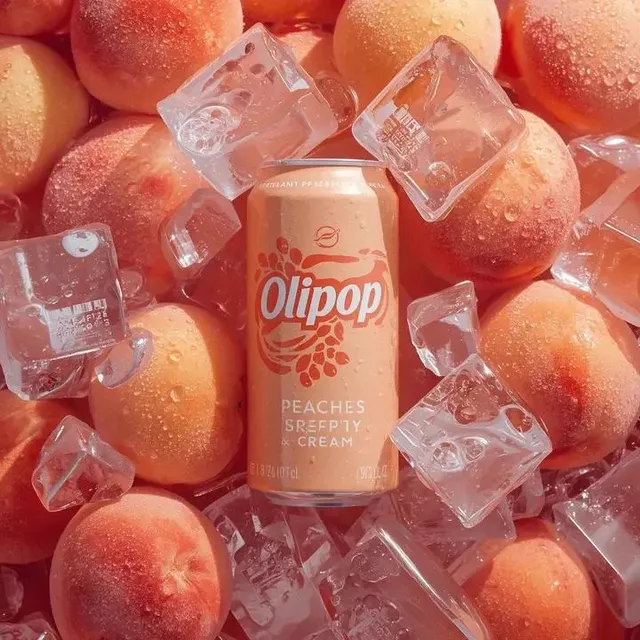
Establishing shots of environments — coastlines, city streets at dusk, forests, interiors — are consistently impressive. So are mood pieces, abstract transitions, weather, atmospheric effects, and slow camera drifts over textured surfaces. Product beauty shots on clean or simple backgrounds work well, especially when the object does not need to be handled. B-roll that would normally require a drone, a stunt coordinator, or an insurance waiver is now the cheapest thing you can make.
Volume is another real advantage. Twenty variations of a shot used to be a scheduling problem. Now it is a queue.
Where they still need human help
Hands remain the classic failure point, particularly when fingers interact with objects. Complex two-person choreography, precise on-screen text, exact product label fidelity, and long uninterrupted takes with continuity are all risky. Physical logic — liquid pouring, a door closing at the right moment, a ball bouncing believably — still breaks down often enough that you should plan a fallback.
The practical conclusion is hybrid work: generate plates and background elements, then finish with conventional editing, motion graphics, and sound design. Models are excellent collaborators and mediocre finishers.
The Building Blocks of a Modern AI Video Workflow
Most production pipelines are assembled from four generation modes. Understanding which mode solves which problem prevents a lot of wasted time.
Text to video
The default mode, and the best for exploration. You describe a shot and get a clip. Use it for ideation, mood boards, and shots where the exact composition matters less than the energy. Weakness: you have limited control over framing, and results vary widely run to run.
Image to video
The most underrated mode. Instead of describing the shot, you supply the first frame — a still you composed, generated, or photographed — and let the model animate it. This gives you near-total control over composition, lighting direction, and subject placement before a single video frame exists. For product work and character shots, image-to-video should usually be your default, not your fallback.
Motion, camera, and reference control
Many models now accept explicit camera instructions: dolly in, crane up, orbit, handheld shake, static tripod. Some support a first and last frame, which effectively lets you keyframe a transition. Others accept a style or subject reference so you can say "this look, this character." These controls are where consistency lives, and they are usually buried in the interface rather than advertised on the landing page.
Audio, voice, and lip sync
Treat audio as a separate pipeline. Voiceover, music, and sound effects almost always sound better when they come from dedicated tools rather than a video model's afterthought audio track. Lip sync works acceptably for talking-head style shots with a clean, front-facing subject; it degrades quickly with profile angles, fast head movement, or heavy occlusion.
Choosing the Right Model: A Decision Framework
Model choice should follow the shot, not the hype cycle. Before you generate anything, answer five questions.
First, realism or stylization? Photoreal models handle skin, fabric, and light differently from stylized models, and a stylized model asked for realism will produce the uncanny middle ground that reads instantly as synthetic.
Second, how long is the shot? If you need eight continuous seconds, you need a model that holds coherence that long. If you need two seconds, almost anything works.
Third, how much control do you need? If the composition is negotiable, text-to-video is fine. If it is not, you need image-to-video or a reference feature.
Fourth, what aspect ratio and resolution does the destination require? Vertical-first platforms punish horizontal masters that were cropped in a hurry.
Fifth, what are the commercial terms? Usage rights vary between models and between tiers of the same model. Check before you build a campaign on a clip.
| Requirement | What to look for | Common mistake |
|---|---|---|
| Product accuracy | Image-to-video, subtle motion | Asking text-to-video to invent the label |
| Series consistency | Subject or style reference, seed control | Regenerating from scratch each time |
| Fast turnaround | Speed-optimized tier, batch queue | Using the slowest quality tier for drafts |
| Cinematic motion | Explicit camera controls | Hoping "cinematic" in the prompt does it |
A Step-by-Step Production Workflow
Stage one: script and shot list
Write the spot as a shot list, not a screenplay. Each line should describe one visual moment: subject, action, setting, framing, and mood. If you cannot picture it in one sentence, the model cannot either. Estimate the total shot count and cut it by a third — beginners almost always over-shoot.
Stage two: lock the look
Before generating motion, generate stills. Produce a handful of reference frames that define palette, contrast, lens character, and the general vibe. Approve those frames before you spend time on video, because changing the look later means regenerating everything.
Stage three: build the hero shot first
The hero shot is the one the edit depends on. Generate it early and iterate until it is genuinely good. It becomes your reference for everything else, and it tells you quickly whether the concept works at all.
Stage four: fill coverage and B-roll
With the look locked and the hero approved, coverage goes fast. Generate three to five options per shot, review in batches, and mark selects immediately rather than building a folder of fifty unnamed files.
Stage five: assemble and finish
Cut to a temp track, then replace the sound. Add grade, grain, and any motion graphics. Export per platform with captions burned in or delivered as a sidecar file.
Prompting Techniques That Improve Output Quality
Prompting for video is closer to directing than to writing. You are describing a shot, not telling a story.
Build prompts from a consistent stack: subject, action, setting, camera, lens, lighting, mood, motion. "A ceramic mug on a walnut desk, steam rising, slow dolly in, 50mm, warm window light from the left, calm morning mood." Every element answers a question the model would otherwise guess.
Describe motion with verbs. "She turns toward the window" outperforms "she looks contemplative," because the second is an interpretation and the first is an instruction.
Avoid abstract emotional briefs. "A story about loneliness" gives the model nothing. "A lone figure at a bus stop, heavy rain, sodium streetlights, static wide shot" gives it everything.
Change one variable per iteration. If you adjust lighting, camera, and wardrobe simultaneously, you learn nothing about which change helped.
Use negative guidance where the tool supports it. Common entries: distorted hands, extra limbs, warped faces, text artifacts, flicker, oversaturated colors.
Finally, keep a prompt library. When a prompt produces a shot you love, paste it into a document with the model name and settings. That document becomes your real production asset.
Quality Control: Diagnosing and Fixing Common Artifacts
Most defects have known remedies, and recognizing them quickly saves entire afternoons.
Morphing limbs and melting geometry usually come from fast motion, wide framing, or long duration. Fix by shortening the clip, tightening the framing, and slowing the action.
Flicker and texture boiling often trace to style variance or an over-ambitious reference. Lock the seed, reduce style strength, and regenerate with a cleaner reference frame.
Warped faces appear most often at a distance. Move the camera closer, or switch to image-to-video using a clean portrait as the first frame.
Garbled on-screen text is not worth fighting. Generate the shot without text and add typography in the edit, where you control kerning, timing, and legibility.
Jittery camera moves come from asking for speed. Gentler move descriptions and shorter durations produce smoother results.
Identity drift across shots is solved with references, not prompts. Supply a character reference and keep the seed stable, then normalize the grade in post.
Keeping Characters, Products, and Style Consistent
Consistency is the difference between a campaign and a collection of clips. Three habits do most of the work.
First, build a character or product sheet. Generate or photograph the subject from multiple angles, with consistent lighting, and keep those images as your reference set. The model should never meet your character for the first time in a prompt.
Second, stabilize the grade in post. Even well-matched generations drift in contrast and color temperature. A single LUT or a manual grade applied to every clip unifies footage faster than any amount of prompt engineering.
Third, document everything. Note the model, the seed, the prompt, and the settings for each approved shot. When a client asks for three more clips in the same look, that document is the difference between a two-hour job and a two-day one.
Formatting, Distribution, and Planning Your Time Budget
Deliverables should be planned before generation. Vertical 9:16 needs different framing than 16:9, not a crop — subjects that sit comfortably in a wide frame get decapitated in a vertical reframe. If most of your distribution is vertical, generate vertical masters and let the horizontal version be the derived asset.
Design for the first two seconds. Assume the viewer arrives mid-scroll with the sound off. Put the strongest visual and a readable text hook at the very top.
Batch your generation. Queue work, then review in a single pass with a consistent eye. Reviewing one clip at a time, over hours, produces inconsistent standards and slow decisions.
On time budget: expect roughly a fifth of your project time on scripting and shot lists, half on generation and iteration, and the remainder on editing, sound, and delivery. Beginners invert this and spend ninety percent of their time generating, which is why their edits feel shapeless.
FAQ
Do I need an expensive workstation to make AI video?
Not for generation, which typically runs in the cloud. A capable machine helps for editing, upscaling, and color work, but a mid-range laptop with a decent editing application covers most needs. The real constraint is review time, not hardware.
Will AI video replace traditional shoots?
For some categories, largely yes — abstract B-roll, environments, motion graphics, and concept visualization. For others — testimonials, hands-on product demonstrations, anything requiring precise human interaction — hybrid approaches still win. The honest answer is that it replaces specific shots, not entire productions.
How long does it take to get good at this?
A week of deliberate practice with a single model will teach you more than a month of casual experimentation. Focus on one shot type, iterate on one variable at a time, and keep notes. Skill compounds fastest when your variables are controlled.
What is the most common beginner mistake?
Over-prompting and over-generating. Long, contradictory prompts confuse models, and generating two hundred clips without a shot list means you spend more time organizing than creating. Write the shot list first.
How do I avoid the generic AI look?
Three things: grade the footage, design the sound, and use real typography. Most "AI-looking" videos are ungraded, use synthetic-sounding audio, and ignore text design entirely. Fixing those three raises perceived production value immediately.
Is it acceptable to mix multiple models in one project?
Absolutely, and it is often the right call. Use one model for environments, another for character close-ups, and a third for stylized transitions. Unify the results with grading and sound so the seams disappear.

Alexander
More Blogs
Read MoreVidu Q4 Alternatives: 4K AI Video Models Compared (2026)
Vidu Q4 alternatives compared: Kling 4.0, Seedance 2.5, Wan 3.0, and Runway Gen-4 — 4K support, input modes, durations, audio, and what each costs in credits on Domer.
Top 4K AI Image Generators in 2026: 5 Models Compared on Real Costs
The top 4K AI image generators on Domer compared: Flux 3 Klein, Nano Banana 2.1, GPT Image 2.5, GPT Image 2, and Nano Banana Pro — 4K credit costs, reference limits, and speed.
Nano Banana 2.1 vs GPT Image 2.5: Which Image Model Should You Use? (2026)
Nano Banana 2.1 vs GPT Image 2.5 Flare compared: credit costs per resolution, aspect ratios, reference images, text rendering, and which tasks fit each model.