
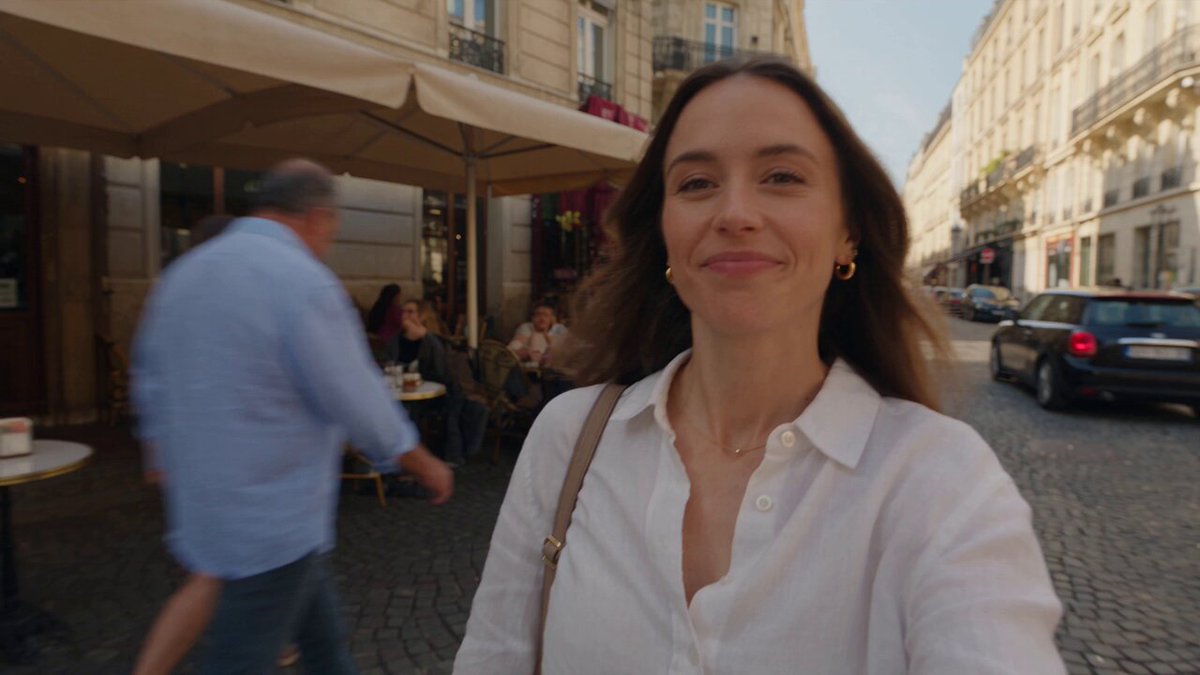
AI Video Generation Workflow: From Prompt to Published Clip
Oct 13, 2026

AI video generation has crossed the line from novelty to routine production tool. Teams that once spent weeks storyboarding a single concept now iterate through dozens of visual drafts in an afternoon, then spend their saved time on the parts that still require human judgment: pacing, narrative logic, brand fit, and distribution. The shift is not about replacing craft. It is about changing where craft gets applied.
This guide walks through a complete, repeatable workflow for turning a written idea into a finished, publishable clip. It covers how the underlying systems work well enough that you can predict their behavior, how to choose between tools, how to structure a prompt so it survives iteration, and how to handle the parts that generators still get wrong. It is written for creators, marketers, and small production teams who need output that holds up outside a demo feed.
Why AI video generation became a core production skill
Three bottlenecks used to define video production: the cost of footage, the cost of iteration, and the cost of specialized labor. Generative systems attack all three at once. A concept that would have required a location scout, a crew, a talent call, and a colorist can now be explored as six rough clips before lunch.
The practical consequence is that the value of a video team shifts upstream. Execution speed is no longer a reliable differentiator, because anyone with a laptop and a subscription can produce motion. What differentiates is taste and systems thinking: knowing which of fifty generated variants is the right one, and knowing how to make the next fifty better.
There is also a distribution-side change. Short-form feeds reward volume and specificity. A single hero video no longer carries a campaign; a set of variations tuned to different platforms, aspect ratios, and opening hooks does. Generating variants is exactly what these tools are good at, which means the workflow has to be designed for many outputs, not one.
How text-to-video systems actually work
You do not need to understand the math to use these tools well, but a rough mental model saves enormous time when results go wrong.
Latent generation and temporal coherence
Most current video models generate in a compressed latent space rather than raw pixels. The model learns statistical relationships between text descriptions and visual patterns, then decodes a latent representation into frames. Temporal coherence — the sense that frame forty belongs to the same shot as frame one — is handled by attention mechanisms that let the model reference earlier frames while generating later ones.
This is why motion often degrades toward the end of a clip. The model has more context to maintain, and small inconsistencies compound. Practically: if a shot falls apart at second six, shorten it rather than re-rolling endlessly.
Why prompts behave non-linearly
Prompt adherence is not a dial. Different concepts have different "difficulty." A lone object on a plain background is easy. Two characters interacting while a third enters frame is hard. Camera language like "slow dolly in" is interpreted more reliably than an emotional direction like "melancholy." Learning which requests are computationally cheap and which are expensive is the single fastest way to raise your success rate.
What the model cannot infer
Models do not know your brand, your character's backstory, or what the shot is for. Anything that is not stated or shown will be invented. That is why reference images and explicit framing notes outperform clever prose.
Choosing the right tool for the job
There is no single best generator. The landscape splits into distinct strengths, and most serious workflows use two or three in combination.
| Need | Tool characteristics to look for | Representative options |
|---|---|---|
| Photoreal motion, camera control | Strong physics, motion brush, camera path inputs | Runway, Kling, Luma |
| Stylized or animated looks | Consistent art direction, style reference input | Pika, Kling |
| Image-to-video with a locked frame | High fidelity to the source image | Runway, Luma, Kling |
| Long, narrative-ish sequences | Shot extension, keyframe chaining | Veo, Runway |
| Fast social variants | Speed, aspect ratio presets, template support | Pika, CapCut integrations |
Decision criteria that matter more than brand loyalty:
- Control surface. Does the tool let you specify camera movement, subject motion, or negative elements? More control means fewer wasted generations.
- Reference support. Can you supply a character sheet, a style frame, or a last-frame handoff? This is the difference between a one-off clip and a repeatable series.
- Duration per generation. Longer native clips reduce stitching artifacts, but shorter clips are easier to control.
- Resolution and aspect ratio options. Vertical-first tools save you a crop step later.
- Iteration cost. How quickly can you see a result and adjust? Speed compounds.
A useful rule: pick one primary generator for hero shots and one fast generator for exploration. Do not evaluate tools by their best output ever produced — evaluate them by their median output on a normal Tuesday.
The end-to-end workflow: from brief to publish
Step 1: Write the shot list before you open any tool
Generate from a list, not from a vibe. A shot list forces you to decide what the audience needs to see. For a thirty-second piece, six to ten shots is typical. Each entry should include: shot number, duration, subject, action, camera, setting, and the purpose the shot serves.
If a shot has no purpose beyond looking good, cut it. Generated footage is cheap; attention is not.
Step 2: Build reference assets first
Before generating anything, assemble a small asset kit:
- Character sheet: two to four images of your subject from different angles, consistent lighting.
- Style frames: screenshots or stills that define color, contrast, and texture.
- Environment plates: backgrounds you will reuse across shots.
- Type and logo layers: keep these out of generation entirely and add them in editing.
Text inside generated frames is unreliable. Never generate your call-to-action; composite it.
Step 3: Construct prompts in layers
A production prompt has five layers, in this order:
- Shot type — wide establishing shot, medium shot, close-up.
- Subject and action — who or what, doing exactly what, in present tense.
- Environment — location, time of day, weather, background activity.
- Camera — movement, lens feel, stability.
- Look — lighting, grade, film stock or render style.
Example skeleton: Medium shot of a cyclist adjusting a helmet on a wet city street at dawn, slow handheld push-in, shallow depth of field, cool desaturated grade, soft overcast light.
Keep it under roughly sixty words. Beyond that, later clauses start competing with earlier ones.
Step 4: Generate in batches and score them
Generate several variants per shot rather than one. Watch each once at normal speed, then once at half speed. Score on: subject accuracy, motion realism, background stability, and whether the first half-second earns attention.
Keep a simple log — shot number, prompt version, seed if available, score, and a note about what failed. This log becomes your most valuable asset, because it lets you reuse what worked instead of rediscovering it.
Step 5: Assemble and cut for rhythm
Drop selects onto a timeline. Cut on motion, not on stillness: an action that continues across a cut hides the seam between two generated clips. If two shots do not connect naturally, insert a one-second insert shot or a hard cut on a beat.
Most generated footage runs two to four seconds on screen. Anything longer needs either strong internal motion or a deliberate slow push.
Step 6: Repair, sound, and captions
Expect to fix three things: faces at small scale, hands, and edge warping on fast pans. Fixes in order of preference: crop, reframe, shorten, replace the shot. Generative inpainting tools handle small repairs; anything larger is faster to regenerate.
Sound then carries the illusion. Add ambience, a music bed, and one or two diegetic effects per shot. Cut music to the edit, not the reverse. Burn in captions for silent-autoplay platforms, and keep them inside the safe area.
Step 7: Export variants, not one master
Export a horizontal master, a vertical cut, and a square cut. For each, create at least two opening variants with different first frames. The opening two seconds determine everything on short-form feeds, so treat it as its own deliverable.
Prompt patterns that hold up in production
A few patterns consistently outperform freeform writing:
Constraint stacking. State what you do not want. "No text, no logos, no crowd in background" prevents the most common failures.
Motion anchoring. Describe one dominant motion and let everything else be still. Multiple simultaneous motions produce mush.
Frame chaining. Use the last frame of shot A as the first frame of shot B. Continuity improves dramatically compared with restating the scene in text.
Style locks. Keep one sentence about lighting and grade identical across every prompt in a project. Vary only subject and camera.
Negative space requests. "Subject on the left third, empty sky on the right" buys room for your text overlays and makes editing easier.
Duration honesty. If the model produces four usable seconds, write your edit around four usable seconds.
Common mistakes and how to fix them
The most frequent failure is treating the generator as a director. It is not. It is a very fast camera operator with no memory of your intent. Everything else follows from that.
- Overloading a single prompt. Fix by splitting into two shots.
- Skipping references. Fix by generating still images first and using them as inputs.
- Ignoring aspect ratio until the end. Fix by choosing the delivery format before generation.
- Judging on a phone screen at 100% zoom. Fix by watching on the actual target device.
- Chasing a shot that will not resolve. Fix with a two-attempt rule: if two prompt revisions fail, change the shot, not the prompt.
- Generating text in frame. Fix by compositing all typography in post.
- No naming convention. Fix early. You will generate hundreds of files, and
shot03_v4_final2is a trap.
Building a repeatable pipeline
Once a project works, turn it into a template. A durable pipeline has four components:
- A prompt library. A running document of proven prompt skeletons with notes on what each one reliably produces.
- An asset library. Character sheets, style frames, environment plates, and audio beds, organized by project.
- A review checklist. Subject accuracy, motion, background stability, brand safety, caption safe area, audio balance.
- A handoff format. Named exports, correct aspect ratios, and a short note describing what each file is for.
Teams that build these three or four artifacts move roughly twice as fast on their second project as their first. The generator is not what compounds; the system around it is.
Platform-native distribution
One master, many cuts. Each platform has its own grammar:
- Vertical short-form. Hook in the first 1.5 seconds, captions on, loop-friendly ending.
- Horizontal long-form. Allow a slower establishing shot and give context before the payoff.
- Square feeds. Crop safe, subject centered, text minimal.
- Owned channels. Use the full-quality master and let the pacing breathe.
Cross-promotion works best when each cut is genuinely made for its home rather than cropped from another. A vertical cut with reframed compositions outperforms a center-cropped master almost every time.
Measuring what actually matters
Vanity metrics tell you a clip was seen. They do not tell you whether it worked. Track three layers:
- Retention. Where do viewers drop? A cliff at second two means your opening failed, not your concept.
- Completion rate. Higher completion on a shorter cut often beats a longer cut with more views.
- Action rate. Clicks, saves, shares, or replies per thousand views.
Then feed results back into production: if openers on your last five clips underperformed, your next batch should include five opening variants, not five new concepts. Iteration beats invention in most feed environments.
FAQ
How long does a typical clip take to produce?
A thirty-second piece with six shots usually takes four to eight hours once your assets and prompt library exist. The first project in a new style takes considerably longer.
Do I need editing software?
Yes. Generation produces shots; editing produces videos. Any capable timeline editor works, and the free options are more than sufficient for short-form work.
How do I keep characters consistent?
Reference images do most of the work. Combine a character sheet, a locked style sentence, and frame chaining between shots. Expect some drift and correct it with crop and color matching.
Should I generate at final resolution?
Explore at lower quality for speed, then regenerate your selects at maximum quality. Most tools produce noticeably different results at different settings, so always do a final pass.
Can generated footage be used commercially?
That depends on the tool's terms and your jurisdiction. Check the current license for each platform you use and keep records of which tool produced which asset.
What is the biggest time saver?
Writing the shot list first. Nearly every wasted hour traces back to generating before deciding what the audience needs to see.
How many variants should I generate per shot?
Three to five for exploration, one or two for reshoots once the look is locked. More than that usually means the prompt is wrong, not unlucky.
Where should a beginner start?
Pick one short, concrete scene with a single subject and one camera move. Master that, then add a second shot and practice connecting them.
The tools will keep changing quickly. The workflow — brief, references, layered prompts, batch review, assembly, sound, variants, measurement — will stay useful for a long time, because it is built around decisions rather than buttons.

Alexander
More Blogs
Read MoreVidu Q4 Alternatives: 4K AI Video Models Compared (2026)
Vidu Q4 alternatives compared: Kling 4.0, Seedance 2.5, Wan 3.0, and Runway Gen-4 — 4K support, input modes, durations, audio, and what each costs in credits on Domer.
Top 4K AI Image Generators in 2026: 5 Models Compared on Real Costs
The top 4K AI image generators on Domer compared: Flux 3 Klein, Nano Banana 2.1, GPT Image 2.5, GPT Image 2, and Nano Banana Pro — 4K credit costs, reference limits, and speed.
Nano Banana 2.1 vs GPT Image 2.5: Which Image Model Should You Use? (2026)
Nano Banana 2.1 vs GPT Image 2.5 Flare compared: credit costs per resolution, aspect ratios, reference images, text rendering, and which tasks fit each model.