
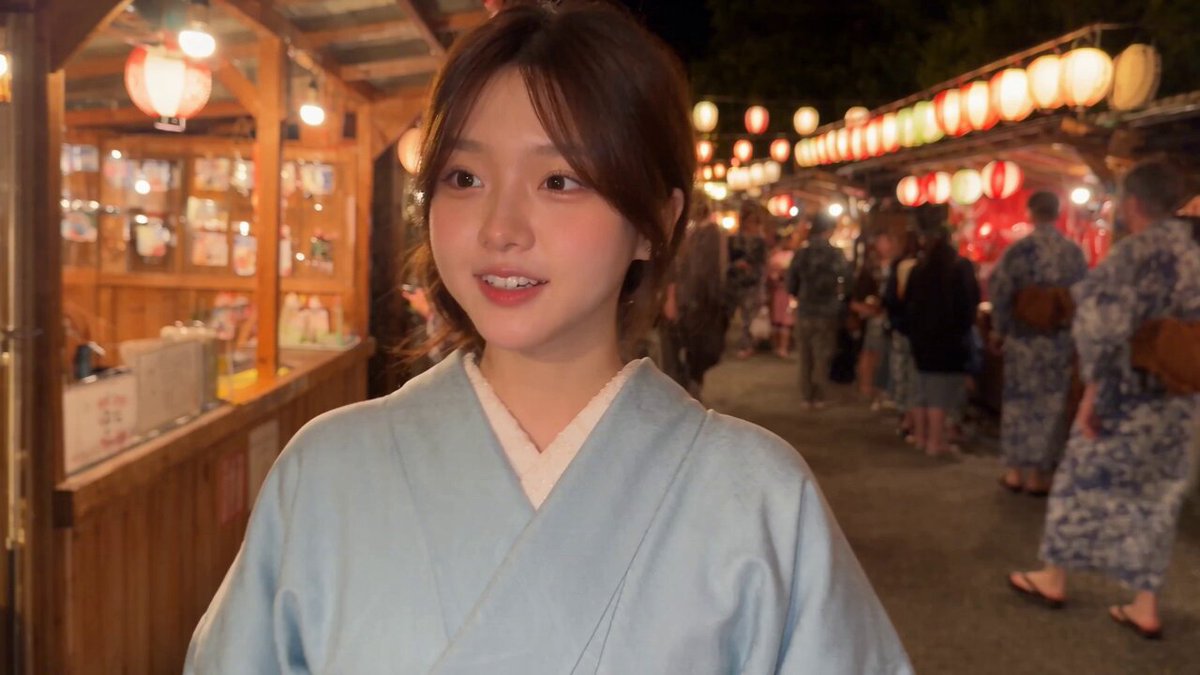
AI Video Generator Guide: Beyond Talking-Head Avatar Tools
Oct 13, 2026
Why talking-head video was only the beginning
For years, the fastest way to produce a video with AI was to paste a script into a presenter platform, choose a stock avatar, and press export. Services like Synthesia and HeyGen solved one problem extremely well: turning written copy into a spoken, subtitled, brand-consistent video without a camera, a studio, or a person on screen. For onboarding modules, compliance training, and internal announcements, that scope is still perfectly adequate.
A talking head, however, is one shot type inside a much larger visual vocabulary. As soon as teams began using generated footage for marketing films, explainers, product reveals, and short-form storytelling, avatar-first production hit a ceiling. You cannot shoot a chase sequence from a presenter template, show a device exploding into its components, or build a title sequence that bends light around a logo. Matching the pacing of a modern social edit, where a new visual idea lands every second or two, is nearly impossible with a single template.
The useful question is therefore no longer “which AI video tool should we buy?” It is “which combination of models gives us the look, motion, and consistency this project needs?” The rest of this guide answers that question in a way you can repeat on the next project, the one after that, and the one where the client changes the brief halfway through.
What generative video does well — and where it still breaks
Modern text-to-video and image-to-video systems are genuinely strong at a specific set of tasks. Being honest about the boundary between strong and hopeless is the single biggest time saver in AI production.
What works reliably:
- Atmosphere and environment shots. Establishing shots, weather, landscapes, cityscapes, abstract backgrounds, and product beauty shots are usually convincing within two or three attempts.
- Short, motivated actions. A hand reaching for an object, a door opening, a car pulling away, a character turning toward camera. Three to five seconds of clear action is the sweet spot.
- Stylization. Anime, claymation, charcoal sketch, retro VHS, architectural visualization, and painterly looks are all achievable through prompts or reference images.
- Continuity inserts. Close-ups of hands, feet, props, textures, and reflections that let you cut around an imperfect wide shot.
- Slow camera language. Dolly-ins, gentle pans, and crane moves read as intentional rather than synthetic.
Where they still break down:
- Long continuous takes. Beyond roughly eight to ten seconds, coherence degrades. Faces drift, hands multiply, and physics starts to wobble.
- Complex multi-character interaction. Two people shaking hands, fighting, or dancing in the same frame remains unreliable.
- Precise text and logos. Rendered lettering is almost always wrong. Add text in the edit, never in the generation.
- Fast camera choreography. Slow moves work; whip pans and complicated blocking usually do not.
- Repeatable characters. The same face across many shots requires deliberate technique, not luck.
Knowing this list in advance prevents an enormous amount of wasted generation time. A large share of frustration in AI video work comes from asking a model to do something no current model does well, then blaming the tool.
A decision framework: match the model to the shot
Instead of hunting for one tool that does everything, break the project into production jobs and assign a model family to each. This is how professional teams now structure work.
Five production jobs, five tool types
- Presenter and dialogue video. Script-driven, lip-synced, talking to camera. Avatar platforms and specialized lip-sync models win here because they prioritize facial accuracy and pronunciation over cinematic motion.
- Cinematic b-roll and narrative shots. Camera movement, lighting, depth of field, physical plausibility. Models tuned for realism and physics are the right choice.
- Stylized and animated sequences. Illustrative, graphic, or animated looks where photorealism is not the goal.
- Motion and effects. Particle explosions, light trails, transitions, title animations, and abstract loops. Often faster to generate than to hand-animate.
- Finishing. Upscaling, frame interpolation, denoising, stabilization, background removal, and relighting, which turn usable generations into deliverable shots.
Criteria that actually predict success
When you evaluate any model, score it against these seven criteria rather than against a demo reel:
- Prompt adherence. Does it do what you asked, including camera direction and subject count?
- Motion realism. Do bodies, cloth, liquids, and vehicles behave plausibly?
- Temporal consistency. Does the identity of the subject hold for the full clip?
- Starting-image fidelity. If you provide a frame, does it stay close to that frame?
- Controllability. Can you specify duration, aspect ratio, motion strength, or a camera path?
- Iteration speed. How fast is the feedback loop, and how many attempts does a usable clip usually take?
- Output headroom. Is there enough resolution and bitrate to cut into a 1080p or 4K timeline?
A model that ranks second on raw realism but first on iteration speed often delivers the project faster. On deadline-driven work, the feedback loop matters more than the peak quality of a single heroic shot.
How the main model families behave in practice
Cinematic realism and physics
Models in this family excel at lighting, lens behavior, and material surfaces. They handle reflective floors, volumetric haze, and shallow depth of field convincingly, and they respond well to photographic vocabulary such as lens length, aperture, and time of day. They are the default choice for product films, brand manifestos, and dramatic narrative inserts.
Trade-offs: slower generation, higher sensitivity to prompt phrasing, and a tendency to invent extra subjects when the prompt is vague. Prompt discipline matters more here than anywhere else.
Dialogue and presenter video
This family is optimized for faces, mouths, and speech. Its strengths are phoneme accuracy, stable head motion, and consistent identity across a long script. If a scene is a person explaining something to camera, these tools will beat a cinematic model almost every time — and they will produce it in a fraction of the attempts.
Trade-offs: limited camera language, limited environments, and a distinct “studio” look unless you deliberately shoot them against generated backgrounds or composite them into a plate shot later.
Motion, stylization, and experimentation
Here you find the models that produce wild camera flights, morphing transitions, anime motion, and graphic loops. They are less predictable and less physically accurate, which is precisely why they are useful for title sequences, music-video inserts, and social hooks. Treat the output as texture rather than as a shot you can fully control.
Enhancement and finishing
The unglamorous layer that determines whether a project looks professional. Upscaling models increase resolution and often repair small artifacts. Frame interpolation smooths motion when you need to slow a clip down. Relighting and matting tools let you drop a generated subject into a real or virtual background. Budget a finishing pass on every shot, not just the hero ones.
A repeatable end-to-end workflow
The following sequence works for a 30-second social spot, a two-minute explainer, or a five-minute brand film. Adjust the number of shots, not the order.
Step 1: Brief, script, and shot list
Write the script first, then convert it into a numbered shot list. Each line should describe one visual idea that lasts two to six seconds. If a line describes two ideas, split it. Caption-style formats rarely need more than twenty shots; a narrative piece usually needs thirty to sixty.
For each shot, note four things: what the camera sees, how it moves, how long it lasts, and which model family is likely to handle it best. This last column is what turns a chaotic generation session into a production schedule.
Step 2: Look development before mass generation
Generate five to ten test stills or short clips that establish palette, lighting, and texture. Lock the look before you generate dozens of shots. Skipping this step is the most common reason projects end up with three incompatible visual styles that cannot be cut together.
Build a small style guide from the winners: reference images, a written description of lighting and grade, and a list of banned elements such as lens flares or oversaturated teal shadows. Anyone generating shots should have this open beside them.
Step 3: Generation in passes, not shot by shot
Work in passes by category rather than finishing one shot at a time:
- Pass one — blocking. Generate every shot at the lowest acceptable quality. The goal is coverage, not perfection. Judge only composition and action.
- Pass two — selects. Replace the weakest shots. Roughly a third of pass-one clips will be unusable; expect it.
- Pass three — polish. Re-generate the strongest shots with better prompts, higher resolution, or an image-to-video start frame taken from a previous good take.
This approach keeps the whole edit coherent. If you perfect shot one for a week, you will discover in the edit that the pacing is wrong and shot one no longer belongs.
Step 4: Voice, sound, and lip sync
Audio carries more perceived quality than most creators expect. A mediocre image with excellent sound reads as professional; a beautiful image with hollow audio reads as fake.
- Record or synthesize the voice track first, then cut visuals to that timing.
- Use room tone and a light music bed under every scene, even quiet ones.
- Add foley for any action the audience can see: footsteps, cloth, clicks, whooshes.
- For talking-head shots, generate the voice before the lip sync so mouth shapes match the actual performance.
- Keep loudness consistent across the whole piece, typically around -14 LUFS for web delivery.
Step 5: Editing, color, and delivery
Cut in a standard editor rather than trying to assemble inside a generation tool. You get real timelines, real transitions, and real versioning. Then:
- Trim every clip to its strongest two or three seconds. Generated clips almost always have a weak start or end.
- Apply a unifying grade. A slight contrast curve and a shared color temperature will make mixed sources feel intentional.
- Add grain, vignette, or a subtle halation pass to unify footage from different models.
- Export masters in the aspect ratios you actually need: 16:9, 9:16, and 1:1 are the usual trio.
Prompt grammar for directable scenes
Most weak prompts fail because they describe a mood instead of a shot. Use a consistent structure and fill it in:
Subject + action + environment + camera + lens + lighting + grade + duration + negatives
A worked example:
A middle-aged cyclist in a rain jacket coasts down a wet coastal road, water spraying from the rear tire. Camera tracks alongside at a steady speed, medium shot. 35mm lens, shallow depth of field. Overcast late-afternoon light, soft shadows. Muted teal and grey grade, fine grain. Four seconds. No text, no logos, no extra people.
Why this works: every clause gives the model a decision to make correctly. Compare it with “a cyclist on a road, cinematic,” which gives the model nothing and produces a different result every time.
Three prompt habits worth adopting:
- State the shot size and camera move explicitly. “Wide establishing, slow dolly-in” outperforms “epic shot.”
- Count your subjects. “One person, one suitcase” prevents the model from casting a crowd.
- Use negatives for known failure modes. Text, watermarks, extra limbs, duplicate faces, and jump cuts are worth excluding every single time.
Time, iteration, and budget planning
Plan generative work the way you would plan a photo shoot: with a shoot ratio. In practice, expect to generate three to six clips for every one you keep, and to keep roughly half of what you first consider good once the edit is assembled.
A workable planning model for a two-minute film with thirty shots:
- Generation attempts: 90 to 180 clips.
- Editing and sound: about as long as generation, sometimes longer.
- Finishing pass: 15 to 25 percent of total project time.
If your schedule does not include the edit and finishing time, the project is not under-resourced in the way you think — it is under-scoped. The most common planning error in AI video is assuming generation is the whole job.
Seven mistakes that cost the most time
- Chasing one perfect tool. Different shot types need different models. Build a small stack and stop looking for a single winner.
- Skipping look development. You will regenerate everything later, at twice the effort.
- Prompts written as prose poetry. Vague prompts produce vague results. Describe shots, not vibes.
- Generating at final resolution from the start. Iterate cheap and fast, then finish at quality.
- Ignoring sound until the end. Audio changes pacing decisions, so it belongs in the middle of the process, not the last hour.
- Using long clips because they exist. Two strong seconds beat an eight-second clip that drifts.
- No naming convention. Untitled clip 47 versions later is a project you cannot finish cleanly. Name by scene, shot, and take.
Pre-delivery quality checklist
Before exporting, run through this list once with fresh eyes:
- Every clip trimmed to its strongest moment.
- No visible text artifacts, warped faces, or extra fingers in frame.
- Consistent color temperature and contrast across all sources.
- Audio loudness matched, no clipping, room tone under dialogue.
- Correct aspect ratios and safe margins for captions.
- Captions burned in or delivered as a separate file, per platform.
- Character names, product spellings, and legal lines verified by a second person.
- Master files archived with project files, prompts, and reference images.
FAQ
Do I still need an avatar platform if I use cinematic models?
Often yes, for any shot where a person explains something directly to camera. Avatar and lip-sync tools are simply more reliable for that specific job. Most production stacks include one presenter tool plus two or three generative video models.
How do I keep the same character across many shots?
Generate a clean reference image first, then use it as the starting frame or reference for every subsequent clip. Describe the character identically in every prompt, including clothing and hair. For maximum consistency, use image-to-video rather than text-to-video for all dialogue and close-up shots.
How long should a single generated clip be?
Two to five seconds for anything involving people or complex motion. Longer clips are fine for landscapes, slow camera moves, and abstract backgrounds, where the audience is not tracking identity.
Can I mix footage from different models in one video?
Yes, and most professional work does. Use a unifying grade, shared grain, and consistent sound design. The audience notices light and sound continuity far more than subtle differences in rendering style.
What resolution should I target?
Generate at whatever is fast enough to iterate, then upscale the selects to your delivery resolution. Editing proxies make this practical even on modest hardware.
Is frame interpolation worth using?
For slow motion, yes. For normal-speed playback, it can introduce warping around edges and faces. Test on a short clip before applying it to a whole sequence.
How do I handle likeness and consent?
Only generate real people, voices, or brands you have permission to use. Keep written consent on file for any recognizable face or voice, and avoid prompts that recreate a specific living person without authorization.
What is the fastest way to improve output quality?
Better lighting language in the prompt and a stronger starting frame. Those two changes produce a bigger visible jump than switching models.
Building a stack you can reuse
Once a project ships, write down what worked: which model handled each shot type, the prompts that landed, and the number of attempts it took. Within two or three projects you will have a personal playbook far more valuable than any list of tools, because it reflects your genre, your style, and your deadline reality.
The shift from single-tool thinking to workflow thinking is what separates work that looks like a demo from work that looks like a film. Avatar platforms are one instrument. Cinematic models are another. Enhancement, sound, and editing are the room they play in. Choose the shot, choose the instrument, and keep the edit in charge from the first frame to the last.

Alexander
More Blogs
Read MoreMontaggio video rapido: transizioni e software per l'AI
Guida pratica al montaggio video rapido con AI: transizioni fluide, software, workflow, coerenza visiva, errori da evitare e FAQ operative.
Building an AI Video Production Workflow From Concept to Cut
A practical guide to planning, generating, editing, and finishing AI-assisted videos with consistent characters, clear shot lists, and reliable review loops.
A Repeatable Post-Production Workflow for Polished AI Video
Build a repeatable AI video post-production pipeline: organize assets, cut story-first, design transitions, refine audio, and review versions calmly.