
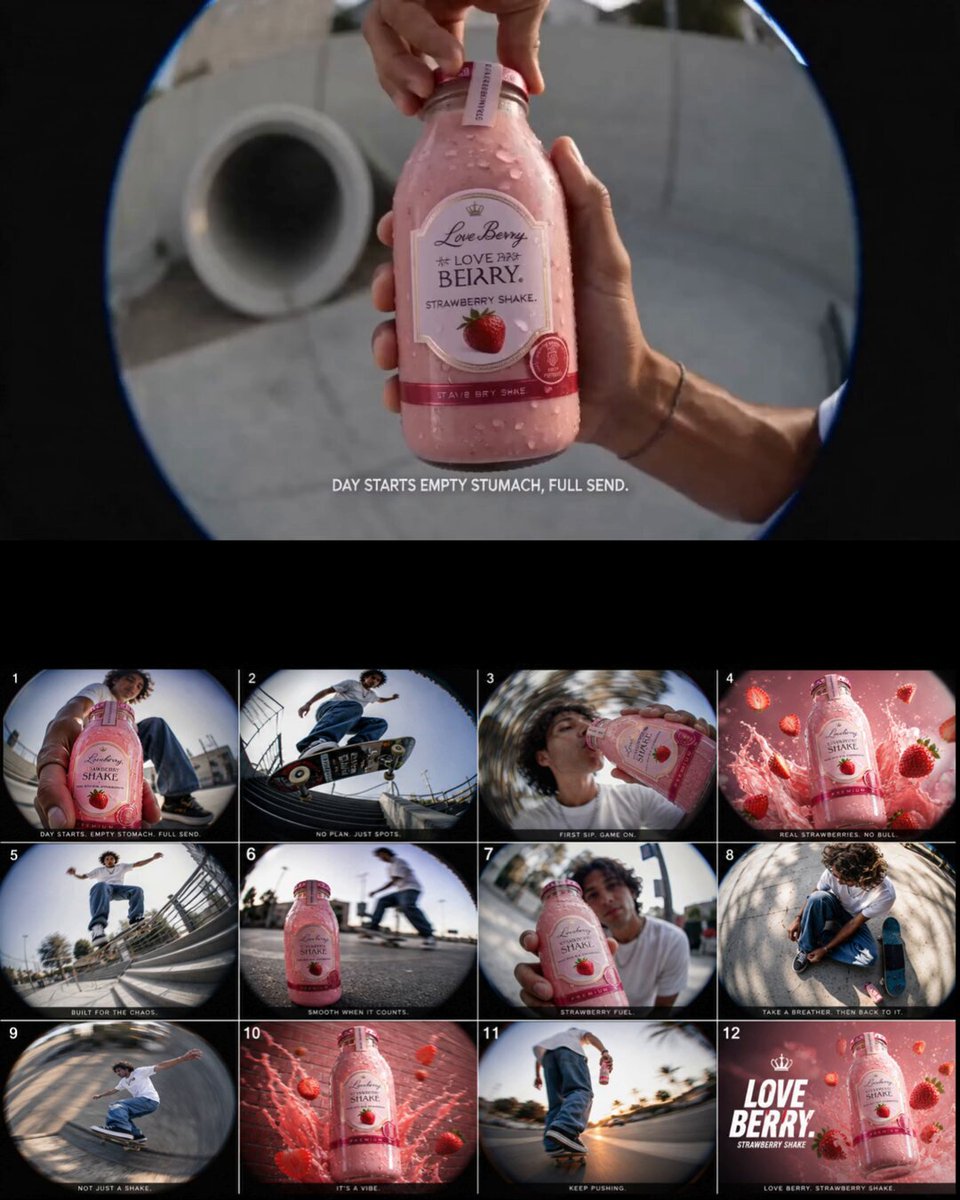
AI Video Generator Workflow: A Practical Creation Guide
Oct 13, 2026
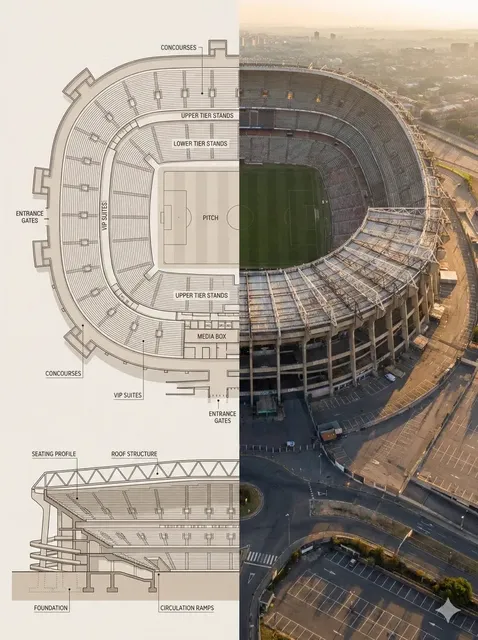
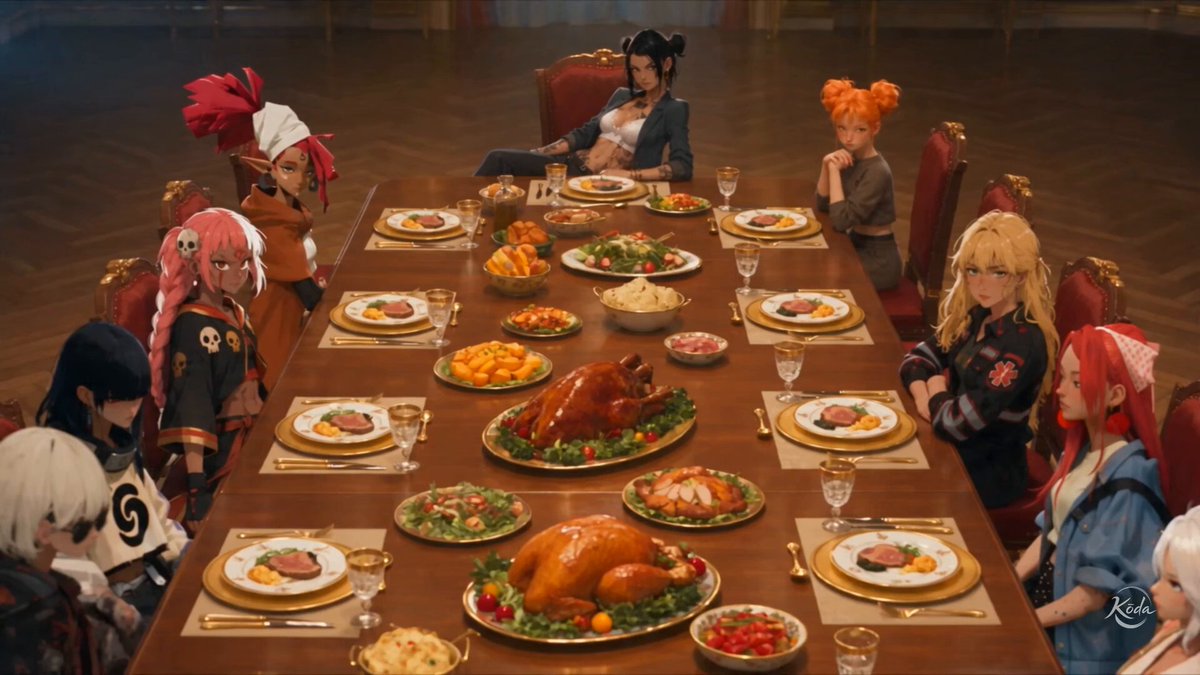
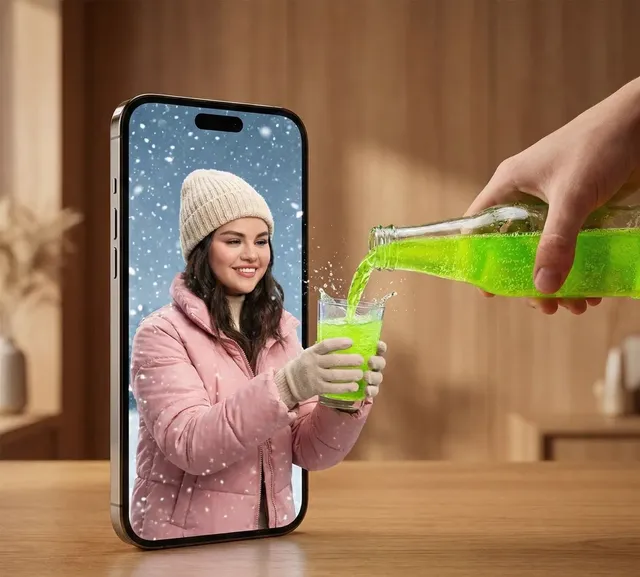
Generative video tools have moved from novelty to daily utility. What used to require a camera crew, a lighting kit, and a week of editing can now start as a sentence typed into a browser tab. That shift is genuinely useful, but it also creates a new kind of confusion: the tools look similar on landing pages and behave very differently once you actually try to produce something coherent.
This guide is not about which brand wins a feature checklist. It is about the workflow that sits between an idea and a finished video — the decisions you make before generating, the prompts you write, the assets you reuse, the audio you layer in, and the quality checks that separate a usable clip from an expensive experiment. Whether you are producing social shorts, product explainers, training content, or narrative sketches, the same production logic applies.
What an AI Video Generator Actually Does
Under the interface, most modern video generators follow a similar pipeline. Your prompt or reference image is converted into an embedding, a diffusion-style model predicts a sequence of frames in a compressed latent space, a temporal layer keeps those frames from drifting apart, and a decoder plus upscaler turns the result into something you can play back. Some systems add motion priors, optical flow interpolation, or a second pass that sharpens faces and edges.
Knowing that pipeline explains most of the tool's quirks. Temporal consistency is the hardest problem, which is why fast motion, overlapping limbs, and objects entering and leaving frame are where artifacts appear. The model has no persistent memory of your previous shots, which is why characters change hairstyles between generations. And because resolution is often produced at a lower internal size and upscaled afterward, fine text and thin lines tend to smear.
So the practical takeaway is this: generative video is excellent at mood, motion, texture, and stylized sequences. It is weak at precise choreography, readable on-screen text, long dialogue scenes, and continuity across many shots. A good workflow leans on the strengths and engineers around the weaknesses instead of fighting them.
Understand the Three Core Generation Modes
Almost every platform offers variations on three modes. Choosing the right one for each shot is the single biggest factor in how much time you waste.
Text-to-video
You describe a shot and the model invents everything: subject, environment, camera movement, lighting. This is the most flexible mode and the least controllable. It shines for establishing shots, abstract transitions, atmospheric b-roll, and concept exploration. Treat early outputs as sketches rather than finals — generate several variations, then pick the one whose motion reads best at thumbnail size.
Write prompts that describe a moment, not a story. "A wide, slow-rising shot of a rain-slicked street at dusk, neon reflections on asphalt, camera drifting right" gives the model a camera instruction and a lighting instruction. "A sad man thinking about his life" gives it almost nothing it can render.
Image-to-video
You supply a still frame and the model animates it. This is the workhorse of professional workflows because it locks composition, color palette, and subject identity before generation begins. That control is worth a lot: you can art-direct in a still image editor, then animate.
Image-to-video is also the safest path to brand consistency. If you have approved key visuals, packaging shots, or character sheets, animate those rather than describing them from scratch.
Video-to-video and style transfer
Here you feed existing footage in and ask the model to restyle it — live action into animation, day into night, realistic into painterly. Because the original motion is preserved, temporal artifacts drop dramatically. This is the most reliable mode for anything with human movement, dance, sport, or complex camera work.
If you can shoot or license even rough reference footage, video-to-video will usually beat text-to-video on realism and beat image-to-video on motion quality.
Build a Prompt Framework That Gets Repeatable Results
Random prompting produces random output. A fixed prompt skeleton produces output you can actually direct.
The six-slot formula
Structure every prompt around six slots: subject, action, environment, camera, lighting, and style. Keep the order stable so you can change one variable at a time and learn what caused the difference.
- Subject: who or what, with two or three defining details
- Action: one clear verb phrase, present tense
- Environment: location, weather, time of day, background elements
- Camera: shot size plus movement (close-up, dolly in, handheld drift)
- Lighting: direction, quality, color temperature
- Style: medium and mood (documentary, claymation, high-gloss commercial)
A finished prompt might read: "A ceramicist's hands shaping a bowl on a spinning wheel, medium close-up, warm workshop at golden hour, soft window light from the left, slow dolly in, shallow depth of field, muted earth tones, documentary realism." Every slot is present, nothing is decorative.
Negative prompts and exclusions
Most tools let you list what to avoid. Be specific and boring: "no text overlays, no watermark, no extra fingers, no rapid cuts, no lens flare." Vague negatives such as "no bad quality" do nothing. If a defect keeps recurring, name the exact artifact.
Iterating without starting over
Change one slot per generation. If you alter subject, camera, and style simultaneously, you will not know which change fixed the shot. Keep a simple log of prompt, seed, and result so you can return to a version that worked two hours ago. Seed control plus a fixed prompt skeleton is the closest thing to a reproducible shot in generative video.
Plan the Scene Before You Spend a Single Generation
Generation runs cost time. Planning costs minutes. Do the planning.
Start with a shot list written in plain language: what the viewer must see, in what order, and why. For a thirty-second product spot, that might be five shots — context, problem, product reveal, detail, call to action. For a training module, it might be twelve short shots with a consistent narrator.
Next, decide the technical envelope: aspect ratio, target duration per clip, and resolution. Vertical for social, horizontal for web and presentation, square for feed placements. Keep individual clips short. Most models hold coherence far better in the four-to-eight-second range, and short clips are easier to regenerate when one fails.
Then define the look once: palette, lens character, lighting style, and grade. Write it into every prompt verbatim. Consistency comes from repetition, not from hoping the model remembers.
Finally, decide what must be real. Logos, product labels, on-screen text, and faces that must match a real person should be produced in an editor, not by the model. Generate the plate, then composite the precise elements on top.
Reusing Assets: Reference Images, Footage, and Style Transfer
Asset reuse is where experienced creators pull ahead. A library of clean reference images and short clips is worth more than any single clever prompt.
Reference-image hygiene
Use the highest resolution source you have. Check that lighting direction, lens perspective, and color grade match the shot you intend to animate. If you are animating a character, keep the same reference across all shots and change only the environment and camera in the prompt. Crop distractions out of reference images before uploading — the model will happily animate whatever it can see, including clutter you forgot was there.
Style transfer without losing subject identity
Style transfer works best when the style reference and the content reference are separate inputs. Feed one image for look (illustration style, film stock, painting technique) and another for content (your subject, your location). If you only supply a single combined image, expect the model to blend subject and style unpredictably.
When identity matters, generate at moderate strength and accept a gentler restyle. Aggressive stylization will deform faces and hands, and no editor can fully repair that.
Audio: Voiceover, Music, and Sound Design
Silent video feels unfinished, and viewers forgive a mediocre image far more readily than bad audio. Build the soundtrack deliberately.
AI voice synthesis
Modern voice models produce natural pacing, breath, and emphasis, especially when you feed them punctuation-aware scripts. Write for the ear: short sentences, active voice, one idea per line. Add pronunciation hints for brand names and technical terms. Generate two or three takes with different pacing and pick the best, rather than accepting the first pass.
For multilingual versions, generate each language separately rather than translating a waveform. Meaning and emphasis rarely survive a machine translation of speech.
Music and sound effects
Licensed libraries and generated music both work, but keep the track simple. Ambient beds, light percussion, and single-instrument motifs interfere less with narration than dense arrangements. Cut music under the voice, then lift it slightly in gaps.
Sound effects are the cheapest quality upgrade available: a whoosh on a transition, a soft click on a UI animation, a low rumble under a dramatic reveal. Place effects on the frame where the action lands, not a beat later.
Editing and Assembly: Turning Clips into a Finished Cut
Generation is maybe half the work. The other half happens on a timeline.
Import clips, label them by shot number, and build a rough cut before you polish anything. Watch it end to end without stopping and note where attention drops — that is usually a shot that is too long or a transition that is too cute.
Cut on motion. If a camera move is already drifting right, cut to the next clip as it completes the move. This hides the fact that the two clips were generated independently.
Normalize color before adding a stylistic grade. Generated clips often vary in exposure and white balance, and a simple matching pass across all shots does more for perceived quality than any filter preset.
Add captions burned in or as a separate track. Most social viewing is muted, and captions also improve accessibility. Finally, check loudness consistency: dialogue should sit at the same level across every shot, with music and effects balanced beneath it.
Scaling Your Workflow: Batching, Templates, and Consistency
Once a format works, it should be repeatable.
Batch generation
Generate multiple variations of every shot in one pass and choose afterward. Ten variations of four shots beats one variation of forty shots, because selection is faster than iteration. Queue batches overnight or during meetings, and keep a naming convention that encodes project, shot, and version.
Character and style consistency
Consistency has three ingredients: a fixed reference image, a fixed style paragraph pasted into every prompt, and a fixed seed where the tool allows it. If a character appears in many shots, generate a turnaround of angles first, pick the best, and use it everywhere.
Template systems
Build reusable prompt templates for the formats you produce repeatedly — product reveal, testimonial b-roll, explainer transition, title background. Store them with example outputs so a collaborator can reproduce your results without a briefing call. Templates turn a creative skill into a process, which is what allows a small team to publish consistently.
Quality Control: A Practical Checklist Before You Publish
Run every project through the same checks. Skipping this step is how small defects reach the audience.
- Motion: watch at full speed and at half speed. Look for warping limbs, melting edges, and objects that change shape mid-shot.
- Faces and hands: zoom in. These are the most common failure points and the most noticed by viewers.
- Text and logos: verify that nothing on screen is garbled. If it is, remove it and composite the real asset.
- Continuity: check wardrobe, hair, props, and light direction across consecutive shots.
- Audio sync: confirm lip movement and speech align within a couple of frames.
- Loudness and clipping: listen on phone speakers and headphones.
- Aspect ratio and safe areas: make sure captions and key action sit inside the crop for every platform you target.
- Brand rules: colors, spelling, and legal claims verified by a human, not the model.
If a shot fails three checks, regenerate it rather than trying to fix it in post. Fixing a broken generation usually costs more than a new one.
Common Mistakes That Slow Down AI Video Projects
Most delays are self-inflicted and repeatable. Here are the ones worth avoiding.
- Writing prompts like briefs. A brief explains intent; a prompt describes a visible moment. Translate one into the other before generating.
- Changing too many variables at once. You lose the ability to learn what worked.
- Generating long clips. Short clips stay coherent and are cheaper to replace.
- Ignoring reference images. If you can art-direct a still, do it — animation is downstream of composition.
- Leaving audio until the end. Build the voice track early; it dictates pacing and clip length.
- Expecting perfect on-screen text. Render text in the editor every time.
- Skipping the rough cut. Reviewing clips in isolation hides rhythm problems that only appear in sequence.
- No naming convention. Without versioned file names, you will regenerate work you already finished.
- Chasing realism when stylization would work better. A stylized look hides artifacts and ages more gracefully.
- Never archiving prompts. Your prompt library is the most valuable asset you build.
FAQ
How long should each generated clip be?
Aim for four to eight seconds for most shots. Longer clips increase the chance of drift, and short clips make it easy to swap out a single weak moment without rebuilding the sequence. For slow, ambient footage, you can stretch to ten seconds and then slow the clip slightly in the edit.
Do I need to shoot reference footage?
No, but it helps more than any other single investment. Even phone footage of a real location or movement gives the model accurate motion cues, and video-to-video restyling typically produces fewer artifacts than pure text generation.
Why do characters change appearance between shots?
Because each generation is independent. Fix it with a consistent reference image, an identical style paragraph in every prompt, and a fixed seed where available. Expect to regenerate two or three times per shot regardless; plan for it rather than being surprised by it.
Is AI-generated voice good enough for professional narration?
For explainers, training, and social content, yes — when the script is written for speech and you generate multiple takes. For brand films or anything emotionally nuanced, a human narrator still reads subtext better. A hybrid approach works well: AI for long-form volume, human for the hero piece.
What resolution should I generate at?
Generate at the highest resolution your tool supports comfortably, then downscale for delivery. Upscaling a small generation rarely recovers detail, while downscaling a large one improves apparent sharpness and reduces noise.
How do I keep a series visually consistent across weeks of production?
Write down your look as a reusable block of text — palette, lens, lighting, grade — and paste it into every prompt. Save reference images, seeds, and prompt templates in one shared folder. Consistency is a documentation problem more than a model problem.
Putting the Workflow Together
The strongest results come from treating generative video as one stage in a production pipeline rather than a magic button. Plan the shot list, choose the generation mode that matches the shot's risk level, write prompts with a fixed structure, reuse clean assets, build audio early, edit on a timeline, and run a consistent quality check before publishing.
Start small: one format, one template, one checklist. Produce three videos with the same process and refine what is slow. That repetition is what turns an interesting tool into a reliable creative capability — and it is the part no generator can do for you.

Alexander
More Blogs
Read MoreVidu Q4 Alternatives: 4K AI Video Models Compared (2026)
Vidu Q4 alternatives compared: Kling 4.0, Seedance 2.5, Wan 3.0, and Runway Gen-4 — 4K support, input modes, durations, audio, and what each costs in credits on Domer.
Top 4K AI Image Generators in 2026: 5 Models Compared on Real Costs
The top 4K AI image generators on Domer compared: Flux 3 Klein, Nano Banana 2.1, GPT Image 2.5, GPT Image 2, and Nano Banana Pro — 4K credit costs, reference limits, and speed.
Nano Banana 2.1 vs GPT Image 2.5: Which Image Model Should You Use? (2026)
Nano Banana 2.1 vs GPT Image 2.5 Flare compared: credit costs per resolution, aspect ratios, reference images, text rendering, and which tasks fit each model.