
AI Video Generator Workflow: A Practical Production Guide
Oct 13, 2026


What Changed in AI Video Production
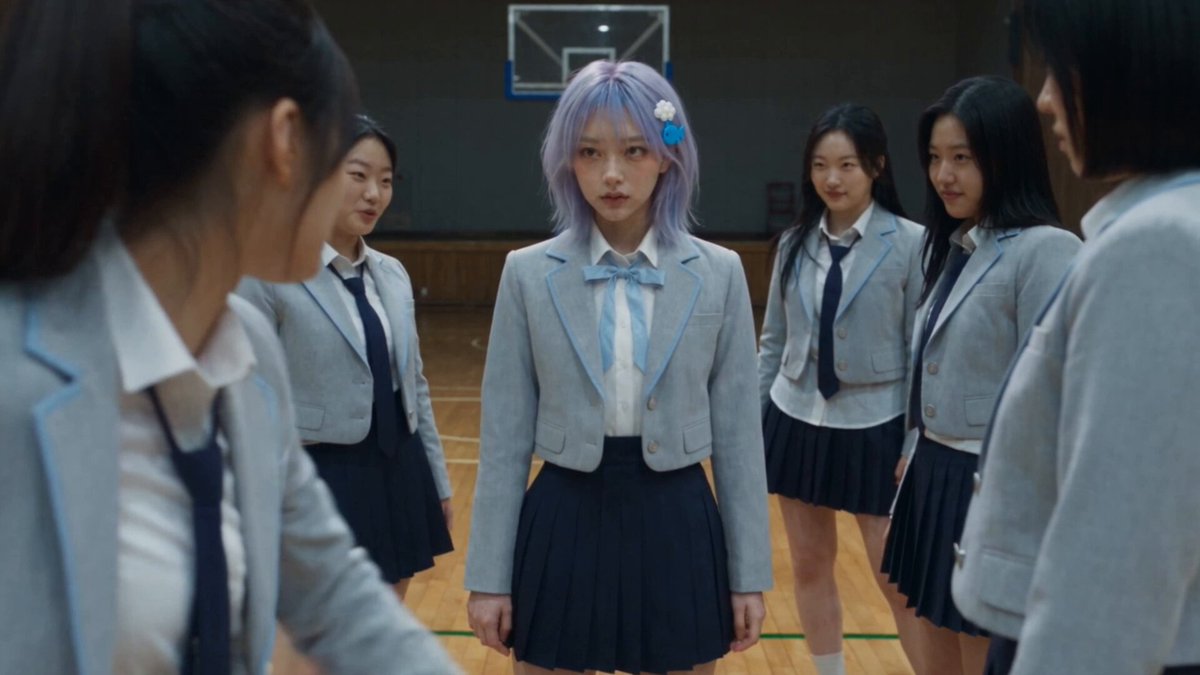
For most of the past decade, "AI video" meant one of two things: an animated avatar reading a script in a slightly uncanny voice, or a five-second clip that looked astonishing in a demo reel and completely unusable in a real campaign. Both of those impressions are now out of date. Modern generators hold a character's face across multiple shots, follow camera instructions, render believable motion in water and fabric, and produce audio that lines up with lip movement. The practical consequence is that video teams have started treating AI as a production stage rather than a novelty.
The more important shift is structural. A single tool that produces gorgeous clips is not a video strategy. A pipeline that reliably turns a brief into a finished, on-brand, captioned, multi-format deliverable is. That pipeline includes a script stage, a shot list, reference assets, generation passes, audio, editing, quality control, and delivery variants.
This guide walks through that pipeline in practical terms: how to choose generators shot by shot, how to keep characters and visual styles consistent, how to prompt for motion instead of still frames, how to handle voice and sound, and how to troubleshoot the failures that still happen every week. It stays deliberately tool-agnostic. Names like Synthesia, Runway, Pika, Luma, Kling, and Veo appear as examples, but the method outlives any particular model, because models rotate faster than workflows do.
The Anatomy of a Reliable AI Video Pipeline
Every dependable AI video workflow contains five stages. Skipping any one of them is what produces the familiar result: a beautiful clip that cannot be extended into a coherent video.
Stage 1: Script and beat sheet
Write the script as if no AI existed. Then break it into beats — one idea per beat, roughly one shot per beat. A 60-second explainer usually lands between 8 and 14 beats. Beats that carry emotion need more screen time than beats that carry information, so allocate duration accordingly rather than evenly.
Stage 2: Shot planning and asset preparation
For each beat, define the shot: subject, action, framing, camera movement, lighting, and duration. This is where you decide whether a shot should be a talking head, a generated scene, a screen recording, motion graphics, or stock footage. Generated video is expensive in both time and money, so reserve it for shots that actually need it. A product close-up that exists as a real photo will always beat a generated approximation of the same product.
Stage 3: Generation
Generate in low resolution first. Animatics at 480p or 720p are enough to judge whether the motion, framing, and character read correctly. Only after approval do you spend the larger render on the final resolution. This single habit cuts production time dramatically because most failed generations are visible instantly at low resolution.
Stage 4: Audio
Voice, music, and sound effects are not an afterthought. In fact, audiences forgive imperfect visuals far more readily than they forgive bad audio. Record or generate narration before final edit, then cut visuals to the voice rather than the reverse.
Stage 5: Assembly and finishing
Editing, color consistency, captions, loudness normalization, and export variants. This is also where you add the small human touches — a cut on a beat, a subtle push-in, a sound effect on a transition — that separate a professional piece from a demo.
Choosing the Right Generator for Each Shot
Different generators are good at different things, and the fastest way to waste a production day is to force one tool to do every job.
Talking-head and avatar video
Avatar-driven tools such as Synthesia excel at training content, internal communications, localization, and product walkthroughs where the message matters more than cinematic style. Their strength is predictability: the same presenter, the same framing, the same lighting, every time. Their weakness is emotional range. Use them for clarity-first content rather than brand storytelling.
Text-to-video for b-roll and concept shots
This is the category where Runway, Kling, Luma, Veo and similar models compete. Text-to-video is strongest for establishing shots, abstract transitions, atmosphere, and anything where the viewer will not scrutinize a specific face or product. Prompt it with concrete physical detail; vague poetic prompts produce vague, drifting footage.
Image-to-video for brand-controlled looks
If brand consistency matters — a specific color palette, a specific character design, a specific product silhouette — start from a still image you control and animate it. Image-to-video gives you dramatically more control over composition and styling, and it lets a designer or illustrator approve the look before a single frame moves.
Hybrid assembly
Most professional AI videos are hybrids. A typical mix for a two-minute brand film: 20% avatar or live-action presenter, 50% generated b-roll, 20% motion graphics and typography, 10% real photography or stock. Blending sources also hides the tell-tale uniformity that makes fully generated videos feel synthetic.
Decision criteria worth weighing for each shot: how much control you need over composition, how long the shot must hold (generators degrade past 5–10 seconds), what resolution and aspect ratios you need, how fast the model iterates, and what license you have for commercial use.
Consistency Is the Real Skill
Anyone can generate one good clip. Keeping a character, wardrobe, palette, and lighting direction consistent across twelve shots is where AI video becomes a craft.
Character consistency
Start by creating a reference sheet: three to five stills of the character from different angles, in neutral lighting, with the same wardrobe. Feed those references into every prompt for that character. Most current models accept a reference image or character ID; the more reference material you supply, the more stable the face. Keep hair, accessories, and clothing descriptions word-for-word identical in each prompt — paraphrasing is one of the most common causes of drift.
Style consistency
Build a style bible with a locked palette, a defined lighting approach, a lens character (wide, normal, or telephoto), and a grade. Apply the same style keywords across all prompts, then finish in your editor with a single color grade across the whole timeline. The grade unifies small differences that generation alone cannot.
Continuity across shots
Continuity is a storyboard discipline, not a model feature. Track wardrobe, props, time of day, and screen direction in a simple spreadsheet. If a character exits frame left in one shot, they should enter frame right in the next. If the light comes from the window in one shot, it cannot come from the opposite side in the following one.
When consistency still fails
If a character keeps drifting despite strong references, reduce the complexity of the shots. Complex action, crowded backgrounds, and dramatic camera movement all push the model toward improvisation. Simplify, then reintroduce complexity once you have a stable base.
A Repeatable End-to-End Workflow
Here is a workflow you can run on almost any project, from a 30-second social ad to a ten-minute training module.
- Brief and constraints. Define audience, platform, duration, aspect ratios, tone, and any brand rules. Write these down; they become your quality checklist later.
- Script with timing. Read the script aloud with a timer. Aim for 140–160 spoken words per minute for narration.
- Beat sheet to shot list. One row per shot: beat, description, shot type, generator, duration, references, audio note.
- Reference assets. Create character sheets, style frames, and product stills before generating anything.
- Animatic pass. Generate every shot at low resolution. Assemble in the editor with scratch narration and rough music. This is the cheap moment to change your mind.
- Review and revise. Cut shots that do not work. Rewrite transitions. Reorder beats. Expect to lose 20–30% of your first-pass shots.
- Final generation. Re-render approved shots at target resolution, using the same seeds and prompts that worked in the animatic pass.
- Audio production. Record or generate the final voice track, then add music and sound design. Duck music under narration and normalize to your platform's loudness target.
- Edit and finish. Cut to the voice, add captions, apply a unified grade, and check for pacing hiccups.
- Export variants. Produce 16:9, 9:16, and 1:1 versions, plus a caption-free master for future re-editing.
The magic is not in any single step. It is in never skipping the animatic pass, because that is where most of the money and time are saved.
Prompting for Motion and Camera Language
Most disappointing AI video comes from prompts written for images. An image prompt describes a scene; a video prompt describes an action and a camera.
A workable structure is: subject, action, camera, lens, lighting, motion quality, duration, and exclusions.
A weak prompt:
a woman in a cafe, cinematic, beautiful, 4k
A stronger prompt:
medium shot of a woman in a green linen jacket lifting a ceramic cup to her lips, slow dolly-in from waist height, 50mm lens, soft window light from camera left, shallow depth of field, natural motion, steady hands, no camera shake, no text overlays
The difference is specificity about the physical action and explicit camera language. A few practical rules:
- Name one action per shot. Two actions in one generation produce a muddled middle where the model interpolates.
- Ask for less motion than you think you need. Subtle movement holds up; dramatic movement warps.
- Specify camera behavior explicitly. "Locked-off tripod shot" and "handheld follow" produce very different results.
- Use negative prompts for recurring artifacts. Common ones: extra fingers, warped faces, text, logos, jitter, flicker.
- Keep shot length inside the model's comfort zone. If a model looks best at 5 seconds, build your edit around 4-second cuts instead of fighting it.
- Reuse winning prompts. When a prompt produces a great shot, save it with the seed value. Reproducibility is a superpower in client work.
Audio, Voice, and Timing
Audio is where AI video either feels professional or feels like a demo. Three elements matter most.
Voice. If your budget allows, record a human narrator. Synthetic voices have improved enormously and are perfectly acceptable for training and localization, but human delivery still carries emotional nuance that audiences notice in brand content. If you do use synthesized speech, pick one voice per character and stay with it across the entire series — voice changes between videos break the illusion faster than visual drift.
Lip sync. When syncing generated speech to a generated face, generate the audio first and drive the visual from it. Long sentences create more sync drift than short ones, so break narration into short clauses and cut between angles on those breaks.
Music and sound design. Licensed or generated music should sit under the narration, not compete with it. Add ambience — room tone, footsteps, fabric, traffic — to generated scenes; silence is the biggest giveaway that footage is synthetic. Finish with loudness normalization: roughly −14 LUFS integrated for most social platforms and −16 to −20 LUFS for broadcast-style delivery.
Quality Control and Troubleshooting
Before publishing, run a consistent checklist on every video:
- Watch once with sound off to judge visuals and captions.
- Watch once with eyes closed to judge audio balance and pacing.
- Check every frame where hands, faces, or text appear.
- Confirm captions are accurate, synced, and inside safe areas for vertical crops.
- Verify color and exposure consistency across all shots.
- Confirm licensing for music, voices, stock, and likeness.
Common failures and their fixes:
Hands and fingers warp. Reduce hand prominence, reframe to medium or wide shots, or hide hands behind props. Close-ups of busy hand action remain the hardest shot type for most models.
Faces shift identity between shots. Rebuild the reference sheet, lock the wardrobe description word-for-word, and simplify backgrounds.
Texture flicker or shimmer. Lower the motion intensity, shorten the shot, and add a light grain or grade in post to mask residual flicker.
Lip sync drifts on longer lines. Split the line into shorter clauses and cut on the break points.
Text and logos render as gibberish. Never generate on-screen text. Add all typography in the editor as a real overlay.
The video feels unrealistically smooth. Deliberately add imperfection: slight handheld movement, a practical light source, background extras, ambient sound.
Shots do not cut together. Unify them with a single grade, consistent music, and a repeated transition motif such as a match cut or a whip pan.
Scaling From Solo Creator to Team Workflow
When one person makes the videos, conventions live in their head. When three people do, conventions must be written down.
Naming and versioning. Adopt a fixed convention: project, sequence, shot number, version. Store prompts, seeds, and reference images alongside the rendered files. Six weeks later, when a client asks for a small change, that archive is the difference between a ten-minute fix and a full re-render.
Asset library. Maintain a shared folder of character sheets, style frames, approved music, brand fonts, and lower-third templates. Every new video should start from these, not from scratch.
Review gates. Two gates are enough: approval of the animatic and approval of the final cut. More gates slow production without improving quality.
Batching. Group similar shots and generate them in one session. Models behave more predictably within a session, and batch work keeps prompts and references fresh in the operator's mind.
Role clarity. In small teams, one person should own the script and shot list, one should own generation and prompting, and one should own edit, audio, and finishing. Overlap causes rework; clear ownership causes speed.
Cost predictability. Track how many generation attempts each finished shot requires. Once you know your average — commonly between three and eight attempts per approved shot — you can estimate a project before you start and keep scope conversations honest.
FAQ
Do I still need a real camera? For product hero shots, testimonials, and anything requiring legal proof or a specific person's likeness, yes. Real footage also makes generated shots look better by contrast.
How long does a two-minute AI video take? A solo creator working from an existing script can complete one in two to four days. A team with templates and an asset library can do it in a day.
Which is better, avatar presenters or generated scenes? Avatar tools win on clarity, speed, updates, and localization. Generated scenes win on mood, brand storytelling, and visual variety. Most strong videos use both.
How do I keep a series visually consistent across months? Freeze a style bible and a character reference set, archive every prompt and seed, and apply the same grade and caption template to every episode.
What resolution should I generate at? Generate low for decisions, high for finals. Animating at 720p and finishing at 1080p or 4K is standard, and never export the first generation of anything you have not watched end to end.
Can AI video handle legal and brand risk? Only if you manage it. Avoid generating real people's likenesses without permission, avoid generated trademarks and text, keep documentation of every asset's license, and have a human review anything involving claims, pricing, or regulated industries.

Alexander
More Blogs
Read MoreMontaggio video rapido: transizioni e software per l'AI
Guida pratica al montaggio video rapido con AI: transizioni fluide, software, workflow, coerenza visiva, errori da evitare e FAQ operative.
Building an AI Video Production Workflow From Concept to Cut
A practical guide to planning, generating, editing, and finishing AI-assisted videos with consistent characters, clear shot lists, and reliable review loops.
A Repeatable Post-Production Workflow for Polished AI Video
Build a repeatable AI video post-production pipeline: organize assets, cut story-first, design transitions, refine audio, and review versions calmly.