
Utwórz
AI Video Model Evolution: How to Pick a Generator
Oct 13, 2026
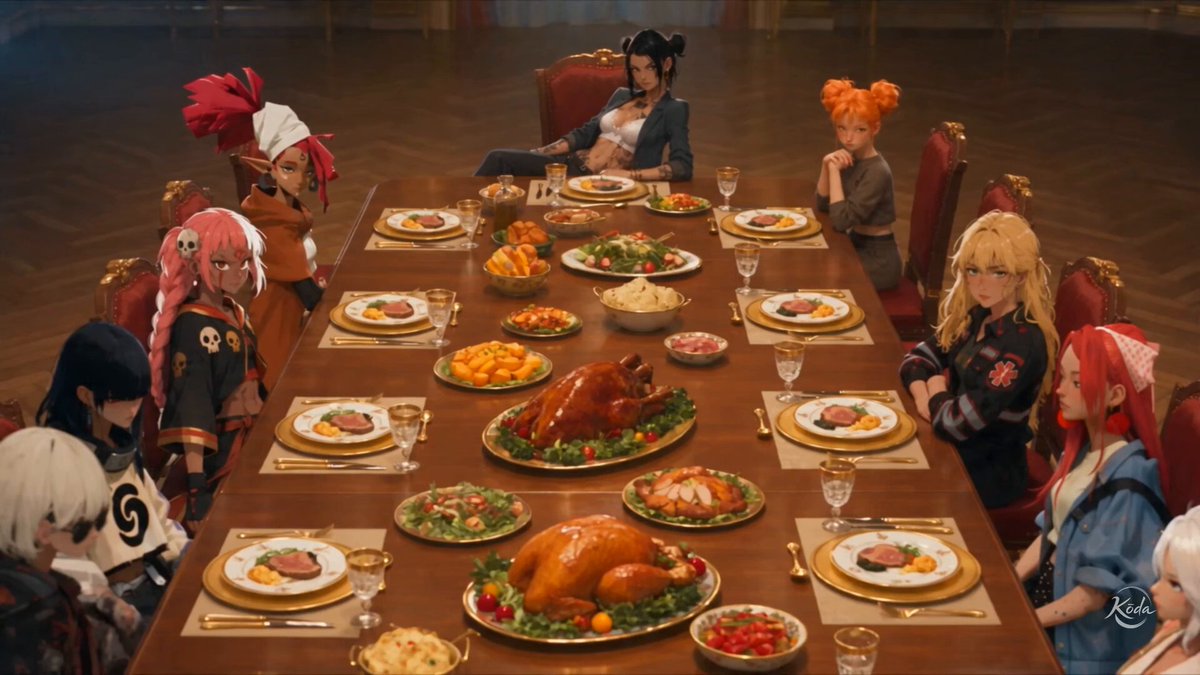
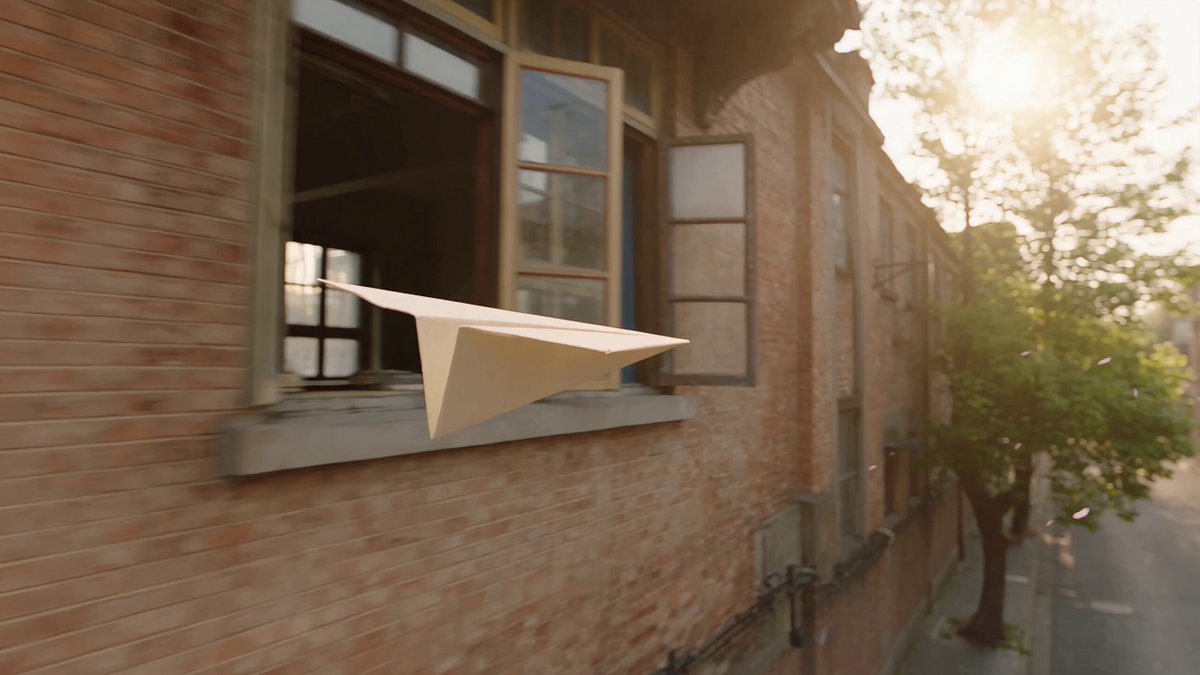
Why AI Video Generators Keep Changing
If you have ever saved a carefully written prompt, returned a few weeks later, and found the same words producing a completely different clip, you already understand the central frustration of AI video work. Model generations move fast. A version that struggled with hands may now nail them while quietly losing the specific color grade you loved. Creators end up spending as much time re-learning their tools as actually making things.
This guide is not about declaring a winner between version numbers. It is about the small set of capabilities that genuinely change between releases, how to test them in minutes instead of days, and how to structure a workflow that keeps producing usable footage regardless of which generator you open.
The mental shift that helps most is to treat video models like camera bodies rather than apps. A camera body has characteristics: dynamic range, color science, how it renders skin in low light. When you upgrade the body, you do not throw away your lighting plan. The same is true here. Your shot list, reference frames, edit rhythm, and sound design survive a model swap. Only the generation step changes, and even that changes less than the marketing suggests.
What Actually Improves Between Model Versions
From frame interpolation to temporal reasoning
The first wave of AI video tools animated still images. Motion came from warping a single picture, so anything the camera could not see simply vanished. Modern systems generate frames jointly, which means an arm that passes behind a torso comes back with a plausible hand attached. This is the single biggest qualitative jump, and it is why older outputs look smeary while newer ones hold together through occlusion, turns, and fast panning.
Motion priors and a sense of physicality
Weight is hard. Cloth should fold, liquid should settle, smoke should thin out as it rises. Newer models carry stronger motion priors learned from enormous amounts of footage, so they stop treating every object as a rigid sticker. You notice it in small things: a jacket that bunches at the shoulder, hair that lags a beat behind the head turn, a ball that arcs instead of sliding. When a release claims better realism, this is usually what it means.
Prompt adherence and language understanding
Improved text encoders mean multi-clause prompts land more reliably. Spatial relationships such as a red mug to the left of the laptop, stylistic constraints, and explicit avoid-lists all follow better than they did a generation ago. This matters because it reduces the number of rerolls you need per usable shot. A model that understands your prompt on the first attempt is worth more than one with prettier pixels and no obedience.
Resolution and duration are the least interesting numbers
Native high resolution and longer maximum clips sound impressive, but coherence over duration matters more. A fifteen-second clip that drifts in identity at second eight is less useful than a five-second clip you can cut in three places. When evaluating an update, ask what happens at the far end of the clip, not what the spec sheet promises.
Consistency Is the Real Benchmark
Character consistency across shots
Ask any editor what breaks an AI-generated sequence and they will say the face. Not the first face, the second appearance of it. Test this directly: generate the same character in a medium shot, a close-up, and a wide, then place them side by side. If the jawline, hairline, and eye spacing drift, your scene will feel like a recast happened mid-shoot. Reference-image conditioning, character training, and image-to-video chaining are the three main levers that fix it, in roughly that order of effort.
Scene, lighting, and wardrobe continuity
Locations drift too. A room shot at golden hour should not become overcast midday in the next angle. Wardrobe is the sneakiest offender: a jacket changes shade, a shirt loses a button, glasses appear and disappear. The practical fix is to generate establishing frames for every setup and reuse them as style references, rather than re-describing the room from scratch each time.
A ten-minute test protocol
Before committing a project to a new model, run the same five-shot test every time:
- One character, three camera angles, one continuous action.
- One location, two lighting conditions.
- One fast-motion shot with heavy occlusion.
- Two people interacting, including a handoff or handshake.
- One shot with legible text or a logo in frame.
Score each on identity, physics, and prompt accuracy from one to five. Twelve minutes of testing saves entire production days, and the notes stay useful when the next update arrives.
Control Surfaces: What You Can Actually Direct
Image-to-video and keyframe control
Text-to-video is the flashy demo; image-to-video is the workhorse. Feeding a finished keyframe locks composition, palette, and subject design before motion begins. Start-frame and end-frame control goes further, letting you define a transition between two states, such as a door opening or a character turning from profile to front. If a model supports end frames, you gain the ability to plan cuts instead of reacting to whatever arrives.
Camera language
Camera movement is its own vocabulary: slow dolly in, handheld follow, orbit, crane up, locked-off static. Some models respect these as natural language, some respond to preset sliders, and some respond to neither. Test the movements you actually use. A tool that nails an orbit but ignores a slow push is fine for a product turntable and wrong for a dialogue scene.
Motion strength, seeds, and negative prompts
Motion strength acts like a throttle: too low and you get a slideshow, too high and anatomy melts. Negative prompts are the cheapest quality control you own. Add hands, text, extra limbs, watermarks, and warping to the avoid list and watch how much time you save. Seeds let you reproduce a result you liked, so always record the seed for any shot that made the cut.
Reference and style conditioning
Style references, character references, and depth or pose conditioning are where professional control lives. If your project needs consistent art direction across forty shots, conditioning beats prompt wording every time.
A Repeatable Generation Workflow
Step 1: Lock the look in stills
Do not start with video. Generate or shoot stills until the character, wardrobe, palette, and framing are right. Stills take a fraction of the time to iterate and give you reference material for every downstream step.
Step 2: Write the shot list before you prompt
A shot list forces decisions: cover, reverse, insert, establishing. Note duration, camera move, and what changes between the first and last frame. Then translate each entry into a prompt using a fixed template so your variables stay comparable across shots.
Step 3: Draft at low fidelity, finish at high
Generate short, cheap, lower-quality previews to solve motion and composition first. Only when a preview reads correctly do you commit to a high-quality pass. This ordering is the difference between spending an afternoon on one shot and finishing an entire scene.
Step 4: Repair instead of regenerate
Regeneration is a lottery ticket. Masking a bad hand, replacing a single frame, or cutting around a wobble in the edit is usually faster and far more predictable. Learn one compositing tool well and you will need fewer generations per finished second.
Step 5: Assemble with sound in mind
Sound decides whether a clip feels real. Room tone, footsteps, cloth movement, and a music bed hide minor motion artifacts better than any upscaler. Cut to the audio rhythm and your generated footage starts behaving like footage.
Choosing the Right Model for the Job
When photorealism is the priority
Look for strong skin rendering, believable depth of field, and steady performance in close-ups. Models tuned for cinematic realism tend to be slower and more expensive per second, so reserve them for hero shots and use faster tools for coverage.
When stylization and animation matter
Anime, illustration, and painterly looks reward models with strong style conditioning. The tell is line stability: whether outlines hold across frames or shimmer. Test a fast pan and a character turn, because those two shots expose style drift immediately.
When speed and volume matter
For social cutdowns, b-roll, and rapid concepting, throughput beats fidelity. Prioritize fast queue times, short default clip lengths, and predictable output so you can batch twenty variations and pick the best.
When control and editing matter
If your project involves precise timing, camera choreography, or motion matched to existing footage, favor models with keyframe control, region-based motion tools, and reliable seed reproduction.
| Priority | What to look for | Trade-off |
|---|---|---|
| Cinematic hero shots | Skin detail, shallow depth of field, slow camera control | Slower and pricier per second |
| Social volume | Fast generation, short clips, stable defaults | Less fine control |
| Animation and stylization | Style references, line stability | Weaker photorealism |
| Precise choreography | Keyframes, region motion, seed locking | Steeper learning curve |
No single model wins every column. The pragmatic answer is a two-tool stack: one model for hero shots, one for volume, plus a compositing tool that lets you repair rather than restart.
Prompt Patterns That Survive Model Updates
Write prompts in five slots and keep the order fixed: subject, action, camera, lighting, style, then a single negation clause. For example: a woman in a wool coat, walking toward camera through falling snow, slow handheld follow, overcast blue-grey light, documentary style, avoid text and extra limbs. Keeping the slots stable means one failure tells you exactly which slot needs adjusting.
Keep a prompt journal. For every usable clip, record the model version, prompt, seed, reference images, and settings. Model updates reset intuition, and your own notes are the only benchmark that matters.
Version your reference assets as carefully as code. Name files with character, wardrobe, and lighting descriptors so you can rebuild a look months later without guessing.
Finally, resist prompt creep. Every new clause you add raises the chance of internal conflict. If a shot needs six constraints, it is usually two shots.
Common Mistakes That Burn Time
- Chasing the newest model mid-project. Switching halfway through a sequence buys inconsistency you cannot fix in the edit. Finish the scene on the model you started with, then test the new one on the next project.
- Overloading prompts with contradictions, such as wide close-up, static tracking shot, or minimalist with ornate detail.
- Regenerating instead of editing. Ten generations to fix a hand is worse than one careful mask.
- Deciding aspect ratio and frame rate late. Re-framing vertical footage to widescreen after the fact degrades composition and resolution.
- Judging a model on a single clip. One lucky output is not a capability; five consistent outputs is.
- Forgetting audio until the end. Silent cuts make every artifact louder.
- No naming convention. You will find the right take exactly once, and then lose it.
- Ignoring the physics ceiling. If a motion is beyond current models, like a long fight sequence or complex hand manipulation, design the shot so it happens off-screen or across a cut.
Post-Production: Where AI Video Becomes Watchable
Stabilization cleans micro-jitter. Frame interpolation smooths motion but can introduce ghosting, so use it sparingly and inspect individual frames. Masking and rotoscoping fix anatomy. Upscaling helps when the source is stable, but it amplifies noise as readily as it sharpens detail. Upscale the take you already like, never the one you hope to rescue.
Color matching across clips is essential. Apply a LUT or a grade across the whole timeline and unify contrast so the sequence reads as one shoot. Subtle grain helps as well, giving flat generated footage the texture of a real sensor.
Sound is the highest-leverage step. Lay room tone under everything, add foley for footsteps and cloth, and keep music moving. Viewers forgive a slightly odd hand; they do not forgive a clip that sounds like a vacuum cleaner.
FAQ
How do I know when a new model version is worth switching to? Run the five-shot test with the same prompts and references. If the new version beats your current model on identity and physics by two or more points, migrate. Otherwise wait, because re-learning a tool costs more than a marginal quality gain.
Can I match shots across different models? Yes, if you fix composition with keyframes and unify color and grain in post. Keep the same lens language, aspect ratio, and lighting direction. Viewers tolerate model differences far more than stylistic differences.
Why does the same prompt produce different results weeks apart? Endpoints get updated, safety filters shift, and defaults change without announcement. Save seeds and settings, and re-test rather than assuming a saved prompt still behaves the same way.
Is longer clip duration always better? No. Cutting inside a five-second clip is often easier than managing identity drift at second twelve. Generate short and cut often.
Do I need reference images for every shot? Not for every shot, but for every recurring character and location. Otherwise you will spend the savings on rerolls and still lose continuity.
What is the fastest way to improve output quality? Better inputs. A sharp, well-lit keyframe with correct composition improves results more than any parameter tweak or prompt rewording.
Build the workflow once and every new model release becomes an upgrade instead of a reset.

Alexander
More Blogs
Read MoreVidu Q4 Alternatives: 4K AI Video Models Compared (2026)
Vidu Q4 alternatives compared: Kling 4.0, Seedance 2.5, Wan 3.0, and Runway Gen-4 — 4K support, input modes, durations, audio, and what each costs in credits on Domer.
Top 4K AI Image Generators in 2026: 5 Models Compared on Real Costs
The top 4K AI image generators on Domer compared: Flux 3 Klein, Nano Banana 2.1, GPT Image 2.5, GPT Image 2, and Nano Banana Pro — 4K credit costs, reference limits, and speed.
Nano Banana 2.1 vs GPT Image 2.5: Which Image Model Should You Use? (2026)
Nano Banana 2.1 vs GPT Image 2.5 Flare compared: credit costs per resolution, aspect ratios, reference images, text rendering, and which tasks fit each model.