
AI Video Workflow: From Prompt to Viral-Ready Clip
Oct 13, 2026
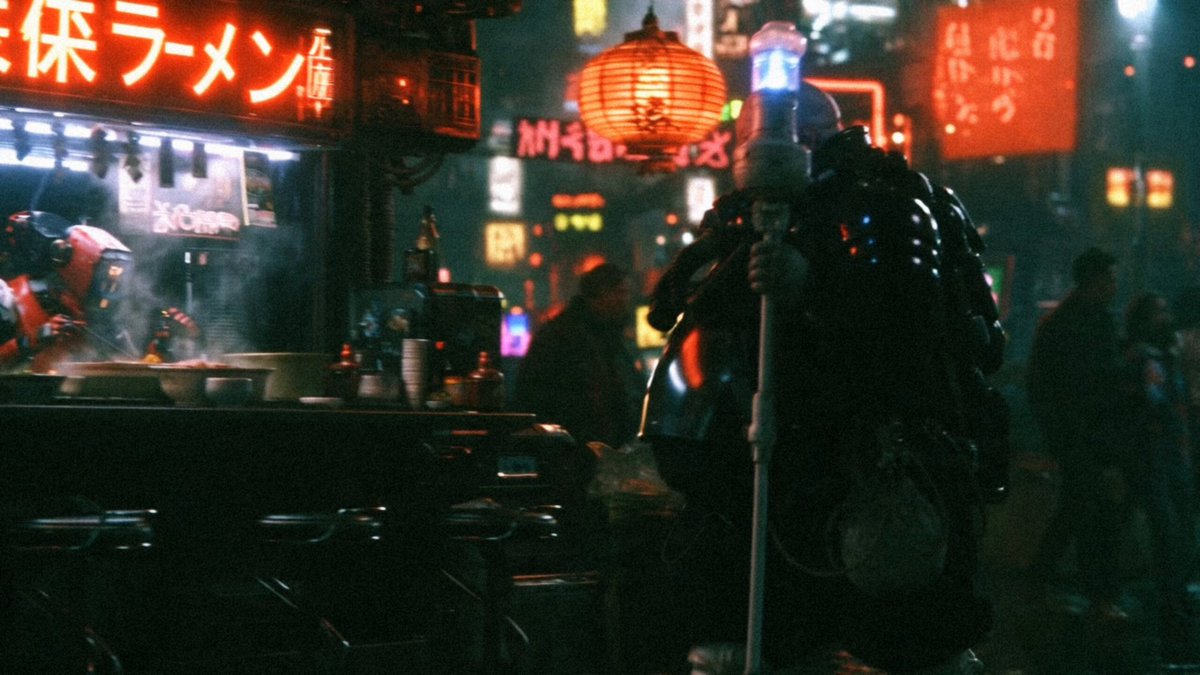

AI video generation stopped being a novelty the moment it became faster to prompt a shot than to schedule one. That single change rewires the economics of content: a solo creator can test five visual directions before lunch, and a small marketing team can produce localized variants of one campaign without booking a studio, a location, or a crew. But speed alone never made anything watchable. The teams getting consistent results treat generation as one station on an assembly line, not the entire factory.
This guide walks through an end-to-end AI video workflow, from message architecture to platform-native delivery, with the prompts, decision criteria, and failure modes that separate a clip people finish from a clip people scroll past.
Why AI Video Changed the Production Math
Traditional production optimizes for commitment. You write a script, lock a location, gather people, and shoot. Every change after that point costs money, so teams over-plan and under-experiment. AI generation inverts that: the first take is cheap, the tenth take is also cheap, and the expensive part becomes judgment — knowing which take is actually good.
What that means in practice:
- Iteration is the new budget. If a shot takes ninety seconds to attempt, you can explore framing, pacing, and mood instead of debating them in a meeting.
- Concept videos become affordable. Abstract ideas, historical settings, microscopic worlds, and impossible camera moves no longer require a visual effects pipeline.
- Volume stops being the constraint. One core idea can become a vertical cut, a square cut, a six-second hook, and a long-form explainer without a second shoot.
- Taste becomes the bottleneck. When everyone can generate footage, the differentiator is editorial: what you cut, what you keep, and what you refuse to publish.
Where AI still struggles: genuine human performance, precise product handling, legally sensitive depictions of real people, and continuity across long sequences. Design your workflow so those gaps are covered by real footage, animation, or smart editing rather than hoping a prompt fixes them.
The End-to-End AI Video Workflow
A reliable pipeline has six stages. Skipping any one of them shows up downstream as wasted generation time or a video that looks expensive and says nothing.
Step 1: Message architecture before any prompt
Write one sentence that states what the viewer should understand, feel, or do by the end. Then write the single visual idea that carries it. If you cannot describe the video in one line, prompts will not save you — they will just produce pretty footage that goes nowhere.
A useful pre-flight checklist:
- Who is watching, and what do they already believe?
- What is the one change in belief or behavior you want?
- What is the visual metaphor or anchor image?
- What is the first two seconds, specifically?
Step 2: Script and beat sheet
Short-form video lives or dies on beats, not sentences. Map the piece into beats with rough durations: hook, context, escalation, turn, payoff, call to action. For a thirty-second vertical clip, that might be four seconds of hook, six of setup, twelve of escalation, five of payoff, three of close.
Write the voiceover or on-screen text first, then design shots around it. Generation is expensive in attention when you are guessing, so let the words dictate the shot list rather than the reverse.
Step 3: Shot list and asset plan
Split the beat sheet into individual shots, each with a single job. For every shot, note:
- Subject and action — who or what, doing exactly what.
- Camera — static, slow push, orbit, handheld drift, aerial.
- Environment and time of day — this drives lighting consistency.
- Duration — aim two to four seconds for most generated b-roll; longer shots invite artifacts.
- Source — generated, stock, screen recording, or live action.
Shots that involve a real product, a real person, or a precise logo should be planned as real footage from the start. Shots that involve atmosphere, scale, or metaphor are ideal candidates for generation.
Step 4: Generate, select, regenerate
Generate in batches of three to six variations per shot using the same prompt, then change one variable at a time. Changing three variables at once teaches you nothing about which change helped.
Keep a simple selection rule: pick the take with the cleanest motion and the most usable first frame, not the most spectacular single moment. You need clips that cut, not clips that impress in isolation.
Step 5: Assemble, sound, caption
Edit for rhythm first. Cut on motion, cut on beat, and cut before the viewer gets bored rather than after. Add sound design — ambience, whooshes, a music bed with a clear drop — because AI footage often feels hollow without audio anchoring.
Captions are not optional. Most viewers watch muted, so on-screen text should carry the argument even if the audio is perfect.
Step 6: Deliver platform variants
Export a master, then create platform-native versions: vertical with safe margins for short-form feeds, square for carousels and profile grids, horizontal for embedded players. Adjust the hook per platform instead of reusing one opening everywhere.
Prompting for Motion: What Actually Controls the Output
Prompting video is not prompting images with a time dimension. You are describing change, and the model needs clear instructions about what moves and what stays still.
Subject, action, camera
The most reliable prompt structure is a sentence with three anchors: subject, action, and camera. For example: a lone cyclist cresting a rain-slicked ridge road at dawn, pedaling hard, slow aerial push from behind. Everything else — lens, grade, texture — is refinement on top of that spine.
Lighting, lens, and grade
Lighting language is the fastest way to raise perceived quality. Terms like overcast diffusion, practical neon spill, hard afternoon sun, or soft window light give the model a physical logic to follow. Pair them with a lens reference: wide 24mm for scale, 85mm for intimacy, macro for detail.
Motion strength and duration
If a model offers motion intensity controls, treat them as risk dials. High motion produces energy and artifacts; low motion produces stability and stillness. For product or architectural shots, lower motion usually wins. For action beats, raise it and accept that you will discard more takes.
Negative guidance
List what you do not want: warped hands, text overlays, jump cuts, flickering, duplicate limbs, lens flares. Even a short exclusion list reduces cleanup time noticeably.
Choosing the Right Model for the Job
No single generator wins every category. Build a small toolkit and route shots by need.
| Need | What to prioritize | Typical fit |
|---|---|---|
| Photoreal atmosphere and scale | Motion realism, lighting coherence | Cinematic text-to-video models |
| Stylized or illustrative looks | Style adherence, color control | Models with strong art-direction response |
| Character-driven shots | Identity consistency across takes | Models with reference-image input |
| Fast iteration on concepts | Speed per take, low friction | Lightweight preview models |
| Precise camera moves | Camera control parameters | Tools exposing motion paths |
Practical routing advice:
- Use the fastest model for exploration and the highest-fidelity model for the hero shot.
- Test whether a model handles your specific lighting scenario before committing a full sequence to it.
- Prefer reference-image conditioning whenever brand assets or faces must stay stable.
- Keep a notes file of prompt phrasing that worked. Prompt libraries compound faster than subscriptions.
Consistency: Characters, Products, and Brand Look
Continuity is where AI video projects break. Two shots that look like different films destroy trust instantly.
Techniques that work:
- Lock a look bible. Write down the palette, contrast, grain, and lighting mood in words you reuse in every prompt.
- Use reference images for recurring characters and products rather than long descriptive text.
- Keep camera behavior consistent within a scene: if the establishing shot is a slow push, do not cut to a handheld whip pan in the same beat.
- Match the grade in editing. A single color pass across all generated clips hides small inconsistencies better than any prompt.
- Limit wardrobe and setting variables. Change one thing per scene, not five.
If continuity keeps failing, restructure the video so each shot stands alone — a montage of distinct moments is easier to hold together than a continuous narrative.
Editing and Sound: Where Clips Become Video
Raw generations are ingredients. The edit is the meal.
A simple assembly approach:
- Lay all chosen clips on a timeline in beat order with no effects.
- Trim each clip to its strongest two seconds.
- Cut to the music or the voiceover rhythm.
- Add transitions only where motion matches; match cuts beat fancy effects.
- Layer ambience under every shot, then add one or two accent sounds.
- Color grade the whole sequence in one pass.
- Add captions, then watch muted and fix anything unclear.
- Export, watch on a phone, and fix what looks wrong at small size.
Sound does more for perceived production value than resolution. A clean ambience bed and a well-timed impact sound make generated footage feel intentional.
Distribution: Platform-Native Variants
Publishing the same file everywhere is the quiet reason good videos underperform. Each surface has its own attention pattern.
- Vertical short-form feeds: front-load the payoff, keep the hook under two seconds, and design for muted viewing.
- Landscape players: allow a slower build and use the extra width for context or comparison shots.
- Square formats: center the subject and avoid text near the edges.
- Long-form: use generated footage as b-roll and transitions between talking-head segments.
Plan repurposing at the script stage: write one core idea, then decide which beats become the standalone short, which become the thumbnail moment, and which become the pinned comment that sparks conversation.
Measuring Performance Without Fooling Yourself
The only metrics that matter early are retention and completion, not views. A million impressions with a two-second average watch time is a failed video with a flattering chart.
Track these four:
- Hook retention: percentage still watching at three seconds.
- Midpoint drop: where viewers leave; usually a pacing problem, not a quality problem.
- Completion rate: the strongest signal that the story worked.
- Saves and shares: the clearest indicator that the video was useful, not just pleasant.
Compare variants rather than absolutes. Post the same concept with two different hooks and let the data choose the winner, then reuse the winning structure.
Common Mistakes and How to Fix Them
- Prompting adjectives instead of actions. Fix: describe what happens, in order.
- Generating too many variations too early. Fix: lock the script and shot list first.
- Letting clips run too long. Fix: cut at two to three seconds and let sound carry continuity.
- Ignoring the first frame. Fix: choose takes whose opening frame already reads as a thumbnail.
- Mixing incompatible looks. Fix: one grade, one palette, one camera language per scene.
- Skipping captions. Fix: caption everything, then check on a phone at arm's length.
- Publishing a single aspect ratio everywhere. Fix: build a variant matrix before export.
- Chasing virality instead of clarity. Fix: optimize for one clear idea per video.
FAQ
How long should AI-generated shots be?
Two to four seconds for most b-roll, and under two seconds for hooks. Longer shots expose artifacts and slow pacing.
Can AI video replace a full production crew?
For atmosphere, concepts, and volume, largely yes. For performance, precise product demonstrations, and regulated claims, no. Hybrid workflows win.
What makes a prompt reliable?
Structure: subject, action, camera, lighting, lens, plus an exclusion list. Reuse phrasing that worked and change one variable at a time.
How do I keep characters consistent?
Use reference images, a written look bible, consistent camera behavior, and a single color grade across the sequence.
Which model should I start with?
Pick one fast model for exploration and one high-fidelity model for hero shots. Add a third only when a specific need appears.
How often should I publish?
Consistency beats frequency. A sustainable schedule you can maintain with the workflow above outperforms sporadic bursts.
What is the biggest hidden cost?
Selection time. Budget attention for reviewing takes, or your generation savings disappear into decision fatigue. A clear shot list is the antidote.
Do I need editing skills?
Basic editing — trimming, cutting to rhythm, captioning, and one color pass — is the highest-leverage skill in this workflow, more valuable than prompt craft alone.
Start with one concept, one shot list, and one platform variant. Ship it, measure retention, and refine the pipeline from evidence rather than enthusiasm. That loop, repeated, is what turns AI generation from a party trick into a dependable content engine.

Alexander
More Blogs
Read MoreVidu Q4 Alternatives: 4K AI Video Models Compared (2026)
Vidu Q4 alternatives compared: Kling 4.0, Seedance 2.5, Wan 3.0, and Runway Gen-4 — 4K support, input modes, durations, audio, and what each costs in credits on Domer.
Top 4K AI Image Generators in 2026: 5 Models Compared on Real Costs
The top 4K AI image generators on Domer compared: Flux 3 Klein, Nano Banana 2.1, GPT Image 2.5, GPT Image 2, and Nano Banana Pro — 4K credit costs, reference limits, and speed.
Nano Banana 2.1 vs GPT Image 2.5: Which Image Model Should You Use? (2026)
Nano Banana 2.1 vs GPT Image 2.5 Flare compared: credit costs per resolution, aspect ratios, reference images, text rendering, and which tasks fit each model.