
Best App to Put Video Clips Together: AI Editing Workflow
Oct 13, 2026
Why assembling clips is still the slowest part of video work
Shooting is the fun part. Assembly is where projects stall. You come home with forty clips, three of them great, and the timeline becomes a puzzle you solve by hand: trim, drag, listen, trim again. The editing stage quietly eats the largest share of production time, and the creative calls get made in a state of fatigue rather than intention.
That is the problem AI-assisted editors set out to solve. They do not replace editorial judgment; they remove the mechanical labor around it: finding the words, matching the beats, ducking the music, resizing for four aspect ratios, pulling the twenty seconds that actually belong in a short. Once that scaffolding is automated, clicking drops and deciding what the story is rises.
This guide is about combining clips well, not about which button to press. It covers what AI editing platforms genuinely do, how to pick one for your specific workflow, a full end-to-end process you can copy, and the mistakes that make an automated edit look automated.
What an AI editor actually does: a capability map
Rather than shopping by brand, shop by capability. Nearly every modern platform is a combination of the following seven.
Automatic scene detection and rough assembly
The tool scans frames, finds shot boundaries, groups material by speaker, date, or resolution, and builds a first-pass sequence. On a two-hour multicam shoot or a day of handheld B-roll, this saves the first thirty minutes of a session. The result is never finished, but it is a starting point you can react to instead of a blank timeline.
Transcript-based editing
The single biggest shift in the last few years. Speech-to-text runs on import, then you edit the document: delete a sentence and the corresponding frames disappear. It is transformative for interviews, podcasts, tutorials, and webinars. Look for a pause-handling control, because aggressive filler-word removal also removes breathing room, and breathless speech reads as robotic.
Beat-synced cutting
Music-driven montage assembly. The tool detects downbeats, snaps cuts to them, and alternates shot lengths to match energy. Excellent for event recaps and product montages, terrible for dialogue scenes where a cut on the beat undercuts the performance.
Auto reframing
A subject tracker crops a widescreen timeline into vertical, square, or 4:5 without you keyframing every shot. Judge this feature by smoothness: you want damped motion and the option to lock the crop during key moments. Jittery auto-framing is the most recognizable tell of a lazy repost.
Audio cleanup and mixing
Noise reduction, room-tone matching, loudness normalization toward platform targets, and automatic ducking of music under speech. This is the least glamorous capability and frequently the most valuable, because audiences forgive a soft image long before they forgive bad audio.
Captioning and localization
Auto captions, style presets, translation, and the choice between burned-in and sidecar subtitle files. Accuracy swings wildly with accents, names, and jargon, so budget a manual pass no matter what the demo suggests.
Generative fill and b-roll generation
Text-to-video and image-to-video for shots you forgot to record, plus object removal, background extension, and sky replacement. Useful for abstract inserts; risky for anything a viewer will compare against reality.
When you evaluate a platform, weight these by how much pain each one removes from your week. A podcast editor gains more from transcript editing than from auto reframing. A social team gains more from reframing and captions than from color tools.
How to choose the right app for the way you work
Criteria worth checking before you commit
- Footage volume and source formats: phone, mirrorless, screen recordings, drone, archival.
- Editing model: timeline-first, transcript-first, or template-first.
- Collaboration: comments, version history, shared asset libraries, review links.
- Export control: bitrate, codec, watermark policy, vertical and square presets.
- Audio tooling: noise reduction, ducking, loudness targets, stem export.
- Generated-asset licensing: what you can use commercially and where.
- Platform: desktop, browser, mobile, or all three, plus offline capability.
- Learning curve and how well the tool explains itself when automation guesses wrong.
Tool profiles by job to be done
CapCut is a strong default for short-form: fast captions, beat sync, mobile and desktop, template culture built in. Descript is the transcript-first choice for talking-head video, podcast, and course content. Adobe Premiere Pro gives professional timeline control with AI-assisted transcription, auto-ducking, and generative extension for shots that need a few more seconds. DaVinci Resolve leads on color and audio, with tracking, masking, voice isolation, and dialogue leveling that hold up in client work. Runway is for generative inserts, inpainting, and motion-driven effects rather than whole-project assembly. InVideo, Canva, and Veed suit marketing teams that need a polished result from a template in an afternoon. Repurposing tools in the style of Opus Clip take a long recording and return vertical highlights. Filmora and PowerDirector sit in the friendly middle, with a familiar timeline plus AI assists.
The three-question filter
Ask whether the tool lets you edit text, whether it exports clean at the quality you need without a watermark, and whether it fits your review loop. If the answer to any of those is no, the automation will not save you time. It will just move the work later.
A repeatable workflow: raw footage to finished cut
Step 1: Ingest, name, and back up
Copy cards to two locations, then rename files with a date, camera, and subject pattern. Automation performs better on organized media because scene detection and speaker grouping rely on metadata. Create a project folder structure with separate directories for footage, audio, graphics, exports, and the project file itself.
Step 2: Transcribe before you watch anything
Run speech-to-text across the whole shoot. Then read. Reading is dramatically faster than scrubbing, and it surfaces the best lines before you have emotionally attached yourself to mediocre footage. Highlight every candidate moment in the transcript.
Step 3: Build a paper edit
Write the story in plain sentences with the selected quotes and shots listed underneath. This is the cheapest place to change your mind. If the paper edit does not hold together, no amount of editing will rescue it.
Step 4: Assemble the rough cut
Let auto-assembly build a timeline, then rebuild the order by narrative logic rather than chronology. Chronology is a trap in tutorials and case studies; viewers care about cause and effect, not the sequence of your day.
Step 5: Shape pacing and audio
Cut dead air, but keep enough silence for emphasis. Apply noise reduction, then dialogue leveling, then music ducking. Set the mix to a broadcast-style loudness target so your export is not quieter than everything else in a feed.
Step 6: Add motion, graphics, and captions
Use auto captions as a first draft, then fix names, numbers, and punctuation. Punctuation drives caption timing, so a missing comma produces a caption that hangs on screen too long. Add zooms and pans sparingly; a slow push on a static shot is usually better than a snap zoom.
Step 7: Color, verify, and export an export ladder
Balance shots for consistency, particularly if you are mixing camera footage with generated clips. Then export a master plus platform versions: a high-bitrate master for archive, a widescreen cut, and one or more vertical cuts. Doing all exports from one project keeps captions and graphics consistent.
When to generate a shot instead of shooting it
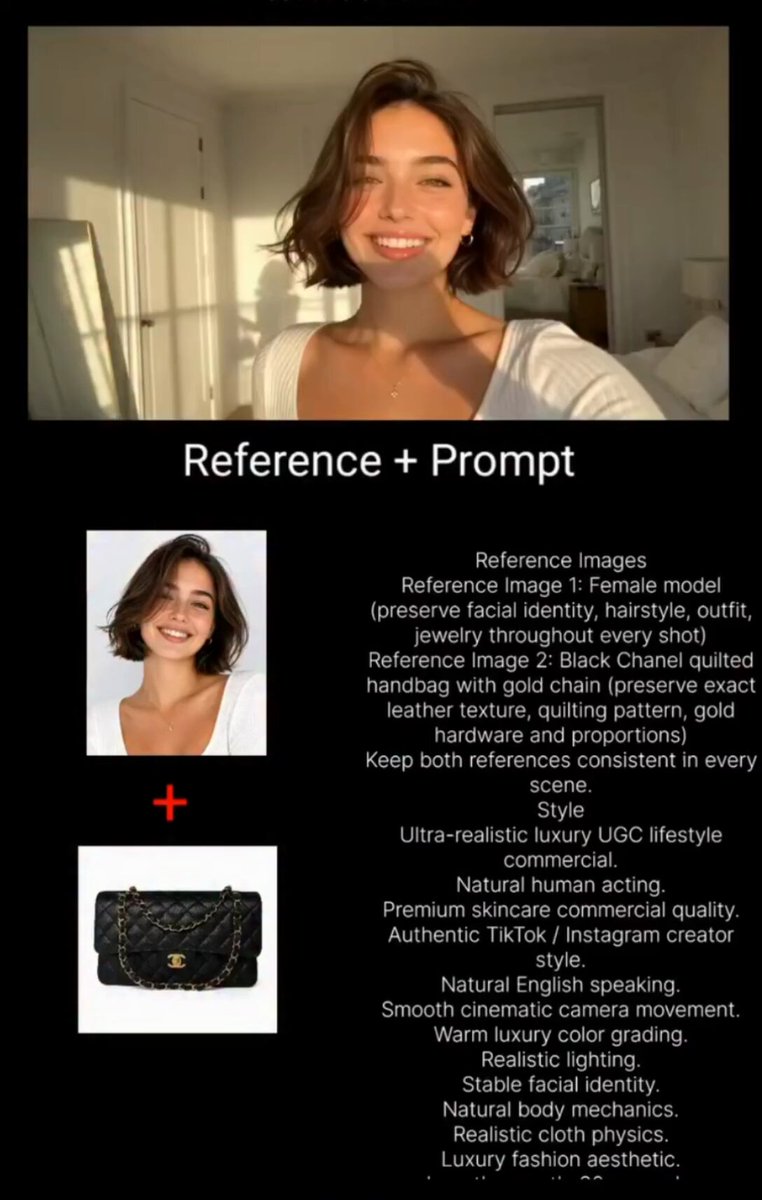
Generative video is best treated as a B-roll and insert tool, not a replacement for primary footage. Reach for it when you need an abstract concept, a historical scene, a scale shot you cannot physically capture, or a two-second extension of a clip that ends too early. Avoid it for faces that need to carry emotion, for anything a viewer can fact-check, and for product shots where accuracy matters legally.
The practical test: if the generated clip fails, does the scene collapse or does it merely look slightly different? Only use generation where the answer is the second one. Also keep a simple log of prompts, model settings, and source images so you can regenerate later at a different length or ratio.
Mistakes that make an automated edit look automated
- Uniform shot lengths. Real editing breathes: a three-second establishing shot, then four quick cuts. If every clip runs the same duration, the piece feels mechanical.
- Cutting on every beat. Music sync is a tool, not a rule. Let a shot cross a downbeat when the subject is speaking.
- No room tone. Noise reduction applied to dialogue only leaves an audible floor between lines. Match ambience under the whole sequence.
- Over-cropped vertical video. Auto reframing that tracks every camera move produces seasickness. Lock the crop or reframe manually for talking heads.
- Caption punctuation neglect. Automatic transcripts without punctuation produce unreadable walls of text.
- Zoom on every transition. Motion should mark an idea, not a boundary.
- Mismatched color between generated and captured footage. Grain, contrast, and white balance need to be matched or the insert screams.
- Ignoring loudness targets. A great edit that plays quieter than every other video in the feed gets skipped.
- Deleting every pause. Filler words yes, breath no. Silence is pacing.
Workflow recipes by project type
Long-form explainer
Transcript edit, paper edit, then a rough cut with chapters. Reserve generated clips for conceptual illustrations. Export captions as a sidecar file so viewers can search them.
Short-form social
Start from a finished long-form edit or a raw interview. Pick three moments with a hook in the first two seconds, reframe vertically, add captions, and keep each under sixty seconds. Batch export five to ten at once.
Product demo
Screen recording plus a presenter. Use auto scene detection to cut dead navigation and speed ramps to compress slow actions. Add callouts rather than zooms so the interface stays readable.
Course or lecture
Transcript-first workflow with strong chapter markers and downloadable captions. Prioritize audio clarity over visual polish; students listen as often as they watch.
Event or wedding recap
Beat-synced montage as the spine, with two or three unedited speech moments left intact. Match color across mixed lighting before you export.
Podcast
Multicam switching driven by speaker detection, then vertical highlight cuts. Loudness consistency between episodes matters more than any single edit decision.
Quality control checklist before export
Watch the whole thing once with headphones and once on a phone speaker. Check that the first three seconds state a reason to keep watching. Confirm captions match names and numbers. Verify audio peaks and loudness. Check for black frames, flash frames, and stray clips left on the timeline. Confirm the aspect ratio and safe margins for the target platform. Confirm no watermark. Confirm the file name and version number, and that the project is archived with the media so you can revise later.
FAQ
Do I still need a traditional editor if AI can assemble clips? Yes, for anything with a story. Automation is good at finding moments and bad at deciding which moment matters. The skill shifts from operating a timeline to judging material.
Will auto captions be accurate enough to publish without review? Rarely. Names, acronyms, and accents cause the most errors, and caption punctuation affects timing. Treat captions as a first draft that needs a five-minute pass.
How do I keep vertical and widescreen versions consistent? Build the widescreen master first, then duplicate the project and shrink the frame rather than re-editing. Copy graphics and captions across so branding stays identical.
Is transcript-based editing bad for pacing? Only if you delete every pause. Use the transcript to choose content and the timeline to shape rhythm. The best workflow alternates between the two views.
Can AI color match footage from different cameras? It can get close, especially with shot-matching tools, but faces and skin tones still deserve a manual check. Always verify on a calibrated or at least consistent display.
What about using AI to repurpose old footage into new shorts? This is one of the most reliable uses. Audio quality and hook strength determine success far more than resolution.
Getting started this week
Pick one project you already have footage for and run the full workflow once: transcribe, paper edit, rough cut, polish, export a master and one vertical version. Keep notes on where the automation helped and where it fought you. Within two or three projects you will know which capabilities you actually need, and that short list is far more useful than any feature comparison chart.
The goal is not to hand editing over to a machine. It is to spend your attention where it changes the outcome, and to leave the mechanical work to software that never gets tired of trimming.

Alexander
More Blogs
Read MoreMontaggio video rapido: transizioni e software per l'AI
Guida pratica al montaggio video rapido con AI: transizioni fluide, software, workflow, coerenza visiva, errori da evitare e FAQ operative.
Building an AI Video Production Workflow From Concept to Cut
A practical guide to planning, generating, editing, and finishing AI-assisted videos with consistent characters, clear shot lists, and reliable review loops.
A Repeatable Post-Production Workflow for Polished AI Video
Build a repeatable AI video post-production pipeline: organize assets, cut story-first, design transitions, refine audio, and review versions calmly.