
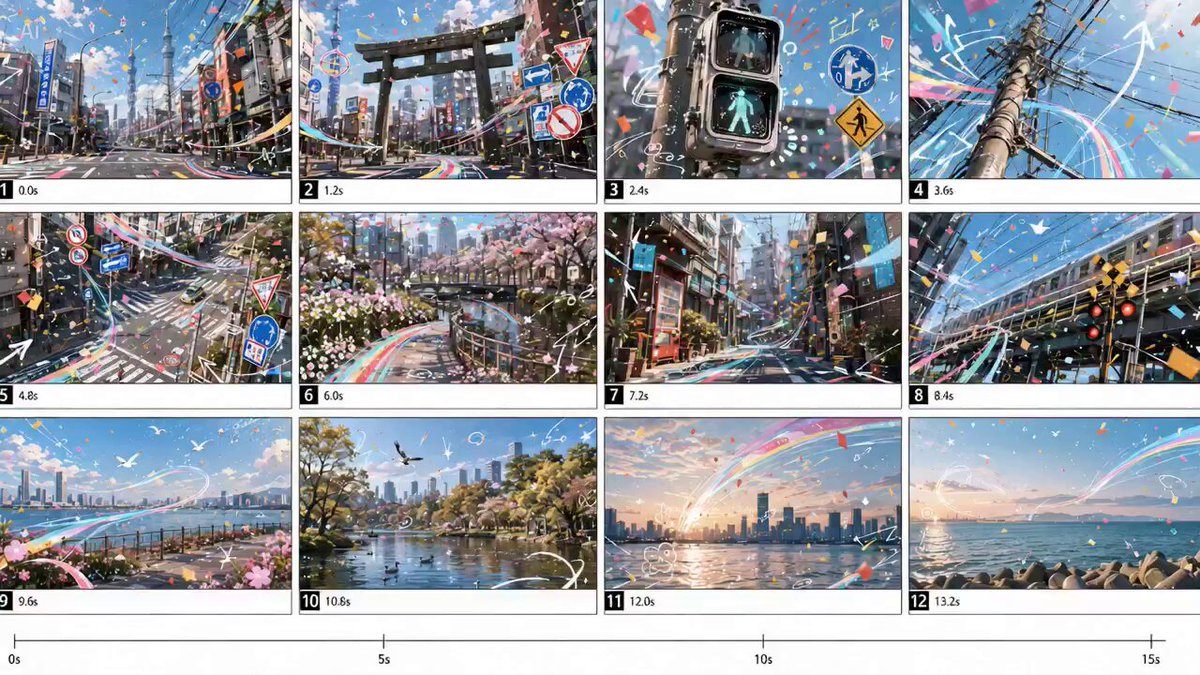
From Script to Screen: Building Reliable AI Video Workflows
Oct 13, 2026


Ask ten people what AI video means and you will get ten answers: a synthetic presenter reading a compliance script, an eight-second clip of a whale drifting through clouds, a product ad stitched together from five generated shots and a licensed music bed. All three are real workflows. They also fail in completely different ways, which is why comparing tools by feature list rarely produces a usable decision.
This guide is not a ranking. It is a working method for turning written text into finished video against a predictable quality bar, whether you are a solo creator publishing weekly, a marketing team producing localized explainers, or an internal comms group that needs training modules refreshed every quarter. The emphasis is on process, because process is what survives a model release cycle. Interfaces change, capabilities expand, and prices move. A shot list, a style block, and a review checklist do not.
If you take one idea from this article, take this one: the gap between an impressive demo and a publishable video is almost never generation quality. It is continuity, pacing, sound, and revision discipline.
Why Text-to-Video Still Needs a Production Process
Generation has become genuinely easy. A single sentence can return motion, lighting, depth of field, and plausible physics in under a minute. That ease creates a false expectation: that a script plus a button equals a video. What actually comes back is raw material, in the same way that a roll of film is raw material.
Audiences consume arguments, not clips. A finished piece needs a reason to exist, a structure that holds attention past the first five seconds, transitions that feel motivated, audio that supports comprehension, and an ending that resolves something. Three bottlenecks remain stubbornly human:
- Intent translation. A model cannot tell which sentence in your draft is the thesis and which is scaffolding. Someone has to decide what the viewer should see, feel, and remember at each moment.
- Continuity. Faces drift, wardrobes change, light direction flips, and color temperature wanders between shots. Holding a visual identity across twenty shots is a production design problem, not a prompting problem.
- Assembly. The last twenty percent of perceived quality comes from trimming, sound design, captions, and pacing. That is exactly the part generative systems are worst at, and exactly the part viewers notice first.
Teams that treat AI video as a slot machine end up with a folder of disconnected clips and a vague sense that something is missing. Teams that treat it as a pipeline end up with a reusable asset library and a production rhythm. The rest of this guide is about building that pipeline in a form you can repeat next week.
Two Tool Families and How to Choose Between Them
Most confusion in this space comes from comparing tools that solve different problems. Sort the market into two primary families first, then add supporting tools.
Avatar-first platforms
Avatar-first tools take a script and render a presenter speaking it: a stock presenter, a licensed likeness, or a clone of yourself. They handle lip sync, gesture, pronunciation for numbers and acronyms, and often multiple languages from the same source script. Their strength is predictability. Change a sentence, re-render, publish. For onboarding, compliance training, product walkthroughs, and localized versions of the same message, they are extremely efficient.
Their limits are visual. You get a person talking, plus slides or b-roll. Narrative scenes, atmosphere, physical action, and stylized worlds are out of reach or awkward.
Generative-first pipelines
Generative models produce original footage from description: environments, atmospheric motion, product-adjacent imagery, stylized sequences. They excel at the material that would be expensive or impossible to shoot, and they give you a distinct visual signature if you tune them well.
The tradeoff is control. You describe, you do not direct. Every shot is an iteration, and each iteration costs time and money. Continuity requires deliberate scaffolding, which is the subject of a later section.
Hybrid stacks, which is what most professionals actually run
In practice, strong teams combine both: a presenter or voice-led spine for the explanatory content, generative footage for transitions and atmosphere, stills-first animation for anything that must look consistent, and a real editor for assembly. The layers matter more than the brand names.
| Requirement | Avatar-first platform | Generative-first pipeline |
|---|---|---|
| Human presenter on screen | Native strength | Possible but unstable |
| Frequent script updates | Re-render in minutes | Regenerate and re-edit |
| Cinematic scenes and atmosphere | Limited | Core strength |
| Multilingual versions | Usually built in | Needs a separate voice step |
| Visual consistency | High for the presenter, weak for b-roll | Entirely dependent on your references |
| Time to first draft | Under an hour | Two to six hours |
| Main cost driver | Minutes of finished video | Number of generation attempts |
A simple heuristic: use avatar video when the message is the star, and generative video when the imagery is the star. Do not force a tool to do the half of the job it was never designed for.
Five Questions That Decide Your Approach
Answer these before opening any application. The answers choose the pipeline for you.
- Does a human need to appear on screen speaking? If yes, start in the avatar family. If no, generative or stills-first animation will give you more range per minute.
- Will this video be updated often? Frequently updated content favors a script-driven presenter workflow, where a text change is the entire edit. Evergreen cinematic content favors generated footage.
- Does the same character recur across shots or episodes? If so, plan for reference images and a locked style block from the beginning rather than patching continuity later.
- What is the runtime? Under thirty seconds usually means one model, one prompt, fast iteration. Over ninety seconds means a shot list, multiple generation sessions, and a real editing pass.
- Does accuracy outrank style? Technical, legal, or medical material needs verifiable facts, controlled terminology, and a formal review step. Entertainment-led content can trade precision for visual novelty.
Two constraints deserve their own line. First, runtime budget: generative clips are typically short, so a two-minute piece may need fifteen to thirty generated shots plus overlays, which changes how you schedule work. Second, review cost: every shot needs a human approval. If review takes longer than generation, your process is inverted and you should reduce shot count or increase shot length.
The End-to-End Workflow, Step by Step
The sequence below is built for a sixty- to one-hundred-twenty-second explainer. Scale the volume, keep the order.
Step 1: Write for the ear, not the page
Read your script aloud. Every sentence you stumble over will sound worse through a synthetic voice. Shorten clauses, delete adjectives that carry no information, and place the payoff in the first ten seconds. If a sentence only exists to sound impressive, cut it.
Step 2: Convert the script into a shot list
Each sentence becomes one to three shots. Give every shot four fields: duration, subject, camera intent, and purpose. If you cannot name the purpose in five words, delete the shot. This single artifact prevents the most common failure mode in AI video: generating beautiful footage that has nothing to do with the narration.
Step 3: Generate still frames before motion
Produce one still for every shot and approve composition, lighting, and palette while changes are cheap. Stills are fast and easy to redo. Animation consumes far more time and introduces drift, so you want to lock the frame before you add movement. This is the highest-return habit in the entire workflow.
Step 4: Animate from approved frames
Generate two to four takes per shot and review them side by side rather than in sequence, because comparison exposes inconsistencies that sequential viewing hides. Watch for warped hands, shifting facial features, melting background detail, flickering texture, and light that comes from a different direction than the previous shot.
Step 5: Rough-cut to narration
Lay the narration track first, then place visuals against it. Editing to spoken words is far easier than stretching narration to fit visuals. If a shot runs long, trim the visual, not the sentence.
Step 6: Layer sound
Add music at low volume beneath the voice, then place three to five sound effects that mark transitions or emphasis. Sound is the fastest, cheapest way to make generated footage feel intentional. A soft whoosh on a cut, a click on a text reveal, a low tone under a serious point: these do more for perceived quality than another round of generation.
Step 7: Captions, color, loudness
Standardize captions, apply a light color pass so every shot shares a temperature, and normalize loudness so nothing clips on phone speakers. Three small finishing steps, each individually minor, collectively determine whether the result reads as professional.
Step 8: Export per platform
Deliver a widescreen master, a vertical cut, and a square cut. Reframe rather than crop blindly, because captions and key subjects need to remain inside the safe area. Designing for vertical first, when vertical is the primary destination, saves rework later.
Prompting at the Shot Level
A script-level prompt produces a trailer. A shot-level prompt produces footage you can edit. Structure each prompt in six parts:
- Subject. Who or what is on screen, described concretely rather than abstractly.
- Action. One clear motion. Two motions in one prompt usually produce neither.
- Setting. Location, time of day, weather, era, and level of realism.
- Camera. Shot size, angle, and movement: slow push in, medium close-up, eye level, handheld.
- Light. Source and quality: soft window light, harsh midday sun, neon practicals, overcast diffusion.
- Style. Stock, lens character, color grade, reference genre.
Reusable style blocks
Keep a style block you paste at the end of every prompt. If each shot closes with the same palette, lens, and grain description, the footage starts to feel like one continuous world instead of a random sampler. This is also the cheapest continuity tool available, since it costs nothing but discipline.
Negative constraints
Most models respond well to explicit exclusions: no on-screen text, no logos, no crowds, no fast cuts, no lens flare. Typography rendering in particular remains unreliable, so generate clean plates and add every word in your editor, where you control font, weight, position, and timing.
Take limits and iteration discipline
Set a hard limit of four takes per shot. If the fourth take still misses, change a variable rather than repeating the prompt: swap the reference frame, simplify the action, change the shot size, or replace the shot entirely with an overlay. Rerolling near-identical prompts is the single most expensive habit in AI video.
Continuity and Visual Identity Across Shots
Continuity is the difference between a demo and a deliverable. Four practices carry most of the weight.
Character sheets
Generate one clean reference image per recurring character, then animate from that image in every appearance. Lock wardrobe, hair, accessories, and age. Save the reference with a clear filename and reuse it rather than regenerating a new version each session, because small variations accumulate into a different person.
Palette locking
Choose three brand colors and mention them in every style block. Consistency in color reads as intentional even when the content is synthetic. Inconsistent color reads as carelessness even when the footage is technically impressive.
Shot grammar
Decide a default pattern: wide establishing shot, medium for explanation, close-up for emphasis, and reuse it across the series. Predictable grammar feels edited. Constant novelty at the shot level feels chaotic, no matter how good each individual frame looks.
Location bibles
For recurring environments, generate one wide still and one detail still, approve them, and reuse both as animation sources forever. This is how you get a recognizable world without rebuilding it every episode.
If continuity simply cannot be maintained at your current scale, change the format instead of fighting it. Switch to a presenter-led video, lean on graphic overlays, or narrate over abstract material. Audiences forgive abstraction. They rarely forgive a character whose jacket changes color every four seconds.
Voice, Music, Captions, and the Finishing Layer
Narration quality is often the ceiling on perceived production value.
Narration
Punctuate for performance. Commas create micro-pauses, periods create beats, and question marks lift the ending of a line. Control pace rather than raw speed: slightly slower delivery with clear pauses reads as confident, while rushing reads as automated. Match tone to content, with a warm conversational read for explainers and a neutral steady read for technical or compliance material. Always listen to the full track once at normal speed before you edit a single frame against it.
Music
Music should sit beneath the voice and never compete with it. Pick one track per series and reuse it. Recurring music is a branding shortcut, and it removes one decision from every project you produce afterward. Duck the music under narration rather than lowering the whole mix.
Captions
Captions deserve a workflow, not a toggle. Start with automatic transcription, then correct product names, numbers, acronyms, and jargon by hand, because those are exactly the tokens automatic systems get wrong and exactly the tokens that damage credibility. Style captions once, with font, weight, background, and safe margins, then apply the preset everywhere.
Overlays and lower thirds
Build text in the editor, never in the generation prompt. A saved lower-third template with a fixed position and animation makes a series look designed rather than assembled.
Quality Control, Common Mistakes, and Fixes
Review is not a formality. It is a distinct skill, and it catches different errors than generation does.
Pre-publish checklist
- The first three seconds contain a reason to keep watching
- Narration and on-screen action align within half a second
- No visible artifacts: warped hands, extra fingers, drifting faces, melting backgrounds
- Light direction matches between adjacent shots
- No unintended on-screen text, watermarks, or stray logos
- Captions are accurate, inside safe areas, and legible on a phone
- Audio is normalized and music does not mask consonants
- Colors, fonts, and logo placement match the template
- Every claim that could change over time has been verified
- Aspect-ratio variants exist for each destination platform
Common mistakes and how to fix them
Generating before scripting. The fix is unglamorous: write the script and the shot list first, then generate. You will produce roughly half as many clips and use far fewer of them twice.
Chasing one perfect take. Set a take limit, then change a variable. Repeating a prompt and hoping is a time sink disguised as effort.
Ignoring aspect ratio until the end. Decide destinations during pre-production. Vertical changes composition, pacing, and caption placement, and retrofitting it after the edit is painful.
Overusing transitions. Cut on action and let sound carry the change. Flashy transitions draw attention to the edit rather than the message.
Letting the model render typography. Generate clean plates and add text in the editor. This eliminates an entire category of unusable output.
No naming convention. Adopt one before the second project. A convention like project, shot number, take number will save hours when you reassemble a video three weeks later, and renaming hundreds of files retroactively is pure waste.
Skipping review roles. Assign one approver for visual continuity and one for factual accuracy. Two reviewers catch different problems, and a single overloaded reviewer catches neither reliably.
Mixing tool aesthetics mid-project. If you generate in two different engines, their color science and motion character will not match. Either commit to one look per project or spend real time on a matching pass in the edit.
Scaling Into a Series: Templates, Batching, and Common Questions
Once one video works, the goal becomes repeatability. Three levers make that possible.
Templates
Save caption presets, lower thirds, intro and outro, music bed, and export settings. A template turns a two-day project into a four-hour one, because it removes every decision you have already made well once.
Modular scripts
Structure content as reusable blocks: hook, context, three points, call to action. Swapping the middle keeps production predictable while the content stays fresh. This also makes localization simpler, since each block can be translated and re-recorded independently.
Batching
Generate all stills for a series in one session, then all animations, then edit everything together. Context switching is what makes AI production feel slow, and batching removes most of it. It also improves consistency, because you are holding one visual standard in your head instead of relearning it every week.
Frequently asked questions
Is text-to-video good enough for client work? Yes, when scoped correctly. Use it for explainers, social cuts, training, and b-roll. For high-stakes brand films, treat generated footage as one element inside a broader production rather than the entire piece.
How long should an AI-generated video be? Most perform best between thirty and one hundred twenty seconds. Longer pieces work when structure is strong: chapters, clear sections, and recurring visual anchors to orient the viewer.
Do I need design skills? You need taste more than craft. Recognizing a mismatched light direction or an awkward cut matters more than knowing how to animate anything yourself.
What about disclosure? Follow the rules of the platform and jurisdiction where you publish. Many audiences also respond well to transparency, and a plainly labeled synthetic presenter does not automatically hurt engagement.
How many takes per shot is reasonable? Two to four. Beyond that, change a variable rather than rerolling the same prompt.
Can I keep one consistent character across many videos? Yes, with saved reference images and locked style blocks. Expect to invest real effort in the first character and very little in the tenth video.
Where is the biggest time saving? Approving stills before generating motion. It eliminates most rework and makes the animation step almost mechanical.
What if my team has no editor? Start with a single presenter-led format, one caption preset, and one music track. Reduce variables until the workflow fits the skills you actually have, then expand once the rhythm is stable.
A first project to run this week
Pick a sixty-second topic you already understand deeply. Write the script, build the shot list, generate one still per shot, and approve those stills before animating anything. Assemble to narration, add music and captions, run the checklist, and publish. The result will not be perfect, but it will teach you more about your own pipeline than another week of tool comparison.
From there the improvements compound. Lock a style block, save a caption preset, keep a fallback model available, and enforce a take limit. Within a handful of projects you will have something more valuable than any individual tool: a production process that converts plain text into finished video on a schedule, without the guesswork and without the folder full of clips nobody remembers making.

Alexander
More Blogs
Read MoreMontaggio video rapido: transizioni e software per l'AI
Guida pratica al montaggio video rapido con AI: transizioni fluide, software, workflow, coerenza visiva, errori da evitare e FAQ operative.
Building an AI Video Production Workflow From Concept to Cut
A practical guide to planning, generating, editing, and finishing AI-assisted videos with consistent characters, clear shot lists, and reliable review loops.
A Repeatable Post-Production Workflow for Polished AI Video
Build a repeatable AI video post-production pipeline: organize assets, cut story-first, design transitions, refine audio, and review versions calmly.