

Generative AI Visual Content Workflow: A Practical Guide
Oct 13, 2026

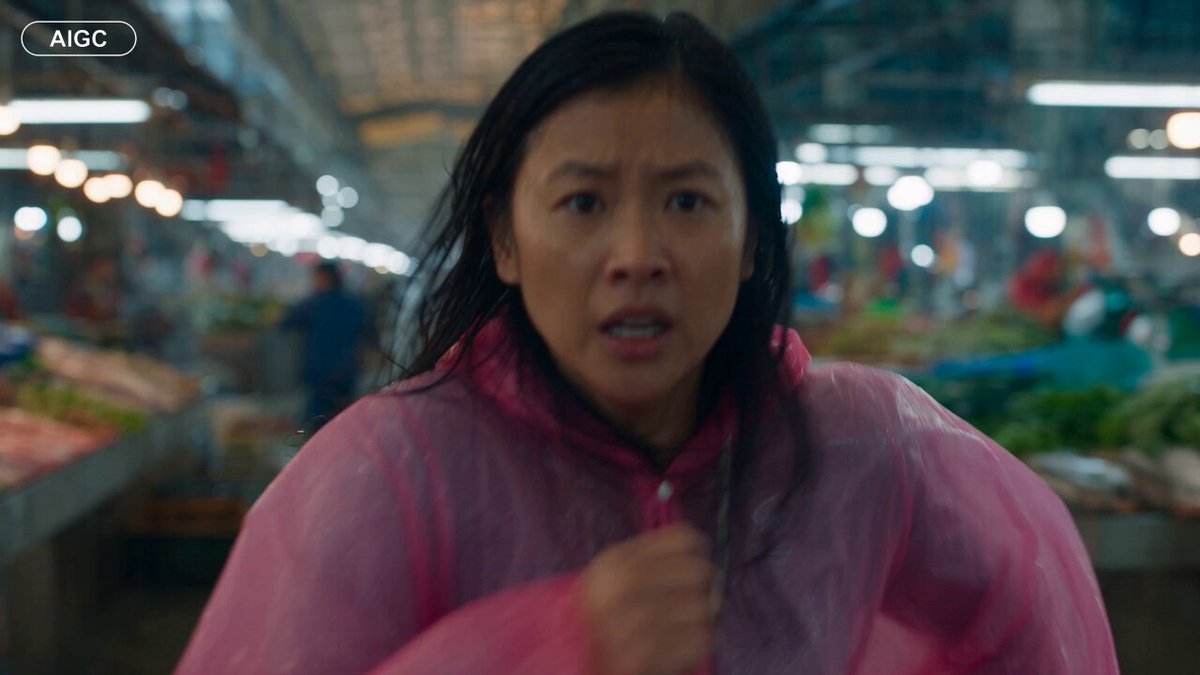

Generative AI has graduated from novelty to infrastructure. Marketing teams storyboard campaigns in an afternoon, solo creators ship explainer videos without a crew, and product studios turn rough concepts into animatics before the first meeting ends. Yet the teams producing consistently strong visual work are rarely the ones with the biggest tool budget. They are the ones with the most disciplined process.
This guide lays out a practical, end-to-end workflow for AI-assisted visual content creation: how to brief, how to prompt for consistency, how to review output, how to handle rights, and how to scale without diluting quality. It is written to be useful whether you are a two-person team or a fifty-person studio.
Why the Workflow Matters More Than the Model
Most modern image and video generators converge on a similar level of raw capability. Give the same prompt to three different tools and you will get three competent results, each with slightly different aesthetics. The real differentiator is what happens before and after generation.
Before generation: do you have a locked concept, a script, a shot list, and a visual reference set? Teams that skip this step generate dozens of attractive but unrelated clips, then spend days trying to edit them into something coherent.
After generation: do you have a review process, a colour and audio pass, and a versioning convention? Teams that skip this step publish material that looks impressive in isolation and amateurish in sequence.
A useful mental model is to think of generative AI as a very fast, very literal production assistant. It executes instructions with astonishing speed and almost no judgement. Every decision you fail to make explicitly gets made for you — usually the most generic version available.
The workflow below exists to make those decisions explicit and repeatable.
The Five Building Blocks of an AI Visual Pipeline
Any sustainable AI visual workflow contains five layers. Weak workflows collapse two or three of them together and then wonder why nothing is consistent.
1. The concept and script layer. The idea, the audience, the promise, the narrative beat structure. This layer is human-owned and does not change based on tooling.
2. The asset layer. Your style bible: reference frames, character sheets, product photography, colour palettes, typography, logo lockups, and a small set of approved looks. This is the layer most teams underinvest in, and it is the one that determines whether your output looks like you.
3. The generation layer. Text-to-image, image-to-video, upscaling, background replacement, inpainting, motion transfer. This is where tools compete.
4. The motion and audio layer. Camera moves, character animation, voice synthesis, music, sound design, lip sync. Often handled by separate tools that need a shared timing reference.
5. The assembly and delivery layer. Editing, colour, captions, aspect-ratio variants, export presets, and archive conventions.
Teams that treat layers 1 and 2 as optional are effectively outsourcing their brand to a default aesthetic. Teams that treat layers 4 and 5 as optional produce clips rather than stories.
Step-by-Step: Running the Pipeline End to End
The following sequence works for a 15-second social clip and scales up to a two-minute brand film. The timings assume one editor and one designer working in parallel.
Step 1: Brief and concept lock
Write a one-page brief: audience, single takeaway, tone, mandatory brand elements, deliverable specs, and one sentence describing what success looks like. If you cannot fill the page, you are not ready to generate.
At this stage, decide the format too. Horizontal for YouTube and landing pages, vertical for short-form, square for feed placements. Generating in the wrong aspect ratio and cropping later wastes more time than any other mistake in this pipeline.
Step 2: Script and storyboard
The script should be written for spoken delivery, which means short sentences and concrete nouns. Generic copy produces generic visuals, because the generator has nothing specific to render.
The storyboard does not need to be beautiful. Six to twelve rough frames with a one-line description each is enough. Mark which frames are hero shots, which are transitions, and which are supporting texture. Hero shots deserve three to five generation attempts; texture shots deserve one.
This is also the right moment to build your reference set: three images that define the look, a character sheet if people appear, and any product shots that must remain accurate.
Step 3: Shot generation
Generate in batches grouped by shot type rather than by scene order. All your wide establishing shots together, then all your close-ups, then all your transitions. Batching keeps your prompt structure stable and makes inconsistencies obvious.
Save every output with a naming convention that encodes scene, shot, and version: s02_sh04_v03.png. Rename immediately. Untitled downloads are the single largest source of lost work in AI production.
Step 4: Motion, voice, and sound
Choose your motion approach deliberately. Image-to-video with a locked start frame plus a described camera move gives you the most control. Text-to-video is faster but harder to match from shot to shot.
Record or synthesise voice-over before finalising motion. Timing drives everything: if the narrator says a sentence in four seconds, your shot must resolve in four seconds, not six.
Add one layer of sound design beyond music — a room tone, a single transition whoosh, or an ambient texture. It is the cheapest way to make an AI-assisted edit feel professionally finished.
Step 5: Assembly, colour, and delivery
Assemble to a rough cut before you polish any individual shot. Continuity problems are structural, and fixing them early costs minutes instead of hours.
Then apply a single colour treatment across all clips. AI-generated footage frequently has mismatched contrast and white balance between shots, and a unified grade is what makes the sequence read as one piece.
Finally, export every required aspect ratio from the same master, add captions burned in or as a sidecar file, and archive the project with the prompt list attached.
Prompting for Visual Consistency
Consistency is the hardest problem in AI visual production. These four practices solve most of it.
Build a style bible you can paste
Write a fixed block of 40–70 words describing your visual identity: lighting direction, lens character, colour bias, film stock or render style, texture, and mood. Paste this block at the end of every prompt, unchanged. Change only the subject and framing.
Lock characters and products with references
Text descriptions drift. Visual references do not. Use image references, face or character consistency features, and inpainting for any recurring subject. For products, photograph the object yourself and use it as the anchor frame rather than describing it.
Speak camera language
Generators respond well to conventional cinematography vocabulary: wide, medium, close-up, over-the-shoulder, low angle, shallow depth of field, dolly in, handheld, static tripod. Naming a shot type also tells your editor what the shot is for.
Maintain a constraint list
Keep a running list of things that must never appear: competing logos, distorted hands, mismatched skin tones, text in the wrong language, unlicensed-looking signage. Feed the important ones into negative prompts and, more importantly, into your review checklist.
Choosing Tools for Each Stage
Do not try to solve every stage with one platform. Pick tools that are strong at a single job and make sure they can hand off cleanly.
| Stage | What to look for | Common pitfall |
|---|---|---|
| Concept and script | Fast iteration, version history | Letting the tool invent strategy |
| Image generation | Reference support, inpainting, resolution | Inconsistent style across sessions |
| Video generation | Start-frame control, camera-move prompts, duration | Unstable faces in long clips |
| Voice and audio | Tone control, pronunciation editing, clean exports | Robotic pacing in long narration |
| Editing and finishing | Subtitle tools, colour tools, export presets | Mixing assets with different colour spaces |
| Asset management | Search, tagging, versioning | Files stored only on one person's drive |
Before committing to any tool, run the same three-shot test through it: one wide establishing shot, one close-up of a person, and one product shot. If the tool struggles with the person or the product, it will struggle with your entire campaign.
Quality Control: A Review Checklist
Review in passes. Trying to catch everything at once means catching nothing.
Pass 1 — Technical. Resolution, frame rate, compression artefacts, audio levels, caption accuracy, safe margins for vertical crops.
Pass 2 — Continuity. Does the character's clothing, hair, and lighting match across shots? Does the location stay coherent? Does the time of day hold?
Pass 3 — Brand. Correct logo, correct colours, correct product appearance, correct tone of voice, no competing brand marks visible in the background.
Pass 4 — Narrative. Does the sequence answer the question the brief promised to answer? Watch it with the sound off, then listen with your eyes closed. Both should work.
Pass 5 — Legal and compliance. Rights on audio, likeness, locations, and any third-party material. Disclosure requirements for synthetic media. Platform-specific rules for advertising.
Build this checklist into your project template so it appears automatically on every job.
Rights, Disclosure, and Brand Safety
Generative output raises questions that traditional production does not, and the answers are mostly procedural rather than technical.
First, document provenance. For every published asset, keep a record of the tool used, the prompt, the date of generation, and the human edits applied. This is not bureaucratic overhead; it is what lets you answer a client question or a platform review six months later.
Second, be explicit about synthetic media. Many platforms and most regulated industries expect disclosure when visuals are AI-generated, particularly when a realistic human appears. A short on-screen label or a line in the description is usually sufficient, and it rarely harms performance.
Third, never generate a recognisable real person, a trademarked character, or a protected location without permission. Likeness and trademark issues do not disappear because the image was produced by software.
Fourth, treat music and voice rights as seriously as image rights. Generated music and cloned voices both carry consent requirements, especially for commercial use.
Finally, write a one-page internal policy. It should state who approves AI-generated content, what must be disclosed, and which categories of subject matter are off limits. Teams without a written policy end up re-litigating the same decisions on every project.
Mistakes That Quietly Break the Workflow
Some failures are dramatic. These are the ones that erode quality slowly.
Generating before the script is locked. You produce beautiful footage that answers the wrong brief.
Changing style mid-project. A new prompt style halfway through a campaign creates a visible seam. Lock the style bible on day one and treat changes as a formal decision.
Over-relying on one hero clip. If a single generation carries the whole edit, you have no fallback when a stakeholder rejects it. Always have two viable options per hero shot.
Ignoring audio. Viewers forgive imperfect visuals far more readily than bad sound.
Skipping the archive. Six weeks later, a client asks for the vertical cut with a different end card, and nobody can find the source files or the prompt that produced the look.
Treating AI as a replacement for taste. The tool has no opinion about whether a shot is boring. That judgement remains entirely yours, and it is now the main thing you are paid for.
Scaling: Templates, Roles, and Measurement
Once the pipeline works for one video, make it repeatable.
Create a project template containing the brief form, the shot list spreadsheet, the style bible block, the naming convention, and the review checklist. New projects should start from the template rather than a blank folder.
Define roles clearly, even on a small team. One person owns the concept and script. One owns visual consistency and prompt standards. One owns assembly and finishing. On a solo project, you still switch between these hats deliberately rather than all at once.
Measure three things: time from brief to first cut, number of revision rounds per deliverable, and the ratio of approved assets to generated assets. If that last ratio is very low, your prompts are too vague or your shot list is too long. If revision rounds are climbing, your concept lock is too loose.
Finally, keep a small library of winning prompts and reference sets. Over time, this library becomes more valuable than any individual tool subscription, because it encodes decisions your team has already validated.
FAQ
How many generated shots should I expect to discard? In a healthy workflow, roughly half to two-thirds of generated clips are discarded, and the best shots are used. If you are discarding almost everything, tighten the brief and the style block before generating more.
Can I use AI-generated visuals for client work? Usually yes, provided you check the tool's commercial terms, disclose synthetic media where required, and avoid recognisable people, trademarks, and protected locations without permission.
Do I still need a real camera? For product accuracy, testimonials, and anything requiring verifiable authenticity, yes. The strongest workflows mix generated footage with a small amount of captured material.
What is the fastest way to improve consistency? Stop describing and start referencing. A single approved reference image will do more for consistency than twenty extra words of prompt.
How long should a generated clip be? Generate short, three-to-six-second segments and assemble them. Long single generations drift, and drift is expensive to fix.
Should I generate in vertical or horizontal first? Generate in the aspect ratio you will publish most, then reframe. Cropping a wide shot to vertical loses composition; designing for vertical from the start preserves it.
Where does human editing add the most value? Pacing and sound. Generated footage rarely arrives with good rhythm, and rhythm is what makes a sequence feel intentional.
How do I convince stakeholders to adopt this workflow? Run one pilot deliverable with a before-and-after comparison of time and cost, then present the checklist and policy alongside it. Process is easier to approve when it arrives with evidence.
The tools will keep changing. The pipeline — brief, reference, generate, assemble, review — will not. Teams that build that pipeline now can swap tools freely as the technology improves, instead of rebuilding their entire production process every time a new model appears.

Alexander
More Blogs
Read MoreVidu Q4 Alternatives: 4K AI Video Models Compared (2026)
Vidu Q4 alternatives compared: Kling 4.0, Seedance 2.5, Wan 3.0, and Runway Gen-4 — 4K support, input modes, durations, audio, and what each costs in credits on Domer.
Top 4K AI Image Generators in 2026: 5 Models Compared on Real Costs
The top 4K AI image generators on Domer compared: Flux 3 Klein, Nano Banana 2.1, GPT Image 2.5, GPT Image 2, and Nano Banana Pro — 4K credit costs, reference limits, and speed.
Nano Banana 2.1 vs GPT Image 2.5: Which Image Model Should You Use? (2026)
Nano Banana 2.1 vs GPT Image 2.5 Flare compared: credit costs per resolution, aspect ratios, reference images, text rendering, and which tasks fit each model.