
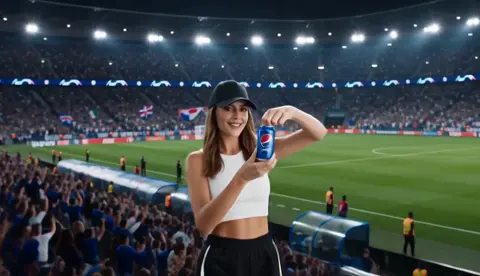
Realistic AI Clone Video Generators: A Production Workflow
Oct 13, 2026
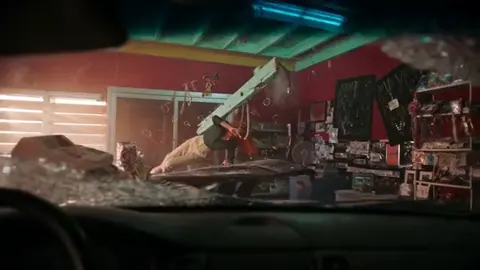
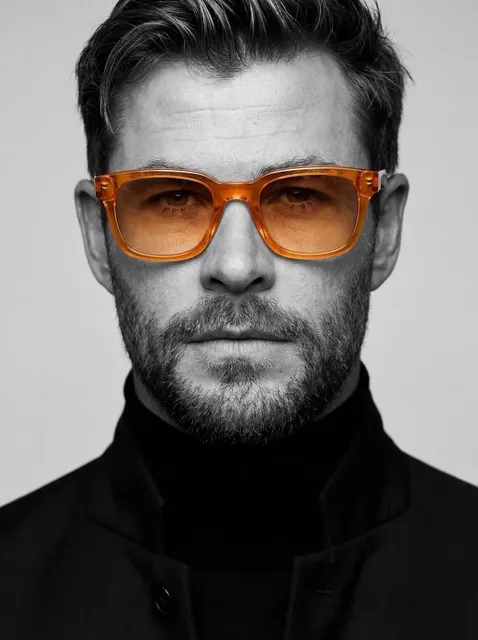

Why Digital Doubles Crossed the Believability Threshold
A synthetic presenter used to announce itself within two seconds: waxy skin, a jaw that moved like a puppet hinge, eyes that never blinked. That era is largely over. Modern clone video systems can hold a recognizable identity across a full minute of speech, match lip movement to fast consonants, and survive a slow camera push without dissolving into mush. The result is that digital doubles have moved out of novelty demos and into everyday production work — localized product walkthroughs, compliance training modules, social series that ship in five languages, and internal announcements recorded once and re-voiced many times.
The catch is that the gap between an impressive demo and a usable asset is still wide. The same system that produces a flawless ten-second clip can produce an unwatchable one-minute clip when the input material, the script, or the shot design works against it. Most creators blame the model. In practice the model is usually doing exactly what it was told with the material it was handed.
This guide treats clone video as a production discipline rather than a magic button. It covers what the technology actually does, how to choose between input modes, a repeatable workflow from capture to final polish, the specific mistakes that break believability, and how to scale output once a single clip finally works the way you want.
The Three Layers of Clone Realism
Every clone video is built from three stacked layers, and the weakest one sets the ceiling for the entire clip.
The appearance layer is the face itself: skin texture, hair behavior, teeth, eye shape, and how stubbornly the identity holds as the head turns or a hand passes near the chin. This is what demo reels showcase, and it is the layer that improves fastest with new models.
The performance layer is everything that moves: lip sync, jaw tension, blink rate, eyebrow raises, micro-expressions, gaze direction, and the tiny head adjustments people make while speaking. This is where most believability is won or lost, and it is the layer beginners ignore because it is invisible in a still frame.
The staging layer is cinematography: camera angle, lens feel, lighting direction, depth of field, background, and motion within the frame. A perfect face in a flat, over-lit, dead-center frame still reads as synthetic, because viewers have learned what real footage looks like.
A useful diagnostic habit is to score each layer separately out of five and look for the lowest number. If performance scores two and appearance scores five, adding more reference photos will not help. Fix the performance.
| Layer | What it covers | Common failure | Fastest fix |
|---|---|---|---|
| Appearance | Identity, skin, hair, teeth | Drifting face, waxy texture | Better references, less smoothing |
| Performance | Lip sync, blinks, expression | Frozen pose, dead eyes | Hand-authored keyframes, prosody-matched audio |
| Staging | Camera, light, background | Flat lighting, static frame | Reframe off-center, add camera drift |
How the Technology Behind Clone Video Actually Works
You do not need the mathematics, but you do need four practical ideas, because each one tells you what to fix when output disappoints.
Visual synthesis and identity conditioning
Current systems lean on diffusion-based image and video models, with adversarial networks still useful for face refinement and cleanup passes. What matters in practice is identity conditioning: the model extracts a stable representation of a face from reference images and injects it into generation. More references from varied angles and lighting conditions produce a more robust identity, up to a point of diminishing returns — usually somewhere past fifteen or twenty images, extra references stop adding information and start adding noise.
When a tool offers a "train your avatar" step, lightweight personalization is happening behind the scenes: the model adapts slightly to one specific face from a small dataset. A well-trained identity holds up under head turns, partial occlusion, and unusual expressions. A poorly trained one collapses into a generic face the moment the subject moves or smiles widely.
Motion, lip sync, and prosody matching
An audio track is analyzed into phoneme timing, mapped onto mouth shapes, and blended with head pose and expression targets. Strong systems add three things that separate them from cheaper ones: natural blink and saccade timing, secondary motion such as subtle shoulder and neck movement, and prosody matching — so a rising question intonation produces the right eyebrow and jaw behavior instead of a flat delivery.
Purely automatic output usually works for short clips and simple narration. For hero shots, hand-authored keyframes or a captured performance will beat automation nearly every time, because the model does not know which beat of the sentence deserves emphasis. It knows where the pauses are; it does not know where the meaning is.
What training data actually teaches
Twenty minutes of varied footage — different angles, lighting, expressions, speaking speeds — will outperform two hours shot from one webcam angle. Variety teaches; repetition does not. Heavy beauty filters are actively harmful, because they erase the micro-texture the model uses to reconstruct skin. Record at the highest frame rate and resolution your storage allows, keep the face well lit but not blown out, and lock exposure and white balance so the identity does not shift between takes.
Temporal consistency and the flicker problem
Frame-by-frame generation creates flicker, so video models add temporal layers that keep features consistent over time. If skin shimmers, or teeth change shape between frames, you are watching a temporal consistency failure, not a lighting problem. The usual culprits are a reference set with inconsistent lighting, an aggressive denoise or face-smoothing setting, and render settings that prioritize speed over temporal smoothing. Reduce the effect strength, add references from the same lighting condition, and re-render before you touch anything else.
Comparing Input Modes Before You Commit
The input format you choose determines your realism ceiling more than any slider in the interface.
| Input mode | Best for | Control level | Realism ceiling |
|---|---|---|---|
| Text prompt only | Concepts, mood boards, abstract inserts | Low | Moderate for faces |
| One image plus script | Presenter intros, avatar explainers | Medium | High for short clips |
| Short clip plus script | Talking-head content, localization | Medium-high | High |
| Full performance capture | Dialogue, acting, precise lip sync | High | Highest |
If a client needs a thirty-second explainer with one presenter against a clean background, image-to-video plus a synthetic voice gets you there fastest. If the same client needs the presenter to react to someone off camera, performance capture is worth the extra setup time. A hybrid approach often works best: capture the base performance yourself, then use generative tools for background replacement, relighting, or insert shots rather than for the face itself. That keeps the identity anchored to real footage while still saving most of the production effort.
A Step-by-Step Production Workflow
Step 1 — Capture an identity that survives head turns
Shoot or collect at least eight to twelve reference images, or a few minutes of video. Cover three-quarter angles both ways, a slight low angle, a slight high angle, a neutral expression, a mild smile, and a talking segment. Soft, even lighting beats dramatic lighting for training footage. Keep the camera on a tripod and lock exposure and white balance between takes.
If you are capturing someone else, brief them to speak at a normal pace and avoid exaggerated expressions. Over-acting in reference footage produces an exaggerated model, and exaggerated models break down on ordinary sentences.
Step 2 — Write for the voice, then generate the voice first
Cloned voices and cloned faces fail on the same script patterns: long compound sentences, dense jargon, and sudden tempo changes. Write short sentences with clear pauses. Read the script out loud before you generate anything; if you stumble, the model will too.
Generate the voice track first, listen end to end, and fix awkward pacing in the audio before touching the video model. It is far cheaper to regenerate a sentence than to re-render a performance. If the script contains product names, numbers, or acronyms, spell them phonetically in the input and verify each one by ear.
Step 3 — Design the shot, not just the face
Decide where the camera lives before rendering. A slight side angle with the subject placed off center reads more natural than dead-center framing, because viewers are conditioned by interview footage. Add subtle movement: a slow push in, a gentle handheld drift, or a cutaway to screen content every six to ten seconds. Static, unbroken clone footage draws attention straight to the synthetic details.
Plan your shot list as if you were shooting live action. A ninety-second piece typically works best as six to twelve shots rather than one long take. Each cut resets the viewer's attention and gives you a chance to hide a weak moment.
Step 4 — Render in short blocks and review at half speed
Keep continuous generated takes between eight and fifteen seconds. Longer takes give viewers more time to notice artifacts and are harder to re-render when something fails.
Watch the output at full resolution, then again at half speed. Check blinks, teeth, the jawline during fast speech, ear shapes in profile, and consistency across cuts. Score each shot on the three layers and re-render only the failures. A single weak shot can undermine an otherwise convincing sequence, and re-rendering one clip costs a fraction of reshooting everything.
Step 5 — Sound design, captions, and final polish
Generated voices placed over a silent room feel detached. Add room ambience, subtle breath sounds, and slight level variation so the audio breathes. Compress and de-ess the voice track before rendering, because the model interprets the audio you give it — a harsh sibilant produces a harsh mouth shape.
Captions and lower thirds also do quiet work: they give the eye something to follow and reduce scrutiny on the face. Finish with a light grain pass or a subtle lens treatment if the render looks too clean compared with your other footage.
Decision Criteria: Choosing a Tool You Will Keep
When evaluating a clone video system, look past the highlight reel and test these dimensions.
- Identity fidelity over time. Does the face stay recognizable for a full minute, or drift after ten seconds?
- Lip sync accuracy. Test fast consonants, numbers, and non-English phonemes if you work across languages.
- Motion naturalness. Watch blink rate and whether the head moves at all during pauses.
- Control granularity. Can you adjust expression intensity, pose, and camera separately, or is it one button?
- Iteration speed. How long does a re-render take when you change one line of dialogue?
- Export options. Resolution, frame rate, alpha channel, and separated audio all matter downstream.
- Data handling. Where does your footage live, how long is it retained, and can you delete it on demand?
- Failure behavior. When the model does not know what to do, does it freeze gracefully or produce a visible glitch?
A system that scores well on fidelity but poorly on iteration speed will slow you down more than a slightly less realistic option you can adjust quickly. In practice, iteration speed is the single most underrated criterion, because clone video is an editing process, not a one-shot generation.
Realism Killers: Common Mistakes and How to Fix Them
Over-smoothed skin. Models trained on retouched images produce wax figures. Fix: supply unretouched reference footage and reduce face-smoothing settings to near zero.
Frozen head pose. A head that never moves reads as a photograph immediately. Fix: enable natural head motion or add manual keyframes tied to sentence boundaries.
Blink starvation. Too few blinks in a thirty-second clip is one of the strongest uncanny signals. Fix: check blink timing explicitly and push the rate toward a natural fifteen to twenty blinks per minute.
Perfect delivery of imperfect writing. A script that no human would speak naturally produces a performance that no human would give. Fix: rewrite for spoken rhythm before generating anything.
One pose for every line. Repeated framing flattens the whole piece. Fix: vary framing between segments, even if only by cropping tighter on alternate lines.
Mismatched room tone. A studio-clean voice over a noisy scene feels wrong, and a noisy voice over a studio scene feels worse. Fix: match ambience to the setting.
Lighting that fights the scene type. A vlog should not look like a studio interview. Fix: match the key light direction and contrast to the genre you are imitating.
Ignoring the audio chain. A muddy voice track produces a muddy mouth shape. Fix: clean, compress, and level before rendering.
Stretching translations to fit fixed timing. German and Japanese sentences often need more room than English ones. Fix: adjust pacing per language instead of forcing identical duration.
Reviewing at normal speed only. Artifacts hide in fast motion. Fix: watch every hero shot at half speed at least once.
Skipping consent paperwork. Fix: get written permission that specifies scope, platforms, and an expiration date before any capture happens.
Scaling From One Clip to a Series
Once a single clone video works, the temptation is to generate dozens at once. Scaling usually breaks in three places: naming, review, and versioning.
Build a naming convention early — project, shot, language, version — and apply it consistently to source footage, voice tracks, and renders. Set review checkpoints where a human watches output before more clips are produced, because a systematic error baked into fifty renders is expensive to unwind. Freeze the approved voice track and the approved avatar model while you vary only the script, so you always know which variable changed when quality shifts.
For localization, write the script in each target language rather than translating word for word, then adjust pacing per language. Batch rendering overnight and review in the morning; review quality drops noticeably when it is rushed at the end of a long day.
Example: a three-language product launch clip
A ninety-second launch video in English, German, and Japanese, using one presenter and a screen-recording insert. English is captured as a real performance, then the avatar model is trained and reused for the other two languages with synthetic voice. Shot list: six talking-head beats, three screen inserts, one closing card. Each language gets its own pacing pass, and German and Japanese versions run roughly ten seconds longer because the sentences need the room. Total review time: about forty minutes across all three, most of it spent on the two localized versions where phoneme coverage is weakest.
Ethics, Consent, and Disclosure
Cloning a person's likeness without permission is a legal and reputational risk, regardless of how convincing the output looks. Get written consent that specifies the scope of use, the platforms involved, and an expiration date. Keep an internal record of who authorized what and when, and revisit it if the campaign expands.
Disclosure matters too. A short on-screen label, a spoken line, or a description note that the presenter is a synthetic likeness builds trust rather than eroding it. Audiences forgive a clearly labeled clone far more readily than one they discover later. Avoid cloning public figures entirely unless you have explicit permission and a clear editorial reason.
Frequently Asked Questions
Do I need a studio to capture a good identity?
No. Consistent soft lighting, a locked camera, and twenty minutes of varied footage will outperform an expensive shoot that covers only one angle. The variable that matters is variety, not budget.
Why does my clone look great in stills but wrong in motion?
Stills hide temporal issues. Check blink timing, jaw movement on fast syllables, and whether features stay consistent across frames. Those three account for most motion problems, and all three are fixable without a new model.
How long should a generated clip be?
Keep individual shots between eight and fifteen seconds. Longer continuous takes give viewers more time to spot artifacts and are harder to re-render when something fails.
What is the biggest cause of the uncanny effect?
Usually the performance layer, not the face. Insufficient blinking, no head movement, and flat emotional prosody make convincing faces feel wrong.
Should I record my own voice or generate one?
For speed and localization, generate. For anything with emotional weight, record it. A real performance gives the model better prosody cues and produces more natural expressions.
Can I use clone video for client work?
Yes, provided you have written consent from the person depicted and you disclose synthetic generation wherever the audience could reasonably be misled. Clarify this in the contract before production starts.
How many reference images is enough?
Eight to twelve covering varied angles and lighting is a solid baseline. Beyond roughly twenty, returns flatten unless the new references add genuinely new conditions such as profile views or strong side lighting.
What if the face drifts only in the second half of a long clip?
That is a temporal consistency problem. Shorten the take, lower the effect strength, and re-render in two blocks rather than one long one.
How do I keep a series visually consistent across months?
Freeze the avatar model, the voice model, the lighting setup, and the color grade. Store them together as a project preset, and re-test the setup with a ten-second clip before starting a new batch.
A 60-minute starter experiment
Capture eight reference stills and one minute of speech. Write a short script, generate a voice track, and render three variants: one static, one with a slow camera push, and one with a cutaway every eight seconds. Watch all three at half speed and note which of the three layers failed. Repeat once with the fixes applied. That single experiment teaches more than any feature comparison, and it produces a reusable template for everything you make afterward.

Alexander
More Blogs
Read MoreVidu Q4 Alternatives: 4K AI Video Models Compared (2026)
Vidu Q4 alternatives compared: Kling 4.0, Seedance 2.5, Wan 3.0, and Runway Gen-4 — 4K support, input modes, durations, audio, and what each costs in credits on Domer.
Top 4K AI Image Generators in 2026: 5 Models Compared on Real Costs
The top 4K AI image generators on Domer compared: Flux 3 Klein, Nano Banana 2.1, GPT Image 2.5, GPT Image 2, and Nano Banana Pro — 4K credit costs, reference limits, and speed.
Nano Banana 2.1 vs GPT Image 2.5: Which Image Model Should You Use? (2026)
Nano Banana 2.1 vs GPT Image 2.5 Flare compared: credit costs per resolution, aspect ratios, reference images, text rendering, and which tasks fit each model.