
Utwórz
How to Make Seamless Transition Videos for Short-Form Feeds
Oct 13, 2026

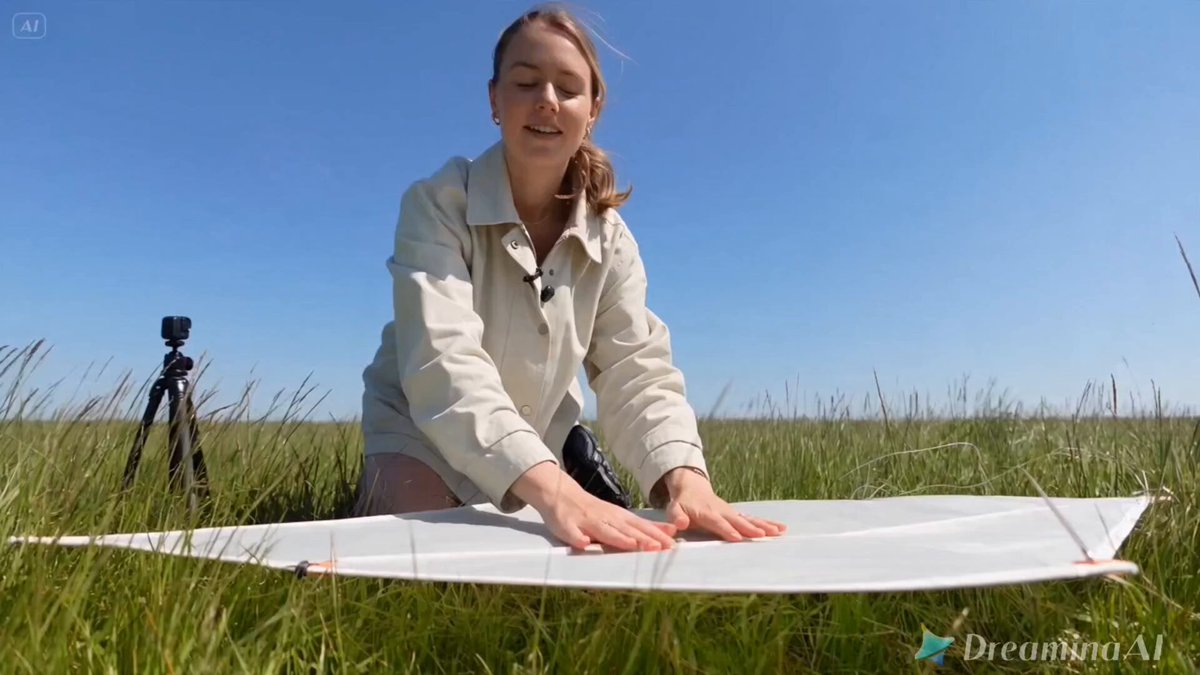
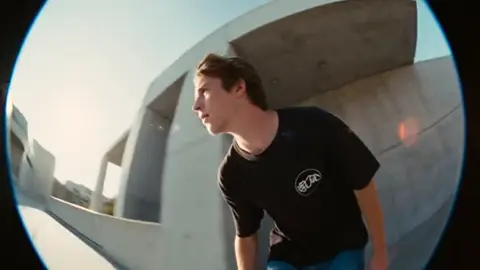
Why Transition Videos Still Dominate Short-Form Feeds
A transition video lives or dies in about four frames. That is the entire window a viewer gives you before deciding whether to keep watching or flick past. Everything else — the choreography, the lighting, the wardrobe, the song choice — exists to make those four frames feel inevitable.
Seamlessness is not a single trick. It is the cumulative result of four decisions made in the right order: what the audio is doing at that moment, whether the camera position matches, whether the color and exposure match, and whether the shape of the subject allows one image to be swapped for another without the eye catching the seam. Get those four right and the transition reads as magic. Get one wrong and the viewer sees an edit instead of a transformation.
This guide walks through a full production workflow you can reuse for any short-form platform: how to plan transitions around audio, how to shoot clips that will actually cut together, how to choose a transition type, how to use AI generation when the shot you need does not exist, and how to export so the effect survives compression.
It is written for creators who already understand the basics of editing and want the version of the process that produces consistent results instead of occasional lucky ones.
Start With the Beat, Not With the Footage
The single most common beginner mistake is shooting first and finding the music afterward. That approach forces you to either stretch your edit to match the song or, worse, cut on beats that do not land where the visual action happens.
Do the reverse. Pick the audio first, then map it.
Building a Beat Map
A beat map is simply a list of timestamps where you intend the transition to land. You can build one by listening and tapping, by reading the waveform, or by using the tempo detection built into most editors.
- Import the audio track into your editor and let it generate a waveform.
- Set the timeline to show frames, not seconds, so your markers are precise.
- Drop a marker on every beat you might use. Be generous — you will discard most of them.
- Listen again and isolate the two or three moments with the strongest contrast: a snare hit, a bass drop, a vocal cut-off, a silence.
- Assign each of those moments a transition type before you shoot anything.
A transition that lands on a strong accent feels intentional. The same transition half a beat early feels like a mistake, even to viewers who could not explain why.
The Anti-Beat Trick
Not every transition should hit on the beat. Landing a cut a few frames before a drop, then letting the new scene settle into the impact, often feels more powerful than cutting exactly on it. This is sometimes called cutting on the anticipation. The viewer's brain predicts the impact and the visual change arrives just ahead of it, which creates a feeling of momentum rather than reaction.
Use this sparingly. One anticipation cut per video is usually enough.
Locking Visual Continuity Across Clips
If two shots do not share a visual language, no editing trick will hide the join. Continuity is where most transition videos quietly fail.
Framing and Camera Position
The most forgiving transition setup is a locked-off camera in the same position for both clips. The subject changes, the scene changes, everything changes — except where the camera sits. The eye accepts the swap because the geometry of the frame is unchanged.
When you cannot use a tripod, mark your position. Tape on the floor, a chair leg, a doorway, a crack in the pavement. Stand in the same place and hold the phone at the same height. Even small height differences create a visible vertical jump that reads as an error.
Exposure, White Balance, and Color
Lock exposure and white balance before recording. Auto settings will drift between takes — brighter in one, warmer in the other — and that drift is visible in the transition even if it is subtle.
If you are shooting in different locations with different light, plan a color pass in post. Match the black point and midtone skin values first, then the highlight rolloff. Once those three align, most clips can be cut together convincingly.
Motion Matching
Two clips cut together will feel continuous if the motion inside the frame flows in the same direction and at a similar speed. If the subject is moving left in clip one, keep the motion moving left in clip two. If a hand sweeps across the frame, have the next clip's action continue that sweep rather than reverse it.
Wardrobe and Prop Anchors
Small anchors make big jumps believable. A jacket, a coffee cup, a phone, a color accent in the background — anything that appears in both clips tells the viewer the two scenes belong to the same story. Without an anchor, a hard cut reads as two unrelated videos stitched together.
Choosing the Right Transition Type
Different transitions solve different problems. Picking the wrong one means fighting the footage instead of working with it.
| Transition | Best For | Skill Level | Watch Out For |
|---|---|---|---|
| Match cut | Same subject, new location | Intermediate | Requires near-identical framing |
| Whip pan | Fast energy, beat drops | Beginner | Motion blur can look mushy |
| Object wipe | Hand, body, or prop crossing frame | Beginner | Object must fully cover the lens |
| Mask transition | Outfit changes, outfit swaps | Intermediate | Rotoscoping is time-consuming |
| Glitch cut | Edgy, tech, gaming content | Beginner | Overuse feels dated |
| Scale or zoom match | Scale change, size reveal | Advanced | Needs precise focal length matching |
| Generator blend | Impossible scenes, AI footage | Advanced | Continuity drift between clips |
Match Cuts
A match cut works when the shape and position of the subject stay roughly constant while everything around them changes. The camera angle, distance, and subject placement must be near-identical. This is the most impressive and least forgiving option.
Whip Pans and Object Wipes
These are the workhorses of short-form editing because they are forgiving. The blur or the prop hides the hard cut, so small mismatches do not matter. Shoot a deliberate, fast pan at the end of clip one and the beginning of clip two, then let the blur cover the join.
Mask Transitions
Masking means isolating part of the frame and revealing a different clip through it. The classic version is a hand or body blocking the lens, then the edit happens behind it. A more advanced version uses a tracked mask so a person appears to walk through their own outline into a new scene.
The key to a clean mask transition is making the mask shape simple and the movement decisive. Simple shapes track reliably. Ambiguous edges — hair, loose fabric, motion blur — do not.
Building a Shot List You Can Actually Execute
Before you shoot, write the sequence as a list of shots with the transition between them named.
A workable template:
- Shot 1: Subject enters frame from left, medium shot, interior.
- Transition A: Whip pan right, ends on wall.
- Shot 2: Subject continues motion, same direction, exterior wall.
- Transition B: Hand covers lens.
- Shot 3: New outfit, same framing, hand pulls away from lens.
Notice that every transition is defined by a physical action you can perform on camera, not by an effect you hope to add later. That is the difference between a shoot that takes forty minutes and one that takes four hours.
Practical Shooting Checklist
- Lock exposure and white balance on every clip.
- Keep the camera height identical between paired shots.
- Note the direction of motion for each clip so pairs flow consistently.
- Shoot two seconds of handle before and after each action.
- Shoot a clean plate of each background for masking and cleanup work.
- Record one reference frame of your hands or a color chart for matching later.
Injecting AI-Generated Footage Into Transitions
Some transitions require a shot you cannot physically produce: a location you cannot access, a time of day that will not cooperate, a scale change no lens can deliver. This is where AI video generation becomes genuinely useful rather than decorative.
When AI Footage Helps
- The transition depends on an environment change (city to desert, summer to winter) that would otherwise need two shoots.
- You need a stylized version of the same subject — animated, illustrated, or surreal.
- You need a morph between two states that would be impractical to stage.
- You need a background plate to composite your own footage over.
Keeping Character Consistency
The hardest problem in AI-assisted transitions is keeping the subject recognizable across generated shots. A few techniques make this dramatically more reliable:
- Write a locked character description and reuse it verbatim across every prompt. Changing one adjective changes the face.
- Use image-to-video with a single reference frame rather than text-only prompting. The reference anchors identity.
- Generate at the same aspect ratio and resolution as your real footage so you are not upscaling or reframing, both of which soften matching details.
- Generate several candidates per shot and choose the one whose lighting direction matches your real clips.
- Keep the first and last frames of the generated clip restrained. Generators drift when a prompt asks for too much motion in the final second.
Matching Generated and Real Footage
Generated clips tend to be cleaner than phone footage — less noise, less lens distortion, more even lighting. To blend them, add grain to the AI clip rather than denoising the real clip. It is faster and looks more natural. Match the black point next, then apply a subtle lens distortion to the generated shot if your camera has visible barrel distortion.
A practical workflow is to treat AI generation as a plate source: generate the environment or the impossible state, then composite your real footage into it with a tracked mask. This keeps your subject photoreal while letting the background do the impossible thing.
The Editing Workflow, Step by Step
Once you have your clips, the assembly process should be mechanical. Creativity belongs earlier, in the planning.
Step 1: Rough Assemble Without Transitions
Place every clip in order on the timeline and trim each to its action. Do not add transitions yet. Watch the sequence at full speed and confirm the story reads even as hard cuts. If it does not read with hard cuts, no transition will save it.
Step 2: Align to the Beat Map
Move clips so each transition point sits on its assigned beat. Use frame-by-frame nudging, not drag-and-drop. A transition that is two frames off is invisible to you and obvious to everyone else.
Step 3: Add the Transition
Apply the transition on the join, then inspect it frame by frame through the transition window. You are looking for the exact frame where the seam appears. In most cases, shifting the transition start by one or two frames hides it.
Step 4: Speed Ramping
Speed ramps — briefly slowing or accelerating into the cut — make transitions feel more deliberate. A common pattern is 100 percent speed, a dip to 60 percent for eight frames, then a snap back. The dip draws the eye to the action and the snap delivers the energy.
Step 5: Sound Design
Add a whoosh, impact, or riser at each transition point. The audio cue does more to sell a transition than any visual polish. Layer three elements: a sub impact, a mid-range whoosh, and a high-frequency tail. Keep the whole stack under half a second.
Step 6: Color Match and Grade
Match clips in pairs rather than grading the whole timeline at once. Once pairs match, apply a single global look so the video feels cohesive rather than assembled.
Step 7: Text and Motion Graphics
If you are adding captions or labels, animate them in sync with the transitions rather than on their own schedule. Elements that appear and disappear on the same beats reinforce the rhythm.
Export Settings That Survive Compression
Your carefully tuned transition will be re-encoded by the platform, and re-encoding punishes certain kinds of footage more than others.
- Shoot and edit at a higher resolution than you export. Downscaling hides noise and keeps edges clean after compression.
- Export at a high bitrate — aim for the upper end of what the platform recommends.
- Keep frame rate consistent. Mixing 24 and 30 frames per second in one timeline creates judder that reads as a broken transition.
- Avoid ultra-fine detail in transition frames. Dense textures and thin lines turn to mush in compression, and mush is exactly where a seam becomes visible.
- Check the first three seconds at phone size before publishing. Most viewers watch on a small screen in poor conditions.
Mistakes That Break Otherwise Good Transitions
Cutting on a weak beat. If the audio moment is not distinct, the transition will look arbitrary. Choose your beats before you shoot and commit to them.
Inconsistent camera height. A few centimeters of difference creates a jump that no effect can hide. Mark your position.
Overusing one transition. Three whip pans in eight seconds feels lazy. Vary the type, or reduce the count.
Ignoring the first frame after the cut. Viewers read the frame immediately after the transition as the payoff. If it is a dull frame, the whole transition feels flat. Make sure the post-transition frame is a strong composition.
Adding transitions instead of shooting them. Effects added in post almost never look as good as transitions performed on camera. The camera catches light and motion in ways a plugin cannot fake.
Skipping sound design. Silent transitions feel like glitches. Even a quiet impact changes how the cut reads.
Solving the wrong problem. If the video does not work with hard cuts, the problem is pacing or story, not transitions. Fix the structure first.
Frequently Asked Questions
How long should a transition video be?
Long enough to complete the sequence, short enough to reward a second watch. Most transition videos land between eight and twenty seconds. If you need more than twenty-five seconds to make the point, you probably have two videos, not one.
Do I need a tripod?
No, but you need a repeatable camera position. A stack of books, a doorframe, or a mark on the floor works. What matters is that both halves of a transition are shot from the same place at the same height.
Can I make good transitions entirely with AI-generated clips?
Yes, but continuity is harder. The most reliable approach is a hybrid: real footage for the subject, generated footage for the environment. This keeps the human details that viewers notice most.
Why does my transition look fine in the editor but bad after uploading?
The platform re-encodes your video, and fast motion with fine detail compresses badly. Export at a higher bitrate than you think you need, avoid heavy grain in transition frames, and check the result on an actual phone before deciding it is broken.
How many transitions should a short video have?
One per major beat, and no more than one every two seconds. Beyond that density, the viewer stops registering the transitions as events and starts seeing them as noise.
What is the fastest way to improve at this?
Study two-second clips frame by frame. Pause on the transition, step forward one frame at a time, and identify exactly which frame carries the change and what action covers it. Doing that ten times teaches more than any tutorial.
Where to Take This Next
The workflow above is deliberately unglamorous: plan the audio, lock the camera, shoot repeatable actions, cut on the beat, sell it with sound. Everything that looks like magic on a short-form feed is built on those five steps repeated until they become muscle memory.
Start with a two-clip sequence. One transition, one beat, one action covering the join. Get it clean. Then add a third clip, a speed ramp, and a layer of sound design. Build the complexity incrementally and you will end up with a repeatable process you can apply to any concept, on any platform, without guessing.
The creators who make transitions look effortless are not using secret tools. They are simply shooting footage that gives the edit almost nothing to do.

Alexander
More Blogs
Read MoreMontaggio video rapido: transizioni e software per l'AI
Guida pratica al montaggio video rapido con AI: transizioni fluide, software, workflow, coerenza visiva, errori da evitare e FAQ operative.
Building an AI Video Production Workflow From Concept to Cut
A practical guide to planning, generating, editing, and finishing AI-assisted videos with consistent characters, clear shot lists, and reliable review loops.
A Repeatable Post-Production Workflow for Polished AI Video
Build a repeatable AI video post-production pipeline: organize assets, cut story-first, design transitions, refine audio, and review versions calmly.