
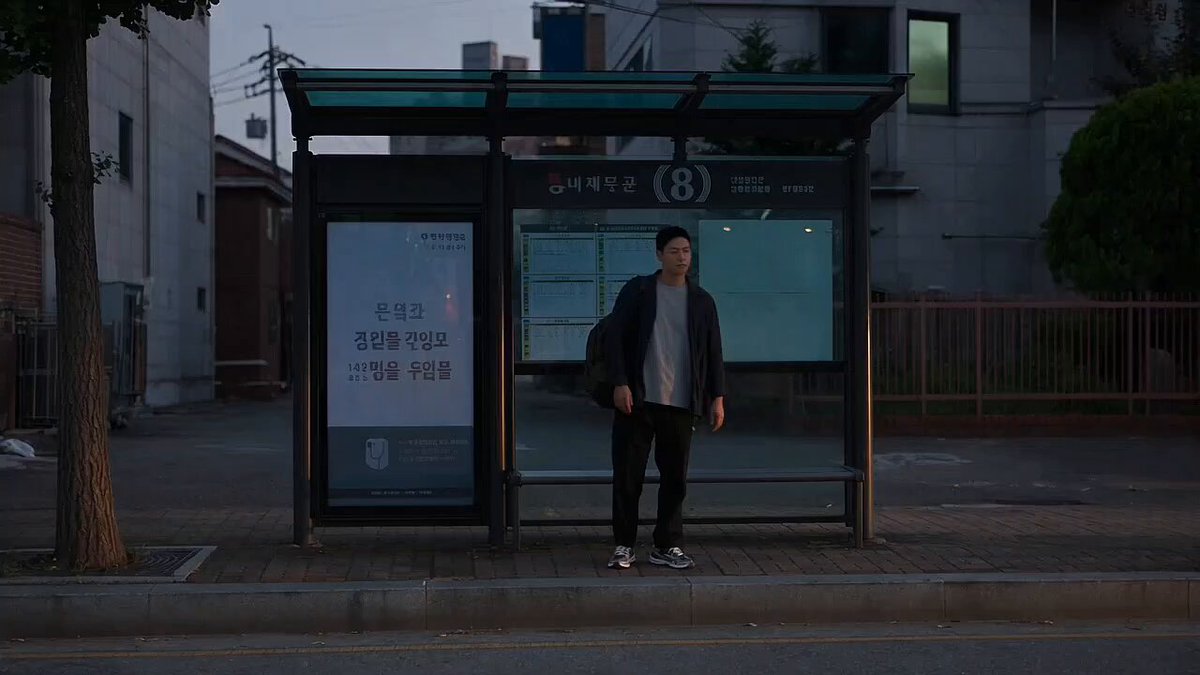
Video Star 3D Transitions vs AI: What Goes Viral on TikTok
Oct 13, 2026
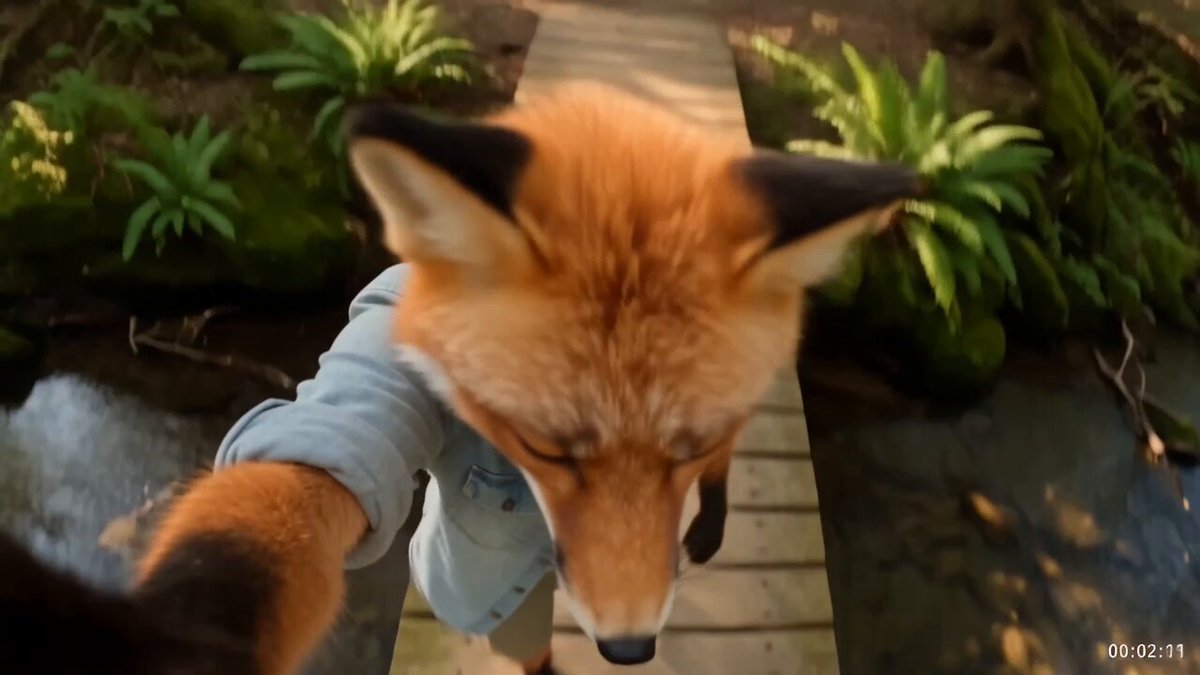

Why Transition Choice Changes Short-Form Performance
Short-form feeds are judged in fractions of a second. A viewer decides whether to keep watching before your first sentence of voiceover finishes, and the moment a cut lands without effort, the edit stops being visible and starts being momentum. Transitions are where that momentum is manufactured.
Most creators split transitions into two camps: the 3D transition packs bundled inside mobile editing apps, and the generative transitions produced by AI video tools. Framed that way, it sounds like a tool debate. It is really a debate about where the motion comes from.
A template transition asks your footage to behave like something it is not. A generative transition builds frames that never existed on set. Each approach has a different cost, a different failure mode, and a different shelf life in a feed that punishes repetition.
This guide breaks down both, then walks through a hybrid workflow that most editors settle into once they have tried each approach on real projects.
How Template 3D Transitions Actually Work
Anatomy of a pre-rendered effect
A 3D transition pack is a compositing recipe. Your clip A and clip B are mapped onto animated geometry — a rotating cube, a swinging door, a warping plane, a camera that appears to fly through a wall. The motion blur, shadows, and lighting are baked into the effect. Your job is to drop two clips into the slots and line them up with a beat.
Because the geometry is pre-rendered, the result is deterministic. The same effect looks identical on every device, renders instantly, and never surprises you. That predictability is the whole product.
Where the strengths are
Template transitions win on four things:
- Speed. No render queue, no failed attempts, no prompt iteration.
- Consistency across a series. Episode 12 matches episode 1, which matters if you are building a recognizable format.
- Low hardware demands. A mid-range phone handles them, which keeps editing portable.
- Audio-first design. Most packs are built to snap onto a musical hit, so beat-matching is trivial.
For vlogs, product showcases, dance edits, and travel montages where the shots already exist and you just need kinetic glue, templates are hard to beat.
Where template transitions break down
The limitation is structural: your footage must conform to the effect, never the reverse. That creates a set of recurring problems.
- Framing pressure. If clip A is a wide shot and clip B is a close-up, the geometry often produces a visible scale jump.
- Masking failures. Hair, transparent fabrics, smoke, and fast limb movement confuse the built-in cutouts.
- Recognition fatigue. Audiences learn packs quickly. An effect that felt fresh in one video reads as a borrowed template by the tenth.
- Signature drift. When everyone uses the same pack, your transition stops signalling your style and starts signalling your tool.
The practical consequence: template transitions are excellent for pacing and weak for surprise.
How Generative AI Produces Motion Instead
Three ways in: text, image, and video
Generative video tools let you start from different raw materials, and the choice changes what the transition can do.
- Text-to-video creates a shot from a written description. Useful when the bridge shot does not exist and you cannot shoot it.
- Image-to-video animates a still. The strongest option for transitions, because you can feed it the last frame of clip A and the first frame of clip B.
- Video-to-video restyles or extends existing footage, which is how you keep performance and continuity while changing the look.
The most reliable pattern for transitions is keyframe bracketing: supply a starting frame and an ending frame, then let the model generate the motion between them.
Prompting motion that reads as a transition
Models respond better to physical description than to editing jargon. Instead of writing "smooth transition," describe the camera and the subject:
Single continuous camera move. Push in from the doorway, whip-pan left as the subject turns, land on the window frame. Two-second duration. Consistent warm window light. Match the starting frame exactly.
Four rules that consistently improve results:
- One dominant motion per shot. A push-in plus an orbit plus a subject turn usually produces mush.
- Name the camera verb. Dolly, crane, orbit, push, pull, whip, rack focus.
- State duration and pacing. "Slow push over three seconds" beats "cinematic."
- Anchor continuity. Light direction, wardrobe, colour temperature, and lens character should be described on both sides of the seam.
Where AI genuinely wins
Generative bridges do things templates cannot:
- Morphing between unrelated subjects — a coffee cup becoming a sunrise.
- Impossible camera moves through solid geometry.
- Matching two shots that were never intended to connect, in different locations, at different times of day.
- Generating the missing shot entirely rather than disguising the cut.
Where AI still loses
- Iteration cost. You will usually generate several attempts before one works.
- Artifacts. Hands, text, and fine repeating patterns remain fragile.
- Render time. A two-second bridge can take longer to produce than the rest of the edit.
- Audio sync. Templates snap to a beat; AI bridges need trimming to hit one.
- Continuity drift. Face, wardrobe, and lighting can shift subtly across attempts.
Head-to-Head: Time, Control, Consistency, Retention
| Criterion | Template 3D pack | Generative AI bridge |
|---|---|---|
| Time to first result | Seconds | Minutes to hours |
| Iteration cost | Near zero | Moderate to high |
| Precision to a musical hit | Very high | Requires trimming |
| Novelty ceiling | Low after repeated use | High |
| Continuity with existing footage | Moderate | Adjustable via keyframes |
| Hardware demands | Low | High |
| Repeatability across a series | Exact | Approximate |
Production time and iteration loops
Templates collapse the idea-to-picture gap. You audition five effects in a minute and pick one. AI inverts that: you spend your time describing, waiting, and rejecting. If your publishing cadence is daily, that inversion matters more than any aesthetic gain.
Control and repeatability
If your format depends on a recurring visual signature, templates are simply better engineering. You cannot regenerate the same AI bridge twice with pixel accuracy. You can, however, export your best result once and reuse it as a template of your own — which is the pragmatic middle path.
Retention: novelty versus comprehension
Retention comes from two competing forces. Novelty keeps attention; comprehension keeps the viewer oriented. A transition that is too familiar loses the first. A transition that is too disorienting loses the second. The sweet spot is an unexpected move that still preserves spatial logic — the viewer should feel the camera travel somewhere, even if that somewhere is impossible.
Budget and effort per finished second
Cost is not only money. Count your own time. A template transition costs a few seconds of drag-and-drop and no thinking. An AI bridge costs prompt writing, generation time, selection, and cleanup. Budget accordingly: reserve AI bridges for the two or three beats in a video that genuinely carry the story.
A Practical Hybrid Workflow for a 30-Second Edit
Step 1: storyboard the transition as a beat
Write your edit as a list of beats with timestamps. Mark which beats are information and which are punctuation. Only punctuation beats deserve an elaborate transition. On a 30-second edit, that is usually two, occasionally three.
Step 2: decide which side of the cut AI must own
Ask a single question: does the shot I need exist? If it exists, use a template or a hard cut. If it does not exist and cannot be cheaply shot, generate it.
Step 3: generate the bridge
Export the last frame of clip A and the first frame of clip B as stills. Use them as start and end keyframes. Keep the duration short — 1.5 to 2.5 seconds. Generate several variants with the same prompt, changing only camera speed, and keep the cleanest motion.
Step 4: trim to the beat
Drop the bridge into the timeline and trim from the front, not the back. Landing the final frame exactly on the musical hit matters more than preserving the opening frames. Speed-ramp the first 20 percent slightly if the motion feels sluggish.
Step 5: match grade, grain, and blur
AI output often arrives cleaner and sharper than phone footage. Add grain, soften the highlights, and nudge the colour temperature toward your A and B clips. A two-percent opacity overlay of the adjacent clip can also help the seam read as continuous.
Step 6: sound design the seam
Add a whoosh, a riser, or a low thump exactly at the cut. Sound sells motion more effectively than extra frames do. If the transition still feels weak with sound off, the motion is the problem, not the audio.
Step 7: protect the loop
Check whether the final frame can feed back into the first. A transition that also closes the loop gives viewers a reason to watch twice, and rewatches are one of the strongest signals a short-form video can produce.
Decision Criteria: Choosing Per Project
Use this as a quick routing guide.
- Daily posting schedule: templates and hard cuts, with one AI bridge per week as a signature moment.
- Client work with revisions: templates, because they are deterministic and easy to adjust.
- Concept-driven art videos: AI bridges, because novelty is the product.
- Product and tutorial content: match cuts and speed ramps; elaborate transitions distract from the information.
- Series with a recurring intro: build one custom AI bridge, export it, and reuse it as your own branded effect.
- Low-power device or offline editing: templates only.
A useful rule of thumb: if you cannot explain in one sentence why the camera is moving, you do not need the transition.
Common Mistakes That Kill Transition Impact
- Using a transition to hide a weak beat. If the shots on either side are boring, no bridge rescues them.
- Making the transition longer than the shots. A two-second effect between two one-second clips is a short film about a transition.
- Fighting motion direction. If the subject moves left, do not push the camera right unless the clash is intentional.
- Ignoring the audio grid. Unsynced transitions feel amateurish even when the visuals are strong.
- Reusing one effect indefinitely. Rotate between three or four and retire them when comments start naming them.
- Mismatched frame rate. Generating at 24 frames per second and dropping into a 30 frames per second timeline creates judder nobody can explain.
- Forgetting the first frame. On many platforms the thumbnail is the opening frame. A beautiful transition one second in does nothing for the tap-through rate.
Troubleshooting Broken Transitions
Ghosting or double images. Usually a keyframe mismatch. Re-export start and end frames at identical resolution and colour space.
Faces warping mid-morph. Add cut points. Split a three-second bridge into two shorter ones with a hard cut in the middle, which hides the artifact inside motion.
Flicker or brightness pumping. Normalize exposure on both plates before generating, and avoid prompts that mention changing light.
Motion that feels like a slideshow. Increase the described camera travel distance and reduce the number of subjects. One subject, one move.
A visible resolution jump. Upscale the lower-quality source before compositing, or apply the same sharpening pass to both sides of the seam.
A transition that works muted but not with sound. Your audio cue is carrying it. Shorten the visual by 20 percent and let the sound finish the move.
Building a Transition Repertoire
Treat transitions like vocabulary. A working set of five or six, applied with intent, beats forty effects used at random.
A simple practice loop:
- Pick one transition type per week — whip pan, match cut, object pass, morph, portal, spin.
- Recreate it three ways: template, manual edit, AI bridge.
- Post the version you like most and check the retention graph at the seam.
- Keep a swipe file of transitions that made you stop scrolling, and note what the camera actually did.
After a month you will know which effects suit your content, which ones suit your schedule, and which ones you should stop using.
FAQ
Do AI-generated transitions get less engagement than template effects?
Not inherently. What gets less engagement is a transition the audience has seen a hundred times. Novelty matters, but so does clarity — an unusual move that confuses viewers loses to a familiar move that reads instantly.
Can I mix template effects and AI bridges in the same video?
Yes, and most experienced editors do. Use templates for pacing between ordinary shots and reserve AI for the one or two beats that carry the concept. Mixing also keeps your render budget focused where it matters.
How long should a transition be?
For short-form, 0.2 to 0.5 seconds for template effects and 1.5 to 2.5 seconds for generative bridges. If a bridge runs longer than the shots it connects, shorten it.
Do I need expensive hardware?
Not for templates. Generative video benefits from a machine with a capable GPU, though many creators generate on cloud tools and edit locally.
Why do my AI transitions look slightly off next to my phone footage?
Generated frames are often cleaner and sharper than camera footage. Add grain, soften highlights, and match colour temperature. The mismatch is usually texture, not motion.
Should I shoot the transition in camera instead?
When you can, yes. Practical transitions — a hand covering the lens, a whip pan, a doorway pass — are free, fast, and reliable. Save generative work for the impossible moves.
How many transitions should a 30-second video have?
Two or three punctuation moments plus hard cuts everywhere else. Constant transitions flatten the rhythm and make the whole edit feel like a demo reel.
What is the fastest way to improve transition quality?
Fix the audio first. Most transitions that feel weak are simply unsynced. Align the cut to the beat, add one sound effect, and the same visual will feel twice as strong.

Alexander
More Blogs
Read MoreVidu Q4 Alternatives: 4K AI Video Models Compared (2026)
Vidu Q4 alternatives compared: Kling 4.0, Seedance 2.5, Wan 3.0, and Runway Gen-4 — 4K support, input modes, durations, audio, and what each costs in credits on Domer.
Top 4K AI Image Generators in 2026: 5 Models Compared on Real Costs
The top 4K AI image generators on Domer compared: Flux 3 Klein, Nano Banana 2.1, GPT Image 2.5, GPT Image 2, and Nano Banana Pro — 4K credit costs, reference limits, and speed.
Nano Banana 2.1 vs GPT Image 2.5: Which Image Model Should You Use? (2026)
Nano Banana 2.1 vs GPT Image 2.5 Flare compared: credit costs per resolution, aspect ratios, reference images, text rendering, and which tasks fit each model.