
Hybrid AI Video Workflow: Text-to-Video and Green Screen
Nov 8, 2026
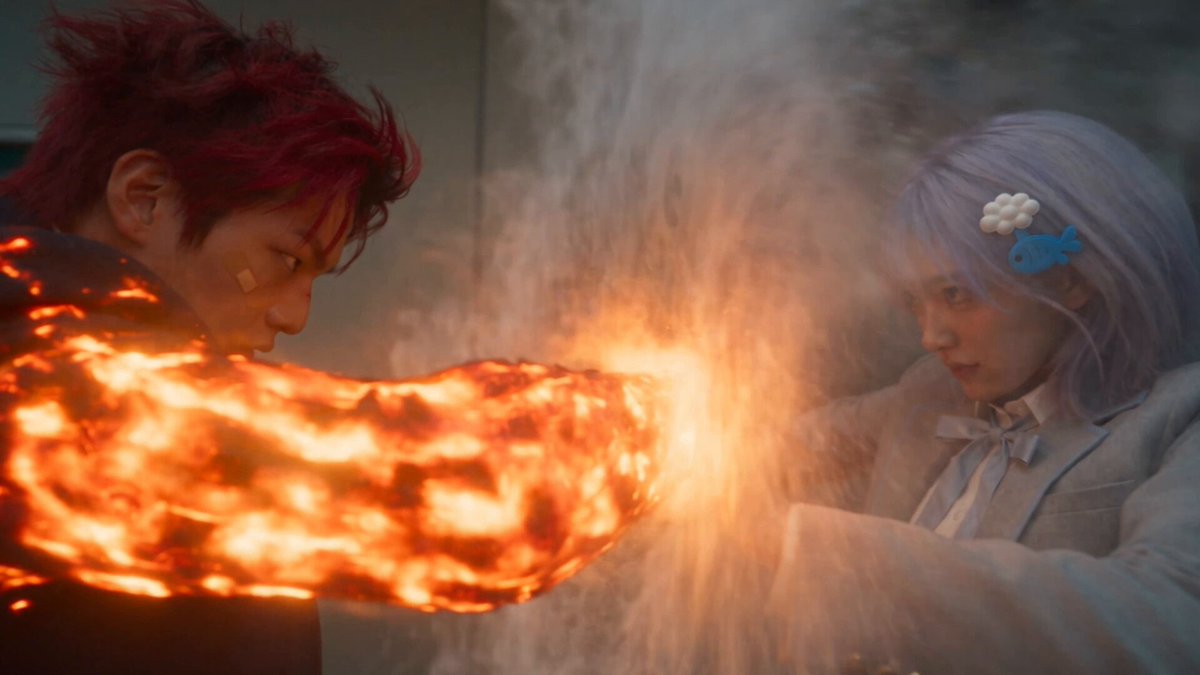
A character walks through a rain-soaked market while the camera drifts past neon signs. The foreground performer is real, lit on a green screen stage. The market, the rain, and the distant traffic are generated. The final shot looks like it was captured in one place because every layer obeys the same lens, light direction, and motion logic. That is the promise of a hybrid AI video workflow: text-to-video for impossible or expensive plates, green screen for human performance, and compositing discipline for the glue.
The workflow is not a shortcut that removes craft. It changes where craft is spent. Instead of building every environment practically or settling for a generic AI shot, you generate controlled background plates, capture clean foreground elements, and composite them with the same care you would apply to any visual effects shot. The result is faster iteration, more creative range, and a pipeline that can survive client notes.
Start with the composite, not the generator
A hybrid workflow fails when teams begin with a tool rather than a shot. They generate a beautiful background, then try to force a performance into it. A better approach is to design the final composite first and work backward.
Ask four questions before touching a text-to-video tool:
- What is the foreground subject doing, and how much of the frame does it occupy?
- Where is the camera, and does it move?
- What is the dominant light source, and which direction does it come from?
- Which parts of the frame must remain clean for titles, product shots, or compositing?
These answers determine the background plate, the green screen capture, and the level of tracking required. A talking-head shot needs a stable mid-ground and believable contact shadows. A full-body action shot needs more floor, more parallax, and a background that does not compete with the silhouette. A product insert may need a generated environment with a deliberately empty area for the object and its reflection.
The hybrid approach is especially useful when the environment is expensive, dangerous, or impossible to photograph. It is less useful when the shot depends on precise interaction between a performer and a physical object. In that case, practical elements and simple set extensions often beat a fully generated background. Use AI where it removes cost without removing believability.
Map the pipeline before generating frames
A reliable hybrid pipeline has five stages: shot design, plate generation, green screen capture, keying and matte work, and compositing. Each stage should produce an asset that the next stage can use without guesswork.
Start with a shot list that records frame size, lens feel, camera movement, subject blocking, and duration. For each shot, define the background as a plate. The plate is not the final shot. It is a clean environment that can accept a foreground. Record whether the plate needs to be locked off, slowly drifting, or moving with a specific parallax. If the final shot includes a camera move, generate or capture the background with that move in mind.
Use a consistent naming convention. A useful pattern includes project, sequence, shot, layer, and version. For example: market-shot-014-bg-plate-v003. Keep the prompt, seed, reference image, and generation settings alongside the asset. When a director asks for a different camera height, you need to reproduce the old plate and adjust one variable, not start from memory.
Work with proxies during editorial and switch to full-resolution plates only for finishing. Generate backgrounds at the highest practical resolution and avoid aggressive upscaling until the shot is locked. If the generated plate has warped architecture or unstable details, fix them before keying. It is easier to regenerate a background than to paint out artifacts around a moving performer.
Finally, define review points. Review the plate before capture, review the key before compositing, and review the composite before color. This prevents a late-stage discovery that the foreground was shot with the wrong lens or the background has no room for a shadow.
Use text-to-video for plates, not final composites
Text-to-video generation is strongest when it creates an environment with believable light, atmosphere, and camera behavior. It is weakest when it must invent a specific human performance, precise lip sync, or complex object interaction. Treat the generator as a plate engine, not a final shot machine.
Prompt patterns that leave room for a foreground
Good prompts describe the world, not the entire composition. Instead of asking for a person walking through a market, ask for an empty market aisle with wet pavement, practical lights on the left, soft overcast light from above, and a slow dolly forward. Specify the lens feel, depth of field, and camera height. If the foreground performer will occupy the center of the frame, ask for visual interest around the edges and a calmer center. If the performer will move left to right, give the background a clear direction of travel and avoid symmetrical compositions that fight the motion.
Use negative space deliberately. A generated background with a clean patch of floor makes it easier to add contact shadows and a grounding element. A background with too many foreground objects creates false depth cues and makes the composite look layered. When possible, generate a clean pass without crowds, vehicles, or moving objects near the camera, then add controlled movement in compositing or with a second generated element.
Control the camera language. Terms such as locked-off, slow push-in, handheld drift, and parallax reveal are more useful than cinematic. If the tool supports image-to-video, start from a still frame that has the right composition and lighting. Motion generated from a strong still is often more stable than motion invented from text alone.
Consistency without fighting the model
Character consistency across multiple generated shots is difficult. A green screen workflow can reduce the problem by keeping the performer real and the environment generated. If the background must include recurring characters, generate them as separate elements or use reference-based workflows. Keep a character sheet with wardrobe, hair, and lighting notes. Avoid asking one model to solve identity, performance, camera, and environment in a single pass.
For recurring locations, create a small library of approved plates: wide, medium, close, and reverse angle. Reuse them with different foreground performances. This is closer to how physical production works and gives editors consistent coverage. When a new angle is needed, change one variable at a time: camera height, lens, time of day, or light direction. Log the change so the shot can be reproduced.
Review generated plates for temporal artifacts. Look for melting edges, shifting architecture, unstable reflections, and texture crawl. Slow motion can hide some issues, but it also makes artifacts more visible in others. Test a short section at final speed before committing to a longer generation.
Capture green screen footage that keys cleanly
A generated background can only be as good as the foreground matte. Green screen capture for AI compositing follows the same principles as traditional visual effects, with extra attention to edge detail and color separation.
Lighting and distance
Light the subject and the screen separately. The screen should be evenly lit and exposed slightly below the subject, without hot spots or folds. Keep the subject far enough from the screen to prevent green spill on hair, shoulders, and wardrobe. Use backlight or edge light to separate the subject from the background, but avoid blowing out the edges. If the final background is a soft, overcast environment, a hard rim light will look wrong even with a perfect matte.
Match the intended background light direction during capture. If the generated plate has warm light from screen left, the foreground should have a compatible key from screen left. You can adjust color in post, but changing the direction of light is much harder. Record the intended background plate or a representative still on set so the crew can compare.
Use a lens and aperture that preserve edge detail. Extremely shallow depth of field can make hair and fabric edges difficult to key. A slightly deeper stop gives the compositor more to work with. If the final shot needs a shallow look, add it in post with a depth pass or a carefully masked blur.
Motion and metadata
Shoot at a frame rate that matches the final delivery and avoid excessive motion blur unless it is artistically required. Fast whipping hair or loose clothing can create semi-transparent edges that are hard to key. Test the most difficult motion during the shoot rather than discovering it in post.
Record camera height, lens, frame rate, shutter angle, and color settings. Place tracking markers on the green screen only if they will not interfere with the key, and remove them with clean plates. Capture a clean plate of the empty screen and a color reference chart. These small assets save hours when matching a generated background.
If the camera moves, capture enough set geometry for tracking. Even a few markers on the floor and screen edges can help match the foreground camera to the generated plate. If the final background is generated with a different move, you can stabilize, retime, or choose a new plate. It is easier to adapt a background than to fix a foreground with no tracking data.
Key, mask, and clean the matte
A single key is rarely enough for professional work. Build the matte in passes. The core matte handles the solid interior of the subject. The edge matte handles hair, fabric, and motion blur. The holdout matte protects areas that should not be keyed, such as a green prop that must remain in the shot.
Use a combination of chroma keying and AI-assisted rotoscoping. Chroma keying is predictable and fast for clean areas. AI matte generation is useful for hair, semi-transparent edges, and shots where the screen is uneven. Do not accept the first result. Compare the matte against a bright checkerboard and a neutral gray background. Check the edge at 100 percent and at final viewing size.
Apply garbage mattes to remove rigs, markers, and uneven screen edges. Suppress spill with a dedicated spill operation rather than desaturating the whole subject. If green reflects into skin tones, fix the spill before color grading. Preserve subtle edge transparency; a hard, perfectly clean edge often looks more artificial than a slightly soft one.
Export the foreground with alpha in a format that preserves color depth and edge detail, such as ProRes 4444 or an image sequence with alpha. Avoid repeated compression cycles. If the compositor needs to adjust the matte, keep the original key project and raw footage accessible. The best matte is the one that can be revised without restarting.
Composite with physical logic
Compositing is where a hybrid shot becomes believable or falls apart. The goal is not to hide the seam but to make every layer share the same physics.
Match the camera first. Check perspective, horizon line, lens distortion, and parallax. A foreground shot with a wide lens will not sit naturally on a background generated with a long lens unless you correct the geometry. Track the foreground plate, solve the camera if needed, and align the background to the same motion. Small mismatches in camera height are more noticeable than small mismatches in color.
Match light and color next. Compare black levels, highlight roll-off, and color temperature. Generated backgrounds often have a different contrast curve than camera footage. Use a scene-referred grade or a color-managed workflow to bring both layers into the same space before adding a final look. Add light wrap around the subject edges so the background light appears to interact with the foreground. A subtle wrap is often more convincing than a perfect matte with no integration.
Add contact shadows and atmosphere. A performer standing on a generated floor needs a shadow that matches the background light direction, softness, and color. Use a shadow pass or a masked blur of the foreground silhouette. Add haze, rain, dust, or lens dirt in the same depth layers as the background. These elements sell the composite because they exist between the camera and the subject, not just behind it.
Finally, unify the image with grain, depth of field, and motion blur. Apply grain after compositing so both layers share the same texture. Match the background blur to the foreground lens and avoid sharpening the subject beyond the plate. If the generated background has unstable detail, a little atmosphere and grain can help, but do not use texture to hide structural problems.
Polish, review, and deliver without rework
A hybrid shot is not finished when the matte is clean. Sound, pacing, and titles often determine whether the audience accepts the effect. Add footsteps, cloth movement, room tone, and background ambience that match the generated environment. If the background includes traffic or crowds, the audio should support the same distance and density. Silence around a realistic image makes the shot feel artificial.
Review at final viewing size and on a calibrated display. Check the shot in context, not only as a still frame. A composite that looks perfect on a large monitor can fall apart on a phone if the edge contrast is too high. Watch for matte chatter, frozen grain, repeated background motion, and shadows that detach from the subject.
Keep versions organized. Store the plate, the key, the composite, and the grade as separate deliverables. If the client asks for a different background, you should be able to swap the plate without rebuilding the matte. If they ask for a different performance, the background and key should remain reusable. This modularity is the real advantage of the hybrid workflow.
Deliver according to the platform, not the edit bay. Check resolution, frame rate, color space, audio loudness, and title safe areas. Export a clean master and a textless version if titles are added later. Archive the project with the prompts, seeds, reference images, and tracking data so the shot can be revised or extended.
Common mistakes and a practical FAQ
Mistake: generating a busy background before blocking the shot. Fix the blocking first, then generate a plate with calm areas where the performer will stand.
Mistake: treating the key as a one-click operation. Build core, edge, and holdout mattes. Check hair, motion blur, and spill at 100 percent.
Mistake: ignoring light direction. Match the foreground key to the generated background before capture. Color correction cannot reliably move a shadow from one side to the other.
Mistake: overusing AI for the whole shot. Use text-to-video for environments and green screen for performance. Dividing labor keeps control.
Mistake: no clean plate or tracking data. Capture reference assets even when the shot seems simple. They are cheap insurance.
Frequently asked questions
Can I use a phone-shot green screen with a generated background? Yes, if the screen is evenly lit, the subject is separated from it, and the footage is shot in a high-quality codec. A phone can work for social content, but edge detail and dynamic range will limit how closely you can match a cinematic plate.
How do I stop the subject from looking pasted on? Match camera height, lens, light direction, shadow softness, black levels, and grain. Add light wrap and atmosphere between the layers. A technically perfect matte without these cues still looks like a cutout.
Should the background be generated at final resolution? Generate at the highest practical resolution, then finish at delivery resolution. Avoid repeated upscaling and compression. If the plate has artifacts, regenerate rather than relying on sharpening.
What if the generated background moves differently from the foreground camera? Track and stabilize the foreground, then adjust the background with a corner pin, planar track, or 3D camera solve. If the mismatch is severe, regenerate the plate with a simpler move. Do not force a complex camera move onto a background that was generated locked off.
How many background options should I generate per shot? Two or three approved variations are usually enough for review. More options create decision fatigue and version sprawl. Generate one strong plate, test the composite, then iterate on a single variable such as light direction or camera height.
Do I still need a practical set? Only when the performer interacts with physical objects, needs precise eyelines, or requires complex shadows. For many talking-head, product, and stylized shots, a green screen plus a generated plate is enough. The decision should come from the shot, not from a preference for AI.
A hybrid workflow works best when it feels boring behind the scenes. The prompt is documented, the green screen is clean, the matte is modular, and the composite follows the same physical rules as any other shot. That discipline is what turns text-to-video from a novelty into a dependable production tool.

Alexander
More Blogs
Read MoreBuilding a Personalized Video CRM Follow-Up Workflow
Learn how to integrate AI-generated personalized videos into CRM sales follow-up sequences, from data mapping and automation to metrics and quality control.
AI Video for Hard-Tech B2B: A Harsh-Climate Content Playbook
A practical workflow for producing AI-assisted video content about autonomous construction robotics, remote sites, and harsh-climate deployment.
Video Production for Construction Robotics in Harsh Climates
Plan technical video content for autonomous construction robotics in cold, remote sites, from search intent and scripts to AI-assisted visuals and metadata.