
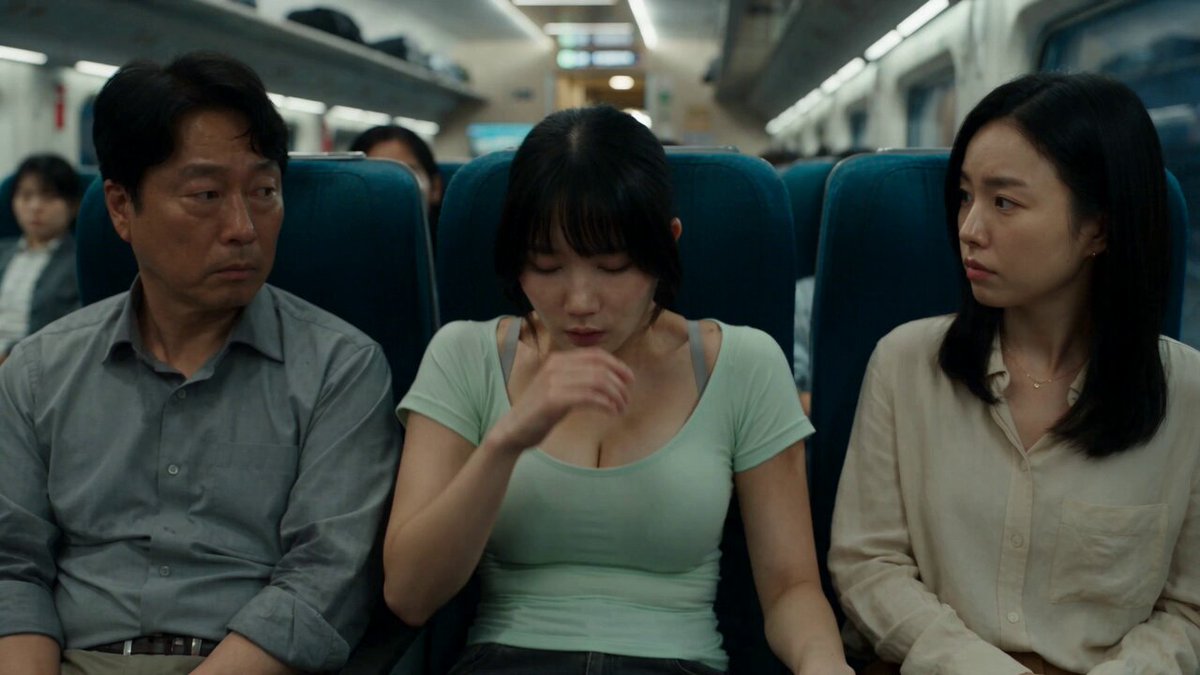


Why AI Video Clips Look “Almost Good”
A generated shot can be stunning on its own and still produce a flat, forgettable video. The gap is rarely the model. It is the workflow around the model: no shot list, drifting character details, lighting that changes direction between cuts, mixed aspect ratios, and sound bolted on at the very end.
When viewers say a video “looks like AI,” they usually mean the shots do not agree with each other. The face shifts. The jacket changes. The sun jumps from left to right between two cuts that should feel like the same afternoon. The fix is not a better prompt alone. It is treating generation as a production process with planning, reference material, iteration, and a finishing pass.
What Actually Separates a Usable Clip From a Great One
Four variables carry most of the perceived quality:
- Subject consistency. Does the person, product, or location stay recognizably the same across shots?
- Camera intent. Does the camera do something deliberate — a slow push in, a locked-off wide, a gentle handheld drift — or does it wobble randomly?
- Light continuity. Does the light direction, color temperature, and contrast level match between cuts?
- Motion believability. Do hands, hair, fabric, and background elements move at a natural speed, or do they smear and pop?
A clip with an ordinary subject but a confident camera move and stable light reads as professional. A clip with a spectacular subject but a melting face reads as a demo. Prioritize the boring variables first, because they are what an audience notices subconsciously.
A useful rule: a 3–5 second shot that is technically clean beats a 10-second shot that includes a visible failure. Long generations increase the chance of drift, warping, and broken physics, which is why professional AI editors generate short and cut often.
The Core Workflow, Step by Step
Step 1: Define the job before you open a generator
Write one sentence describing the deliverable: “A 20-second vertical teaser for a coffee brand, warm morning light, three shots, no dialogue, ending on the product label.” That sentence decides aspect ratio, pacing, shot count, and tone. Without it, you will generate attractive clips that do not belong in the same video and waste hours trying to force them together.
Also decide the emotional register. Is this calm and premium, fast and energetic, or slightly surreal? A single adjective like “calm” changes your camera language (slow moves, wide frames, low motion) versus “energetic” (quick cuts, closer framing, more movement).
Step 2: Write a shot list, not a script
AI video responds better to shots than to page dialogue. A simple shot list for a 20-second piece might look like:
- Wide establishing shot, empty street at dawn, slow forward push.
- Medium shot, character walks toward camera, steam rising from cup.
- Close-up, hand lifts cup, shallow depth of field.
- Product shot, label readable, subtle light sweep.
Each line is one generation task. This matters because you can review and regenerate one shot without touching the rest, and because you can describe each shot differently instead of cramming every idea into a single overloaded prompt.
Note the duration target next to each shot. Most shots need 3–6 seconds. A 20-second video built from five short shots will almost always look better than two 10-second clips, because you keep only the strongest seconds of each generation.
Step 3: Build prompts in layers
Detailed prompt structure is covered in the next section, but the practical habit is: write the subject first, then the camera, then the light, then the constraints. Keep one idea per clause. If your prompt contains three camera moves, the model will average them into mush.
Step 4: Generate in short bursts and overshoot
Run four to eight variations of each shot. Small changes in wording — “slow dolly in” versus “gentle push forward” — produce visibly different results. Keep a folder per shot and name files by shot number and take, for example 03_closeup_take2. This sounds fussy until you are assembling a timeline with sixty files.
When a take is 80% right, do not keep rerolling blindly. Ask a specific question: is the problem the pose, the framing, the light, or the motion speed? Change one variable at a time so you learn what actually controls the outcome.
Step 5: Assemble in an editor, then finish
Generation ends when you have usable takes. Editing is where a collection of clips becomes a video. Trim each shot so it starts on motion and ends before the motion dies. Cut on movement rather than on stillness. Add a music bed, then sound design — room tone, cloth movement, footsteps, a soft whoosh on the transition. Place color correction and a light grade over the whole timeline so the shots share a look instead of fighting each other.
Finally, add the smallest possible amount of motion graphics: a two-word title, a product name, an end card. Text is where AI video most often breaks, so keep it in your editor where you control kerning, timing, and legibility.
Prompt Architecture: The Layers That Carry Quality
Subject and action
Be concrete. “A woman in her thirties in a linen shirt” outperforms “a person.” Name one action, not three: “she turns her head toward the window” rather than “she turns, smiles, and picks up a book.” Physical detail helps the model resolve ambiguity — hair length, fabric texture, what the hands are doing.
Camera and lens language
Borrow real cinematography terms: wide shot, medium close-up, over-the-shoulder, low angle, 35mm look, shallow depth of field, slow dolly in, static tripod shot, handheld follow. One move per shot. If you want a second angle, generate a separate clip rather than asking for a camera change inside one generation.
Light, color, and texture
Light is the fastest way to make shots feel like a set instead of a collage. Pick a light plan and repeat it in every prompt for that scene: “warm morning sun from camera left, soft shadows, low contrast,” or “overcast daylight, cool tones, muted palette.” Consistent descriptors mean consistent grading later.
Texture words — film grain, subtle bloom, matte finish, glossy commercial sheen — set the surface feel. Choose one and stay with it. Mixing “gritty documentary” with “clean studio product” in the same video creates a jarring mismatch that no amount of editing repairs.
Constraints and exclusions
Tell the model what not to do, but keep it brief and specific: “no text overlays, no extra people in frame, no fast camera shake.” A long list of negatives dilutes the instruction. Two or three targeted exclusions do more than fifteen generic ones.
Consistency Across Shots: Faces, Wardrobe, and Locations
Consistency is the hardest part of AI video and the one that separates amateur results from credible ones.
Anchor with a reference image. Generate or photograph a still that represents your character or product exactly as you want it. Use that image as the starting frame for every shot in the scene. Image-to-video produces far more stable identity than describing a person from scratch each time.
Lock the wardrobe and props in words. Repeat the same phrasing across prompts: “olive linen overshirt, silver watch on left wrist.” If you leave it vague, the model invents changes between cuts.
Keep location descriptions identical. Same wall color, same furniture, same window position. Even small wording differences can shift a room’s layout, and audiences notice when a doorway moves.
Match framing to hide imperfections. If a face holds up in medium shots but not extreme close-ups, keep the camera at medium distance. Work with what the model does well instead of fighting its weak spots.
Use cutaways as insurance. Hands, product details, environments, and textures are easy to generate and forgiving to look at. Intercutting a few cutaways gives you editing flexibility and covers identity drift you could not fix.
Matching Tools to Tasks
Text-to-video
Best for establishing shots, abstract sequences, backgrounds, and anything where nobody’s identity must hold. It is the fastest way to explore a look.
Image-to-video and reference frames
Best for characters, products, and any repeating location. Start from a still you control, then add motion. This single habit improves consistency more than any prompt trick.
Motion transfer, lip sync, and performance
Use these when a specific gesture or spoken line matters. Record or source the performance, apply it to your character, and prepare for cleanup: mouth shapes and hand contact points are where these tools still need retouching in an editor.
Cleanup, upscaling, and frame interpolation
Generate at the resolution and frame rate you can afford, then upscale and interpolate to your delivery standard. Interpolation smooths motion but can create ghosting around fast movement, so apply it selectively to shots that need it rather than to the whole timeline.
Aspect Ratio, Duration, and Platform Fit
Decide the ratio before you generate. Vertical 9:16 for short-form feeds, 16:9 for landscape and presentations, 1:1 or 4:5 for feed posts. Regenerating a horizontal shot into vertical is rarely clean, because the model has to invent new areas of the frame — often filling them with strange background artifacts.
If you need multiple versions, generate the hero ratio first, then plan your reframes. A common approach is to shoot wider than you need and crop in the editor, keeping the important subject inside a safe central region.
Duration discipline matters too. Short-form keeps viewers when something changes every 1.5–3 seconds. That does not mean frantic cutting; it means each shot earns its place. If a clip has no new information after four seconds, cut it.
Audio: The Half of the Clip Most People Skip
Bad audio makes good visuals feel cheap. Most AI-generated video has no sound at all, which is why so many clips feel hollow even when the imagery is strong.
Build an audio stack in layers:
- Music bed — one track, consistent energy, ducks under any voice.
- Ambience — room tone, street hum, wind. This alone makes a clip feel filmed rather than rendered.
- Spot effects — footsteps, cloth, a cup set down, a soft transition whoosh.
- Voice — record it yourself if quality matters; synthetic voices work for narration but struggle with emotional subtlety.
Align sound to picture deliberately. A footstep that lands exactly when the foot touches the ground sells the shot more than any visual detail.
Pre-Publish Quality Checklist
Run this before you export:
- Does the first second show the subject and the promise of the video?
- Do character, wardrobe, and lighting stay stable across every cut?
- Is any shot longer than it needs to be?
- Do cuts land on movement rather than on frozen frames?
- Is there ambience under the music so silence never feels dead?
- Is text legible on a phone screen at arm’s length?
- Does the last frame give a reason to act — a name, a label, a next step?
- Watch it once with sound off, then once with your eyes closed. Both passes should still make sense.
Common Mistakes and How to Fix Them
Overloaded prompts. If your prompt has three actions and two camera moves, split it into separate shots.
Regenerating instead of diagnosing. Identify the single failing element and change only that in the next take.
Ignoring the first frame. Check the opening still before spending time on the motion; if the frame is weak, the clip will be weak.
Fighting the tool. If a model is poor at hands, redesign the shot so hands are not prominent.
Skipping the edit. No generator outputs a finished video. Assume 60% of your time goes to trimming, sound, and grading.
Chasing trend aesthetics with no plan. Copying a popular look without a shot list produces clips that do not connect. Steal the palette, then build your own structure.
FAQ
How long should each AI clip be?
Three to six seconds for most shots. Length increases the chance of drift and broken motion, so generate longer takes and trim to the best seconds rather than trying to produce a perfect long clip.
Do I need a paid tool to get good results?
Not necessarily for learning, but paid tiers usually give you higher resolution, faster queues, and commercial usage terms. Start free to learn prompt structure, then upgrade when resolution becomes the bottleneck.
Why does my character’s face change between shots?
Because each generation starts fresh. Anchor every shot to the same reference image, repeat identical wardrobe wording, and keep the camera at a distance the model handles reliably.
Should I generate in vertical or horizontal?
Generate in the ratio you will publish. Reframing after the fact forces the model to invent parts of the frame, which often introduces artifacts around edges and background objects.
Can I skip editing if the clips look good?
No. Editing is where pacing, consistency, and sound come together. Treat generation as footage capture and the editor as the place your video actually gets made.
How do I keep a consistent look across a whole series?
Write a short style card — palette, light direction, lens feel, grain level — and paste the same lines into every prompt for that series. Then apply one shared grade in your editor so every episode matches.
The tools will keep improving, but the workflow is what compounds. Plan the shots, control the light, anchor the identity, build the audio, and finish in the edit. That is how clips stop looking generated and start looking directed.
