
How to Add AI-Assisted Transitions in Premiere Pro
Oct 13, 2026

Why Transitions Are the Bottleneck in Modern Editing
Cutting is cheap. Bridging is expensive. A hard cut takes two keystrokes and a fraction of a second of attention. But the moment you decide two shots should melt, morph, whip, or dissolve into each other, the cost curve spikes: you need matching motion, matching color, matching grain, matching speed, and a believable middle frame that neither camera ever captured.
That middle frame is the whole problem. Traditional nonlinear editing tools like Premiere Pro are brilliant at arrangement and timing, but they were never designed to invent pixels. A cross dissolve blends two existing images. A morph transition warps geometry and frequently produces the familiar rubber-face artifact. A whip pan transition hides the seam with motion blur, which works until the viewer pauses the timeline or watches on a large screen.
Generative video models changed the math. Instead of blending two frames, they can synthesize the frames between them: the hand that reaches across the cut, the camera that continues its arc through a wall, the environment that transforms from a snowy street into a desert without a visible edit point. Editors now routinely generate that connective tissue outside the timeline, then bring the result back in as a normal clip.
This guide walks through the full loop: deciding when a generated transition is worth the effort, preparing assets, generating the bridge, integrating it into Premiere Pro, automating placement for long projects, and catching the artifacts that slip past a tired reviewer at 2 a.m. It is written for editors who already know their way around a timeline and want a repeatable system rather than a pile of one-off tricks.
What AI Actually Adds to Transition Work
Before committing to a new step in your pipeline, be precise about what it buys you. Generative transitions solve four specific problems and create three new ones.
The four real gains
Impossible camera moves. You can continue a push-in, a drone arc, or a handheld drift across a cut where the original footage simply stops. The model invents the continuation.
Subject transformation. One person becomes another, a product becomes its packaging, a daytime scene becomes night. This is a content transformation, not a filter, and it cannot be replicated with blending modes.
Environment morphs. Location changes that would otherwise require a whip pan, a flash frame, or a cutaway can happen continuously in a single shot.
Volume. Once a transition style is proven, generating twenty variations of it for a series is mostly mechanical. That consistency is what makes episodic content feel authored rather than assembled.
The three costs
Artifact risk. Generative models hallucinate. Fingers multiply, text warps, faces drift, and fine patterns shimmer. Every generated transition needs a frame-by-frame pass at full resolution.
Style drift. A generated clip rarely matches your camera's color science, grain structure, or lens character out of the box. You will spend time matching, not generating.
Pipeline friction. Round-tripping between an editor and a generative tool introduces codec mismatches, frame-rate mismatches, and naming chaos if you do not establish conventions early.
Knowing these trade-offs lets you make a fast decision: use generative transitions where the payoff is a genuinely impossible shot, and use classic transitions everywhere else.
Preparing Your Project Before You Generate Anything
Most failed AI transition attempts are pipeline failures, not model failures. Spend twenty minutes on setup and you will save hours later.
Lock your technical specs
Write down the delivery frame rate, resolution, and color space before generating a single clip. If your sequence is 23.976 fps and your generator defaults to 24, you will introduce a slow drift that becomes visible over a long morph. If your delivery is Rec.709 and you generate in a wide gamut, you will fight the conversion later.
Decide on a working codec for intermediate assets. ProRes 422 or DNxHR HQ are safe choices: large but predictable. Avoid generating straight into a delivery codec like H.264, because you will re-encode it during the edit and again at export.
Build the cut points first
Do not generate transitions in isolation. Edit the sequence with hard cuts until the pacing works. A generated transition cannot rescue a scene that is badly structured; it will only make the bad structure more expensive. Once the rhythm is right, mark every cut that genuinely needs a bridge.
Use sequence markers in Premiere Pro with a consistent color (for example, red for "needs generated bridge") and a short note describing the intended transformation. Those markers become your production queue.
Extract clean reference frames
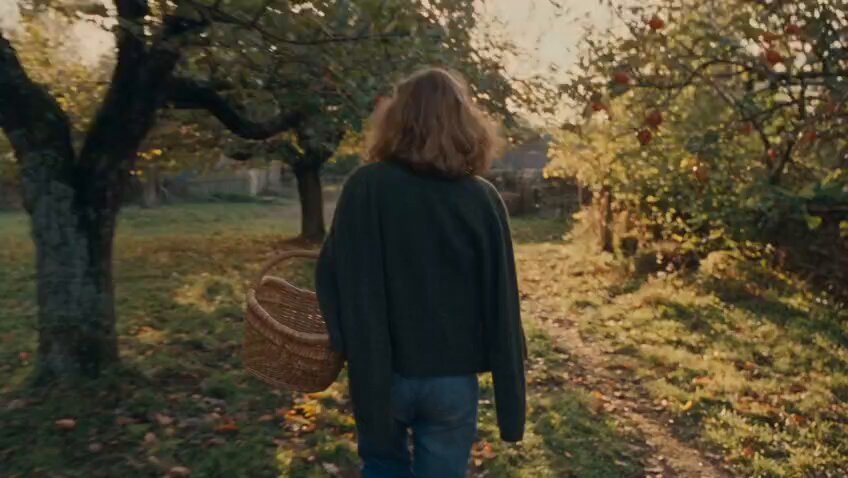
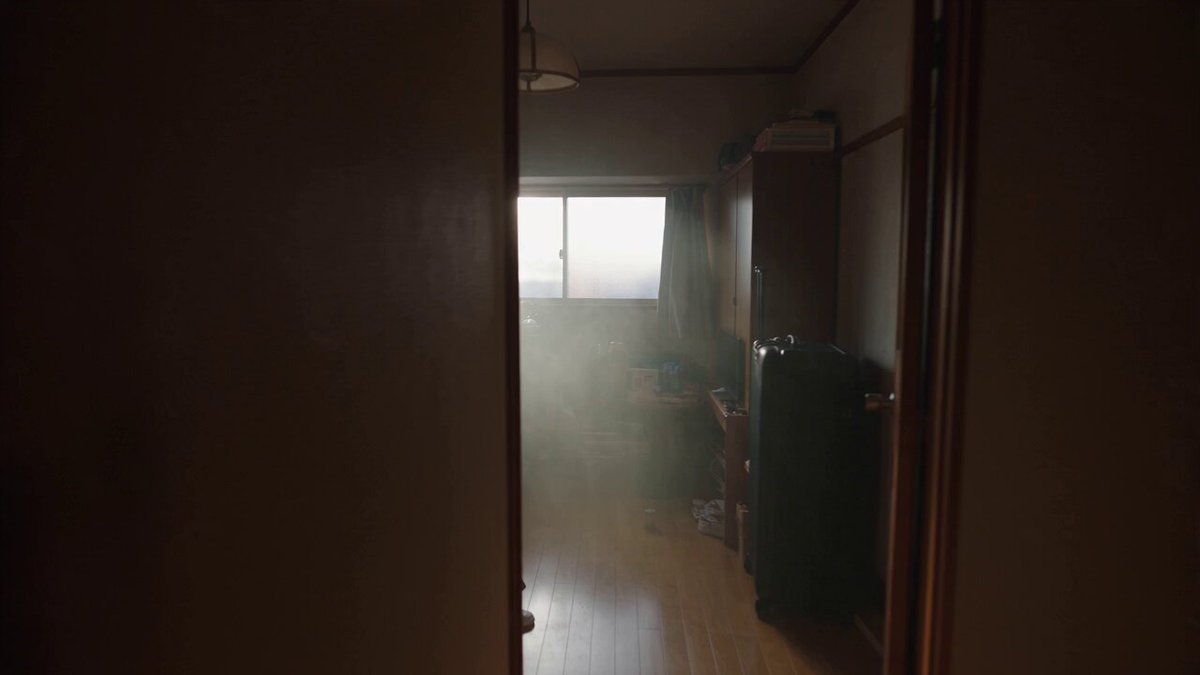
For each marked cut, export the last frame of the outgoing clip and the first frame of the incoming clip as high-quality stills. These two frames are your generation anchors: the model needs to start from something real and land on something real. Name them systematically, such as ep03_sc12_out.png and ep03_sc12_in.png, so a batch process can pair them automatically.
Establish a folder and naming convention
Create a predictable structure such as project/generative/transitions/sc12_morph/ containing the source stills, the raw generation, the graded version, and a text note with the prompt and settings. Six weeks later, when a client asks for the same look in a new spot, this folder is worth more than any preset.
Generating the Bridge Clip: A Repeatable Method
With specs locked and anchors exported, generation becomes a controlled process rather than an experiment.
Start from motion, not from style
Describe the movement in plain language before you describe the look. "Camera continues pushing forward as the corridor bends left" is more useful than "cinematic, dramatic, beautiful." Motion prompts give the model the continuity it needs; style prompts only change the surface. Write the motion first, test it, then layer style language on top.
Keep the duration short
Most generated transitions work best between eight and twenty frames at 24 fps, with a practical ceiling around one second. Longer bridges draw attention to themselves and give the model more chances to drift. If you need a two-second transformation, consider generating two shorter segments and stitching them with a matching mid-frame.
Generate several candidates, then choose fast
Generate four to six variations per cut and review them on a loop, back to back, at normal speed. Watching a transition on repeat for ten seconds reveals rhythm problems instantly: a hitch, a frozen moment, a snap at the end. Trust that test more than any single paused frame.
Handle two very different sources
When the outgoing and incoming shots share nothing — different lighting, different subject, different lens — do not ask one generation to solve everything. Instead, generate an intermediate bridge that belongs to neither world: a fast motion blur pass, a close-up on a texture, or a light-leak plate. That neutral middle absorbs the discontinuity and makes the handoff believable.
Importing and Placing Generated Transitions in Premiere Pro
A generated clip is just a clip. The craft is in how you seat it.
Match the sequence before you drag
If the generated asset was rendered at a different frame rate, interpret the footage rather than letting Premiere Pro conform it silently. Right-click the asset, choose Modify, then Interpret Footage, and set the correct frame rate. Then confirm the pixel aspect ratio. A transition that appears to "stutter" is very often a frame-rate mismatch, not a bad generation.
Trim on the action
Do not place the full generated clip end to end. Find the frame where the transformation is most complete — usually two to four frames before the end — and trim there. The final frames of generated clips are frequently the weakest, because the model has less conditioning to work against.
Overlap, then hide the seam
Place the generated bridge on a track above the cut, overlapping the outgoing clip by a few frames and the incoming clip by a few frames. Then use opacity keyframes with an ease curve rather than a linear ramp. A linear fade reads as a dissolve; an ease-in/ease-out curve reads as a continuous camera move.
Add the physical tells
Three small touches sell almost any generated transition:
- Directional motion blur at the entry and exit frames, matched to the movement in the bridge.
- A subtle scale push, usually 2 to 4 percent, so the frame never sits perfectly static.
- Audio bridging, such as a whoosh, a room tone crossfade, or a music transition, timed to the midpoint of the visual change.
Sound carries more of a transition than most editors admit. A perfectly generated morph with a hard audio cut still feels broken.
Build a preset, not a habit
Once a transition works, save the whole stack: the placement, the opacity curve, the blur, the scale, and the audio crossfade. In Premiere Pro you can save effect presets and even build a custom adjustment layer with the stack applied. This is the difference between a technique and a system.
Style Matching: Making Generated Footage Belong
This is where most projects visibly fail. The transition looks expensive and the shot looks imported.
Color match with a reference, not by eye
Use a comparison view to load a frame from the surrounding footage next to a frame from the generated clip. Match black levels first, then white point, then saturation, then hue. Editors routinely adjust saturation first and then wonder why the clip still feels foreign; luminance mismatch is almost always the louder signal.
Rebuild the grain
The single fastest tell of a generated clip is its cleanliness. Real footage has sensor noise, and generative output is often unnaturally smooth. Add grain in a layer above the transition, matched to the surrounding shots. Sample the grain from a real dark area of your footage if you can, or use a grain plugin with a scan-and-match feature.
Respect the lens
If the surrounding footage was shot on an 85mm with shallow depth of field, a generated clip with infinite focus will read as a composite. You can approximate the look with a slight blur on the outer edges of the frame and a touch of vignetting. It is not optical accuracy, but it satisfies the eye.
Watch for texture shimmer
Fine patterns — fabric weaves, brick, foliage, thin type — are where generative models produce the most distracting artifacts, especially in motion. If a transition crosses a heavily textured area, slow the transition down or place a motion blur pass over the worst section to hide the instability.
Automating Transitions Across a Long Project
Automation pays off on episodic work, series content, and anything with more than about twenty transitions.
Marker-driven batch processing
Export your marked cut points as a list — sequence markers can be exported through the EDL or through a script — and feed the paired stills into your generator in batches. Running twenty generations overnight and reviewing them in one morning session is dramatically more efficient than generating one at a time between edits.
Scripted placement
Premiere Pro supports scripting through its extensibility layer, and several third-party panel tools can insert assets at marker positions. A simple script that reads marker positions, imports matching filenames from a watch folder, and places them on a dedicated track removes the most tedious part of the job. Even a semi-automated version — placing assets at markers without trimming — saves hours.
Watch folder workflows
If your generator writes finished clips to a folder that Premiere Pro watches, you can keep editing while assets arrive. This is the closest thing to a live pipeline, and it works best when filenames encode the cut point, such as sc12_bridge_v3.mov.
Rendering strategy
Generated clips are heavier than typical footage and often require effects to be rendered before playback is smooth. Rather than rendering the entire sequence, render only the transition regions using in-to-out marks around each one. Then create preview files at a resolution that matches your review needs — half resolution for approval passes, full resolution only for final checks.
Version control for assets
Keep raw generations, graded versions, and final versions in separate folders. Never overwrite a raw generation with a graded one; you will eventually need to re-grade for a different delivery target.
Quality Control: The Checks That Catch Real Problems
Run the same checklist on every transition. Consistency beats intuition when you are reviewing your own work.
Watch at normal speed three times. Once for rhythm, once for color continuity, once for audio sync.
Watch frame by frame at the midpoint. Most artifacts live two to six frames from the center of the transition.
Check the first and last frame against the adjacent clips. Do they cut cleanly if the transition were removed? If not, the anchors are off.
Inspect on a second display. Small artifacts disappear on a laptop screen and reappear on a television.
Look away and look back. Perceptual reset catches glaring errors that tunnel vision hides.
Verify text and faces. Any letters, numbers, or human faces inside a generated transition deserve extra scrutiny. Models are worst exactly where audiences are most attentive.
Workflow Variations by Content Type
Short-form vertical
Vertical edits demand fast, high-impact transitions — usually under twelve frames. Generated whip pans, snap zooms, and object-driven wipes work well because the viewer has less time to scrutinize the middle frames. Prioritize audio impact and speed over photoreal detail. Vertical crops also hide edge artifacts, which is a legitimate advantage.
Long-form documentary and interview
Here, generated transitions should be almost invisible: soft focus pulls, environmental continuity, or a slow morph between two related spaces. Anything flashy breaks the tone. Match grain and color meticulously, and keep transitions under a second.
Commercial and product work
Products have hard geometry, which is exactly where generative models struggle. Logos, packaging, and mechanical parts warp in obvious ways. Use generated transitions for environment and mood, and use practical photography or clean match cuts for the product itself. If you must morph a product, generate at higher resolution and accept a longer review cycle.
Music-driven content
Beat-matched transitions benefit enormously from generation because you can build the bridge to a specific bar. Generate the clip to the musical phrase rather than trimming music to the clip. The result feels intentional instead of coincidental.
Common Mistakes and How to Avoid Them
The same handful of errors accounts for most disappointing results.
Generating before the edit is locked. You waste effort on cut points that disappear. Lock picture first.
Overusing the technique. If every cut is a morph, the audience stops seeing the transformation and starts seeing the trick. Save generated transitions for the moments that matter.
Ignoring audio. A visual bridge with a hard audio cut feels like a mistake. Design the sound with the same care.
Skipping the grain pass. This alone accounts for a large share of "that doesn't look real" feedback.
Rendering at the wrong frame rate. Interpret footage properly and check the timeline before you spend hours polishing something that stutters.
Not archiving prompts and settings. When a client asks for the same transition in a new spot, you want the recipe, not a memory.
Trusting a single viewing. Everyone ships an artifact at some point because they watched once and moved on. Use the checklist.
FAQ
Do I need a separate AI tool, or can Premiere Pro do this natively?
Premiere Pro handles blending, timing, and effects beautifully, but it does not generate new in-between frames from a text or image prompt. For true generative bridges, you will use an external model or a hosted video generation service, then bring the result back into the timeline as a normal asset.
How long should a generated transition be?
Eight to twenty frames at 24 fps is the practical sweet spot. Under eight frames and the effect is barely perceptible; over about a second and the model usually starts to drift.
Will generated clips always need color work?
Yes, almost always. Even well-conditioned models produce output that differs in black level, saturation, and grain. Budget time for matching, and treat it as part of the cost of the technique.
Can I reuse the same transition across episodes?
You can reuse the technique and the preset stack, but not the clip itself unless the surrounding footage is identical. Save the effect preset and the placement template; regenerate the bridge for new footage.
What about resolution and upscaling?
Generate at the highest resolution your tool allows, then downscale rather than upscaling. Upscaling a generated clip amplifies artifacts and softens fine detail in ways that are hard to hide.
How do I keep the pipeline fast on a long series?
Batch generation overnight, use a watch folder so assets arrive while you edit, script the placement at markers, and render only the transition regions. Those four changes usually cut the per-transition time by more than half.
Building a Transition System You Can Trust
The real shift is not from manual editing to AI editing. It is from improvisation to a pipeline. Generative models give you the ability to create frames that never existed, but that ability only becomes valuable when it is predictable: the same anchors, the same naming, the same placement stack, the same quality checks, every time.
Start small. Pick three cut points in a short project, run them through the full loop — anchors, prompt, generate, trim, blend, grade, grain, review — and write down what worked. Then turn that into a preset and a folder structure. By the fourth project you will not be thinking about the workflow at all; you will be thinking about which transformation serves the story.
That is the point. Generative transitions are not a spectacle to show off. They are another tool in the language of editing, and like every tool in that language, they work best when the audience never notices the mechanics — only the meaning.

Alexander
More Blogs
Read MoreVidu Q4 Alternatives: 4K AI Video Models Compared (2026)
Vidu Q4 alternatives compared: Kling 4.0, Seedance 2.5, Wan 3.0, and Runway Gen-4 — 4K support, input modes, durations, audio, and what each costs in credits on Domer.
Top 4K AI Image Generators in 2026: 5 Models Compared on Real Costs
The top 4K AI image generators on Domer compared: Flux 3 Klein, Nano Banana 2.1, GPT Image 2.5, GPT Image 2, and Nano Banana Pro — 4K credit costs, reference limits, and speed.
Nano Banana 2.1 vs GPT Image 2.5: Which Image Model Should You Use? (2026)
Nano Banana 2.1 vs GPT Image 2.5 Flare compared: credit costs per resolution, aspect ratios, reference images, text rendering, and which tasks fit each model.