
作成
AI Video Generation Workflows: A Practical Creator Guide
Oct 13, 2026
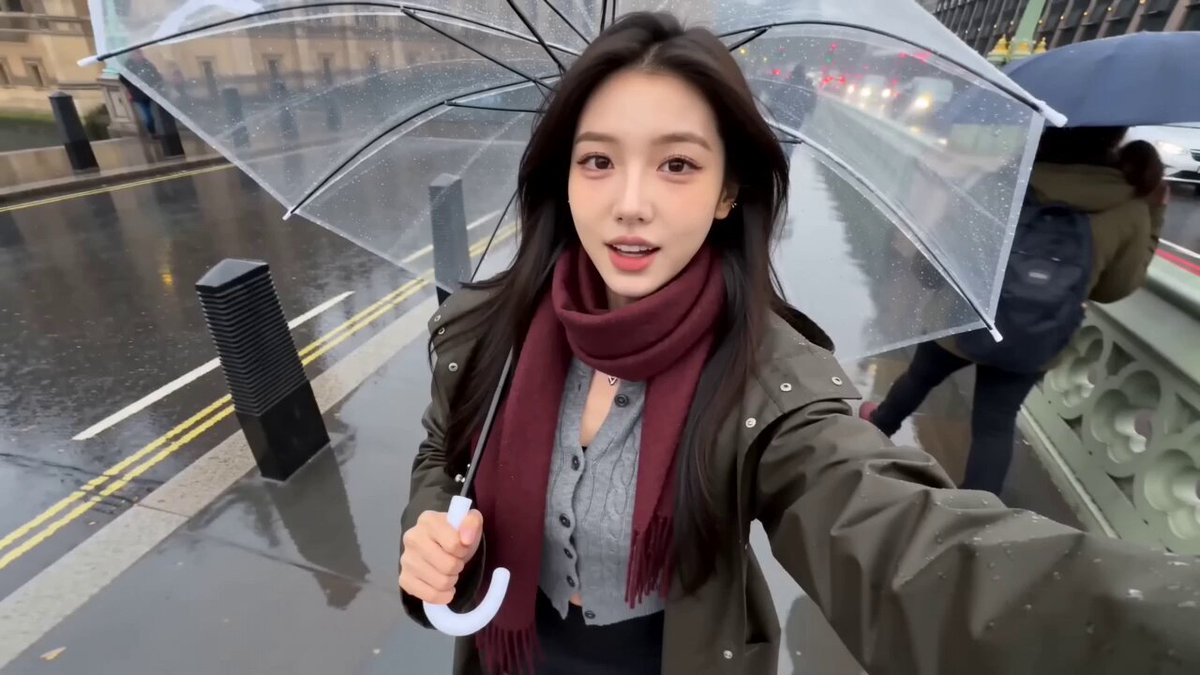
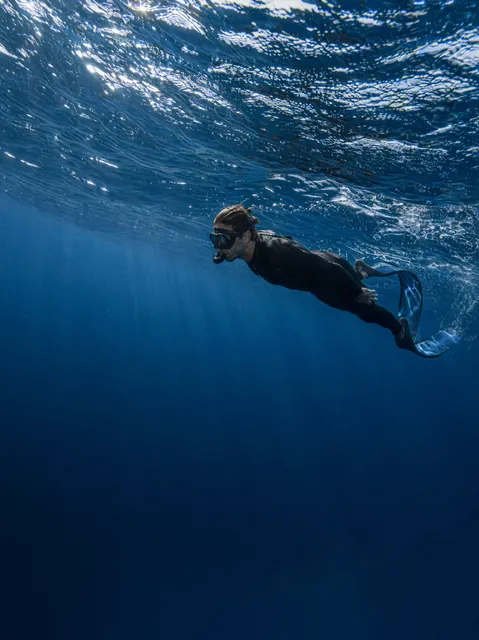
AI video generators have moved from novelty demos to genuine production tools, but the gap between "this looks amazing" and "this is ready to publish" is where most creators lose time and money. The real skill is not finding one magic tool. It is building a workflow that turns a rough idea into a finished, watchable video without endless rerolling or a runaway tool budget.
This guide lays out a practical, tool-agnostic pipeline for AI-assisted video production: how to choose models, how to write prompts that behave like direction, how to plan spend before you generate, and how to finish clips so they hold up next to conventionally shot footage.
What AI Video Generation Actually Does Well
Before building any workflow, be honest about which shots belong in an AI pipeline and which do not. Treating AI as a replacement for every camera setup is the fastest route to frustration.
Strong use cases:
- Abstract or conceptual visuals that would be expensive to shoot — memory, data flows, microscopic worlds, historical reconstructions.
- Background plates and establishing shots that need atmosphere more than precision.
- Animatics and previsualization, where speed matters far more than final fidelity.
- Social-first vertical clips: hook shots, looping textures, kinetic typography backgrounds.
- Localization and versioning: the same core visual adapted to multiple aspect ratios, languages, or seasonal variants.
Weak use cases:
- Precise choreography, like a product being assembled in an exact sequence.
- Dialogue scenes where lip sync and eyeline must match a scripted performance.
- Shots containing readable text, logos, or fine brand details.
- Long continuous takes that require persistent character identity across many seconds.
- Anything requiring legal or factual accuracy in every frame.
The practical rule: use AI generation where the shot communicates mood, texture, motion, or concept. Use real footage, screen capture, or motion graphics where the shot must communicate exact information.
Choosing a Generation Model Without Getting Locked In
Most creators over-invest in one platform early. A better approach is to define the capabilities you need, then test several engines against the same brief.
Text-to-video versus image-to-video versus video-to-video
Text-to-video is the fastest way to explore ideas, but it gives you the least control. Image-to-video, where you supply a still as the first frame, is usually the highest-value mode for professional work: you can lock composition, color, and subject appearance in an image editor, then let the model handle motion. Video-to-video and motion-transfer tools are best for restyling existing footage, changing weather or time of day, or applying a consistent visual treatment to a real shoot.
A reliable pattern is: generate stills first, approve the look, then animate only the approved frames. This single habit eliminates a huge share of wasted generations, because you are no longer gambling on composition and motion at the same time.
Motion, camera language, and duration limits
Look at how each engine handles camera movement separately from subject movement. Some models interpret "slow push in" beautifully and "handheld follow" poorly. Others produce excellent organic motion but drift in background detail over longer clips.
Duration matters more than resolution in most workflows. Short clips are easier to control and cheaper to iterate on. If a shot needs eight seconds, consider generating two four-second segments with matched framing and joining them in the edit rather than fighting a single long take.
A five-test evaluation checklist
Run the same five prompts through every candidate engine and score them side by side:
- A person walking through a specific environment with a defined camera move.
- A product-like object rotating against a clean background.
- A natural element — water, smoke, fire, foliage — in slow motion.
- A stylized, non-photoreal scene that matches your brand's illustration style.
- A shot that must match an existing still frame you supply.
Score each on prompt adherence, motion realism, temporal consistency, detail stability, and how much editing the result needs. Two hours of testing saves weeks of rework, and it tells you which engine to reach for per shot type rather than per project.
A Repeatable AI Video Workflow, Step by Step
This is the pipeline that holds up under deadline pressure.
Stage 1: Brief and shot list
Write the video's job in one sentence: who watches it, what they should feel, and what action follows. Then break it into a shot list with columns for shot number, description, duration, mode (text-to-video, image-to-video, live action, graphic), and status.
A shot list converts a vague creative impulse into a production plan you can estimate. If the list has twelve shots and eight are AI-generated, you know your generation volume before you start.
Stage 2: Look development with stills
Generate or design key frames for the three or four hero shots. Use an image model or a still-frame generator, and iterate on the frames until the palette, lighting, and framing feel right. Save approved frames into a dedicated folder with numbered names.
This is also where you build a style reference set: two or three images that define the look, plus a short written style note covering lens feel, lighting direction, contrast, and grade. Every subsequent prompt inherits from that note.
Stage 3: First-pass generation at low cost
Generate short, low-resolution previews for the full shot list before committing to final-quality renders. You are checking composition and motion logic, not pixel quality. Mark each preview as approved, revise, or cut.
Stage 4: Refined generation
For approved previews, regenerate at full settings using the same seed where the engine supports it, or resubmit the approved still frame in image-to-video mode. Change one variable at a time. If motion is wrong but framing is right, adjust only the motion language in the prompt.
Stage 5: Selection and assembly
Import everything into your editor. Build a rough cut with temporary music before you fix any single shot. Pacing problems are easier to see than per-frame problems, and fixing pacing often deletes the shots you were about to obsess over.
Stage 6: Sound and finishing
Add ambience, foley, and music. AI-generated visuals almost always feel more real with a layer of environmental sound — room tone, distant traffic, cloth movement. Then apply a unified grade and any grain or texture pass so all sources sit in the same world.
Prompt Craft: Writing Direction Instead of Keywords
Keyword soup produces generic results. Write prompts like a director's note with a clear subject, action, environment, camera, lighting, and mood.
A workable structure:
- Subject: who or what, with two or three defining visual details.
- Action: one primary motion, expressed as a verb phrase.
- Environment: location, time of day, weather, atmosphere.
- Camera: shot size, angle, movement, lens character.
- Lighting: source, direction, quality, contrast.
- Mood or grade: the emotional register and color tendency.
Example: "A weathered fisherman in a mustard raincoat hauling a net across a wet deck, overcast dawn, medium shot, slow handheld drift, soft diffused light from the left, muted teal and grey grade, documentary realism."
Keep negative prompts minimal and specific. Long lists of exclusions often confuse motion models more than they help. If something keeps appearing, describe what you want instead of what you do not want.
Iterate in single changes. If you alter subject, action, and camera at once and the shot fails, you have learned nothing about which element broke it.
Planning Spend Without Sticker Shock
The core budgeting problem in AI video is variance. One shot might land on the first attempt; another might take twenty. Build your plan around expected retries rather than best-case output.
Practical controls that work regardless of which platform you use:
- Estimate per shot, not per project. Assign every shot an expected number of attempts based on complexity. A static landscape may need two; a character walking with a specific camera move may need ten.
- Separate exploration from production. Do all exploration at the cheapest possible settings. Only approved concepts get expensive renders.
- Cap the retry loop. Set a limit, such as five attempts per shot. If it has not worked by then, the problem is usually the prompt structure or the chosen mode, not the number of tries. Change the approach or cut the shot.
- Track cost per finished second. Divide total generation spend across the final runtime. This number reveals whether your pipeline is healthy and makes it easy to compare approaches across projects.
- Reuse aggressively. A generated background plate can serve five different videos. Store raw outputs in an organized library rather than deleting them after each project.
A useful mental model is a tiered pipeline: cheap drafts, mid-tier refinement, premium finals. Creators who skip the draft tier are effectively paying premium rates for experimentation.
Finishing: Where AI Video Becomes Watchable
Raw generations rarely publish as-is. The finishing layer is what separates amateur output from professional-looking content.
Editing. Cut on motion. AI clips contain micro-instabilities, so hiding cut points inside movement masks them. Keep shots short — often 1.5 to 3 seconds in fast-paced social edits.
Stabilization and retiming. Slight stabilization smooths jitter, and a 5 to 10 percent speed change can make motion feel more natural or more dynamic depending on the shot.
Sound design. This is the highest-leverage step. Add layered ambience, impact sounds on cuts, and music with clear rhythmic anchors. Viewers forgive visual imperfection far more readily when audio feels intentional.
Grade and texture. Apply one look across every source. A subtle film grain, halation, or chromatic treatment unifies AI clips with live footage and reduces the "synthetic" read.
Text and graphics. Keep titles and captions in the edit, not inside generated frames. Overlay text in your editor where it stays crisp and editable.
Scaling Output: Batching, Templates, and Asset Libraries
Once the workflow is stable, scale it with structure rather than more effort.
- Prompt templates. Save reusable prompt skeletons with placeholders for subject, environment, and camera. This cuts prompt-writing time and keeps visual consistency across a series.
- Batch generation sessions. Group similar shots and generate them together so you evaluate them as a set with the same lighting and grade assumptions.
- Naming conventions. Use a scheme like project_scene_shot_version_mode so files sort logically and you never overwrite a good take.
- Asset library. Maintain three folders: approved stills, approved clips, and raw explorations. The approved folders become the starting point for the next project.
- Template timelines. Build an editing template with your intro, lower thirds, caption styles, and audio beds already in place. New projects start at 60 percent finished.
Teams that adopt these habits typically cut iteration time substantially, because they stop re-deciding things that were already solved.
Common Mistakes and How to Avoid Them
Generating before designing. Without approved stills, every text-to-video attempt is a fresh gamble. Fix: lock the look first.
Changing too many variables at once. You cannot debug a prompt you rewrote entirely. Fix: one change per attempt.
Chasing a shot that will not work. Some concepts simply exceed current model capabilities. Fix: set a retry cap and have a fallback plan — stock footage, motion graphics, or a simpler framing.
Ignoring sound. Silent AI clips feel artificial. Fix: budget as much time for audio as for generation.
Mixing incompatible looks. Clips from different engines rarely match without a unifying grade. Fix: apply a single look layer and, where possible, stick to one or two engines per project.
Forgetting aspect ratios. Generating horizontal footage for a vertical deliverable wastes framing. Fix: set the correct aspect ratio before generation.
No version control. Overwriting a good take with a "better" one that turns out worse is painful. Fix: never delete, only version.
Decision Matrix: Which Setup Fits Your Project?
| Project type | Best mode | Volume strategy | Priority |
|---|---|---|---|
| Social hook clips | Text-to-video | Many short drafts | Speed |
| Brand film | Image-to-video from designed stills | Few, high-quality takes | Consistency |
| Product explainer | Motion graphics plus AI backgrounds | Moderate | Accuracy |
| Story animatic | Text-to-video, low settings | High volume | Iteration speed |
| Restyled live footage | Video-to-video | Medium | Style match |
| Series content | Templated prompts, fixed style set | Batched | Repeatability |
Use this as a starting point, then adjust based on your own test results. The right answer depends on your deliverable, your deadline, and how much control the shot needs.
FAQ
How long does an AI video take to produce?
A single 5-second clip can take minutes to generate, but a finished 30-second video typically takes several hours once you account for look development, retries, and editing. Complex concepts with strict consistency requirements can take a full day or more.
Do I need editing experience?
Yes. Generation is roughly half the work. Assembly, sound design, pacing, and grade are what make AI footage feel professional, and they are conventional editing skills.
How do I keep characters consistent across shots?
Use image-to-video with a fixed character reference still, keep lighting and lens language identical between prompts, and avoid drastic camera changes. Consistency degrades fast when you vary too much.
Is it worth testing multiple engines?
Almost always. Engines differ sharply by shot type. A short side-by-side test tells you which one to use for characters, which for landscapes, and which for stylized graphics.
What is the biggest hidden cost?
Retries. Failed generations consume the same resources as successful ones, so reducing retry rates is the single most effective cost control in an AI video pipeline.
How do I make AI video look less artificial?
Add sound design, keep shots short, apply a unifying grade, avoid perfectly smooth motion, and introduce small real-world imperfections like grain or slight handheld drift.
Can AI footage mix with live-action?
Yes, and it usually works well when AI is used for inserts, backgrounds, or transitional shots while live footage carries the narrative. A shared grade is essential.
Where should a beginner start?
Start with one 10-second vertical clip: three shots, image-to-video mode, one audio bed. Finish the whole pipeline once before expanding scope. Completing a small project teaches you more than watching hours of tutorials.
Bringing the Workflow Together
The creators who get the most from AI video generation are not the ones with the largest tool stack. They are the ones with a repeatable process: design the look first, generate in tiers, cut on motion, and treat sound and grade as non-negotiable finishing steps.
Start small, document what worked, and build a prompt and asset library that compounds over time. Once the pipeline is stable, scaling output becomes a matter of batching and templating rather than heroics — and that is when AI video generation stops being a gamble and starts being a reliable part of your production toolkit.

Alexander
More Blogs
Read MoreVidu Q4 Alternatives: 4K AI Video Models Compared (2026)
Vidu Q4 alternatives compared: Kling 4.0, Seedance 2.5, Wan 3.0, and Runway Gen-4 — 4K support, input modes, durations, audio, and what each costs in credits on Domer.
Top 4K AI Image Generators in 2026: 5 Models Compared on Real Costs
The top 4K AI image generators on Domer compared: Flux 3 Klein, Nano Banana 2.1, GPT Image 2.5, GPT Image 2, and Nano Banana Pro — 4K credit costs, reference limits, and speed.
Nano Banana 2.1 vs GPT Image 2.5: Which Image Model Should You Use? (2026)
Nano Banana 2.1 vs GPT Image 2.5 Flare compared: credit costs per resolution, aspect ratios, reference images, text rendering, and which tasks fit each model.