
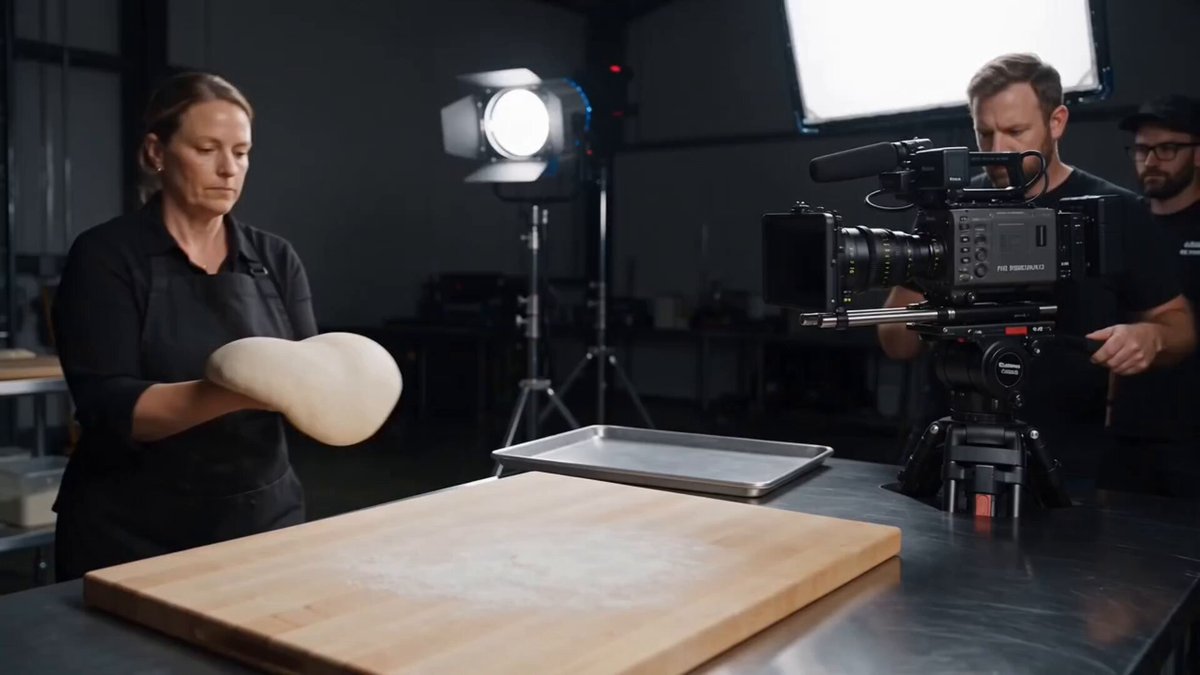
AI Video Generator Workflow: From Script to Final Cut
Oct 13, 2026


Why AI Video Generation Changed the Production Math
For decades, making a video meant assembling a small production company: a camera package, a lighting kit, a location, a performer, an editor, and days of calendar time. That overhead meant most ideas died in the idea stage — not because they were bad, but because the cost of testing them was too high. Generative video collapses that overhead. A shot that once required a call sheet, a permit, and a two-hour setup can now be drafted from a text prompt and revised in minutes.
The practical consequence is not that traditional production is obsolete. It is that video has become iterative. You can generate ten interpretations of a scene before lunch, compare them side by side, and commit to the one that actually carries the story. The bottleneck moves from "can we shoot this?" to "can we describe this precisely enough?" — which is an entirely different skill, and one most people have never practiced.
That shift also changes what "good" looks like. A clip that is technically impressive but narratively pointless is worthless. A clip that is slightly soft in the corners but lands the emotional beat is valuable. The best results come from treating AI generation as a camera you operate through language, not as a slot machine you pull and hope.
This guide is a workflow guide, not a leaderboard. Tool rankings go stale in weeks; processes compound for years. What follows is a repeatable pipeline for planning, prompting, repairing, assembling, and quality-checking AI-generated video so the final output looks intentional rather than accidental.
What Separates a Capable Tool From a Toy
Not every generator deserves space in your pipeline. When you evaluate options, look past the demo reel and examine five structural capabilities.
Generation modes that actually matter
Text-to-video is the headline feature, but it is rarely the one you will use most. Image-to-video is usually more useful, because you can control composition and character appearance with a still you already approved. Video-to-video lets you restyle or re-time existing footage. First-frame and last-frame control lets you choreograph a transition between two known states. Motion direction tools let you push a subject or camera along a path instead of hoping the model guesses.
A tool that only does text-to-video forces you to fight for consistency on every shot. A tool that supports image conditioning and frame interpolation lets you build a scene like a sequence of deliberate decisions.
Control layers: seeds, references, and re-rolls
When a generation lands, you need to know why — and be able to reproduce it. Seed locking, style references, and character references are the difference between a lucky accident and a repeatable house style. If a platform hides these controls entirely, you will spend your time re-rolling rather than directing.
Duration, resolution, and frame rate honesty
Most generators produce short clips measured in seconds. Some stretch that with slow-motion padding, which is not the same thing as a longer shot. Check what the tool actually delivers at native quality, what aspect ratios it supports, and whether upscaling is a genuine detail-recovery process or a blurry interpolation. Vertical, square, and widescreen outputs matter if you publish across multiple surfaces.
Watermarks, licensing, and commercial use
Read the terms before you build a client deliverable on top of a generator. Watermark removal, commercial rights, and training-data policies vary enormously. This is unglamorous and completely non-negotiable.
Export and integration
A generator that outputs a proprietary format you cannot get into your editor is a dead end. Look for standard codecs, alpha channel support where relevant, and clean file naming.
The End-to-End Workflow, Stage by Stage
Here is the pipeline that consistently produces usable footage. It runs in eight stages, and skipping any of them shows up in the final cut.
Stage 1 — Write the brief before you open the tool
Spend twenty minutes in a text document, not a prompt box. Define the audience, the single message, the runtime, the platform, and the emotional register. Write one sentence describing what the viewer should feel at the end. Every later decision gets measured against that sentence.
Stage 2 — Convert the script into a shot list
A generator cannot think in scenes; it thinks in clips. Break your script into discrete shots, each with a subject, an action, a camera behavior, a lighting condition, and an approximate duration. A simple table with those five columns is enough. This table is your production plan, and it is also your prompt scaffold.
Stage 3 — Prepare prompts and references
For each shot row, write a prompt that follows the subject/action/camera/light/style order. Collect reference stills for anything that must stay consistent: a character's face, a product's geometry, a color palette, a location's architecture. Approve the references before you generate, because a bad reference guarantees bad generations at scale.
Stage 4 — Generate wide, then narrow
Run multiple variations per shot rather than iterating on one. Compare them against the shot table, not against each other. Pick the best performer for narrative clarity, then refine it with tighter prompts or reference conditioning. Expect roughly one usable generation in every three to five attempts at the start; that ratio improves as your prompt vocabulary sharpens.
Stage 5 — Repair with image and frame tools
Almost every good clip has one flaw: a warped hand, a drifting logo, a flickering background element. Instead of regenerating the whole shot, repair it. Extract a frame, correct it with an image editing pass, and re-feed it as an image-to-video reference. Inpainting and outpainting can extend a scene or remove unwanted objects. This repair step is where amateur projects and professional projects diverge most sharply.
Stage 6 — Build the audio bed
Add dialogue, voiceover, music, and sound effects. If your tool generates synchronized audio, treat it as a first draft and expect to replace parts of it. Sound design sells the illusion of reality more than pixel count does; a convincing room tone and a well-timed footstep do more for believability than a resolution bump.
Stage 7 — Assemble with continuity in mind
Edit in a standard timeline editor. Order clips for story, trim aggressively, and check that lighting direction, color temperature, and screen direction remain coherent across cuts. If two consecutive shots were generated with incompatible lighting, fix it in the grade rather than regenerating.
Stage 8 — Deliver in the right format
Export per platform: aspect ratio, duration, caption burn-in or sidecar files, loudness normalization, and thumbnail stills. Archive your prompts and seeds alongside the project file. You will want to revisit a shot in six months, and you will not remember the wording.
Prompt Design for Video: What Actually Moves the Needle
Prompting for motion is different from prompting for still images. A still image prompt describes a moment; a video prompt describes a change over time.
Subject, action, camera, lighting, style
Write in that order and keep each element concrete. "A ceramicist shaping a bowl on a wet wheel, hands moving steadily, slow dolly-in from waist height, warm window light from the left, shallow depth of field, documentary tone" gives the model far more to work with than "a potter working." Describing camera movement explicitly — dolly, pan, crane, handheld, static tripod — is one of the highest-leverage additions you can make.
Negative prompts and predictable failure modes
Most generators support some form of exclusion list. Common entries worth trying: text overlays, watermarks, extra limbs, distorted faces, jittery motion, sudden cuts, oversaturated color, and duplicated objects. Failure modes cluster predictably, so keep a running list of the ones your project triggers and add them to every prompt.
A reusable prompt template
[Subject with two or three identifying details], [primary action in present tense], [camera movement and framing], [lighting source and quality], [lens and depth characteristics], [style and mood], [negative exclusions]
Fill this in for every shot. The repetition feels mechanical at first, and then it becomes the reason your footage looks like it came from one project instead of ten.
Audio: The Most Underrated Layer
Viewers forgive soft visuals. They do not forgive bad audio. A generated scene with crisp visuals and hollow sound reads as fake immediately, while a modest clip with a rich sound bed reads as real.
Start with dialogue or voiceover. If you are synthesizing speech, direct it like a performance: pacing, pauses, emphasis, and emotional color all need to be specified. Then add music that matches the emotional register you defined in the brief, and place it under the voice rather than over it. Finally, layer sound effects — footsteps, cloth movement, room ambience, distant traffic. These small elements create the spatial sense that a flat generated image lacks.
Finish with a mix pass. Normalize to a platform-appropriate loudness target, sidechain or manually duck music under dialogue, and check the whole piece on phone speakers, laptop speakers, and headphones. Most of your audience will hear it on the worst of the three.
Continuity and Stitching: Making Separate Clips Feel Like One Scene
Generated clips are orphans by default. Continuity is the work of adopting them into a family.
Character consistency is the hardest problem. Establish a character reference image, reuse it across every shot that includes that person, and keep wardrobe and hairstyle descriptions identical in the prompt text. When drift appears, correct it in a still frame and regenerate from that still rather than rewriting the prompt.
Lighting continuity is easier to manage. Decide whether your scene is keyed from the left or right and stay consistent. Track color temperature — mixing a warm interior with a cool exterior in adjacent shots without motivation looks like a mistake, because it is one.
Screen direction matters more than most editors expect. If a subject exits frame right, the next shot should generally have them entering frame left, unless you deliberately want to signal a turn or a reversal. Violating this rule disorients viewers even when they cannot articulate why.
Finally, use cuts deliberately. Hard cuts for energy, match cuts for elegance, dissolves for time passing, whip pans for transitions between environments. Do not lean on flashy transitions to hide weak shots; the weak shot is still there.
Choosing a Tool Without Chasing Hype
Feature lists converge quickly, so compare tools on the criteria that affect your specific workflow.
Decision criteria that hold up over time
- Output quality on your own reference material, not on vendor demos
- Control depth: image conditioning, seed locking, motion direction, first/last frame
- Clip length and native resolution at acceptable quality
- Audio capability, either generated or easily integrated
- Iteration speed and cost per usable shot, not per generation attempt
- Licensing and watermark policy for commercial work
- Export formats and compatibility with your editor
- Reliability during long sessions
A simple scoring method
List your criteria, assign each a weight from one to five based on how much it affects your output, then score candidate tools one to five on each. Multiply and sum. The exercise takes fifteen minutes and prevents you from choosing the tool with the best marketing site.
A pragmatic stack
Most serious workflows are not single-tool. A typical stack includes a generator for base footage, an image tool for repairs and references, a voice or audio tool for the sound bed, an editor for assembly and grading, and a captioning utility for accessibility. Pick best-in-class for each layer rather than forcing one platform to do everything badly.
Common Mistakes That Wreck AI Video Projects
Prompting scenes instead of shots. A generator cannot interpret a paragraph of story. Split it into clips.
Generating before defining references. Without approved stills, every shot invents its own version of your subject.
Chasing perfection on one clip. Move on. The tenth variation rarely beats the fourth in a way the audience notices.
Ignoring the edit rhythm. A montage of beautiful clips with no pacing is a screensaver, not a film.
Skipping audio until the end. Sound influences pacing decisions. Build it alongside picture.
Forgetting the archive. Prompts, seeds, references, and project files should be saved together. Future you will be grateful.
Assuming generated means finished. Every clip needs a repair pass, a grade, and a mix. The generation is the raw footage, not the film.
A Quality-Control Checklist Before You Publish
Run this before anything goes public.
- Watch the full piece once with sound, on a phone, start to finish, without pausing.
- Watch it muted. Does the story still read from picture alone?
- Freeze on every cut point. Check character consistency, lighting continuity, and screen direction.
- Inspect hands, faces, text, and reflective surfaces at full resolution.
- Listen for audio artifacts: clipping, unnatural pauses, music jumps at cuts, missing ambience.
- Verify captions match the spoken audio and stay on screen long enough to read.
- Confirm aspect ratio, duration, loudness, and file format match the destination platform.
- Check the license terms for every asset, including generated audio and music.
- Confirm the first two seconds contain a reason to keep watching.
- Confirm the final two seconds contain a reason to act, remember, or click.
Where This Fits in Real Productions
AI video generation is not a replacement for every kind of shooting, but it is already excellent in specific lanes: explainer sequences, abstract transitions, historical or futuristic settings that would be prohibitively expensive to build, social-first vertical content produced at volume, storyboards and animatics for client approval, and localized versions of existing ads with different on-screen talent.
It struggles where precise human performance matters, where physical interaction must be physically accurate, and where brand guidelines demand exact reproductions of packaging or typography. Knowing which lane you are in determines whether the tool helps or frustrates.
A healthy approach is hybrid: shoot what is cheap and controllable, generate what is expensive or impossible, and let the edit hide the seams.
FAQ
How long does it take to produce a one-minute AI video?
For a first-timer, expect a full day for planning, generation, repair, audio, and assembly. Experienced operators often complete a one-minute piece in three to five hours, with most of that time spent on selection and audio rather than generation.
Can I use generated video commercially?
It depends entirely on the platform's terms and your local regulations. Read the license, confirm commercial rights, and keep records of the assets you used. When in doubt, get written clarification before delivering to a client.
Why do my characters keep changing between shots?
Because each generation is an independent interpretation. Fix it by locking a reference image, repeating identical descriptive language in every prompt, and correcting drift in still frames rather than rewriting text.
Is a longer prompt always better?
No. Specificity beats length. Five precise clauses outperform three vague paragraphs. Cut every word that does not change what appears on screen.
Do I need a powerful computer?
Usually less than you expect, since most generation happens on remote hardware. Local rendering matters mainly for high-resolution grading, compositing, and audio work. A mid-range machine with a stable connection handles the bulk of the pipeline.
What is the fastest way to improve output quality?
Improve your inputs. Better references, better shot lists, and better lighting descriptions raise quality more than any tool switch. Advanced users rarely have secret tools; they have disciplined prep.
How do I handle accessibility?
Always caption dialogue and meaningful sound effects, keep text on screen long enough to read, and maintain sufficient contrast. Accessibility is a production requirement, not an afterthought.
The tools will keep changing. The workflow — brief, shot list, references, wide generation, repair, audio, assembly, quality control — will keep working.

Alexander
More Blogs
Read MoreVidu Q4 Alternatives: 4K AI Video Models Compared (2026)
Vidu Q4 alternatives compared: Kling 4.0, Seedance 2.5, Wan 3.0, and Runway Gen-4 — 4K support, input modes, durations, audio, and what each costs in credits on Domer.
Top 4K AI Image Generators in 2026: 5 Models Compared on Real Costs
The top 4K AI image generators on Domer compared: Flux 3 Klein, Nano Banana 2.1, GPT Image 2.5, GPT Image 2, and Nano Banana Pro — 4K credit costs, reference limits, and speed.
Nano Banana 2.1 vs GPT Image 2.5: Which Image Model Should You Use? (2026)
Nano Banana 2.1 vs GPT Image 2.5 Flare compared: credit costs per resolution, aspect ratios, reference images, text rendering, and which tasks fit each model.