
Avatar Video Generators vs Cinematic AI Models: Which to Use
Oct 13, 2026
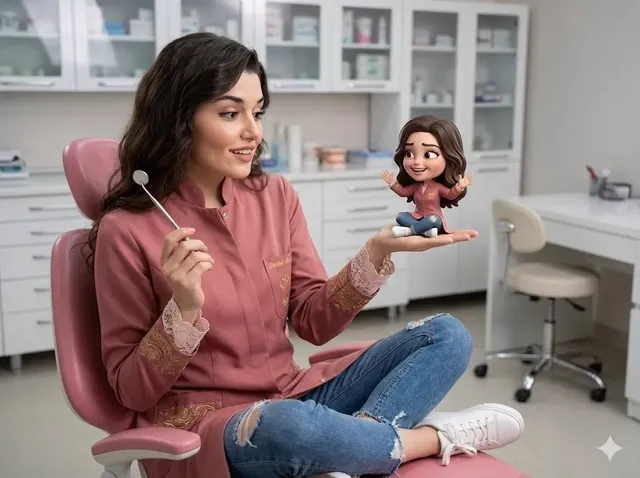
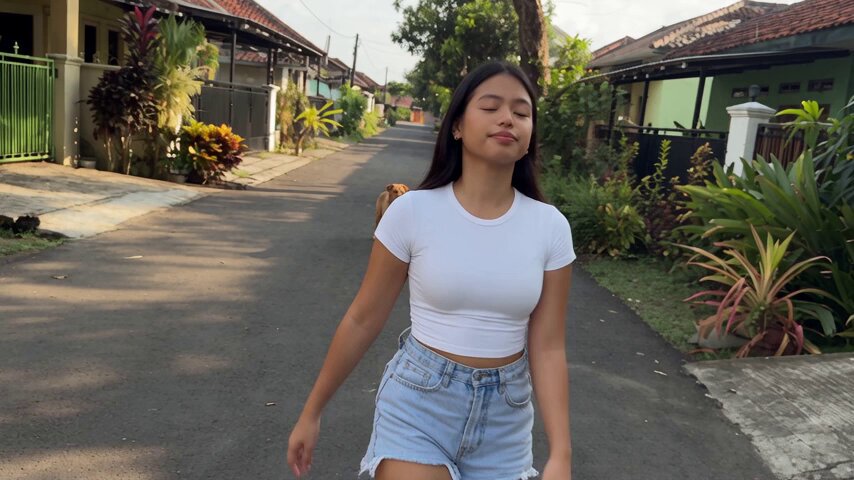
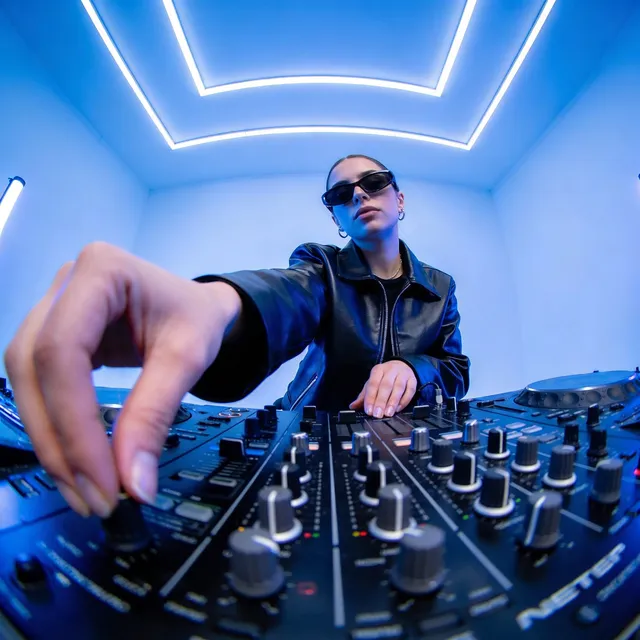
AI video tools used to compete on a single question: how convincing does one generated shot look? That question is mostly settled. Current models produce readable faces, believable lighting, and stable motion well enough for professional work. The interesting question is now a production question rather than a model question. Given a specific brief, a specific deadline, and a specific audience, which kind of tool should you actually open first?
Two families dominate the market. On one side are avatar-first or presenter-led generators such as Synthesys, HeyGen, Synthesia, and Colossyan, which turn a script into a talking presenter with captions and slides. On the other are cinematic generative models such as Runway Gen-4, Kling, Luma Dream Machine, Pika, and Veo, which turn a prompt or a still image into a shot. They are not competitors so much as different stages of the same pipeline, and the teams that ship the best work tend to use both.
This guide is about the decisions that sit between those tools: how to pick, how to script, how to shoot with prompts, how to edit the results, and how to avoid the mistakes that make AI video look like AI video.
What Avatar-First and Cinematic-First Tools Actually Do
Avatar-first tools begin with language. You paste a script, choose a presenter, attach a voice, pick a background or upload footage, and the system renders a presenter who appears to speak the words with matching lip sync. Templates handle lower thirds, captions, progress bars, and slide transitions. The value proposition is predictability: every export looks like the last one, lighting is consistent, framing never drifts, and the presenter never blinks at the wrong moment.
The limits are equally clear. A synthetic presenter cannot credibly lift a physical product, walk through a factory, or appear in a wide drone shot over a coastline. Action is constrained to gesture, posture, and camera framing. If your story needs to show something rather than say something, an avatar tool alone will not carry it.
Cinematic models begin with visual description. You write a prompt, optionally supply a reference still, and the model returns a short clip. Their strength is range: stylized worlds, product beauty shots, crowd scenes, macro detail, simulated camera moves, and visual effects that would otherwise require a crew and a budget. Their weakness is variance. The same prompt twice produces two different takes, hands still fold incorrectly, signage text scrambles, and physics occasionally breaks. Control comes from iteration and from treating generation as a shot-by-shot craft rather than a one-click service.
| Dimension | Avatar-first | Cinematic-first |
|---|---|---|
| Starting point | Script | Prompt or keyframe image |
| Typical output | Presenter footage, slides, captions | Individual shots, b-roll, inserts |
| Strongest use | Explainers, training, localized outreach | Ads, trailers, mood pieces, VFX |
| Consistency | High by default | Medium, needs reference discipline |
| Revision cost | Low, swap text and re-render | Higher, regenerate the shot |
| Main risk | Looking generic | Anatomy and continuity errors |
The practical answer for most teams is a hybrid: an avatar presenter carries the narrative spine, and cinematic clips cover every moment where the audience needs to see rather than hear.
Decision Criteria: Picking the Right Tool for a Specific Brief
Tool choice should follow the brief, not the other way around. Run through five filters before you generate anything.
Start With the Job the Video Must Do
If the video must explain a process, onboard a new hire, or deliver a compliance message, the audience cares about clarity. A presenter-led format with captions and chaptered sections wins. If the video must create desire, show a product in motion, or establish a mood in the first three seconds, cinematic generation wins. Explainers reward structure; advertisements reward imagery. Naming the job in one sentence prevents most format mistakes.
Assess Your Source Material
Do you have a script, a deck, and a subject matter expert? Avatar tools convert that directly into a finished asset. Do you have reference photos, mood boards, and a product with strong visual identity? Cinematic models convert that into shots. If you have neither, write the script first. Text is cheap to fix; generated footage is not.
Weigh Volume, Turnaround, and Revision Cycles
High-volume workflows with short deadlines favor templates. Fifty localized onboarding videos are a scripting and rendering problem, not a cinematography problem. Low-volume, high-impact pieces favor cinematic generation, where spending two hours on a seven-second shot is justified.
Ask how many revision rounds you expect. A script change inside an avatar workflow is a text edit and a re-render. A script change inside a cinematic workflow may invalidate a shot you spent an afternoon refining, because the new line implies new imagery. Bake revision tolerance into the format choice.
Consider Risk Tolerance and Brand Safety
Regulated industries, internal communications, and anything featuring a real spokesperson need predictability and disclosure. Avatar platforms give you a stable spokesperson and a clear provenance trail because every frame derives from a known source. Generative models add an element of surprise that is wonderful for creative work and awkward for legal review. When accuracy matters more than atmosphere, lean avatar-first.
Understand the Cost Structure
Cost in AI video is rarely a flat fee. It is a blend of generation time, regeneration time, human review, and editing. Avatar pipelines concentrate cost in script preparation and template setup, then scale cheaply. Cinematic pipelines concentrate cost in per-shot iteration and finishing. Budget the iteration, not just the render, and you will rarely be surprised by how long a minute of finished footage takes.
Scripting for AI Video: Structure Beats Cleverness
Every AI video workflow inherits the weaknesses of its script. Generated footage cannot rescue a muddled argument, and a synthetic presenter cannot make a vague paragraph feel specific.
Write in one-sentence shots. Each sentence should describe one visual moment so it maps to one clip, one slide, or one camera position. This habit makes both workflows easier: the avatar tool gets clean TTS lines, and the cinematic tool gets a natural shot list.
Keep spoken lines between six and fourteen words. Long clauses make text-to-speech engines rush, flatten emphasis, and blur punctuation. Short lines give you control over rhythm and let you trim in the edit without cutting mid-thought.
Favor concrete nouns and active verbs. Abstract language produces abstract imagery, and abstract imagery is exactly where generative models drift. Say the engineer tightened the valve, not operational excellence was achieved.
Punctuate for the voice engine. Commas create micro-pauses, periods create full stops, and question marks lift intonation. Spell out numbers, units, and acronyms the way you want them read, because models frequently mispronounce digits and initialisms. Add phonetic spellings for brand names in a pronunciation note that lives alongside the script.
Finally, front-load the payoff. The first five seconds determine whether anyone watches the rest. In a presenter-led piece, that means a direct claim rather than a greeting. In a cinematic piece, that means your single best shot, not a slow reveal of a logo.
Workflow A: Presenter-Led Video, Step by Step
Step 1: Lock the Format Before Writing
Decide aspect ratio, runtime, and caption style first. A 60-second vertical explainer and a six-minute horizontal training module need different scripts, different pacing, and often different presenters. Changing format after the script is written forces a rewrite.
Step 2: Format the Script for the Engine
Split the script into scenes of two to four sentences. Add a scene label that describes the visual: presenter full frame, presenter with lower third, screen recording, chart. Most platforms accept this structure directly, and the labels double as an editing plan.
Step 3: Cast the Voice Deliberately
Preview every candidate voice reading the same paragraph, then choose based on pace and authority rather than novelty. Adjust speed slightly downward for technical material and slightly upward for promotional material. If you are cloning a real voice, obtain documented consent and keep an unedited sample on file.
Step 4: Choose or Generate the Presenter and Setting
Match wardrobe and background to the audience's expectations. Neutral backgrounds reduce distraction in training content; branded environments add polish to marketing content. Keep the presenter in a consistent frame position across scenes so cuts feel intentional.
Step 5: Layer Overlays and Captions
Add captions even when the platform offers them only as an option, because a large share of viewers watch without sound. Use lower thirds for names, simple counters for statistics, and screen captures for demonstrations. Avoid animating more than one element at a time.
Step 6: Export Platform Variants
From one master render, produce a horizontal cut, a vertical cut, and a square cut. Vertical versions usually need larger captions and tighter framing. Store the project so a text change can regenerate every variant in a single pass.
Workflow B: Cinematic Sequence, Step by Step
Step 1: Build a Shot List Before Prompting
Write every shot as a one-line description with a purpose: establishing, detail, transition, reaction. A ten-shot list for a thirty-second piece is generous; eight usable shots is often enough to cut a strong sequence. Prompts written without a list produce footage that never quite fits together.
Step 2: Generate Keyframes First
Image-to-video gives far more control than text-to-video. Produce still frames for each shot using an image model, refine composition, lighting, and color there, then animate the approved frame. You will spend less time rejecting clips.
Step 3: Animate With a Stated Camera Move
Describe one camera behavior per clip: slow push in, lateral tracking, handheld drift, static lock-off. Two camera moves in one prompt usually produces neither. Keep the subject simple and let the camera do the storytelling.
Step 4: Work in Short Chunks and Extend
Generate three to five second segments, review each, and extend the ones that hold up. Editing a sequence from short, well-chosen fragments is faster than trying to force one long clip to behave. Most continuity errors appear after the fourth second, so short clips hide them naturally.
Step 5: Upscale, Interpolate, and Grade
Run approved clips through an upscaler, then interpolate frame rate if motion looks stepped. Finally, apply one color treatment across all shots. A consistent grade does more for perceived quality than higher resolution.
Voice, Music, and Sound Design
Audio is where AI video most often feels unfinished. Text-to-speech has become genuinely good, but nobody speaks like a clean read. Add breath by inserting short pauses, vary sentence length, and let one line land softly after three emphatic ones.
Music should be chosen after the edit, not before. Cut to the visuals, then find a track whose tempo sits slightly under the cutting rhythm. Duck the music under narration by six to ten decibels rather than lowering everything, and keep one continuous ambience bed across the whole piece so cuts do not sound like separate rooms.
Sound effects are the cheapest way to add production value. A whoosh on a transition, a subtle impact on a title card, or room tone under a presenter shot all signal craft. Avoid stacking more than two effects within a second; restraint reads as confidence.
Editing and Assembly: Where AI Video Usually Falls Apart
Generated footage fails in the edit more often than in the model. Four habits fix most of it.
Cut on motion. Trim clips a few frames before the action completes, then begin the next shot mid-movement. This hides the small discontinuities that give AI clips away.
Keep shots short. Four to six seconds of a single generated clip is usually the ceiling before viewers notice soft detail or drifting anatomy. Turn the camera angle every few seconds even in a quiet scene.
Match color across sources. Avatar renders and generated footage rarely share a white balance. Apply a single look with a light contrast curve, slight desaturation, and consistent temperature so both feel like one production.
Reframe for vertical last. Cropping after the edit lets you follow the subject with keyframed position rather than rendering separate vertical versions, which is faster and preserves framing decisions you already made.
Consistency: Characters, Locations, and Reusable Assets
Consistency is a system, not a setting. Build a small asset library and refer to it rather than re-describing your world in every prompt.
Create character sheets with front, profile, and three-quarter reference images, plus a fixed written description of wardrobe, hair, and age. Do the same for key locations: one reference image, one paragraph describing architecture, time of day, and palette. Store approved prompts in a shared document so two editors produce compatible footage.
For presenter-led work, consistency comes from locking the same presenter, voice, background, and caption style across every episode. Audiences read sameness as reliability in instructional content.
Name files systematically: project, scene number, shot number, version. When you need to regenerate one shot six weeks later, you will find the prompt in seconds instead of rebuilding it from memory.
Quality Control Checklist and Common Mistakes
Before exporting, verify: captions are accurate and inside safe margins; audio peaks below clipping; no visible text artifacts in generated footage; hands and eyes look natural at normal speed; color matches across every source; the first five seconds state the payoff; the runtime matches the platform; and the file is named and archived with its project.
The most common mistakes are predictable. Prompting complex multi-action scenes in a single line produces muddled results. Skipping the shot list leads to footage that cannot be cut together. Using generic text-to-speech for a highly technical script flattens meaning. Forgetting captions loses silent viewers. Generating in the wrong aspect ratio forces a lossy crop. Ignoring audio until the end guarantees a rushed mix. And treating one strong clip as a finished video confuses a shot with a story.
FAQ
Can I mix an avatar presenter and cinematic footage in one video?
Yes, and it is usually the strongest approach. Use the presenter for explanation and generated shots as cutaways whenever you would otherwise be talking over a static slide. Match color and keep transitions simple so the two sources feel deliberate rather than accidental.
Which format is faster for a weekly publishing schedule?
Presenter-led production is faster when your bottleneck is scripting and revisions, because changes are text edits. Cinematic production is faster when your bottleneck is imagery, because one well-chosen shot can carry a whole segment. Weekly schedules reward a repeatable template over per-episode generation.
How long should an AI-generated clip be?
Generate three to five seconds, review, and extend only what works. Final cuts usually use four to six seconds per shot. Longer continuous clips accumulate artifacts and reduce your options in the edit.
Do I need a shot list if I am only making a short ad?
Especially then. Short pieces have no room for footage that does not fit. A six-line shot list for a fifteen-second spot keeps generation focused and cuts review time dramatically.
Is text-to-speech good enough for professional narration?
For explainers, training, and most marketing voice-over, yes. Reserve human narration for brand films, comedy, and emotionally nuanced storytelling where performance timing is the point. Always preview a full paragraph rather than a single sentence before committing to a voice.
What is the biggest quality mistake teams make?
Shipping before audio is finished. Viewers forgive imperfect visuals far more readily than muddy narration, uneven music levels, or missing captions. Mix first, then evaluate the picture again.
The teams producing the most convincing AI video are not loyal to one model. They match the tool to the moment, script tightly, iterate in short clips, and treat audio and editing as equal partners to generation. Choose the format that serves the brief, build a small library of consistent assets, and the technology stops being the story.

Alexander
More Blogs
Read MoreVidu Q4 Alternatives: 4K AI Video Models Compared (2026)
Vidu Q4 alternatives compared: Kling 4.0, Seedance 2.5, Wan 3.0, and Runway Gen-4 — 4K support, input modes, durations, audio, and what each costs in credits on Domer.
Top 4K AI Image Generators in 2026: 5 Models Compared on Real Costs
The top 4K AI image generators on Domer compared: Flux 3 Klein, Nano Banana 2.1, GPT Image 2.5, GPT Image 2, and Nano Banana Pro — 4K credit costs, reference limits, and speed.
Nano Banana 2.1 vs GPT Image 2.5: Which Image Model Should You Use? (2026)
Nano Banana 2.1 vs GPT Image 2.5 Flare compared: credit costs per resolution, aspect ratios, reference images, text rendering, and which tasks fit each model.