
AI Animation Video Generators: Bring Characters to Life
Oct 13, 2026
Why Character Animation Is the Hardest Problem in AI Video
Most AI video demos sell the same thing: a sweeping aerial shot, a surreal transformation, a slow push through a neon city. These are impressive, and they are also the easy part. None of them require the model to remember what a face looked like three seconds ago.
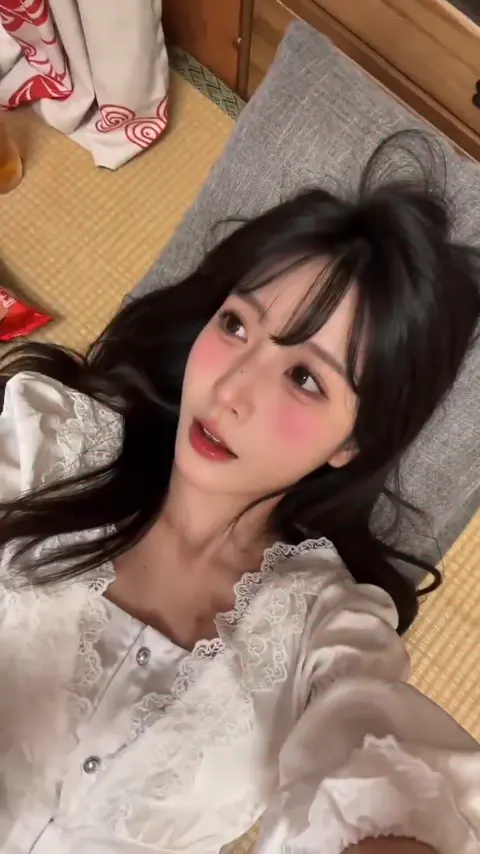
Characters are different. The moment a viewer sees a person, an animal, or a stylized hero on screen, their brain starts tracking identity. Eye spacing, hairline, jacket color, the shape of a hand. If a character's cheekbones shift between cuts, or a jacket turns from red to maroon, the audience feels something is off even if they cannot name it. That sensation — call it identity drift — is what separates a clip that looks cool from an animation that holds together for thirty seconds.
This is the real benchmark for an AI animation video generator. Not resolution, not render speed, not the size of the style library. The benchmark is whether you can build a character once and keep that character recognizable across a dozen shots, two lighting setups, and a dialogue scene.
The good news is that consistency is now achievable through structure rather than luck. The bad news is that most people approach it backwards: they open a generator, type a poetic prompt, and hope. The framework below does it the other way around.
How AI Animation Generators Actually Work
Understanding the machinery removes most of the frustration. Modern animation generators are not magic; they are combinations of a few well-defined systems, and each one fails in its own predictable way.
Text-to-video, image-to-video, and motion transfer
Text-to-video models turn a written prompt into a short clip. They are wonderful for establishing shots and abstract motion, and terrible for character continuity, because the model has no reference for what your character looks like. Every generation invents a new face.
Image-to-video models take a still image and animate it. This is the workhorse of character animation. You supply a locked reference frame, the model adds motion, and identity is anchored to the pixels you provided. Almost every reliable character pipeline is built on this.
Motion transfer and video-to-video take an existing clip and restyle or re-perform it. This is how you get precise choreography — you shoot or source a performance, then let the model repaint it into your chosen look.
Why consistency breaks
Diffusion-based generators work by denoising random noise toward a target. Small random variations compound across frames, and without a mechanism to re-anchor identity, a face slowly morphs. Some systems re-anchor using a reference image every few frames; others use identity embeddings, face swapping, or a trained personal model. The feature list matters less than whether the tool gives you one of these anchors and lets you tune how strongly it applies.
Why shot length is still short
Even the strongest systems tend to produce coherent motion for a handful of seconds. Longer clips drift. The practical answer is not to fight this: design your animation as a series of short, intentional shots and edit them together. Animators have done this for a century.
Build a Character Bible Before You Touch a Generator
The single highest-leverage hour in any AI animation project happens before rendering: writing down what the character is.
A usable character bible contains a short identity paragraph, a physical description with specific and unusual details, a color palette with hex-adjacent precision, a costume breakdown, a list of expressions, and the words you will never use because they confuse the model. Vague descriptors like "beautiful" or "cool" give the model nothing to anchor to. "Rounded glasses, a mustard scarf, a chipped front tooth, olive skin, short black curly hair with a widow's peak" gives it plenty.
Reference sheets that survive the model
Generate or draw a turnaround: front, three-quarter, profile, and back, all in neutral light on a plain background. Then crop tight face references. These crops matter more than the full-body sheet, because most continuity failures happen in the face. Keep the references at the same aspect ratio you plan to render at, so the model is not guessing how to reframe.
Prompt grammar for characters
Write prompts in a fixed order so that only one variable changes per test. A workable pattern is: [character identity tokens] + [action] + [camera] + [lighting] + [style]. Keep the identity block byte-for-byte identical across every shot in a scene. If you have to change it, change it everywhere at once, not in one shot.
Naming and versioning assets
Name files by scene, shot, and take: s02_sh04_take2_locked.mp4. When a project runs to eighty shots, the difference between a searchable folder and a pile of final_final.mp4 files is the difference between finishing and abandoning.
A Step-by-Step Character Animation Workflow
Here is a workflow that scales from a fifteen-second social clip to a two-minute explainer.
1. Write the script as shots, not scenes
Convert every beat of the script into a shot with a purpose. "Maya walks through the market" is not a shot. "Medium shot, Maya walks left to right, camera tracks, steam from food stalls crosses frame" is a shot. Aim for three to six seconds each.
2. Lock the look with stills first
Before generating any video, produce a still for every shot. Iterate on stills until the whole sequence reads correctly as a storyboard in your chosen style. Stills are fast and cheap to regenerate; video is not. Solving composition in stills saves hours.
3. Generate coverage in short blocks
Animate each locked still into a three-to-five-second clip. Generate two or three takes with slightly different motion strengths. Do not chase perfection in generation — capture options you can edit.
4. Patch continuity with image editing and inpainting
When a hand melts or a logo smears, fix the frame, not the whole clip. Most modern suites pair a video generator with an image editor that can inpaint, outpaint, and remove objects. Repair the still, regenerate from that still, and keep the rest of the take.
5. Layer voice, lip sync, and sound
Record or synthesize dialogue first, then time your shots to the audio rather than the other way around. Voice tracks are rigid; animation is flexible. Lip sync tools work best on tight, well-lit face shots, so plan a close-up when a character speaks a full sentence.
6. Edit for rhythm, not realism
Cut on motion. Use the moment a character turns or an object passes the lens as your edit point, which hides imperfections and reads as intentional. Add a subtle speed ramp or a two-frame flash on transitions to mask hard cuts.
Features to Compare in an AI Animation Video Generator
Marketing pages all claim the same things. These are the criteria that actually change your output.
Character identity controls
Look for a reference-image or trained-character feature with an adjustable influence setting. Test it aggressively: generate the same character in three drastically different scenes and check whether the face survives. If the tool only offers "upload a face photo" with no strength dial, expect to fight it.
Keyframes, camera moves, and motion strength
Keyframe control lets you define start and end frames and interpolate between them, which is the closest thing to directing an animated shot. Camera presets — dolly, crane, orbit, handheld — save enormous time. A motion strength slider lets you dial down chaos when a shot needs to be clean, and crank it up when you want energy.
Style transfer and custom looks
Generic style presets are fine for testing. For production, you want either a trained style model or a robust image-to-image pipeline, so the look is yours rather than a recognizable preset everyone else is using.
Resolution, aspect ratio, and frame rate
Check native output resolution versus upscaled output, supported aspect ratios (vertical, square, widescreen), and whether you can interpolate to 24, 25, or 30 frames per second. Animation traditionally reads well at lower frame rates; 12 fps on twos is a stylistic choice, not a limitation.
Audio and lip sync
Two capabilities matter: a voice synthesis engine with directable emotion, and a lip sync pass that aligns phonemes to a mouth rig or a generated face. Background music and sound effects can come from a separate library — but having them in one timeline removes a full export-and-import cycle.
Export, licensing, and team workflow
Confirm commercial usage rights, watermark policy on lower tiers, and whether projects can be shared with collaborators. If you work in a team, version history and comments matter more than any single creative feature.
Style Playbook: Matching Settings to Genre
Different genres demand different generator behavior. Here is how to tune for the most common ones.
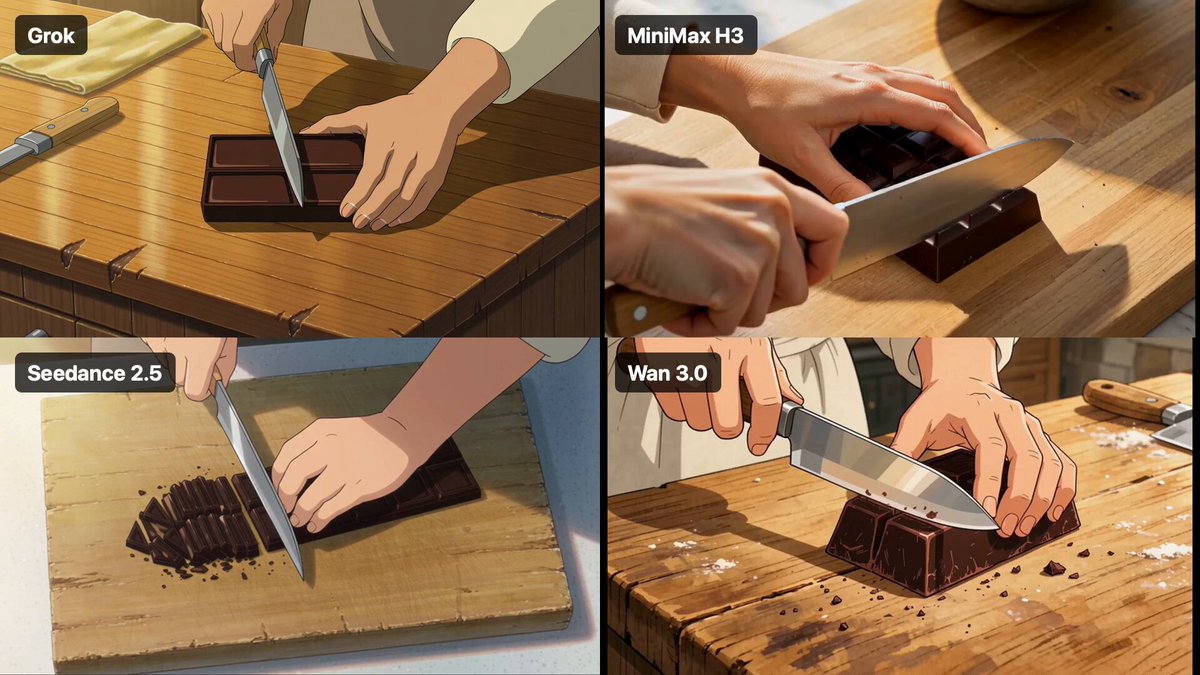
Stylized 2D / anime. Favor image-to-video, keep motion strength moderate, and specify line weight and shading style in the identity block. Avoid photoreal lighting terms; they pull the model toward realism.
3D character animation. Start from a clean render or a well-lit still. Use camera moves sparingly — aggressive orbits expose geometry errors. Prefer cuts and simple pushes.
Cutout and paper-craft. Rigid, layered motion works best. Generate short clips with minimal deformation, then animate elements separately in an editor for a stop-motion feel.
Rotoscoped realism. Use video-to-video on real footage. Keep the source footage locked off and evenly lit; shaky handheld input produces smeared restyling.
Mixed media. Combine a stylized character with a photographic background. Because the two halves have different noise characteristics, generate them separately and composite.
A Worked Example: A 30-Second Animated Short
Suppose you want a noir short about a detective cat in a rainy city.
Step one: write the bible. "Sleek black cat, amber eyes, one torn ear, gray trench coat with a missing second button, perpetually damp fur." Lock that string.
Step two: build a turnaround and crop four face references in three-quarter lighting.
Step three: storyboard six shots — an establishing rooftop, a low-angle walk through a puddle, a close-up of the eyes narrowing, a paw pushing open a door, a silhouette against a window, and a final wide on the roof edge.
Step four: generate stills for all six. Expect the coat color to drift; fix it in the image editor by matching the palette rather than regenerating and hoping.
Step five: animate each still to four seconds with a gentle camera push and rain particles. Generate two takes per shot.
Step six: record a nine-line voiceover, then time each shot so the dialogue lands on the close-up.
Step seven: assemble, add rain ambience and a low jazz bed, and cut on the paw hitting the door.
Total generation time is a couple of hours; total editing time is the rest. That ratio — heavy editing, light generation — is normal and healthy.
Common Mistakes That Break Character Animation
Overloading the prompt. Ten competing style words produce an average of all of them. Keep the identity block clean and move stylistic decisions into a reference image.
Changing aspect ratio mid-project. Reframing changes the model's framing priors and the character's proportions. Decide the ratio on day one.
Letting the model invent faces. Never accept a generated face when a reference exists. Anchor every close-up.
Ignoring frame interpolation artifacts. Ghosting around hands and hair is the most common tell of AI animation. Either reduce motion strength or animate at a lower frame rate and resist the urge to smooth it.
Skipping audio-first timing. Placing voiceover on top of finished picture forces awkward pauses and rushed lines. Time to audio.
Re-rendering full clips to fix one detail. Patch the frame, not the shot.
Ignoring lighting continuity. If shot three is lit from the left, shot four should be too. Write lighting into the shot list, not the prompt improvisation.
Cloud Tools, Local Pipelines, and Hybrid Setups
The biggest structural decision is where the generation happens.
Cloud generators offer the fastest path to a result. You get model updates automatically, you are not limited by your own hardware, and collaboration is simple. The trade-offs are subscription costs, usage limits, and less control over the exact model version.
Local pipelines built with open-source tools — where you run models on your own GPU — offer total control, no per-generation cost, and full privacy for unreleased client work. The trade-offs are setup complexity, hardware expense, and the fact that you become your own support desk.
Hybrid setups are usually best for small studios: use cloud tools for exploration and stills, then move stable shots to a local pipeline for batch rendering, or vice versa. Decide based on three questions. How many iterations does a typical shot need? Does the material need to stay private? Do you need reproducibility six months from now? High iteration counts favor local. Privacy and confidentiality favor local. Fast turnaround on unfamiliar styles favors cloud.
Where to Start This Week
Pick one character you already care about and run the full loop once: bible, turnaround, six stills, six animated shots, one dialogue line, one edit. Do not aim for a masterpiece. Aim for a finished thirty seconds.
That first finished sequence teaches more than a month of prompt experimentation, because the lessons that stick are the ones about continuity, timing, and editing — the parts that have nothing to do with which model is trending. Once the pipeline is muscle memory, swapping generators becomes a small tactical decision instead of a rebuild.
Finally, keep a shot log. Note the reference images, prompt strings, motion settings, and take numbers that worked. Your own project history becomes the most reliable documentation you will ever have, and it is the thing no marketing page can give you.

Alexander
More Blogs
Read MoreVidu Q4 Alternatives: 4K AI Video Models Compared (2026)
Vidu Q4 alternatives compared: Kling 4.0, Seedance 2.5, Wan 3.0, and Runway Gen-4 — 4K support, input modes, durations, audio, and what each costs in credits on Domer.
Top 4K AI Image Generators in 2026: 5 Models Compared on Real Costs
The top 4K AI image generators on Domer compared: Flux 3 Klein, Nano Banana 2.1, GPT Image 2.5, GPT Image 2, and Nano Banana Pro — 4K credit costs, reference limits, and speed.
Nano Banana 2.1 vs GPT Image 2.5: Which Image Model Should You Use? (2026)
Nano Banana 2.1 vs GPT Image 2.5 Flare compared: credit costs per resolution, aspect ratios, reference images, text rendering, and which tasks fit each model.