
AI Clone Video Generator: How to Replicate Visuals Consistently
Oct 13, 2026
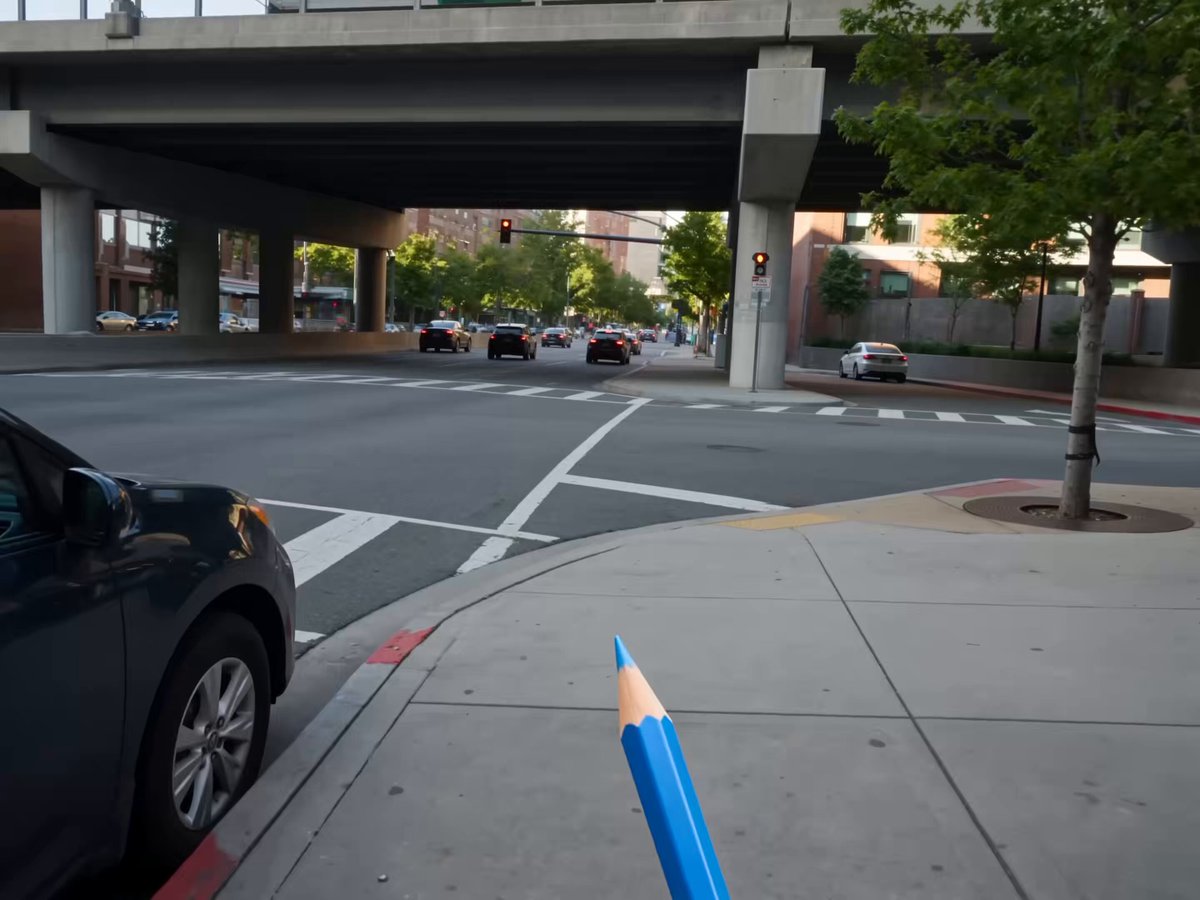
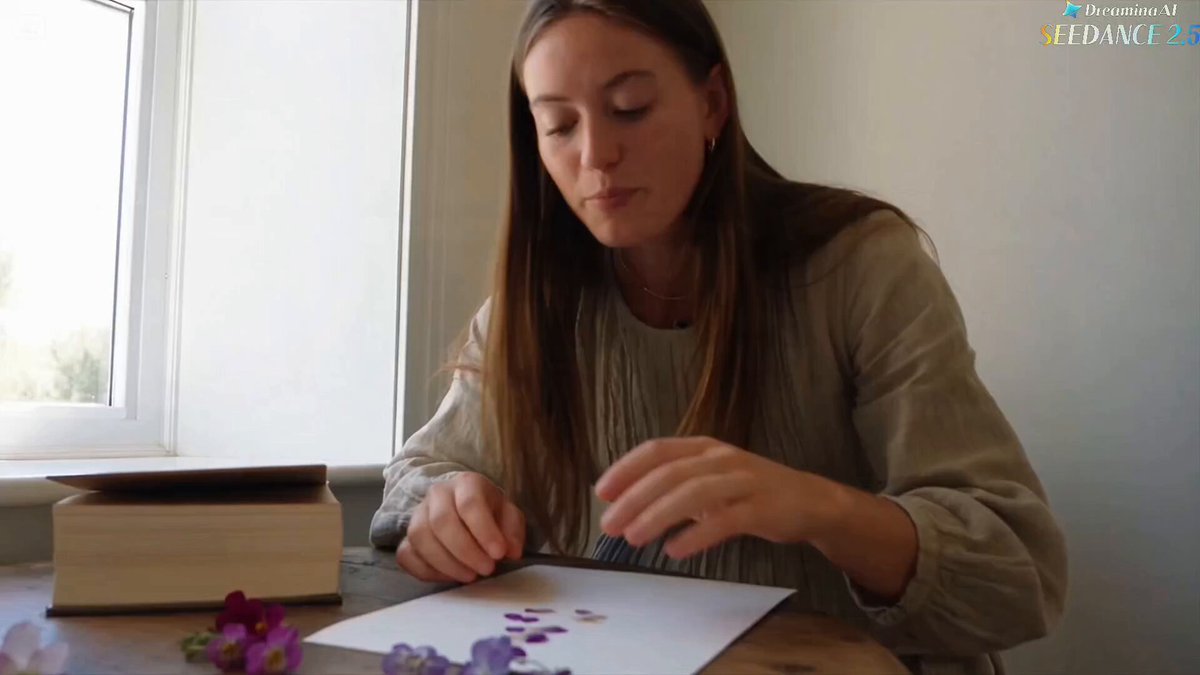
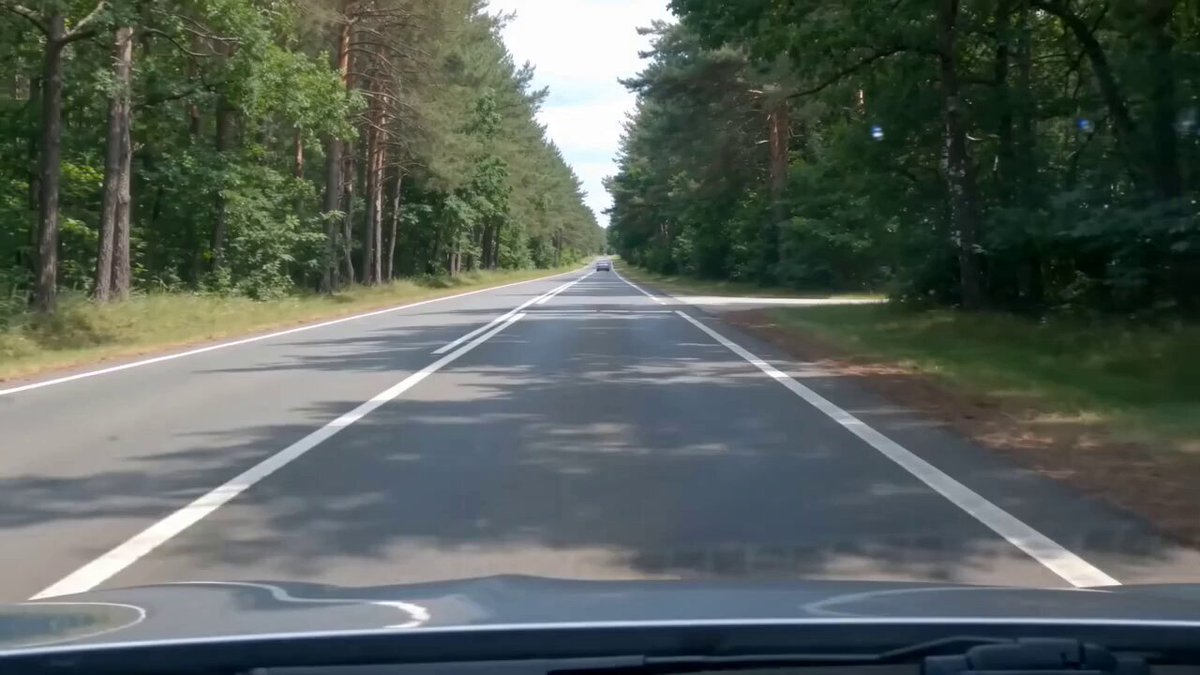
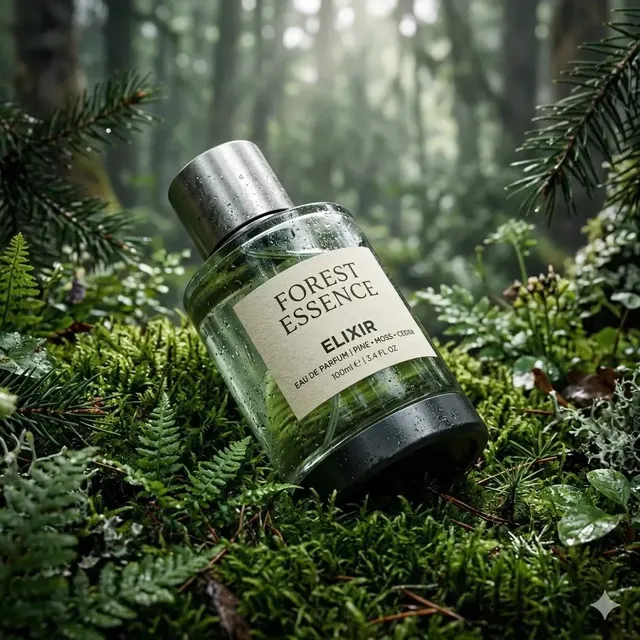
Video is the default format for almost everything now: product launches, social campaigns, onboarding modules, course lessons, internal announcements. The moment a team produces more than a handful of clips, the same bottleneck appears. They need one specific person, character, or visual identity to appear in shot after shot, sometimes in locations that do not exist, sometimes without flying anyone anywhere.
That is the job an AI clone video generator is built for. Not one-off novelty clips, but repeatable visual replication: the same face, the same wardrobe, the same lighting logic, carried across a whole sequence of shots.
The gap between a demo and a usable video is almost always consistency. A single frame can look stunning and still be worthless if the next frame has a different jawline, a different jacket, and a room that rearranged itself. This guide covers how these systems actually work, how to prepare inputs so the clone holds up under motion, a full production workflow, tool-selection criteria, and the failure modes that waste the most time.
Why Consistency Is the Real Problem
Generating one attractive image is a solved problem. Generating forty shots that look like they came from the same shoot is not.
The difficulty is that most video generation is probabilistic. Each frame is sampled from a distribution of plausible images. Without strong conditioning, the model has no reason to keep a nose shape stable between shot three and shot four, and no reason to remember that the lamp was on the left side of the desk.
Consistency breaks down in predictable places:
- Identity drift — the face slowly morphs into a vaguely similar person over a long clip.
- Wardrobe drift — a blue shirt becomes teal, then grey.
- Set drift — background details rearrange between cuts.
- Motion artifacts — hands, teeth, and hair edges collapse once the subject moves.
- Lighting mismatch — a subject lit from the left is pasted into a scene lit from the right.
Almost every technique in this article exists to fight one of those five problems. Once you know which one you are fighting, the workflow decisions become obvious.
What "Clone" Actually Means in Three Different Jobs
The phrase gets used loosely. In practice, people are asking for one of three quite different things, and each requires different inputs.
Face cloning and lip sync
Here the goal is a talking head: a real or synthetic person speaking to camera, with mouth shapes matched to an audio track. Input requirements are narrow but strict. You need a clean frontal or near-frontal view, even lighting, no heavy occlusion from hands or microphones, and reasonably high resolution. The background barely matters because it is usually replaced or blurred.
Character consistency across scenes
The harder case. The same character must appear in multiple settings, angles, and framings, sometimes alongside other characters. Now the model needs to hold identity while the rest of the frame changes completely. This is where reference sets, character locking, and adapter-based conditioning earn their keep.
Style and look replication
The subject is a visual language rather than a person: film grain, a specific color palette, a lens character, an era of advertising photography. Style transfer is the most forgiving of the three because nobody is checking whether a face matched. But it is also the easiest to overdo, and the fastest way to make every clip look like the same Instagram filter.
Decide early which of the three you are doing. Most wasted production time comes from trying to solve a character-consistency problem with a face-cloning workflow.
How the Underlying Technology Shapes Your Results
You do not need to read research papers to get good output, but three technical realities directly affect what you can and cannot do.
Diffusion generation and the role of seeds
Most modern systems build video by iteratively denoising noise, guided by your prompt and any reference images. A seed determines the starting noise pattern. Reusing a seed across generations keeps composition roughly stable, which is useful for keyframes you intend to animate with the same camera move. Changing the seed resets everything, including small details you liked. Treat seeds as a production variable, not a curiosity.
Identity conditioning: references, embeddings, and adapters
There are broadly three ways to teach a system a face:
- Reference conditioning — you supply one or more images at generation time and the model attends to them. Fast, flexible, no training required, but the fidelity ceiling is lower and depends heavily on image quality.
- Embedding or adapter training — you supply a set of images and train a small module that encodes identity. Higher fidelity and more stable over long sequences, but it needs a decent dataset and time.
- Fine-tuning a base model — the heaviest option, usually reserved for a character that will appear in dozens of productions.
Most teams should start with reference conditioning, prove the concept, and only escalate if drift becomes a recurring problem.
Multi-image fusion and scene consistency
When a system accepts several references, it can fuse cues: face from one image, wardrobe from another, environment from a third. The quality of that fusion depends on how consistent your references are with each other. Feed it five photos with five different lighting setups and the model averages them into something nobody recognizes. Feed it five photos that look like they came from one shoot and the fusion is dramatically better.
Building a Reference Set That Survives Motion
This is the single highest-leverage step in the entire process. A great reference set makes a mediocre prompt work. A bad reference set makes a great prompt fail.
How many images, and which angles
For a realistic human character, aim for 12 to 30 images. Include:
- A sharp frontal view with a neutral expression.
- Two three-quarter views, left and right.
- One profile in each direction.
- A slight low angle and a slight high angle.
- Two or three frames with a natural expression (a slight smile, a talking pose).
- One or two full-body or half-body frames if wardrobe matters.
Skip extreme angles, heavy motion blur, sunglasses, and anything where the face is partially covered. A model trained on obscured faces learns to generate obscured faces.
Lighting, background, and wardrobe discipline
Consistency in the references produces consistency in the output. Shoot or select images with the same light direction and similar color temperature. Keep the wardrobe identical unless you specifically want the system to learn multiple outfits. If you do want outfit variation, split the references into labeled groups and generate scene by scene.
What to leave out
Aggressively remove anything you do not want reproduced: logos on shirts, recognizable locations, other people's faces in the background, tattoos you cannot show publicly. Reference sets leak. They leak texture, they leak background objects, and they leak faces.
A Production Workflow, Step by Step
This sequence works for narrative clips, explainer videos, and social content alike. It is deliberately front-loaded: most of the risk is retired before you generate a single second of motion.
Step 1 — Lock the script and shot list
Write the voiceover or dialogue first, then break it into shots with an estimated duration for each. A 60-second piece typically needs 8 to 14 shots. For each shot, note:
- Framing (wide, medium, close-up)
- Camera behavior (static, slow push, handheld, orbit)
- Subject action
- Setting and time of day
- Any text or graphic overlay
The shot list becomes your generation checklist and your quality-control document later.
Step 2 — Prepare and label references
Curate the reference set, crop to consistent aspect ratios, correct exposure, and remove distracting backgrounds where possible. Label them by function: face_front, face_three_quarter, wardrobe, location_desk. Labels look bureaucratic until you are regenerating shot 11 at midnight.
Step 3 — Generate keyframes and verify identity
Generate a still image for each shot before animating anything. This is the most important habit in the entire workflow. Stills are cheap and fast to iterate. Video is neither.
Review each keyframe against a checklist: Is it the same person? Same wardrobe? Does the lighting direction match the previous shot? If a keyframe is wrong, regenerate it. Do not hope animation will fix it — animation amplifies errors rather than smoothing them.
Step 4 — Animate with image-to-video
Once keyframes are approved, animate them. Image-to-video is far more controllable than text-to-video because the first frame is already locked. Keep motion prompts modest: a small push-in, a head turn, a hand gesture. Ambitious motion is where faces dissolve.
Generate short segments — three to six seconds — and stitch them. Long single generations almost always drift.
Step 5 — Voice, lip sync, and sound design
Generate or record the voice track before animating mouth movement. Then apply lip sync to the shots where the subject speaks, and leave non-speaking shots alone. Ambience and music do more for perceived quality than most people expect: a room tone under a talking head makes a synthetic clip feel filmed rather than rendered. Match reverb to the implied space. A close-up in a small room should not sound like a cathedral.
Step 6 — Assemble, color-match, and QC
Bring clips into your editor and watch the whole sequence at normal speed. Drift is often invisible when you inspect single frames and obvious when you play them in order. Apply a light color pass to unify shots, then do a final pass looking for: identity flips, wardrobe changes, impossible shadows, text glitches, hard cuts in room tone, and lip sync offsets.
Prompting for Consistency
Anchor descriptors
Repeat the same identity and wardrobe descriptors in every prompt, word for word. Vary only what must change: framing, action, setting. Prompt drift causes visual drift; if you describe the jacket as "charcoal" in one shot and "dark grey" in another, expect two jackets.
Camera, lens, and lighting language
Camera vocabulary is the most reliable part of a video prompt. Terms like "slow dolly in," "static medium shot," "35mm," "soft window light from the left," and "shallow depth of field" translate into predictable results. Use them to keep continuity across cuts rather than to decorate the prompt.
Drift control and negative prompts
Negative prompts help with structural failures: extra fingers, warped hands, duplicated limbs, text artifacts, harsh HDR. They help less with identity drift, which is better controlled through references and shorter segments. If a character keeps mutating, your problem is conditioning, not vocabulary.
Choosing a Tool: Decision Criteria
Forget feature grids for a moment. These are the questions that actually determine whether a tool fits your production.
| Criterion | What to look for |
|---|---|
| Reference handling | Multiple simultaneous references, ideally with per-reference weighting |
| Identity stability | Holds a face across at least 30 seconds of footage |
| Image-to-video control | Accepts a locked first frame and respects camera instructions |
| Audio pipeline | Voice generation, lip sync, or clean export for external tools |
| Resolution and aspect ratios | Native support for your delivery formats, including vertical |
| Editing before video | Built-in image editing for keyframe correction saves a round trip |
| Export and licensing | Clear commercial terms and usable codecs |
| Iteration speed | Fast enough that you can regenerate a bad shot without dread |
When a general model beats a specialized pipeline
If your content is stylized, animated, or abstract, a strong general video model with good prompt adherence may outperform a specialized clone tool. Specialized tools win when the requirement is "this exact person in many places." General models win when the requirement is "this mood, these visuals, this pace." Many teams end up using both: a clone pipeline for the human shots and a general model for b-roll and transitions.
Troubleshooting the Most Common Failures
| Symptom | Likely cause | Fix |
|---|---|---|
| Face changes mid-clip | Weak conditioning or too-long generation | Add references, shorten segment, regenerate from a new keyframe |
| Wardrobe color shifts | Inconsistent prompt wording | Freeze descriptors, regenerate keyframes |
| Hands warp during gestures | Ambiguous motion prompt | Simplify the action, keep hands out of frame or near-still |
| Subject looks pasted in | Mismatched light direction | Specify light direction and color temperature in the prompt |
| Background objects move | Low scene conditioning | Generate a clean plate keyframe, animate with minimal camera movement |
| Lip sync drifts | Audio edited after animation | Lock audio first, regenerate sync, check offsets in the editor |
| Everything looks slightly plastic | Over-smoothing in post | Reduce denoise, add grain, avoid stacking enhancements |
Rights, Consent, and Disclosure
Cloning a face is a legal and ethical decision before it is a technical one. Get written consent from any real person whose likeness you reproduce, including employees and clients. Check the commercial terms of the tools you use, and check them again if you intend to use output in paid advertising.
Beyond legality, disclosure builds trust. Audiences are increasingly comfortable with synthetic presenters when the production does not pretend otherwise. A short on-screen label or a line in the description costs nothing and prevents the credibility hit that follows a surprise reveal. Avoid cloning public figures, and be extremely careful with anyone whose likeness implies endorsement.
Frequently Asked Questions
Can I clone a person from a single photo?
Sometimes, for short static or near-static shots. Expect a stylized, approximate result rather than a faithful likeness. For anything with real motion or lasting more than a few seconds, a properly curated reference set of 12 or more images is the realistic minimum.
How long can a cloned clip run before it drifts?
With good conditioning, useful segments tend to run three to eight seconds. Beyond that, keep the camera nearly still or accept a higher regeneration rate. Long continuous takes are achievable but require more references, more iteration, and stricter post checks.
Do I need to train a custom model?
Usually not at the start. Reference conditioning handles most short-form work. Training becomes worthwhile when the same character appears across many productions, when drift is a chronic problem, or when the character must be reproduced by multiple people on a team.
What resolution do the reference images need to be?
Higher than you think, but not enormous. Sharp, well-lit images around 1024 pixels on the short edge are usually enough. Blurry high-resolution photos are worse than crisp smaller ones, because the model learns the blur.
Can I replicate a visual style without cloning a face?
Yes, and it is the easiest of the three cloning jobs. Supply style references, use consistent palette and lens language in the prompt, and apply a shared color pass in post. Consistency comes mostly from restraint — pick one look and hold it.
Why do my videos look great in stills but odd in motion?
Because temporal consistency is a separate problem from spatial quality. Each keyframe can be perfect while the transitions between them are not. Shorter segments, gentler motion prompts, and consistent lighting across consecutive shots solve most of it.
Start With One Scene, Not a Series
Pick a single 30-second scene: one character, two locations, four or five shots. Build a small reference set, generate keyframes, animate short segments, add voice and room tone, and watch it end to end at full speed. That first pass will teach you more about your chosen tool than any comparison chart, and it will tell you exactly where your consistency budget needs to go before you commit to a larger production.

Alexander
More Blogs
Read MoreVidu Q4 Alternatives: 4K AI Video Models Compared (2026)
Vidu Q4 alternatives compared: Kling 4.0, Seedance 2.5, Wan 3.0, and Runway Gen-4 — 4K support, input modes, durations, audio, and what each costs in credits on Domer.
Top 4K AI Image Generators in 2026: 5 Models Compared on Real Costs
The top 4K AI image generators on Domer compared: Flux 3 Klein, Nano Banana 2.1, GPT Image 2.5, GPT Image 2, and Nano Banana Pro — 4K credit costs, reference limits, and speed.
Nano Banana 2.1 vs GPT Image 2.5: Which Image Model Should You Use? (2026)
Nano Banana 2.1 vs GPT Image 2.5 Flare compared: credit costs per resolution, aspect ratios, reference images, text rendering, and which tasks fit each model.