
Create
AI Music Video Apps: A Practical Creator's Workflow Guide
Oct 13, 2026
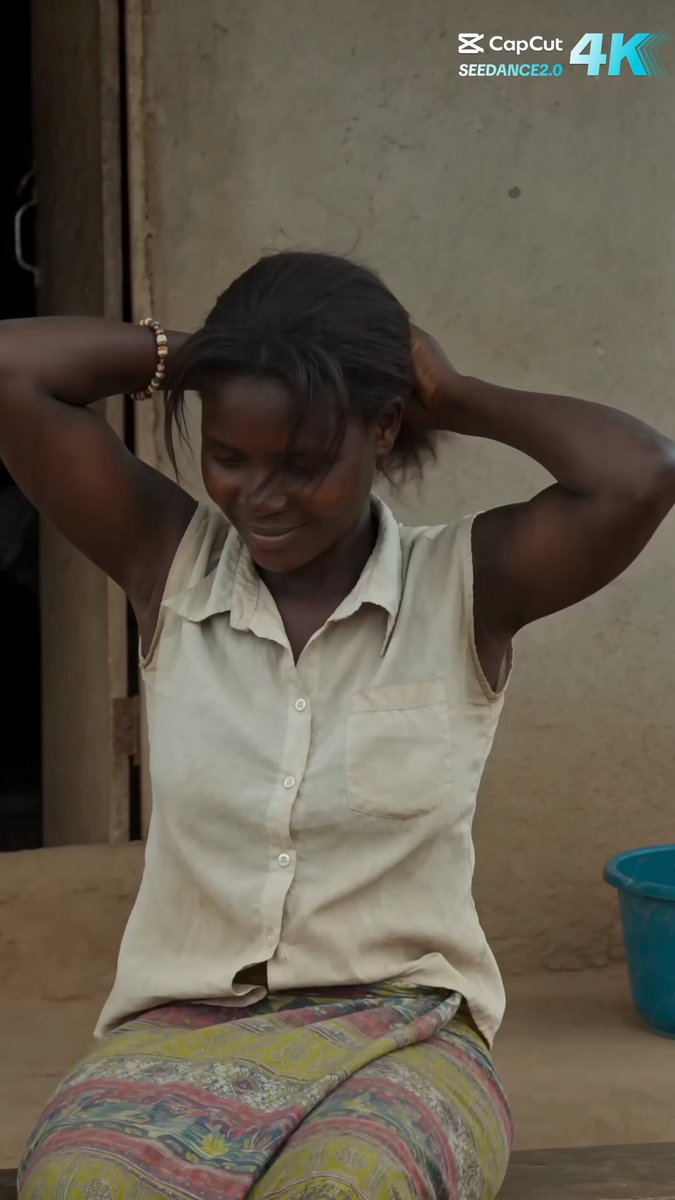
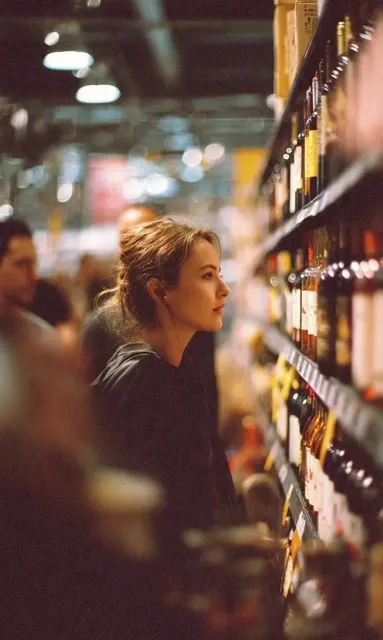
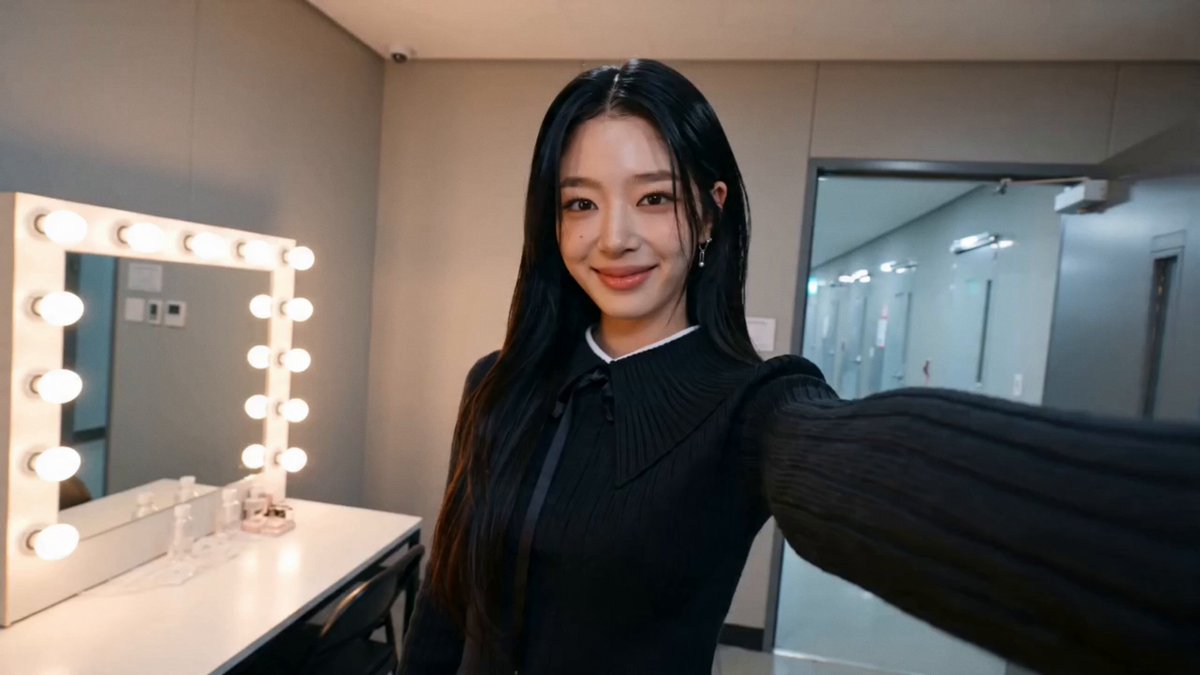
Why AI Rewrote the Music Video Workflow
Music videos have always been the format where artists take their biggest visual swings. They are short, self-contained, and judged almost entirely on whether they make a song feel bigger than it did on its own. That combination makes them the perfect target for generative video tools, because the value is concentrated in a handful of unforgettable images rather than in two hours of consistent narrative logic.
Not long ago, a mid-tier music video meant a treatment, a location scout, permits, a crew of fifteen, a twelve-hour shoot day, and a week of editing. The pipeline was linear and unforgiving: every idea had to be locked before anyone rented a lens. Generative tools broke that constraint. You can now prototype five visual directions for the chorus before lunch, keep the two that work, and throw the rest away without a budget conversation.
The practical shift is not that AI makes videos for you. It is that AI compresses the distance between an idea and a viewable version of that idea. Directors storyboard with generated frames instead of sketches. Solo artists shoot one clean performance take and rebuild the entire world around it. Editors who used to wait on footage now generate missing coverage in minutes.
That said, the tools are wildly uneven. Some produce gorgeous stills that collapse into mush the moment anything moves. Others handle motion beautifully but give you almost no control over camera direction. A few are excellent at everything except matching the rhythm of a track. The rest of this guide is about telling those categories apart, and about running a workflow that gets a finished video out of them.
What Actually Matters in an AI Music Video Tool
Marketing pages tend to highlight the same three things: resolution, speed, and the number of models available. Those are the least interesting variables once you are actually cutting a video. Here is what determines whether a tool helps or hurts you.
Temporal coherence
A music video is motion, and motion is where most generators fail. Watch for warping faces, hands that merge into fabric, background geometry that drifts between frames, and clothing that changes color mid-shot. Before committing to any tool, generate a six-second clip with a person turning their head and a slow camera push. If the face holds and the background stays put, the tool is usable. If not, it is a still-image generator with a video button.
Control surfaces
The difference between a toy and a production tool is how much you can constrain it. Look for: reference-image conditioning, first-frame and last-frame keyframes, explicit camera motion controls (dolly, crane, orbit, handheld), style or character locking across shots, and negative prompts. A tool with these lets you build a consistent visual world. A tool without them forces you to accept whatever the model felt like doing.
Audio awareness
Some editors can ingest an audio track and auto-detect beats, transients, and section changes. This is not a gimmick. Beat markers turn a two-hour manual sync job into a twenty-minute review pass, and they make cut timing far more precise than eyeballing a waveform.
Output that survives post-production
Check export formats, frame rates, and whether you get clean alpha channels or green-screen-friendly output for compositing. A tool that only exports a compressed vertical clip with baked-in text is fine for social teasers and useless for a real edit. Ideally you want high-bitrate files at your project frame rate, so you are not upscaling or conforming later.
Iteration cost and speed
Creativity in generative video is a numbers game. You will generate ten clips to keep one. A tool that takes eight minutes per clip effectively gives you four options per hour; a tool that takes forty seconds gives you dozens. Fast and slightly worse usually beats slow and slightly better, because selection is where the quality actually comes from.
Tool Categories Compared: Where Each Type Fits
Instead of ranking brands, it helps to understand that you are assembling a toolkit, not picking a winner. Most finished AI-assisted music videos use three or four different tools.
Text-to-video engines. Best for establishing shots, abstract sequences, landscapes, dream sequences, and anything where no specific performer identity matters. Weakest at consistent characters and readable text.
Image-to-video animators. You generate or shoot a still, then animate it. This is the workhorse of AI music video production because it gives you full control over composition and casting before motion enters the picture. If you only learn one technique, learn this one.
Performance and face-transfer tools. These map an artist's facial performance onto a generated or stylized body. Enormously useful for building a surreal version of the performer, but they demand clean, evenly lit source footage and a straight-on angle.
AI-assisted editors. Tools that handle beat detection, auto-cutting, rough assembly, and caption or lyric timing. They rarely produce a final cut, but they eliminate the most tedious hour of the process.
Upscalers and restorers. Generative output is often soft or slightly noisy. A dedicated upscaler takes a usable 720p generation and makes it a credible 4K shot. This is frequently the single biggest quality jump available to you.
Asset and texture generators. Backgrounds, grain overlays, liquid transitions, light leaks, and abstract fills. Cheap to make, and they are what turn a series of disconnected shots into something that feels designed.
A realistic stack: one image generator for composition, one image-to-video animator for motion, one upscaler for finishing, one editor with beat detection for assembly. Four tools, one coherent look.
A Shot-by-Shot AI Music Video Workflow
Here is a workflow that scales from a bedroom setup to a small production team.
Step 1: Build the treatment backwards from the chorus
Start with the single most important moment in the song — usually the first chorus hit — and decide what image lands there. Then work outward. Most weak music videos fail because the director planned the intro first and ran out of ideas by the hook. Decide the hook image, then justify it.
Write a one-page treatment with three columns: timestamp, shot description, and emotional function. "Emotional function" sounds pretentious and is enormously useful: it forces you to notice when you have six consecutive shots that all mean "cool."
Step 2: Create a visual bible
Before generating anything, lock five things: color palette, lighting direction, lens language, wardrobe, and a texture reference. Put them in a folder as images. Every generation prompt should reference at least two of them. This is what makes fifty separately generated clips look like one video rather than a mood board.
Step 3: Cut the audio into a beat map
Open the track in an editor with transient detection and mark every downbeat, every bar, and every section change. Export that marker list or screenshot it. You now have a rhythm skeleton to hang shots on. Aim for a shot change every one to four bars, with longer holds during verses and rapid cutting during drops and bridges.
Step 4: Generate hero shots first
The hero shots are the five or six images the audience will remember. Generate them at high quality with generous retries, and do not proceed until they look right. If the hero shots are weak, no amount of competent B-roll will save the video.
Step 5: Generate B-roll and texture plates
Now fill gaps economically: abstract motion, hands, feet, silhouettes, landscapes, light through windows, crowds shot from behind. These are cheap because they do not need identity consistency. Generate them in batches of ten and keep the best two.
Step 6: Assemble rough, then repair
Lay everything on the beat map with no transitions. Watch it down once at full speed. You will immediately see which shots are too long, which are confusing, and which are doing nothing. Repair problems by regenerating specific shots rather than adding effects to disguise them.
Step 7: Finish
Upscale every keeper, apply a consistent grade, add grain, and unify contrast. Then handle audio properly: a light master, a subtle room tone under any silence, and careful level matching so the video does not feel quieter than the track. Export at the platform's preferred bitrate and check the first three seconds on a phone speaker before you publish.
Prompting for Music-Driven Visuals
Prompting for video is not the same as prompting for stills, because you have to describe motion, duration, and camera behavior in addition to subject and style.
The six-part prompt
Build every prompt from these components, in this order:
- Subject — who or what, including age, wardrobe, and specific physical detail.
- Action — what changes between the first and last frame. Motion verbs only.
- Camera — lens, height, and movement. "Slow dolly in, 35mm, chest height."
- Lighting — source, direction, color temperature. "Hard side light, warm practical behind subject."
- Grade and texture — "muted teal shadows, 16mm grain, shallow depth of field."
- Constraints — what to avoid. "No text, no extra limbs, no camera shake."
Three worked examples
For a chorus hit: "Performer in a soaked black suit standing in an empty parking garage, arms rising slowly as water lifts off the ground around them, slow orbit right, 50mm, chest height, hard overhead sodium light, deep blue shadows with amber rim, subtle 35mm grain, no text, no logo, no crowd."
For a verse: "Close-up of a hand sliding along a chain-link fence while walking, camera tracks left at walking pace, 85mm, shallow focus, overcast daylight, desaturated greens, handheld micro-movement, no face visible."
For a bridge: "Empty bedroom, curtains breathing in wind, dust suspended in a shaft of light, slow push toward the window, 24mm, low angle, soft morning light, faded warm grade, no people, no furniture beyond a bare mattress."
Consistency tricks that actually work
Reuse the same seed where the tool supports it. Carry a character reference image into every prompt that includes the performer. Keep your lighting and grade language identical across shots — copy and paste it. And name your palette explicitly in every prompt rather than trusting the model to remember the last one.
Sync, Rhythm, and the Human Editing Layer
AI can generate a shot. It cannot decide that the third chorus needs to hit two frames early to feel aggressive. That decision is still yours, and it is what separates a clip reel from a music video.
Cut on the transient, not on the frame
Most editors snap cuts to the nearest frame on the beat. Try cutting two frames before the transient instead. The shot lands fractionally early and the hit feels like it caused the cut. On drops, this is the difference between "nice" and "violent."
Use holds deliberately
An unbroken ten-second shot during a sparse verse creates tension that fast cutting cannot. Alternating long holds with dense cutting sequences gives the video a呼吸 — a breathing rhythm — that matches the song's dynamics rather than its average tempo.
Match motion direction across cuts
If the camera moves left in shot A, consider continuing left in shot B, or deliberately reversing to right for a jolt. Random motion directions read as noise. Consistent motion direction reads as style.
Speed ramps and reverse motion
A shot that plays at 70% speed during a build and snaps to normal on the drop is one of the cheapest, most effective tricks available. Reversing a shot also instantly makes ordinary footage feel intentional — water flowing upward, debris reassembling.
Do not abandon color grading
Generative clips arrive with wildly different contrast and saturation. A single grade applied across all of them — lift blacks slightly, unify the highlights, add a consistent grain — is what makes the video feel authored. Spend the time. It is twenty minutes and it changes everything.
Style Playbook: Matching Visual Language to Genre
Hip-hop
Hard contrast, low angles, urban texture, slow-motion money shots, and aggressive cutting on the beat. Performance shots should feel expensive: clean wardrobe, deliberate lighting, wide lenses close to the subject. Use generated environments for scale — rooftops, tunnels, empty stadiums.
Pop
High saturation, soft light, symmetrical composition, and fast but friendly cutting. Concept-driven set pieces work well here because the audience expects visual novelty. Keep the performer recognizable and centered; pop rewards clarity over abstraction.
Electronic and club
Abstract motion, strobe-like flashes, long unbroken takes with morphing content, and heavy reliance on texture plates. Let the footage be the light show. Beat-matched generative morphs are extremely effective here and nearly impossible to fake convincingly with live footage.
Rock and metal
Handheld energy, sweat, grain, and performance footage treated as the backbone. Use AI for atmospheric inserts — fire, smoke, weather, ruins — rather than for the band itself. Distortion and film damage overlays sell the genre instantly.
Indie, folk, and acoustic
Natural light, long lenses, minimal cutting, and restraint. The temptation with generative tools is to over-produce; here, less is more. A single beautiful nine-second shot of a field at dusk will outperform fifteen flashy ones.
Budget, Time, and Team Decision Criteria
Pick a production path before you pick tools, because the path determines what you actually need.
Solo creator path. One performance shoot of two to three hours, a beat map, a generative toolkit, and two focused editing days. Realistic output: three to four minutes of finished video. The risk is over-generation — deciding at hour twelve that you need fifty more clips.
Small team path. Add a dedicated person for generation and consistency, and a separate editor. This splits the two most time-consuming jobs that compete for the same attention. It also makes the visual bible essential, because two people generating without shared references will produce two different videos.
Label or agency path. Full treatment, a real shoot for performance and hero frames, and generative work limited to the shots that would be physically impossible or prohibitively expensive. Here the AI budget is a cost-avoidance line item, not a novelty.
Three decision questions worth asking out loud: Does this shot need a real human face at recognizable quality? Does the concept depend on a specific location? And can the audience tell the difference if I generate it? If the answers are yes, yes, and no, generate it.
Mistakes That Sink AI Music Videos
Generating before writing a treatment. You end up with beautiful clips in search of a song. Write the one-pager first.
Inconsistent lighting between shots. The single most common tell. Lock your lighting language and paste it into every prompt.
Cutting on every beat. Exhausting to watch. Cut on the beat that matters, hold through the rest.
Ignoring the first three seconds. Vertical platforms decide retention almost immediately. Open on your strongest image, not on a fade-in.
Over-relying on morph transitions. Two or three per video is stylish. Nine is a screensaver.
Skipping upscaling. Soft footage undermines otherwise excellent direction. Upscale before grading, not after.
Burying the audio. The song is the product. If the video mix makes the vocal harder to hear, you have hurt the artist.
Not watching on a phone. Vertical framing crops, small text disappears, and subtle grades vanish. Always review the final render on the smallest screen your audience will use.
FAQ
Do I need to shoot anything at all?
No, but videos that mix real performance footage with generated environments consistently outperform fully generated ones, because audiences connect to a real face even when they cannot articulate why.
How many clips do I need for a three-minute song?
Plan on forty to seventy usable shots, which means generating somewhere between three hundred and six hundred. Budget your time for selection, not generation.
What resolution should I work at?
Generate at whatever the tool does best, then upscale to 4K for delivery. Do not fight a model that struggles at high resolution — upscaling is cheaper and usually cleaner.
Can I use one tool for everything?
You can, and the results usually show it. A generation tool, an animator, an upscaler, and a beat-aware editor cover nearly every case and cost far less time than forcing a single app to do four jobs.
How do I keep a performer consistent across shots?
Reference images plus identical lighting and lens language plus a short, specific wardrobe description. Generate your character reference first and treat it as a locked asset.
What is the fastest realistic timeline?
For a solo creator with a prepared visual bible: one day for the beat map and hero shots, one day for B-roll generation, one day for assembly and finishing. Three focused days gets a credible video out the door.
Does beat detection replace an editor?
It replaces the tedious part. It does not tell you when to hold, when to break the pattern, or when a shot is emotionally wrong. That remains a human job, and it is the job worth doing well.

Alexander
More Blogs
Read MoreMontaggio video rapido: transizioni e software per l'AI
Guida pratica al montaggio video rapido con AI: transizioni fluide, software, workflow, coerenza visiva, errori da evitare e FAQ operative.
Building an AI Video Production Workflow From Concept to Cut
A practical guide to planning, generating, editing, and finishing AI-assisted videos with consistent characters, clear shot lists, and reliable review loops.
A Repeatable Post-Production Workflow for Polished AI Video
Build a repeatable AI video post-production pipeline: organize assets, cut story-first, design transitions, refine audio, and review versions calmly.