
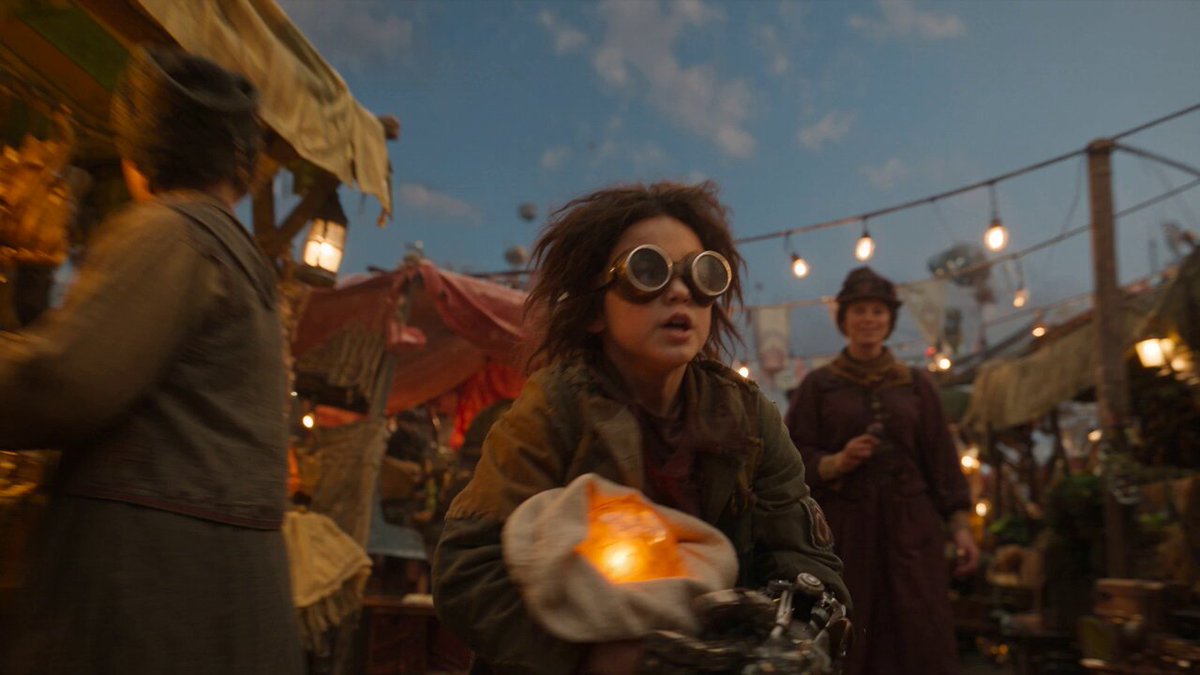
AI Trippy Video Effects: A Practical Creator Workflow
Oct 13, 2026

What Trippy Actually Means in Video Terms
Trippy visuals are a mood assembled from a handful of repeatable ingredients. Before opening any app, name the ingredients you want. That vocabulary decides which tool fits, how you write prompts, and how you judge whether the result works.
- Color: saturated complementary palettes, hue rotation, iridescent gradients, posterization down to two or three tones.
- Motion: warping, breathing zooms, feedback loops, rotation around a vanishing point, strobing cuts.
- Geometry: fractal repetition, kaleidoscope symmetry, liquid displacement, impossible architecture that folds into itself.
- Time: frame blending, echo trails, reversed segments, speed ramps that stretch a single moment into a minute.
- Texture: film grain, CRT scanlines, VHS bleed, datamosh artifacts, chromatic fringing.
- Sound: drones, reverb tails, sidechained pulses that make the image feel like it is breathing.
A finished clip usually needs two or three of these, not all six. Pick a dominant ingredient (say liquid geometry), a supporting one (hue rotation), and a texture pass to tie them together. When everything is turned on at once, the result reads as noise rather than as a trip.
This is also your quality-control checklist. When a render disappoints, ask which ingredient is missing or overpowering. Most weak outputs are not bad models, they are unbalanced recipes.
How AI Changed Trippy Effect Production
The classic pipeline was mechanical. You shot footage, then spent hours in a compositor stacking displacement maps, fractal noise, feedback loops, and plugin chains. Every effect obeyed a math function you configured by hand.
AI shifted the work in three ways.
- Generation replaces simulation. Text-to-video and image-to-video models can invent a surreal subject instead of approximating it with warp nodes. Asking for a corridor of melting stained glass is now a sentence, not a two-hour node graph.
- Restyling preserves real motion. Video-to-video passes repaint existing footage frame by frame, so a handheld shot of a dancer keeps its authentic movement while the world around it turns into neon liquid.
- Restoration makes output usable. Upscaling and frame interpolation push generative clips from soft, low-resolution drafts into delivery-ready assets at vertical or widescreen sizes.
The tradeoff is determinism. A warp node does exactly what you tell it, every time. A generative model gives you a range of plausible results. The practical answer is a hybrid workflow: generative passes for the surreal element, conventional editing for rhythm, masking, grading, and sound. Creators who fight for full automation usually end up with less control, not more.
Choosing a Tool: Seven Decision Criteria
Tool choice matters less than pipeline design, but the wrong tool will cost you hours. Score candidates on these seven criteria.
1. Input type. Some tools only accept text, some accept a reference image, some accept a source clip. If your project starts from real footage, filter immediately for video-to-video support.
2. Temporal coherence. This is the single biggest quality divider. Watch a ten-second sample closely: does texture crawl, do edges shimmer, do objects melt between frames? A model with modest detail but stable motion beats a high-detail model that flickers.
3. Control surfaces. Look for motion strength sliders, region masks, camera-path hints, and seed locking. Every control you have is a variable you can hold constant while testing another one.
4. Length and resolution limits. Many tools generate a few seconds at a time. That is fine for short-form, but plan how you will stitch clips without visible seams.
5. Style range versus consistency. A tool with enormous style range often drifts between shots. A narrower tool may lock a look more reliably. For a multi-shot sequence, consistency usually wins.
6. Iteration speed. Fast, cheap drafts change how you work, because you can explore ten directions instead of defending your first idea. Measure wall-clock time per usable clip, not per render.
7. Licensing and commercial terms. Check whether output can be used commercially, whether you can upload reference footage, and how the tool treats your source material.
A workable stack is unglamorous: one generation tool, one editor or compositor, one upscaler, and one audio tool. Master that stack before adding a fourth renderer.
A Complete Workflow, Start to Finish
1. Write a Visual Thesis
One sentence that describes the trip. For example: a slow descent through a liquid chrome tunnel that pulses like a heartbeat. Then add four constraints: duration, aspect ratio, palette, and tempo. Constraints are creative fuel, not limits. A six-second vertical piece with a blue-to-magenta palette and a 90 BPM pulse is far easier to execute than an open brief.
2. Build a Shot List Before You Prompt
Write three to six shots, each with a job. Shot one establishes the world. Shot two introduces the transformation. Shot three escalates. Shot four resolves or loops. Map them to beats in your audio track before generating anything. This prevents the common failure of producing eight beautiful clips that have no relationship to each other.
3. Generate or Prepare Base Footage
Three routes:
- Full generation. Text or image prompt produces the entire clip. Best for abstract worlds with no real-world anchor.
- Image-to-video. Start from a strong still you made or found. Composition is far easier to fix in a still than in motion, so this route saves many iterations.
- Video-to-video. Feed existing footage and restyle it. Best when human motion, product footage, or location authenticity matters.
Whatever the route, generate a short, low-cost draft first. Confirm the motion direction and the palette before you invest in a longer or higher-resolution pass.
4. Apply the Effect Layer by Layer
Separate passes beat one heavy pass. A dependable order:
- Motion pass – the base movement: drift, orbit, tunnel travel, liquid flow.
- Style pass – the look: iridescent, chrome, kaleidoscopic, psychedelic poster art.
- Detail pass – grain, bloom, chromatic aberration, scanlines.
Evaluate after each pass, and keep every intermediate render. Effects that look weak alone often combine beautifully, and the opposite is just as common.
5. Fix Temporal Coherence
Flicker, melting edges, and texture crawl are the top complaints about AI effects. Fixes, roughly in order of effort:
- Lower motion strength and let editing create speed instead.
- Generate shorter clips and stitch them with an intentional cut or a flash transition.
- Anchor a frame: hold the first frame, then let the model animate away from it.
- Mask the fragile region and rebuild it over a stable plate.
- Stabilize the clip, then re-add grain so the stabilization does not look plastic.
- Embrace low frame rate. Stepped animation at 12 frames per second turns flicker into a deliberate style.
6. Grade, Grain, and Sound
Grade after the effect pass, not before, so you are not fighting the render's built-in color. Push contrast in the midtones, keep highlights from clipping, and add a light grain layer to hide banding in gradients. Trippy clips are gradient-heavy, and banding is the fastest way to make them look cheap.
Sound carries more of the trip than most creators expect. A low drone, a slow riser, and one percussive hit at the moment of transformation will sell an effect that would otherwise feel flat. Cut your images to the audio, not the reverse.
Prompt Patterns That Produce Hypnotic Motion
Prompting for surreal movement is a skill with recognizable patterns.
Camera first, subject second. Models respond well to explicit camera language: slow dolly forward, locked-off shot, slow orbit, continuous zoom with no cuts. If you do not specify, you may get an unintentional cut that breaks the illusion.
Name the material. Liquid mercury, molten glass, oil on water, neon plasma, fractured mirror, bioluminescent fluid. Materials give the model physics to follow, which produces more convincing warping than abstract adjectives.
Use motion verbs sparingly. Two or three verbs is plenty: drift, pulse, ripple, bloom, dissolve. A prompt with ten verbs produces mush.
Anchor the palette. Describe colors and lighting together: teal shadows with hot magenta highlights, backlit haze, sodium-vapor glow. Lighting words do more for mood than color words alone.
Write negative instructions. No text, no watermarks, no fast cuts, no distorted faces, no crowd. Negative prompts prevent predictable artifacts.
Lock a seed, change one variable. When you find a direction you like, freeze the seed and adjust a single word. This teaches you what each term actually does in that model.
Iterate in small steps. Ten cheap drafts teach more than one expensive render. Treat generation as sketching.
Real Footage vs. Full Generation: Picking Your Pipeline
Full generation shines for abstract worlds, alien landscapes, and anything that does not need to exist physically. It is fast to iterate and easy to scale into a series.
Real footage shines when authenticity matters: a person's face, a product, a recognizable city, a dance performance. Viewers detect synthetic human motion quickly, and a restyled real clip usually reads as more convincing.
The strongest results are hybrid. Use real footage as the spine, then generate inserts, transitions, and background layers around it. A ten-second clip might be eight seconds of restyled footage with two seconds of generated connective tissue. The generated pieces do the impossible work; the real pieces keep the whole thing grounded.
Common Mistakes and How to Fix Them
Stacking too many effects. If three effects compete, the eye has nowhere to land. Delete the weakest one.
Ignoring rhythm. A trip has a build and a release. Without an audio plan and a beat map, even good visuals feel like a screensaver.
Mismatched frame rates. Mixing 24, 30, and 60 fps clips in one timeline creates judder that reads as an error. Normalize before you edit.
Over-upscaling soft renders. Upscaling cannot invent detail that was never there. Fix sharpness at generation time, or add texture intentionally instead of pretending it is detail.
Forgetting accessibility. Flashing and rapid motion can trigger discomfort or seizures. Keep strobing below roughly three flashes per second, avoid full-screen high-contrast strobes, and add a brief content warning on social posts. Give viewers a calm opening second before the intensity starts.
Composing only for one aspect ratio. Vertical, square, and widescreen need different framing. Generate with the final ratio in mind, or leave generous margins.
Chasing length. A tight six-second loop outperforms a padded minute almost every time in short-form feeds.
Ignoring the seam. If you are looping, check the first and last frame side by side. A visible jump destroys the hypnotic effect.
Delivery Checklist for Different Platforms
- Aspect ratio: plan for vertical and widescreen versions from the start rather than cropping later.
- Safe zones: keep key detail away from edges where interface elements sit.
- Bitrate: trippy gradients need higher bitrates than flat footage; export generously, then let the platform compress.
- Loop design: match first and last frame, or end on a hard cut that invites a replay.
- Sound: normalize to a consistent level and check how the low end survives on phone speakers.
- Thumbnail: capture one high-contrast frame during production instead of hunting for it afterward.
- Captions: add subtitles if there is speech, and keep them outside the visual chaos.
FAQ
Do I need an expensive GPU?
Not necessarily. Cloud generation removes local hardware limits, and most editing of short clips is light. A mid-range machine plus a cloud tool covers most trippy-effect projects.
Can I do this on a phone?
Yes, for restyling and short loops. Composition and grading are easier on a larger screen, but mobile-first workflows work well for social output.
How long should a trippy clip be?
Three to eight seconds for looping short-form, fifteen to sixty seconds for a music-driven piece, and longer only if you have a genuine narrative arc.
How do I stop faces from melting?
Reduce motion strength, generate shorter segments, keep the subject small in frame, or restyle real footage instead of generating a person from scratch.
Is AI-generated trippy footage usable commercially?
Often, but terms vary by tool and by region. Check the license, keep records of your source assets, and avoid recognizable logos or licensed characters in prompts.
What frame rate should I work in?
Pick one and stay there. 24 or 30 fps for a filmic feel, 12 fps for a deliberate stepped aesthetic, 60 fps only if you plan slow-motion playback.
How many attempts does one good clip take?
Plan for five to fifteen cheap drafts per usable shot. Fast iteration is the real productivity lever, not model choice.
Where should a beginner start?
Pick one effect, one palette, one six-second loop, and one audio bed. Finish it end to end before expanding. The workflow knowledge transfers to every larger project.
Start With One Shot
Trippy AI video is not about finding the single best app. It is about building a repeatable pipeline: a clear visual thesis, a short shot list, layered passes, honest quality control on motion, and sound that carries the rhythm. Get one six-second loop all the way to a finished, graded, mixed export. Then repeat it with a different dominant ingredient. That second loop is where the workflow becomes yours.

Alexander
More Blogs
Read MoreMontaggio video rapido: transizioni e software per l'AI
Guida pratica al montaggio video rapido con AI: transizioni fluide, software, workflow, coerenza visiva, errori da evitare e FAQ operative.
Building an AI Video Production Workflow From Concept to Cut
A practical guide to planning, generating, editing, and finishing AI-assisted videos with consistent characters, clear shot lists, and reliable review loops.
A Repeatable Post-Production Workflow for Polished AI Video
Build a repeatable AI video post-production pipeline: organize assets, cut story-first, design transitions, refine audio, and review versions calmly.