
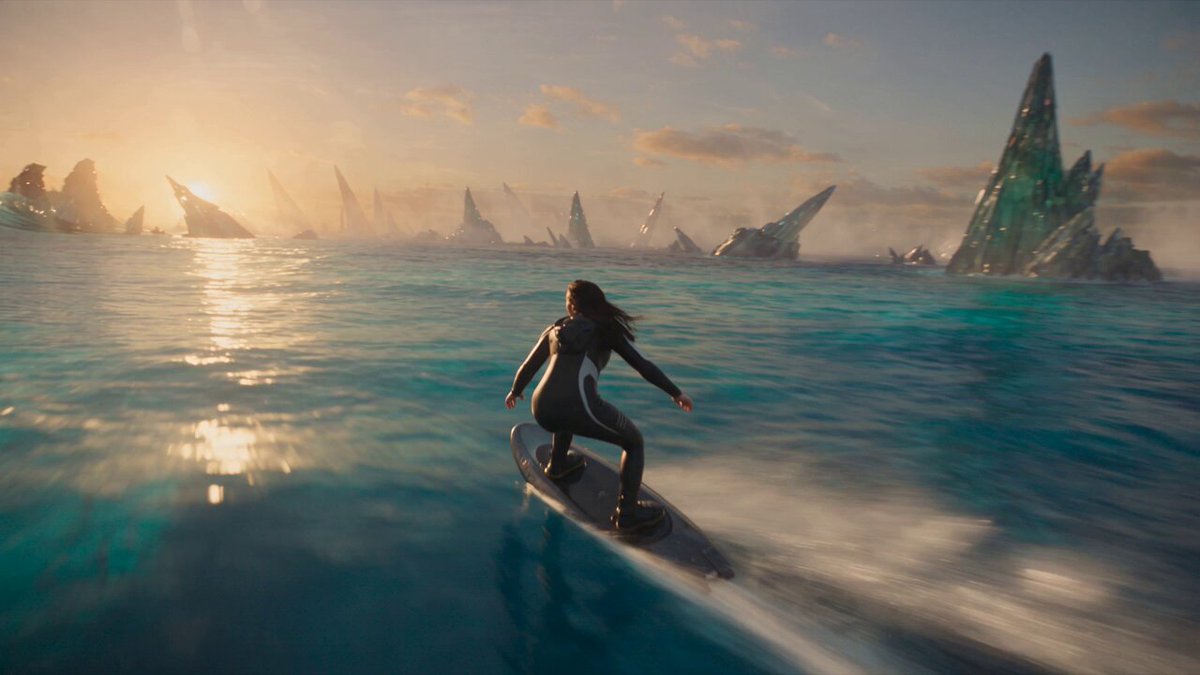
AI Video Effect Editor Features That Beat Manual Editing
Oct 13, 2026
Video effect editing used to be a craft measured in hours per finished minute. That equation has flipped. Modern editors can synthesize plausible motion, light, texture, and atmosphere on demand, which means the bottleneck is no longer "can we build this effect" but "should this effect exist, and does it hold together across the whole edit." The sections below map where AI-assisted effect work genuinely outperforms manual keyframing, where handcrafted techniques still win, and how to combine both into a workflow that survives real deadlines.
How video effect editing changed: procedural timelines vs. generative layers
What manual effect work actually costs
Traditional effect work is additive. You start with footage and stack operations: a mask here, a tracker there, a particle system, a light wrap, a color correction node. Each layer depends on the one beneath it, and each one has to be tuned by hand. The cost is not the first pass. The cost is the eleventh pass, when a client asks for a slower camera push and every downstream keyframe, track, and mask has to be rebuilt.
That dependency chain is why manual compositing is so expensive at scale. A single rotoscope that takes forty minutes is fine for one shot. Repeat it across sixty shots with three revision rounds each, and you are looking at weeks of work for something that only needs to look correct, not heroic.
Manual tools also demand specialist knowledge that is hard to distribute. Tracking, planar stabilization, particle simulation, and light matching each live in a different mental model. A generalist editor can learn them, but rarely at the speed a weekly publishing schedule requires.
What generative synthesis changes
Generative effect tools invert the process. Instead of building a result from primitives, you describe the result and refine candidates. The unit of work shifts from "operation" to "intention." You stop asking how to construct a volumetric light shaft and start asking what the shot should feel like, then iterate on outputs.
This matters because the expensive part of effect work was never the idea. It was the translation of an idea into node graphs. When that translation becomes cheap, the editor's job moves toward direction: defining constraints, rejecting weak candidates, and enforcing continuity.
The hybrid reality
Almost no professional work is purely generative or purely manual. The strongest results usually come from generating plates and then finishing them with conventional tools: a generated background comped behind a real actor, an AI-relit close-up stabilized in a timeline, a procedurally animated logo combined with a synthesized particle bed. Treat AI as a plate factory and manual tools as the finishing bench. That framing prevents the two biggest failure modes: over-reliance on raw output, and stubborn refusal to use generation where it is obviously faster.
Speed and iteration: where AI wins on the clock
The iteration loop is the real metric
Editors rarely compare tools by first-render quality. They compare by how fast a note becomes a new version. Manual effect revisions often cost minutes to hours because the change request invalidates prior keyframe work. Generative revisions frequently cost seconds, because you are changing text, a reference image, or a strength slider rather than rebuilding geometry.
That difference compounds. Ten small notes on a manual timeline might consume half a day. Ten small notes on a generative pipeline might consume twenty minutes, which leaves room for the notes that actually improve the piece.
Where manual still wins
Be honest about the gaps. Manual techniques remain stronger for:
- Frame-exact choreography. If a logo must land on a precise frame with a specific easing curve, keyframes give you deterministic control.
- Tight integration with real footage. Rotoscoping a strand of hair around a generated element is still a hand operation in most pipelines.
- Legal and brand precision. Type, trademarks, and regulated claims need exact reproduction, not plausible reproduction.
- Very short, very specific effects. A two-frame flash does not need a model; it needs a rectangle and a blend mode.
A realistic time budget comparison
| Task | Manual approach | AI-assisted approach |
|---|---|---|
| Background replacement across 20 shots | 6-12 hours | 45-120 minutes |
| Character inserted into new environments | 4-8 hours per shot | 20-60 minutes per shot |
| Atmosphere and light pass | 2-4 hours | 15-40 minutes |
| Speed ramp with motion blur | 30-60 minutes | 5-15 minutes |
| Precise typographic animation | 1-2 hours | Manual remains faster |
The pattern is consistent: broad changes to environment, atmosphere, and subject placement compress dramatically, while pixel-precise graphic work does not.
Character and object persistence across shots
Why persistence breaks
Consistency is the hardest problem in generative video. A model that produces a beautiful character in shot one may produce a cousin in shot four. Faces drift, jackets change shade, hair length shifts, and props migrate between hands. Manual editing has no equivalent problem because the actor is simply the actor.
Solving persistence is therefore the single highest-leverage skill in AI-assisted effect work. Everything downstream depends on it.
Reference fusion in practice
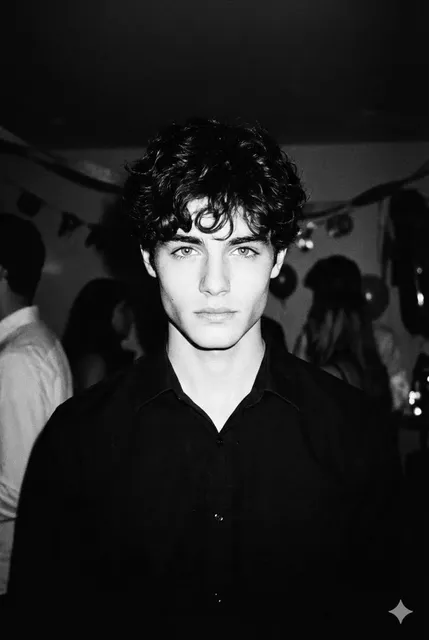
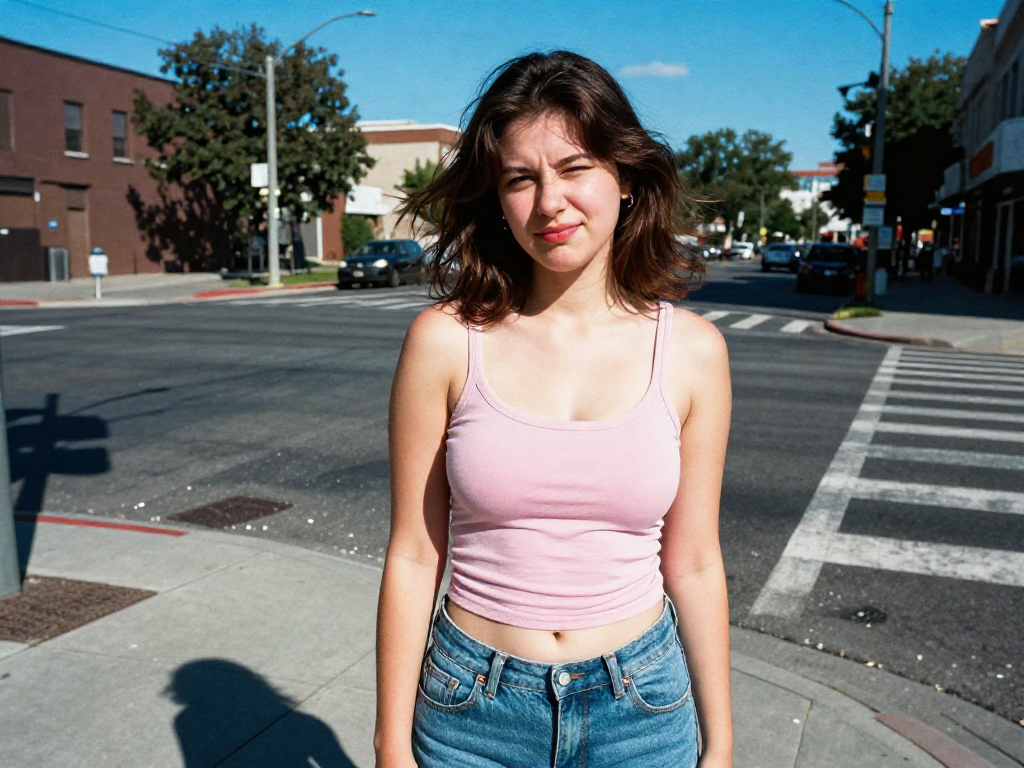
Most capable tools let you supply multiple reference images of the same subject and fuse them into a reusable identity. The technique works best when references are consistent with each other: same lighting direction, same lens character, same wardrobe. Feeding a moody backlit portrait alongside a flat studio headshot forces the model to average incompatible information.
A workable reference set usually includes:
- A clean frontal view with neutral expression.
- A three-quarter view that reveals facial structure.
- A profile or near-profile.
- A full-body frame that establishes proportion and silhouette.
- At least one frame in the lighting style you intend to use.
Save that set as a project asset. Reuse it for every shot in the sequence rather than re-uploading whatever looks good in the moment.
Rules for keeping a character consistent
- Lock wardrobe and hair before generating anything else. Changing a jacket later invalidates every shot.
- Keep prompts stable and vary only what must vary: camera angle, action, environment.
- Avoid extreme focal lengths early. Wide-angle distortion and telephoto compression both push identity in directions the reference set may not cover.
- Generate more takes than you need and select for continuity, not for the single best frame.
- When drift appears, fix it by regenerating from the same reference set, not by stacking correction tools on a flawed plate.
Choosing the right generator for each shot
Match the model to the motion, not the mood
Different generative systems excel at different motion types. Some are strong at cinematic camera movement, others at stylized animation, others at photoreal human performance, others at physics-heavy action. The practical implication is that a single project may legitimately route shots through three or four different tools.
That sounds inefficient, but it is not. Sending every shot to your favorite model and accepting mediocre output wastes far more time than matching the tool to the task. Build a shortlist of three or four generators and learn each one's failure modes.
A simple selection matrix
| Shot need | Best-fit approach | Why |
|---|---|---|
| Talking-head performance | Model with strong facial fidelity | Identity retention matters most |
| Wide establishing environment | Model with strong scene coherence | Geometry consistency over time |
| Stylized product motion | Motion-design oriented tool | Clean shapes, controlled timing |
| Action with impact | Model with physics-aware motion | Less morphing on fast movement |
| Graphic overlays and titles | Manual timeline work | Deterministic and crisp |
Once routing is decided, document it. A short project note listing which generator handles which shot type saves enormous confusion when a revision arrives three weeks later.
Automated cinematic control: color, pacing, and post-processing
Color and light matching
Manual color matching means sampling a reference frame, building a correction, then refining it as the cut plays. Automated matching does the sampling for you, then hands back a starting grade. The output is rarely final, but it typically lands close enough that you are adjusting rather than inventing.
Light matching goes further. Relighting tools can shift the apparent direction and softness of a source light on a subject, which lets you place a clip shot at noon into a scene lit at dusk without a reshoot. The caveat: relighting exaggerates skin texture, so keep the strength moderate and compare against surrounding shots rather than judging in isolation.
Pacing and beat-synced cuts
Rhythm analysis is one of the quiet wins of AI editing. Tools that detect beats, speech pauses, and energy peaks let you build an assembly that feels intentional in a fraction of the time. This is especially useful for short-form edits, where the difference between a good cut and a great cut is often a few frames.
Use it as a scaffold, not a verdict. Automated cut suggestions are a strong first assembly; the final decision about when to hold and when to cut is still editorial judgment.
Cleanup passes
A finishing chain that works reliably:
- Stabilize only the shots that need it, and check for crop artifacts afterward.
- Denoise before upscaling, not after, so the enhancement model is not amplifying noise.
- Upscale once, at the delivery resolution, rather than repeatedly at intermediate sizes.
- Deflicker generated sequences, which often flicker slightly between frames.
- Grain and texture match last, so the entire piece shares one finish.
Ordering matters more than tool choice here. Doing these in the wrong sequence creates artifacts that are expensive to undo.
A practical AI-first effect workflow, step by step
Step 1: Build a shot bible
Before generating anything, write a one-page document: character references, wardrobe, palette, lens character, aspect ratios, and which tool handles which shot type. This is boring and it saves days. Most continuity disasters trace back to a missing shot bible.
Step 2: Generate plates, not finished shots
Ask for frames that are easy to composite. Slightly wider than needed, with clean edges and without baked-in text or overlays. You are buying flexibility, not final pixels.
Step 3: Composite and refine
Bring generated plates into your editor. Stabilize, retime, track, mask, and integrate. This is where manual craft earns its keep: matching grain, adding contact shadows, and solving the small geometric mismatches that break the illusion.
Step 4: Grade and finish
Apply a single project-wide grade, then shot-specific corrections. Automated matching gets you into the neighborhood; the final pass makes the piece feel like one film rather than a reel of clips.
Step 5: Deliver variants
Export vertical, square, and wide versions in the same session. Repurposing later rarely happens. Delivering variants while the project is open costs almost nothing and multiplies the reach of the work.
Infrastructure and scale: what to check before committing
Render pipelines and dependency graphs
Generative work creates dependency chains just like manual compositing, only faster: a character reference feeds twelve shots, an upscale feeds a grade, a grade feeds three aspect-ratio exports. When something changes upstream, everything downstream is invalidated. Tools that surface these dependencies help you understand the blast radius of a revision before you commit to it.
Versioning, storage and reproducibility
Generated files are large. A project that produces two hundred candidate clips can consume hundreds of gigabytes before a single one is approved. Practical hygiene:
- Keep references, prompts, and settings in a text file alongside the project.
- Name outputs with the shot number and version, not with generic timestamps.
- Delete rejected candidates on a schedule rather than at the end of the project, when you no longer remember which ones mattered.
- Archive the reference set and final exports, not every intermediate render.
Reproducibility is the real prize. If you cannot regenerate a shot six weeks later, you do not own it; you own a file.
Common mistakes that waste the most time
- Chasing a perfect first generation. Iterate in batches and select afterward. Twenty quick takes beat two slow ones.
- No reference discipline. Re-uploading different images every session guarantees identity drift.
- Skipping the grain pass. Matching texture across sources is what makes an AI-heavy edit feel unified.
- Overscoping the edit. Generation makes impossible shots cheap, which tempts creators to include too many of them.
- Ignoring audio. An effect cut that does not land on a sound event will feel unfinished regardless of visual quality.
- Judging shots in isolation. Play the sequence at speed. Problems invisible in a still frame become obvious in motion.
- Upscaling too early. Intermediate upscaling bakes in artifacts that survive into the final render.
Decision criteria: AI-only, manual, or hybrid
| Situation | Recommended path |
|---|---|
| Tight deadline, environment-heavy concept | Generative plates plus manual finishing |
| Regulated claims or exact typography | Manual |
| Character-driven series with recurring cast | Generative with locked reference sets |
| Single hero effect shot with intricate interaction | Manual with generative elements |
| High-volume social output | Generative scaffold plus templated finishing |
A simple rule: use generation where the answer is "something plausible that fits," and use manual work where the answer is "this exact thing, precisely."
FAQ
Do AI video effect editors replace compositing software?
No. They replace specific expensive tasks inside compositing software, mainly environment generation, atmosphere, relighting, and cleanup. The compositing application remains the place where precision integration happens.
How do I keep a character consistent across many shots?
Lock wardrobe and hair first, build a five-image reference set with consistent lighting, reuse that set for every shot, and change only camera and action in your prompts. Regenerate from the reference set when drift appears instead of patching a flawed plate.
Is generated footage good enough for client work?
For backgrounds, atmosphere, inserts, and stylized sequences, often yes. For hero close-ups of identifiable people in regulated contexts, expect to combine generation with manual finishing and, when necessary, real footage.
What is the biggest hidden cost of AI video workflows?
Storage and version sprawl. Generating hundreds of candidates is cheap; keeping them organized, named, and reproducible is not. Plan a naming convention and cleanup schedule before the first render.
Should I denoise or upscale first?
Denoise first. Enhancement models amplify whatever is in the source, including noise, so cleaning before upscaling produces noticeably better results.
How much of an edit should be generative?
As much as improves the piece and no more. If a shot can be solved with a mask and a gradient, do that. Generation is a tool for the shots that genuinely require synthesis, not a default.
The practical takeaway is that effect editing is no longer a contest between automated features and manual skill. It is a routing problem. Identify which shots need synthesis, which need precision, and which need nothing more than a well-placed keyframe, then build a pipeline that handles all three without friction.

Alexander
More Blogs
Read MoreMontaggio video rapido: transizioni e software per l'AI
Guida pratica al montaggio video rapido con AI: transizioni fluide, software, workflow, coerenza visiva, errori da evitare e FAQ operative.
Building an AI Video Production Workflow From Concept to Cut
A practical guide to planning, generating, editing, and finishing AI-assisted videos with consistent characters, clear shot lists, and reliable review loops.
A Repeatable Post-Production Workflow for Polished AI Video
Build a repeatable AI video post-production pipeline: organize assets, cut story-first, design transitions, refine audio, and review versions calmly.