

AI Video Workflow Guide: From Prompt to Polished Cut
Oct 13, 2026
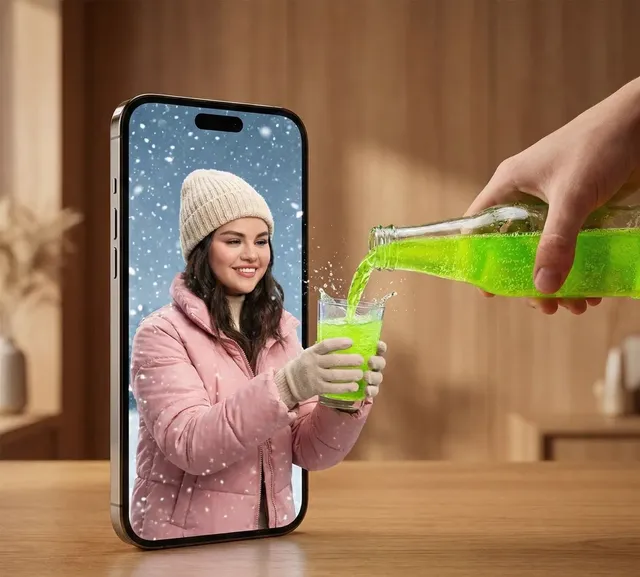
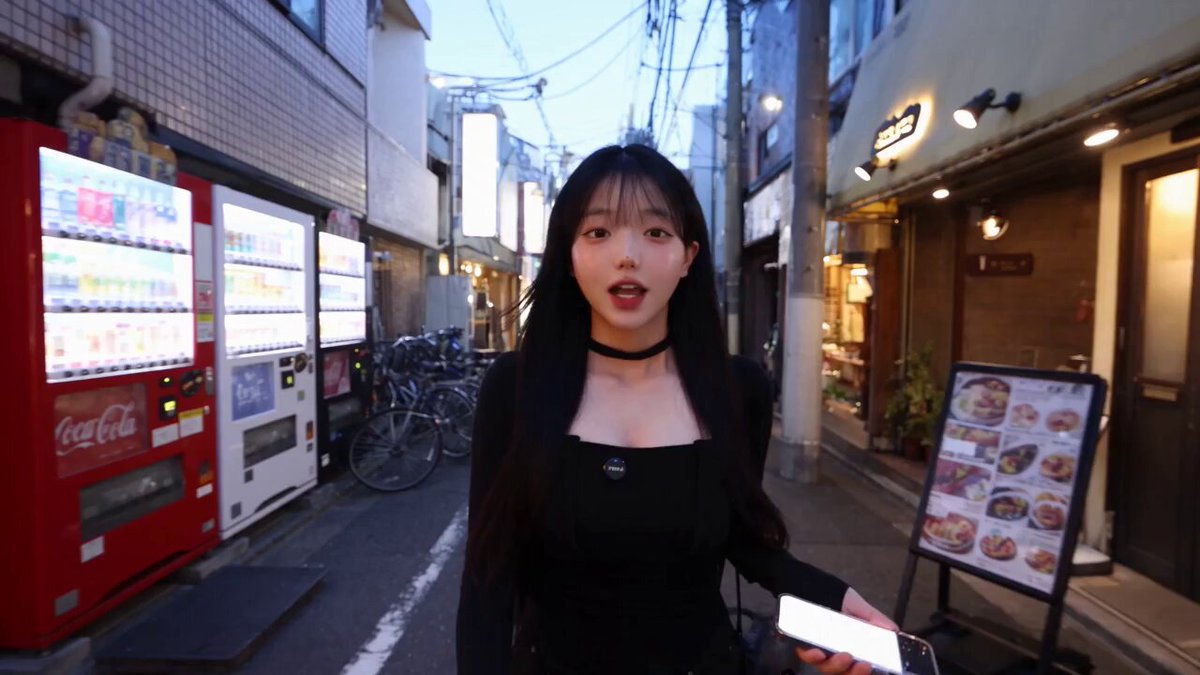
Most teams meet AI video generation the way a gambler meets a slot machine: type a hopeful prompt, watch whatever appears, try again. That works for a one-off clip. It collapses the moment you need twenty shots that belong to the same story, the same brand, and the same look. The creators shipping reliable AI video are not typing better prompts — they are running a pipeline. Shot lists, reference frames, versioned renders, an audio pass, and a quality gate before anything leaves the building.
That discipline comes from an unexpected place. Quantitative fields — analytics, forecasting, risk modeling — spent decades learning how to pull consistent output from messy, probabilistic systems. Their habits transfer cleanly to generative video: define the specification, change one variable at a time, log what happened, and never trust a single run. This guide walks that workflow end to end, from the first shot card to the final export.
Map the Pipeline Before You Generate Anything
Every AI video project moves through four stages. Skipping or rushing any one of them is the single most common reason teams burn hours on renders they never use. Write the four stages on a whiteboard before you open a browser tab.
| Stage | What you decide | What you produce | Typical failure |
|---|---|---|---|
| Pre-production | Story, shot list, aspect ratio, duration, look | Shot cards with prompts and references | Vague creative direction |
| Generation | Model per shot, prompt, seed, takes | Raw clips in a versioned folder | Rerolling without changing anything |
| Assembly | Order, timing, transitions, temp audio | A rough cut that plays start to finish | Judging clips in isolation |
| Finishing | Color, retiming, upscale, mix, captions | Delivery-ready master files | Polishing a cut that still has story gaps |
The order matters because each stage constrains the next. If your master is vertical, every shot must be composed vertically. If your final duration is thirty seconds, you cannot afford four-second establishing shots. Deciding these things after generation means regenerating, and generation is the most expensive part of the process in both time and compute.
One practical habit: keep a single project document that holds the shot list, the prompt log, the model choices, and the asset naming convention. It becomes the source of truth when three people are working on the same edit.
Pre-Production: The Shot List Is Your Specification
A shot list for AI video is not a creative wish list. It is a technical specification precise enough that a different person could generate the same clip from it. That means each shot card carries seven fields: subject, action, environment, camera, lighting, style, and duration.
Here is a shot card that works:
Shot 04 — Kitchen reveal. Subject: woman in her thirties, linen apron, dark hair tied back. Action: turns from the counter toward the window, slight smile. Environment: compact apartment kitchen, morning. Camera: slow push-in, 35mm equivalent, eye level. Lighting: soft window light from the right, gentle falloff. Style: warm documentary, shallow depth of field, subtle grain. Duration: 4 seconds.
Compare that with "woman cooking in a nice kitchen." The second version produces something watchable maybe one time in five. The first produces something usable most of the time, because it removes the decisions the model would otherwise make for you.
Choosing Format and Duration First
Lock your aspect ratio and frame rate before anything else. Vertical 9:16 suits short-form feeds and mobile-first ads. Horizontal 16:9 remains the default for YouTube, presentations, and websites. A wider 2.39:1 frame reads as cinematic but wastes vertical space and often forces you to crop generated clips, which can clip heads and hands.
Frame rate is a smaller decision than people think, but 24fps gives motion a filmic cadence while 30fps reads as broadcast or web. Choose one and stay there for the whole project; mixing rates creates judder when you cut between shots.
Duration guidance: most generative models handle three to six seconds comfortably. Treat anything longer as a stitched sequence of shorter generations rather than one ambitious render.
Generation: Matching the Model to the Shot
There is no single best video model. There is a best model per shot type, and the differences show up immediately.
Text-to-video for establishing shots and abstract sequences
Landscapes, city flyovers, product spins, and abstract texture are forgiving subjects. These shots tolerate the slight dreamlike drift that text-to-video can produce, and they rarely need character continuity. Start here when you are testing a new model.
Image-to-video for anything with a face or a product
When a specific person, garment, or object must stay recognizable, generate or photograph a still first, approve it, then animate it. You are trading a little motion freedom for a large gain in consistency. This is the single highest-leverage change most teams can make.
Video-to-video and motion transfer for choreography
If a shot depends on a precise physical movement — a dancer's turn, a hand gesture, a door swinging — reference video gives the model a motion template that prompt text cannot describe. Use it when timing matters more than visual novelty.
Selection criteria that actually matter
- Prompt adherence: does the model do what the card says, or does it substitute its own ideas?
- Motion coherence: do limbs stay attached and do objects keep their shape across frames?
- Maximum clip length: short ceilings mean more stitching work later.
- Style bias: some models lean cinematic, others illustrative; match the bias to your project instead of fighting it.
- Resolution ceiling: know now whether you can deliver 1080p or need an upscale pass.
- Commercial licensing terms: verify that your intended use — advertising, client work, monetized publishing — is permitted.
- Cost per second of usable output: not per generation. Count the rerolls.
Keep a simple table of three to five models and the shot types each one handles well for your project. That table saves more time than any prompt trick.
Prompt Design That Produces Usable Takes
Prompts are parameter sets, not poetry. The most reliable structure is a fixed order that you never shuffle, because consistent ordering makes it obvious which phrase caused a change in output.
A workable order: subject, action, environment, camera movement, lens and framing, lighting, style and mood, then negative constraints.
Specificity has a ceiling
Adding detail helps up to a point, then starts to crowd the model. If a prompt names four characters, three props, two camera moves, and a color palette, something will be dropped — usually the thing you cared about most. Split crowded shots into two simpler ones and cut them together. Two clean four-second clips usually beat one muddy eight-second clip.
Negative constraints
Most models accept a separate field for what to avoid: text overlays, watermarks, distorted hands, extra limbs, duplicate faces, harsh flash, lens flare. Keep this list short and stable across the project. A long negative list starts removing things you wanted.
The one-variable iteration rule
When a take is wrong, change exactly one thing — one word in the prompt, one reference image, one seed — then generate again. If you change four things and the take improves, you have learned nothing you can reuse. Log every attempt in a spreadsheet: shot number, model, prompt version, seed, and a one-line verdict. After twenty rows you will see patterns that no tutorial can give you.
Budget for rerolls explicitly. A realistic ratio for a new model is one usable take in every three to five attempts; a model you know well can get closer to one in two.
Consistency: The Hardest Problem in AI Video
A viewer forgives a slightly odd hand. They do not forgive a character whose jacket changes color between shots. Consistency is what separates a demo reel from a finished piece.
Character consistency
Three techniques stack well. First, build a small reference set — front, three-quarter, and profile views of the character in consistent lighting. Second, lock the seed or reference identifier wherever the tool allows it. Third, generate from approved stills rather than text descriptions. When a model offers a character reference or subject-locking feature, use it, but still eyeball every frame; a locked character can drift in smaller details like eye color.
Style consistency
Style drift is subtler. One shot comes back slightly more saturated, another more painterly. Fix it in two places: keep a reusable style phrase that appears in every prompt, and finish with a color grade that pushes all shots toward one look. A simple adjustment layer with matched contrast, saturation, and a subtle film grain unifies clips that came from different models.
Continuity across cuts
Check screen direction: if a character exits frame right in shot one, they should enter frame left in shot two. Check eyelines. Check wardrobe, props, and time of day. These are old filmmaking rules, and they matter more with AI video, not less, because every shot is generated independently and nobody is watching continuity on set.
Assembly and Finishing: From Raw Clips to Delivery
Edit in a traditional editor, not in the generation tool. You need a timeline, tracks, audio meters, and the ability to trim to the frame.
Cut for rhythm, not for perfection
AI clips often have a weak final second where motion degrades. Cut before it arrives. A slightly shorter shot that ends cleanly reads better than a longer shot that melts. When a clip has one excellent moment and three mediocre seconds, use the excellent moment and cover the rest with a different angle or an insert.
Hide artifacts with coverage
Morphing faces, warping backgrounds, and rubbery props can usually be cut around. Shorten the clip, reframe with a crop, overlay a graphic, or drop in a cutaway to hands, a prop, or a wide shot. What you cannot cut around, mask or replace in post.
Sound is not optional
Audio carries more perceived quality than most creators expect. A clean ambience bed, a few well-placed foley hits, and music with a clear structure will make average visuals feel professional. It also masks small visual flaws by giving the eye something else to track. Add a temporary music bed as early as the rough cut; pacing decisions change once sound is present.
Finishing pass
Retime clips slightly if motion feels either sluggish or frantic, upscale to your delivery resolution if needed, apply the unifying grade, then mix audio to a consistent loudness target. Burn in or export captions depending on the platform. Deliver a master file plus platform-specific versions rather than re-exporting from an old project file later.
Quality Control: The Pre-Export Checklist
Run the same checklist every time. It takes ten minutes and prevents the embarrassment of a client spotting a six-fingered hand in the hero shot.
- Watch the full cut at normal speed, twice, without pausing.
- Scan for flicker, texture crawl, and frame-to-frame instability.
- Check hands, teeth, eyes, jewelry, and fine text — in that order.
- Verify any on-screen text is spelled correctly and rendered cleanly.
- Confirm audio sync on every dialogue or impact moment.
- Check safe areas so titles are not clipped on vertical platforms.
- Confirm the aspect ratio matches the destination.
- Make sure no watermark or tool artifact appears anywhere.
- Verify licensing for every model and stock element used.
- Check the first three seconds and the last three seconds separately; that is where errors hide.
Common Mistakes That Cost You Renders
Generating before writing. The most expensive mistake. Every hour of pre-production saves several hours of rerolling.
Cramming too much into one prompt. Complex scenes need to be split, not described harder.
Judging clips without sound. A clip that feels lifeless alone often works perfectly under music.
Changing several variables at once. You lose the ability to learn from the result.
Relying on one model for everything. Different shots have different strengths; a mixed pipeline beats loyalty to a single tool.
Leaving audio until the end. Pacing, duration, and even shot selection change once sound is in place.
Not versioning files. Name renders with the shot number, model, and take number. Future you will be grateful.
Expecting perfect lip sync. Treat dialogue as its own problem: generate the performance, then handle voice separately and cut to reactions, over-the-shoulder angles, or inserts when the mouth is visible.
Scaling the Workflow Across a Team
A solo creator can keep the pipeline in their head. A team cannot.
Define roles clearly: someone owns the creative direction and shot list, someone owns generation and prompt iteration, someone owns editing and sound, and someone owns quality control — ideally not the person who generated the shots, because fresh eyes catch more. On small teams these roles overlap, but the ownership should still be named.
Agree on a naming convention on day one. Something like project_shot04_v03_modelname tells everyone what a file is without opening it. Keep approved assets in an approved folder and never edit from the working folder.
Build reusable kits: a style guide with three to five standard prompt blocks, a small library of approved character and product references, a set of transition and title templates, and a sound kit with ambience beds and foley hits. These kits compound. The tenth project takes far less time than the first because the foundation already exists.
Finally, track your own numbers. How many generations per usable shot? How long does a finished minute of video take? What percentage of shots survive to the final cut? Once you know your ratios, you can estimate a project honestly and stop promising timelines based on hope.
FAQ
How long should a single AI video clip be?
Three to six seconds is the practical sweet spot for most models. Longer shots are usually better built from two shorter generations cut together.
Do I need an expensive machine to do this?
Not necessarily. Much of the heavy generation happens in the cloud, and editing 1080p footage is comfortable on a mid-range laptop with sufficient storage and memory.
How many takes should I plan per shot?
Budget three to five attempts per shot with a model you know, and more with a new one. Build that multiplier into your schedule rather than treating rerolls as failures.
Can I use AI-generated video commercially?
Often yes, but the terms differ by tool and by plan. Check the licensing for each model you use, keep a record of what generated each asset, and confirm the rules for the specific use case.
What is the fastest way to keep characters consistent?
Approve a still first, then animate from that still in every shot. Add seed locking and a character reference feature where available, and keep the wardrobe described identically every time.
Should I edit inside the generation tool or in a dedicated editor?
Use a dedicated editor. You need frame-accurate trimming, multiple audio tracks, and color tools that generation interfaces rarely provide at the level a finished piece requires.
Where should a beginner start?
Pick one short project — thirty seconds, six shots. Write the shot cards, generate from approved stills, cut it in an editor with music, and run the quality checklist. One complete cycle teaches more than twenty disconnected experiments.
How do I handle dialogue scenes?
Generate the visual performance first, then record or synthesize the voice separately. Cut to the listener, use wider framing, and reserve tight lip-sync shots for the moments that genuinely need them.
The through-line is simple: treat AI video as a production pipeline rather than a prompt lottery. Write the specification, test one variable at a time, keep the outputs consistent, and finish with sound and a checklist. Do that and the technology stops feeling unpredictable — which is exactly when it becomes useful.

Alexander
More Blogs
Read MoreVidu Q4 Alternatives: 4K AI Video Models Compared (2026)
Vidu Q4 alternatives compared: Kling 4.0, Seedance 2.5, Wan 3.0, and Runway Gen-4 — 4K support, input modes, durations, audio, and what each costs in credits on Domer.
Top 4K AI Image Generators in 2026: 5 Models Compared on Real Costs
The top 4K AI image generators on Domer compared: Flux 3 Klein, Nano Banana 2.1, GPT Image 2.5, GPT Image 2, and Nano Banana Pro — 4K credit costs, reference limits, and speed.
Nano Banana 2.1 vs GPT Image 2.5: Which Image Model Should You Use? (2026)
Nano Banana 2.1 vs GPT Image 2.5 Flare compared: credit costs per resolution, aspect ratios, reference images, text rendering, and which tasks fit each model.