

AI Visual Storytelling Workflow: From Script to Final Cut
Nov 13, 2026
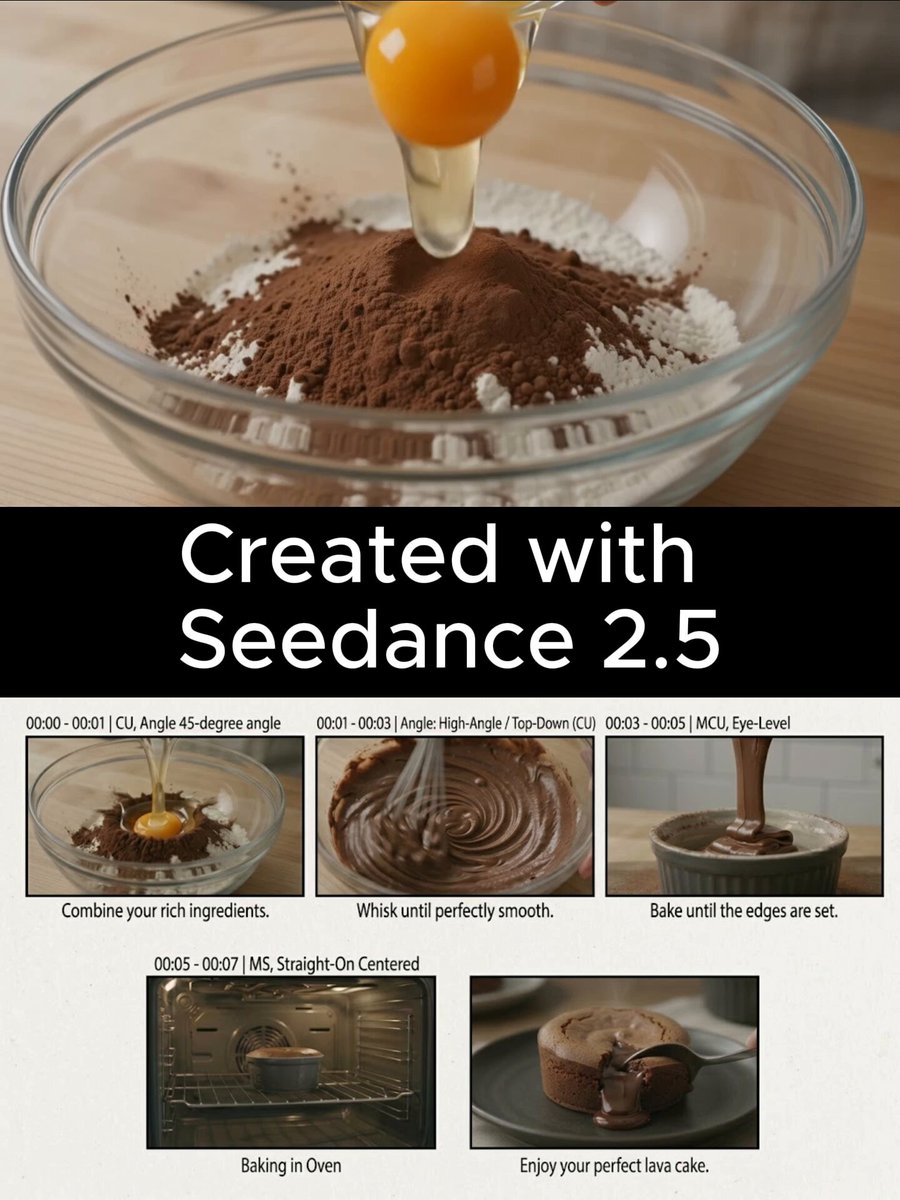
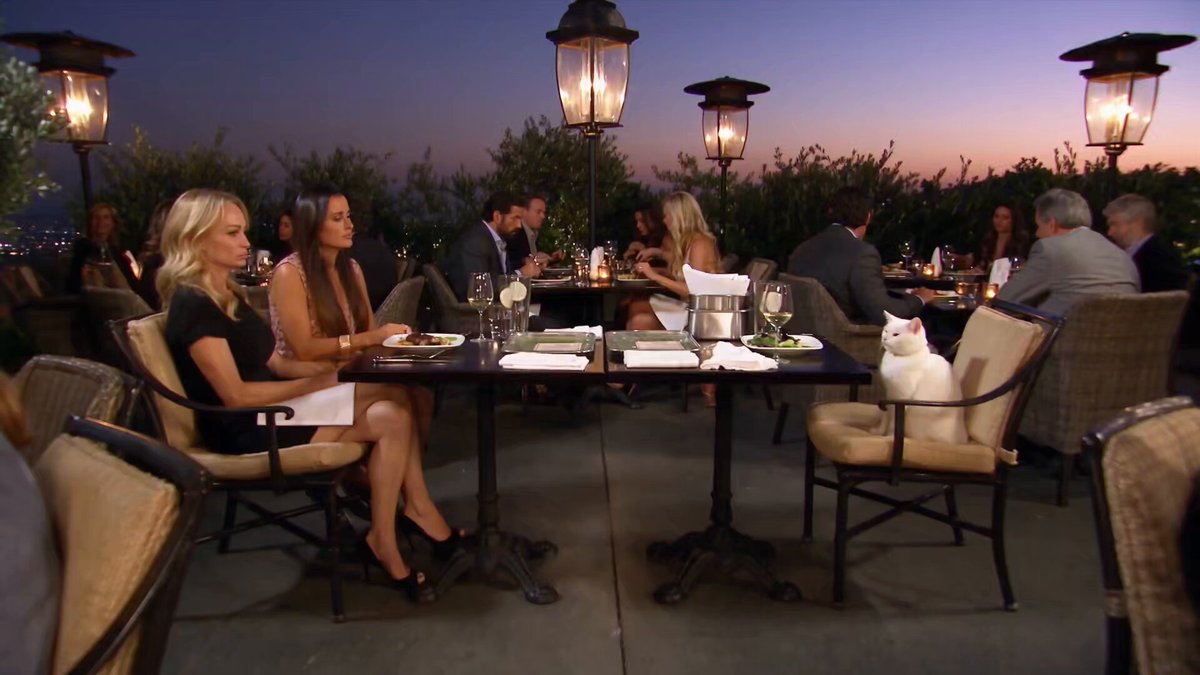
AI visual storytelling is not a magic button that turns a sentence into a finished film. It is a production method: a way to move from an idea, through visual planning, generation, selection, editing, and sound, until the audience feels something. The useful shift is not that machines can make images. The useful shift is that small teams can now test more visual ideas, build animatics faster, and iterate on mood, pacing, and perspective before committing to an expensive shoot. That is where AI becomes a narrative tool rather than a novelty.
This guide outlines a neutral AI video workflow that works for short films, brand documentaries, explainers, social campaigns, and experimental narratives. It focuses on craft decisions, review habits, and practical checkpoints. The goal is not to remove human judgment. The goal is to put human judgment where it matters most: story, performance, rhythm, and meaning.
Why AI changes visual storytelling without replacing the story
Every visual story depends on a simple contract with the audience. The viewer agrees to follow a character, a question, or a tension for a period of time. If the visuals are beautiful but the contract is unclear, the piece feels like a demo reel. If the story is strong but the visuals are flat, the piece may still work, but it leaves potential on the table.
AI is most valuable in the middle of that contract. It helps you explore how a scene could look, how a character could move, how a location could feel, and how one shot could connect to the next. It is less valuable when it is asked to invent the story from nothing. A prompt is not a screenplay. A generated clip is not a scene. A scene is a unit of change: someone wants something, something gets in the way, and the audience learns something new.
The practical advantage of AI video tools is speed of visual thinking. You can go from a paragraph to a shot board in an afternoon. You can test a warm nostalgic grade against a cold documentary grade. You can see whether a chase sequence needs three shots or seven. That speed is useful only when it is attached to a clear narrative question. Before opening any tool, write down the question your video answers. For example: will the athlete recover, will the family reconcile, how does the product change a daily routine, or what does the city feel like at dawn?
A second advantage is access. A solo creator can now build a convincing period scene, a fantasy landscape, or an abstract sequence without a full crew. That access comes with responsibility. Generated footage can look polished while hiding weak transitions, inconsistent characters, and unclear geography. The workflow below is designed to catch those problems early.
Stage 1: Build a story spine before opening any AI tool
The first stage is intentionally low-tech. Use a notes app, a whiteboard, or a script editor. The output should be a story spine: a short document that defines the promise, the beats, and the visual logic of the piece.
Start with a one-sentence promise
Write one sentence that describes what the viewer will experience, not what the video contains. Weak: a video about coffee. Stronger: a quiet morning ritual that makes a crowded city feel human. The sentence becomes a filter for every later decision. If a generated shot is spectacular but does not serve that promise, cut it.
Build a beat sheet, not a shot list yet
A beat sheet lists changes in emotion, information, or stakes. For a 60-second piece, five to eight beats are usually enough. For a longer narrative, each act should have a clear turn. Avoid writing camera directions at this stage. Camera directions are solutions. Beats are problems. You want to know what the audience needs to feel before you decide whether a close-up, a wide shot, or a sound cue will create that feeling.
Define three visual motifs
Motifs are repeated visual ideas that create cohesion. They can be colors, textures, shapes, camera movements, or recurring objects. A story about memory might use reflections, windows, and soft focus. A story about pressure might use tight framing, hard shadows, and handheld movement. Three motifs are enough. More than that becomes visual noise.
Write a narration or dialogue draft
Even if the final piece has no voiceover, write the words the audience would need to understand the story. This exposes gaps. If the visuals are doing all the work, the draft will feel thin. If the draft is doing all the work, the visuals may be decorative. The best AI-assisted stories use words and images to carry different parts of the meaning.
Stage 2: Turn the script into a shot and style bible
A style bible is a compact reference document that keeps a production coherent. It should be practical enough to use during generation and specific enough to settle arguments later.
Create a shot list with narrative purpose
For each shot, note four things: what the audience needs to see, what changes, how long it should feel, and what comes before and after. A shot that only establishes atmosphere should be marked as such. A shot that reveals a clue should be protected in the edit. This prevents the common mistake of generating attractive clips and then trying to force a story out of them.
Collect style references legally and thoughtfully
Use mood boards for lighting, color, texture, composition, and movement. Do not ask for a living artist's exact style. Instead, describe the qualities you want: soft northern light, muted earth tones, shallow depth of field, slow lateral movement, documentary framing. This is better for originality and clearer for the tools you use.
Write continuity fields
Characters, locations, props, and lighting need consistent descriptions. Build a simple table with columns for name, age range, wardrobe, hair, distinguishing features, palette, and emotional range. For locations, note time of day, weather, architecture, key objects, and allowed camera angles. These fields become prompts, review criteria, and edit notes. They also make it easier to spot when a generated shot breaks the world of the story.
Stage 3: Generate stills and animatics for visual proof
Before generating motion, prove the story with still images. Stills are cheaper to review, easier to compare, and less likely to hide weak composition behind movement. Use an image generator to create key moments, character looks, and location tests. Then assemble them into an animatic with temporary music and scratch narration.
Use a prompt structure that separates decisions
A useful prompt has layers: subject, action, environment, camera, lighting, color, texture, and mood. For example: a lone cyclist in a rain-soaked market street at dusk, seen from a low side angle, warm shop lights against blue evening light, wet asphalt reflections, documentary realism, quiet tension. This is more controllable than a long poetic paragraph because each layer can be adjusted independently.
Review for story clarity first
When reviewing stills, ask whether you understand the shot without explanation. Can you tell who is important? Is the eyeline clear? Does the background compete with the subject? Does the color support the emotion? A beautiful image that confuses the viewer is not a successful story image. Mark the best options, note why they work, and discard the rest quickly.
Build a temporary soundtrack early
An animatic with temp music reveals pacing problems that a shot list cannot. A scene that feels tense on paper may feel slow with the wrong track. A joyful sequence may feel sentimental. Use temporary sound to test rhythm, then replace it later. The point is to feel the edit before you spend time generating final motion.
Stage 4: Move from stills to motion with image-to-video
Once the animatic works, begin generating motion from selected frames. Image-to-video is usually more controllable than text-to-video because you are anchoring the model to a composition you already approved. Use motion prompts to describe camera behavior and subject movement, not to reinvent the scene.
Choose the right kind of motion
Not every shot needs dramatic movement. A slow push-in can increase intimacy. A lateral track can reveal context. A handheld drift can create unease. A locked-off frame can let a performance breathe. Match the movement to the beat. If the scene is about a decision, a slow push may be stronger than a sweeping drone shot. If the scene is about scale, movement can help, but the cut before and after matters just as much.
Generate in small batches with a clear hypothesis
Do not generate fifty variations and hope. Generate three to five variations around a specific question: is the character's expression readable, does the camera move feel natural, does the background hold up, does the lighting match the previous shot? Compare the results side by side. Keep notes. A shot that works in isolation may fail in sequence because the movement direction flips or the color temperature jumps.
Protect the edit with handles and cut points
Generate a little extra footage before and after the key action. This gives the editor room to trim. When a clip has no handles, the cut feels abrupt. When a clip has too much dead time, the editor wastes hours. Aim for clean entry and exit points: the action begins just after the first frame and resolves before the last frame.
Stage 5: Keep characters, locations, and lighting consistent
Consistency is the difference between a collection of clips and a scene. It is also one of the hardest parts of AI video. The solution is not a single magic prompt. It is a system of references, review, and restraint.
Build character sheets that survive different angles
A character sheet should include front, three-quarter, and profile views, plus neutral expressions and one extreme emotion. Note wardrobe details, hair behavior, skin texture, and posture. When generating a new shot, reference the closest approved image and describe only what changes. If the character turns from left to right, keep the same lighting direction and lens feel. If the wardrobe changes, make the change part of the story, not an accident.
Treat locations as sets, not backdrops
Draw a simple floor plan. Mark where the door, window, table, and light sources are. This helps you avoid impossible geography. If a character enters from the left, the next shot should respect that direction. If the sun is behind the character in a wide shot, it should not be in front of them in the close-up unless time has passed or the location has changed.
Use color scripts for emotional continuity
A color script is a sequence of small color blocks or thumbnails that shows how the palette shifts across the story. It can reveal whether every scene looks the same or whether the color arc supports the emotional arc. Keep saturation, contrast, and color temperature notes in the style bible. A warm scene and a cold scene can coexist, but the transition should be motivated.
Stage 6: Assemble, sound, and edit for narrative rhythm
Editing is where AI visual storytelling becomes a film. A sequence of strong clips can still fail if the rhythm is wrong. Start with the story spine and the animatic, then replace shots one by one. Do not fall in love with a clip just because it took a long time to generate.
Cut for change, not for beauty
Every cut should create a change: new information, new emotion, new location, new time, or new tension. If two shots say the same thing, keep the stronger one. If a shot is beautiful but does not change anything, use it as a brief transition or cut it. The audience does not need to see every good frame. They need to feel the story move.
Use sound to bridge generated gaps
AI video often produces small imperfections: a hand that moves strangely, a background that shifts, a face that loses expression. Sound can cover some of these issues, but it should not be used to hide a broken story. Use room tone, footsteps, fabric movement, and environmental sound to create continuity. A well-placed sound effect can make a cut feel intentional. A wall-to-wall music track can make every cut feel arbitrary.
Mix for clarity before drama
Dialogue and narration should be intelligible on phone speakers. Music should support, not compete. Sound effects should be specific. A door closing in a quiet room feels different from a door closing in a storm. Build a simple mix hierarchy: voice first, story-critical effects second, atmosphere third, music fourth. Then adjust for emotion.
Stage 7: Review, revise, and deliver without losing the story
Review is not a final polish. It is a continuous habit. Use a simple review matrix: story clarity, visual consistency, emotional impact, technical quality, and runtime. Score each category from one to five. A low story score cannot be fixed by color grading. A low consistency score needs new references, not more effects.
Run a cold-watch test
Show the cut to someone who has not read the script or seen the mood board. Ask them to retell the story in one sentence. If their summary misses the main point, the edit needs work. If they remember a visual moment but not the character, the story is not landing. If they ask what happened in a specific transition, fix the geography or add a sound bridge.
Check technical delivery early
Confirm aspect ratio, frame rate, resolution, captions, loudness, and color space before the final export. Different destinations have different requirements. A vertical social cut may need larger captions and tighter framing. A festival or client review may need a clean master with no temporary titles. Keep a shot log with source references so you can revisit a clip without rebuilding the entire sequence.
Protect the emotional ending
The ending is where many AI-assisted videos collapse. Creators often add one more beautiful shot, one more music swell, or one more explanation. Resist that. End on the change. Let the audience complete the feeling. A quiet final frame can be more powerful than a spectacular one if it resolves the story question.
Common mistakes in AI visual storytelling and how to avoid them
One common mistake is starting with tools instead of story. If the first decision is which generator to use, the project is already drifting. Start with the promise and the beat sheet, then choose tools that solve specific problems.
A second mistake is confusing consistency with repetition. Characters should feel like the same person, not like copies of the same pose. Locations should feel like the same place from different angles, not like the same background image. Use references to preserve identity, but allow performance, framing, and lighting to change.
A third mistake is over-generating. More clips do not automatically create a better film. They create more decisions, more storage, and more temptation to use footage that does not serve the story. Set a generation limit per shot and stick to it unless the shot is structurally important.
A fourth mistake is ignoring sound until the end. Sound is half of visual storytelling. A rough sound pass early in the edit will reveal pacing problems, clarify geography, and make generated footage feel more real. Do not wait until picture lock to discover that the scene has no atmosphere.
A fifth mistake is using spectacle to cover weak emotion. A sweeping landscape, a glowing portal, or a dramatic camera move can impress for a moment, but it cannot replace a character who wants something. If a scene feels empty, ask what the character is risking. If the answer is unclear, the scene needs writing, not more rendering.
FAQ: practical decisions for AI video storytelling
Do I need a full script before generating visuals?
You need a story spine, not necessarily a full screenplay. A one-sentence promise, a beat sheet, and a clear ending are enough to start testing visuals. For dialogue-driven work, write the dialogue first. For atmospheric work, write the emotional arc first. The important thing is to know what the audience should feel at each turn.
How many generated clips should I make per shot?
Usually three to five focused variations are enough to learn whether a shot works. If none of them work, the problem is likely the concept, the reference, or the transition around the shot, not the number of attempts. Review the shot in the animatic before generating more.
How do I keep a character consistent across shots?
Use a character sheet, approved reference images, and precise continuity notes. Describe only what changes in each shot. Keep lighting direction, wardrobe, hair, and facial features stable. Review the sequence side by side, not one clip at a time, because consistency problems are easier to see in context.
Can AI video replace a camera crew?
It can replace some production steps for some projects, especially animatics, abstract sequences, social content, and visual tests. It does not replace the judgment of a director, editor, sound designer, or performer. The strongest results usually combine generated footage with practical elements, stock footage, motion graphics, or live-action plates.
What is the best way to learn this workflow?
Make short finished pieces, not endless tests. Give yourself a one-minute constraint, a clear story question, and a deadline. Complete the full workflow: script, shot list, stills, animatic, motion, edit, sound, and review. Finishing teaches more than generating hundreds of isolated clips.
How do I avoid a fake or generic look?
Specificity helps. Use particular locations, textures, behaviors, and sounds. Avoid vague mood words without visual evidence. Add imperfections: uneven light, weather, background activity, worn surfaces, natural pauses. Treat the frame as a place where something is happening, not as a poster. The more specific the story, the less generic the result.
The most durable AI visual storytelling workflow is still a storytelling workflow. Write the promise. Build the beats. Protect continuity. Review in sequence. Use sound to carry meaning. Finish the piece. The tools will keep changing, but the audience will always respond to clarity, tension, and emotional truth.

Alexander
More Blogs
Read MoreHow to Get YouTube Transcripts Reliably After Platform Changes
Learn reliable ways to retrieve or regenerate YouTube transcripts after platform restrictions, with ASR workflows, quality checks, and SEO uses.
After Effects Speed Changes in a Premiere Pro Workflow
Learn how to sync speed changes between Premiere Pro and After Effects, avoid timing drift, manage Dynamic Link, and build a reliable retiming workflow.
A Practical Guide to Optimizing 360 Video Workflows
Build a faster 360 video workflow in After Effects with projection setup, seam fixes, AI asset integration, motion matching, caching, and delivery checks.