

Black Screen Video Effects: Using Contrast as a Style Tool
Nov 11, 2026

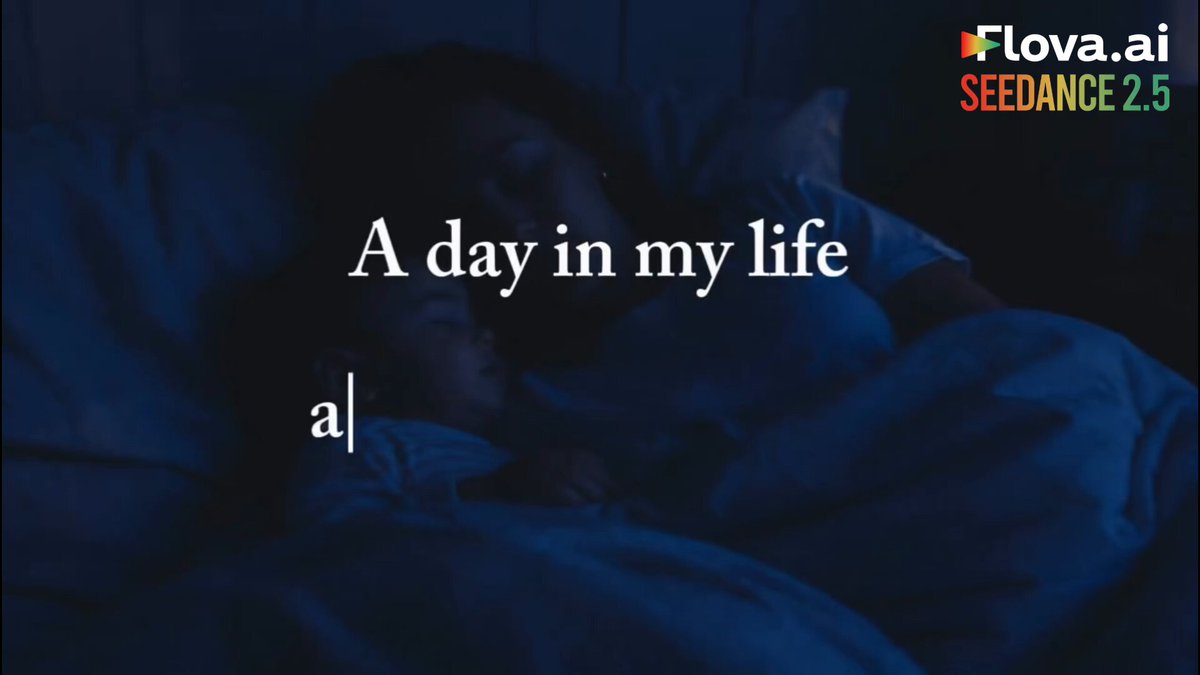

A Black Frame Is a Creative Decision, Not a Rendering Error
Every editor has felt the small panic of a video that suddenly goes dark. A dropped frame, a failed export, a buffer that never resolves — black usually means something broke. That instinct is exactly why deliberate blackouts are so powerful. When an audience has been trained to read darkness as absence, a controlled cut to black reads as intent, and intent is what holds attention.
In AI-assisted video production, that instinct gets amplified. Generative models are trained to fill the frame with detail: texture, motion, light, subject. Ask for a moody scene and you will often get fog, rim light, drifting particles — everything except emptiness. Producing a clean, intentional black screen means working against the model's bias toward abundance, and that turns out to be a planning problem more than a prompting problem.
This guide covers both the craft and the workflow: what a blackout does to viewers, where it belongs in a cut, how to generate or assemble one reliably in an AI pipeline, and the mistakes that make darkness read as a glitch instead of a beat.
What a Stylistic Blackout Does to an Audience
Darkness is the cheapest effect in video and one of the hardest to use well. It costs nothing to render and everything to misjudge. Understanding why it works is what separates a deliberate pause from a broken file.
It resets attention
Viewers habituate fast. After fifteen or twenty seconds of continuous motion, the eye starts predicting, and prediction is the beginning of boredom. A single frame of black breaks the prediction loop. It is the visual equivalent of a breath between sentences — the pause does not carry information, but it makes the information that follows legible.
This is why blackout transitions work so well in short-form vertical video, where there is no room for a slow establishing shot. A quarter-second of black between two hard-cut visuals acts as a soft reset without slowing the pace.
It creates weight
A cut from a bright scene to black forces the viewer to hold the previous image in memory a fraction longer. That lingering is where emotion lands. If a character walks out of frame and the shot holds on darkness for half a second before the next scene, the emptiness reads as consequence. Cut immediately and the same moment reads as procedure.
It marks structure
Black is the strongest chapter break available without adding a graphic. In a longer piece — a brand film, a documentary segment, a tutorial with distinct modules — a two-second fade to black tells the viewer something ended and something else is beginning, without a single word of text. Used consistently, it trains the audience to expect a new idea on the other side.
Five Places a Black Screen Earns Its Keep
Blackouts are not a universal seasoning. They belong in specific structural moments. Here are the situations where they consistently pay off.
Cold opens and title cards. Starting on black for a moment before the first image gives the viewer a beat to settle. It also makes the first frame feel like an arrival rather than a continuation of whatever was on screen a second ago. In a feed environment where your video autoplays next to someone else's, a brief black hold is a visual separator that actually helps.
Punctuation between scenes. Two shots with nothing between them read as continuous. Two shots separated by six frames of black read as two events. That distinction is the entire grammar of montage, and it is available for free.
Text-only beats. When a key line of copy needs to land — a date, a claim, a single word — putting it on pure black removes every competing element. Nothing else is happening, so the viewer has no choice about where to look. This is the most reliable way to make a small piece of text feel important.
Sound-led sequences. A black screen with audio over it is one of the most underrated tools in video. A door closing, a heartbeat, a voice mid-sentence: with no image, the ear takes over and the imagination fills the frame. Done once in a piece, it is arresting. Done five times, it is a gimmick.
Endings. Ending on black for a full second or two before a logo or a closing line lets the final image breathe. Ending on a hard cut to the next piece of content feels abrupt, and abruptness at the end is where viewers drop off.
Generating Blackouts in an AI Video Workflow
There are four practical ways to get a black screen into an AI-assisted edit. They are not interchangeable — each has a different failure mode and a different place in the pipeline.
Method one: prompt for the blackout directly
Some models will honor an explicit instruction like "fade to pure black, no visible detail, hold for one second." This works best as an extension of an existing shot rather than a standalone generation, because the model has context for how the light should fall off. Expect to generate several attempts; models frequently add a faint gradient or a single lingering highlight where you asked for nothing.
Method two: generate clean plates and cut in the edit
This is the most controllable approach. Generate your shots with a little extra head and tail room, then place the black frames in your editor, where you control exact duration down to the frame. A black clip is trivially easy to make: a solid color generator, a still image, or simply a gap with the background set to black. The craft is in the timing, not the asset.
Method three: generate a fade and trim it
Ask for a gradual fade to darkness at the end of a shot, then trim the clip so the fade stops exactly where you want it. This gives you the organic lighting falloff of a real fade without depending on the model to understand duration. It also lets you reuse the same fade across multiple shots for consistency.
Method four: composite black as a layer
If you are assembling in a compositing tool, a black solid on top of your footage with opacity animated from 0 to 100 is the most precise fade available. This is also the easiest way to build a reusable template: one fade curve, applied wherever the cut needs it.
Prompt Patterns for Deliberate Darkness
The wording matters more than most people expect. Models respond to specific descriptions of what should not be there. A few patterns that consistently produce cleaner results:
End the shot on complete darkness. No light source, no visible
subject, no grain, no gradient. Hold black for one second.
Transition: the camera pushes into an unlit corridor. Light falls
off gradually until the frame is uniformly black. No texture visible
in the final frames.
Generate a single frame: solid black, RGB value 0,0,0, no vignette,
no noise, no compression artifacts.
Three rules emerge from these patterns. First, name the absence explicitly — "no grain," "no gradient," "no vignette" — because most models will otherwise infer those as cinematic qualities. Second, describe the motion into darkness rather than the darkness itself; transitions read better than static states. Third, if you need a truly clean black frame, generate it as a still rather than as video, where compression will fight you.
A useful habit is to keep a single verified black frame in your project as a reference asset. One clean 0,0,0 frame, saved once, reused everywhere, removes an entire category of inconsistency.
Designing the Rhythm: Duration, Frequency, Placement
Duration is where most blackouts fail. Too short and it reads as a stutter; too long and it reads as an error. The good news is that the useful range is narrow and learnable.
| Duration | Effect | Best used for |
|---|---|---|
| 1–2 frames | Subliminal blink | Punching a hard cut, hiding a jump |
| 6–12 frames | Rhythmic beat | Montage punctuation, quick transitions |
| 12–24 frames | Clear pause | Scene change, text reveal |
| 1–2 seconds | Deliberate pause | Chapter break, emotional hold |
| 3+ seconds | Statement | Opening title, sound-led moment |
Placement matters as much as length. A blackout immediately after a strong image reads as an ending; the same blackout before a strong image reads as a setup. Decide which one you want before you drag the clip in.
Frequency is the silent killer. The first blackout in a video is a surprise. The third is a pattern. The sixth is an annoyance. As a rough guideline, a thirty-second piece can carry two to three blackouts comfortably; a two-minute piece rarely needs more than four or five. If you find yourself reaching for blackout transitions on every cut, the underlying problem is probably that your shots are not distinct enough from each other — fix the shot design and the transitions will become unnecessary.
One more principle worth internalizing: blackouts work best when they contrast with density. If the surrounding footage is already sparse, slow, and dim, cutting to black adds nothing. Save the darkness for after the busiest moment in the sequence.
Sound Design Is Half the Effect
A visual blackout with continuous audio reads as a picture dropout. A visual blackout with a change in the audio reads as an edit. The audio tells the viewer whether the darkness was chosen.
Three approaches cover most situations. Cutting audio to silence at the same frame as the picture creates a vacuum that feels intentional and slightly uncomfortable — useful for tension. Letting the audio carry across the blackout while the picture disappears creates continuity, which works well for scene transitions where time passes. And pulling the audio down to a low room tone under the black makes the moment feel like a held breath rather than a stop.
If you are generating audio separately, plan the blackout into the sound pass rather than retrofitting it. A riser that resolves into a hit on the frame the picture returns is dramatically more effective than the same blackout with a flat music bed running through it.
Common Mistakes That Make Blackouts Look Accidental
Fading to a dark gray. Pure black and near-black are different experiences. Most compression and most displays will render a 5% gray fade as a subtle glow, which reads as an unfinished render rather than a choice. Push all the way to zero.
Leaving a single highlight. A faint rim light or a flickering pixel in the corner of the frame undoes the whole effect, because the eye locks onto it. Inspect your black frames at full brightness and crop or mask anything that survives.
Mismatched fade curves. If one fade takes eight frames and the next takes fourteen, the rhythm feels sloppy even if nobody can name why. Standardize your fade durations in the project settings and reuse them.
Using black where white would be better. White flashes and black dips do different jobs. Black swallows and separates; white jolts and accelerates. In fast-paced content, a white flash often communicates energy more effectively than a dip to black.
Forgetting the return. The frame that comes back from black carries more weight than the frame that left it. If the shot after the blackout is visually similar to the shot before it, the pause feels pointless. Payoff beats setup.
A Worked Example: A Thirty-Second Teaser
Here is how the pieces fit together in a real sequence.
0:00–0:01 — Full black, low room tone, a single sound cue. Nothing on screen. This buys attention in a feed where every competitor starts with motion.
0:01–0:06 — Hard cut into the densest visual in the piece: fast movement, bright highlights, saturated color. No title yet.
0:06–0:06.5 — Twelve frames of black with the music continuing. The viewer's eye resets without the momentum breaking.
0:06.5–0:14 — Second visual block, slightly slower. The pacing drop signals that the piece is building toward something rather than winding down.
0:14–0:16 — A one-and-a-half-second blackout with a single line of text: four words, centered, high contrast. The audio drops to near silence. This is the piece's claim.
0:16–0:26 — The payoff sequence. Full color, full motion, music at its peak. Because the frame was empty two seconds ago, the density hits harder.
0:26–0:30 — Fade to black, hold for a full second, then a closing line. The final hold is what makes the piece feel finished rather than cut off.
Three blackouts, four visual blocks, one deliberate rhythm. Nothing in that structure required a complicated render — it required deciding where the empty frames go before generating anything.
FAQ
Can AI models generate a pure black frame reliably?
Not always as video. A single-frame still is much more dependable, because video models tend to introduce compression noise or a faint gradient in flat areas. Generate or create one clean black still, verify the pixel values, and reuse it as an asset rather than regenerating it each time.
How long should a blackout last in short-form vertical video?
Roughly six to twelve frames for rhythmic punctuation, and up to one second when a line of text needs to land. Anything beyond a second and a half in a fifteen-second piece typically reads as a mistake rather than a choice.
Is a dip to black the same as a fade to black?
In practice, people use them interchangeably, but the distinction is useful: a dip goes down to black and comes back up, often within the same transition, while a fade goes to black and the next scene begins from black. Dips feel like punctuation inside a sequence; fades feel like chapter breaks.
Why does my blackout look like a glitch?
The usual culprits are a fade that stops at dark gray instead of true black, a leftover highlight in the frame, or audio that continues unchanged through the cut. Fix any one of those three and the moment instantly reads as intentional.
Can I use blackouts in tutorials and product demos?
Yes, and they are underused there. A half-second blackout before a key step, or before a spec callout, gives the viewer a visual bookmark. In instructional content, blackouts function like paragraph breaks in a document — they help people find their place again after looking away.
Start With the Cut, Not the Model
The most common mistake in AI video work is starting with what the tool can do. Black screens are a good corrective because the tool has almost nothing to contribute. The effect lives entirely in the edit: a decision about where the viewer should pause, how long they should pause, and what they should see when they come back.
So build the rhythm first. Sketch your sequence as blocks on a timeline, mark the empty spaces, then generate the footage that fills them. Keep one verified black frame in your asset library, standardize your fade lengths, and treat the audio as part of the transition rather than an afterthought. Do that, and a plain black rectangle becomes one of the most precise storytelling tools in your entire project.

Alexander
More Blogs
Read MoreHow to Get YouTube Transcripts Reliably After Platform Changes
Learn reliable ways to retrieve or regenerate YouTube transcripts after platform restrictions, with ASR workflows, quality checks, and SEO uses.
After Effects Speed Changes in a Premiere Pro Workflow
Learn how to sync speed changes between Premiere Pro and After Effects, avoid timing drift, manage Dynamic Link, and build a reliable retiming workflow.
A Practical Guide to Optimizing 360 Video Workflows
Build a faster 360 video workflow in After Effects with projection setup, seam fixes, AI asset integration, motion matching, caching, and delivery checks.