
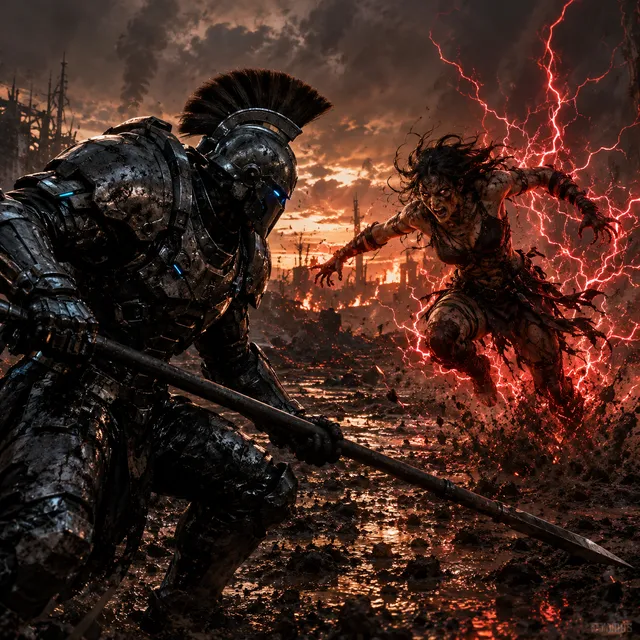
Cinematic AI: A Practical Guide to AI Visual Storytelling
Oct 13, 2026
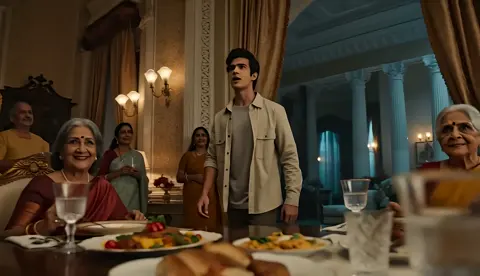
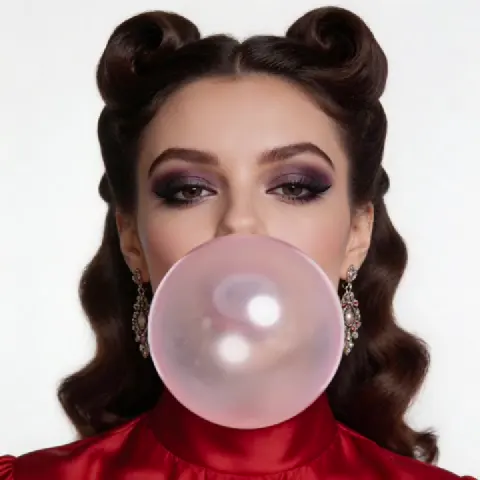
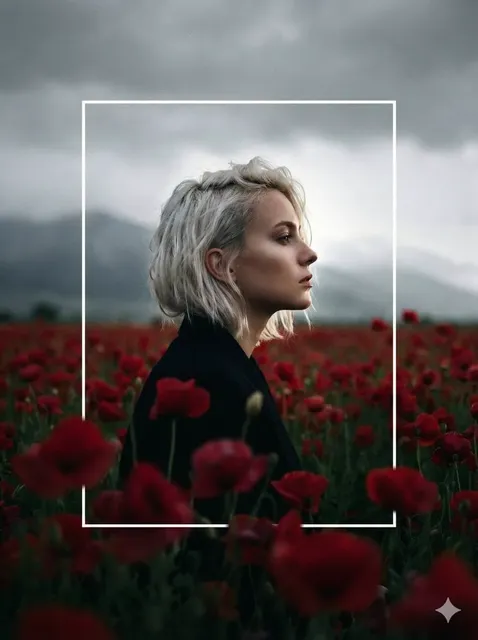
Why Cinematic AI Changes the Craft, Not Just the Toolset
Cinematic AI is not a button that produces a film. It is a production layer that sits between an idea and a finished moving image, and like every production layer before it — the matte painter, the steadicam, the color suite — it changes who can make what, and how quickly. A single creator with a laptop can now produce a coherent sixty-second sequence with controlled camera movement, consistent character appearance, and a graded look that would previously have required a crew, a location, and a week of scheduling.
What actually changes is where the bottleneck sits. Production capacity is no longer the limiting factor for most small teams. The new constraints are taste, structure, and judgment: knowing which shots matter, which generations to discard, and how the sequence should feel in the first ten seconds. Tools that generate footage are abundant; the scarce skill is the ability to direct them.
That reframing matters because it changes how you spend your time. Beginners spend hours re-rolling prompts hoping for a lucky frame. Experienced creators spend that time on a beat sheet, a shot list, and a consistent visual reference, then generate with intent. The output difference is enormous, and it has almost nothing to do with which model is trending.
This guide walks through the full workflow: pre-production, model selection, prompting, consistency, sound, editing, delivery, and the ethical questions that come with synthetic imagery. It is written for anyone producing narrative shorts, brand films, music videos, explainers, or social-first vertical content.
Start With Story: Pre-Production That AI Cannot Replace
Generative tools reward clarity. Vague intentions produce vague frames, and vague frames cannot be fixed in the edit. Pre-production for AI video is faster than traditional pre-production but not optional.
Write the premise in one sentence
Before opening any tool, write the premise as a single sentence with a subject, a desire, and an obstacle. "A lighthouse keeper discovers the beam is answering back" is a premise. "Cool ocean visuals" is not. Every later decision — shot size, color, pacing — should be justifiable against that sentence.
Build a beat sheet before a shot list
A beat sheet maps emotional turns, not images. For a ninety-second piece, eight to twelve beats is usually right. Each beat should be describable in one line and should change something: new information, new pressure, new location. If two consecutive beats do the same job, cut one. This is where AI-native projects most often fall apart — people generate beautiful clips that do not accumulate into anything.
Convert beats into an AI-friendly shot list
AI generation favors simple, continuous, single-action shots. Split complex actions into fragments. "She runs through the market, grabs the letter, and turns to see the train" becomes three shots, each with one subject and one motion.
A workable shot list format includes: shot number, beat, shot size (wide, medium, close), camera move (static, slow push, handheld drift, orbit), subject action, lighting condition, and duration in seconds. This list becomes your generation queue and your editing plan at the same time.
Lock your visual references first
Collect ten to twenty reference stills for palette, texture, and lens character. These references do more for consistency than any prompt trick, because they give you something concrete to compare against when a generation comes back slightly wrong.
Choosing the Right Generator for the Shot You Need
There is no single best tool; there is a best tool per shot. Matching the tool to the shot type prevents most wasted effort.
Text-to-video, image-to-video, and video-to-video
Text-to-video is fastest for exploratory shots where the exact composition is negotiable: establishing landscapes, abstract transitions, atmospheric inserts.
Image-to-video gives you far more control because you approve the first frame before motion begins. Use it for anything with a specific composition, a character who must look consistent, or a product that must be recognizable.
Video-to-video and motion-transfer tools are for restyling existing footage or transferring a performance from a reference clip. They are excellent for stylized sequences and risky for anything requiring frame-accurate continuity.
When to start from a still
If a shot contains a face, a logo, a specific wardrobe, or a precise prop, start from a still. Generate or photograph the still, refine it until it is exactly right, then animate. This two-step approach costs a few extra minutes and prevents the most common failure mode: a perfect motion attached to a wrong-looking subject.
Decision criteria
| Need | Better starting point |
|---|---|
| Fast exploration of mood | Text-to-video |
| Character continuity across shots | Still image, then animate |
| Specific camera movement | Image-to-video with motion prompt |
| Restyling existing footage | Video-to-video |
| Precise timing and rhythm | Generate longer, cut shorter in edit |
One practical habit: keep a simple log of every generation that worked, with the model name, prompt, seed if available, and any reference image used. After fifty generations you will have a personal playbook that is more valuable than any generic prompt list.
Prompting Like a Director: Language That Shapes Camera and Light
A prompt is not a wish; it is a shot description. It should read like something a first assistant director could act on.
The five-part shot prompt
A reliable structure has five parts, in this order:
- Subject — who or what, with one or two distinguishing details.
- Action — a single continuous motion in present tense.
- Environment — location, time of day, weather, atmosphere.
- Camera — shot size, angle, movement, lens feel.
- Look — lighting quality, palette, texture, film stock or grade reference.
An example: "A woman in a weathered green raincoat walks slowly toward the camera along a wet pier at dawn; medium shot, eye level, slow forward tracking; overcast soft light, desaturated teal and grey palette, fine grain, anamorphic flare."
Notice what is absent: no emotional adjectives, no narrative backstory, no request for a plot. Models render what is visible.
Motion, light, and grade vocabulary
Build a short personal vocabulary list and reuse it. For camera: static, slow push in, pull back, handheld drift, low orbit, crane up, whip pan. For light: golden hour backlight, hard noon sun, soft window light, neon practicals, single-source chiaroscuro. For grade: warm highlights with cool shadows, bleach bypass, high-contrast monochrome, pastel low-contrast.
Consistent vocabulary produces consistent output. Changing five adjectives between generations is the fastest way to lose continuity.
Iteration loops and seed discipline
Change one variable per iteration. If a shot is close but the framing is wrong, adjust only the camera clause. If you change camera, light, and wardrobe at once and the result improves, you will not know which change did the work — and you will not be able to reproduce it tomorrow.
Most generators support a seed or reference identifier. When a shot works, record the seed immediately. Reusing a seed with a small prompt change is the most efficient way to build a family of related shots.
Consistency: Keeping Characters, Wardrobe, and Locations Stable
Consistency is the difference between a sequence that reads as a film and a sequence that reads as a demo reel. Three things must stay stable: the face, the wardrobe, and the space.
Character. Create a single reference image that fully satisfies you, then use it as the anchor for every shot featuring that character. Describe the character in identical words every time — same hair length, same coat, same scar, same age. Do not paraphrase. Models respond to exact repetition.
Wardrobe and props. Treat costume as a fixed asset list. If the character wears a red scarf in shot three, the phrase "red scarf" belongs in every prompt where the scarf is visible. Slight color drift between shots is one of the most noticeable continuity errors.
Location. Establish each location with a wide shot early. Return to that wide periodically so the audience re-anchors. When cutting between interiors, keep the light direction consistent; if the window light comes from the left in one shot, it should not come from the right in the next.
The two-shot test. Before committing to a full sequence, generate two shots of the same character in the same space. If they read as the same person in the same room, your pipeline works. If not, fix the reference and prompt before generating twenty more shots.
Sound, Rhythm, and the Edit
AI-generated footage is silent, and silence is where most AI films fail. Sound design carries more emotional weight than image quality in short-form work.
Start with a scratch track: a single music bed that matches the intended tempo. Cut the picture to that tempo. Then layer ambience — room tone, weather, distant traffic, machinery — under every shot. Ambience prevents the jarring "sterile" quality that unmixed AI clips often have.
For dialogue, options range from synthesised voices to recording your own. Whichever route you take, cut for performance, not for lip sync perfection. If a line lands emotionally, small sync imperfections read as style; if it does not land, perfect sync will not save it.
Pacing rules that work well for AI footage:
- Keep most shots between two and four seconds. Longer shots expose small motion artifacts.
- Use one longer hold — five to seven seconds — at the emotional peak, where the audience is most forgiving.
- Cut on motion whenever possible. A cut in the middle of a gesture hides continuity gaps.
- Vary shot size every two or three cuts to keep the eye engaged.
Color grading is the final unifier. Even a light grade that matches contrast and saturation across all shots makes disparate generations feel like one film. Keep a reference frame on screen while grading each clip.
A Practical End-to-End Workflow
Here is a workflow that scales from a fifteen-second social clip to a three-minute narrative short.
Step 1 — Concept (30–60 minutes). Premise, beat sheet, mood board, and a written look-and-feel paragraph.
Step 2 — Shot list (30 minutes). Convert beats into 15–40 shots depending on length. Assign approximate durations.
Step 3 — Asset anchors (30–90 minutes). Generate or photograph reference stills for every character and principal location. Lock them.
Step 4 — Generate (2–6 hours). Work shot by shot in order. Generate three to six variations per shot, label everything, and keep a running log. Do not generate out of sequence; continuity drift compounds.
Step 5 — Select (30–60 minutes). Pick the best take per shot. Be ruthless. A mediocre shot that you keep "because you spent time on it" will weaken the whole sequence.
Step 6 — Edit (1–3 hours). Assemble to a scratch track, then refine rhythm. Cut before you polish; polishing a badly paced assembly wastes hours.
Step 7 — Sound and grade (1–2 hours). Ambience, effects, music mix, and a unifying grade pass.
Step 8 — Delivery (30 minutes). Export masters at the correct aspect ratios with captions where needed.
Total elapsed time for a ninety-second piece is typically one to two days of focused work, most of it in generation and selection.
Common Mistakes and How to Avoid Them
The same problems appear in nearly every AI video project.
Chasing a single perfect clip. Generating the same shot forty times rarely improves it. Change the approach — different shot size, different starting still — instead of re-rolling.
Ignoring the first two seconds. Vertical and social formats live or die in the opening beat. Generate a strong hook shot deliberately instead of using whatever came out first.
Overloading the prompt. Long prompts with contradictory lighting and multiple actions produce mush. One action, one light source, one camera move.
Skipping the grade. Ungraded AI footage looks like a collection of unrelated clips. Fifteen minutes of consistent grading transforms it.
Forgetting aspect ratios. Generate or reframe for each destination. A 16:9 composition cropped to 9:16 loses the subject more often than not; plan the framing for the primary platform.
No naming convention. Shot files named final_v2_real_final become unusable at scale. Use scene-shot-take naming from the beginning.
Ethics, Rights, and Disclosure
Synthetic media carries real obligations. Keep these practices as defaults.
- Do not depict real people without consent, and avoid generating recognisable likenesses of public figures.
- Respect likeness and voice rights. A voice that sounds like a specific performer is a legal risk even when technically synthesised.
- Disclose synthetic content where the context could mislead — news-style footage, testimonials, or anything implying an event that did not happen.
- Check licensing terms for the models and any reference material you use, and keep records of your sources.
- Avoid training-adjacent copying. Do not prompt for a specific living artist's signature style as a shortcut; build your own reference language instead.
The practical upside is that transparent, thoughtfully made AI work is increasingly accepted by audiences and clients. What gets penalised is deception, not the tool.
FAQ
Do I need editing experience to make cinematic AI video?
Basic editing knowledge helps enormously, but the learning curve is short. Understanding rhythm, shot size, and continuity matters more than mastering advanced software features.
How many generations does a good shot take?
With a clear prompt and a locked reference image, three to six attempts is typical. Without them, twenty attempts often produce nothing usable.
Which is better, text-to-video or image-to-video?
Image-to-video for anything with a specific subject, composition, or character. Text-to-video for atmosphere, exploration, and abstract transitions.
How do I keep a character looking the same across shots?
One approved reference image, identical descriptive wording in every prompt, and a two-shot test before you commit to a full sequence.
Can AI video replace traditional filming?
For some formats, yes — abstract sequences, stylised narrative, social content. For performance-driven dialogue and documentary realism, real footage still wins. The strongest projects often combine both.
How long should an AI-made short be?
Fifteen to ninety seconds is the sweet spot for most audiences. Longer pieces are possible but require stronger structure to hold attention.
What resolution and frame rate should I export?
Match the platform's recommendation, usually 1080p or 4K at 24 or 30 frames per second for narrative work, and 1080p vertical for social.
Is AI video content acceptable to clients and platforms?
Generally yes, provided it is original, rights-cleared, and disclosed where the context could mislead. Read the specific platform's synthetic media policy before publishing.
What is the single highest-impact improvement I can make?
Lock a reference image for every character and location before generating anything else. Continuity is what makes an audience stop noticing the tool and start following the story.

Alexander
More Blogs
Read MoreVidu Q4 Alternatives: 4K AI Video Models Compared (2026)
Vidu Q4 alternatives compared: Kling 4.0, Seedance 2.5, Wan 3.0, and Runway Gen-4 — 4K support, input modes, durations, audio, and what each costs in credits on Domer.
Top 4K AI Image Generators in 2026: 5 Models Compared on Real Costs
The top 4K AI image generators on Domer compared: Flux 3 Klein, Nano Banana 2.1, GPT Image 2.5, GPT Image 2, and Nano Banana Pro — 4K credit costs, reference limits, and speed.
Nano Banana 2.1 vs GPT Image 2.5: Which Image Model Should You Use? (2026)
Nano Banana 2.1 vs GPT Image 2.5 Flare compared: credit costs per resolution, aspect ratios, reference images, text rendering, and which tasks fit each model.