
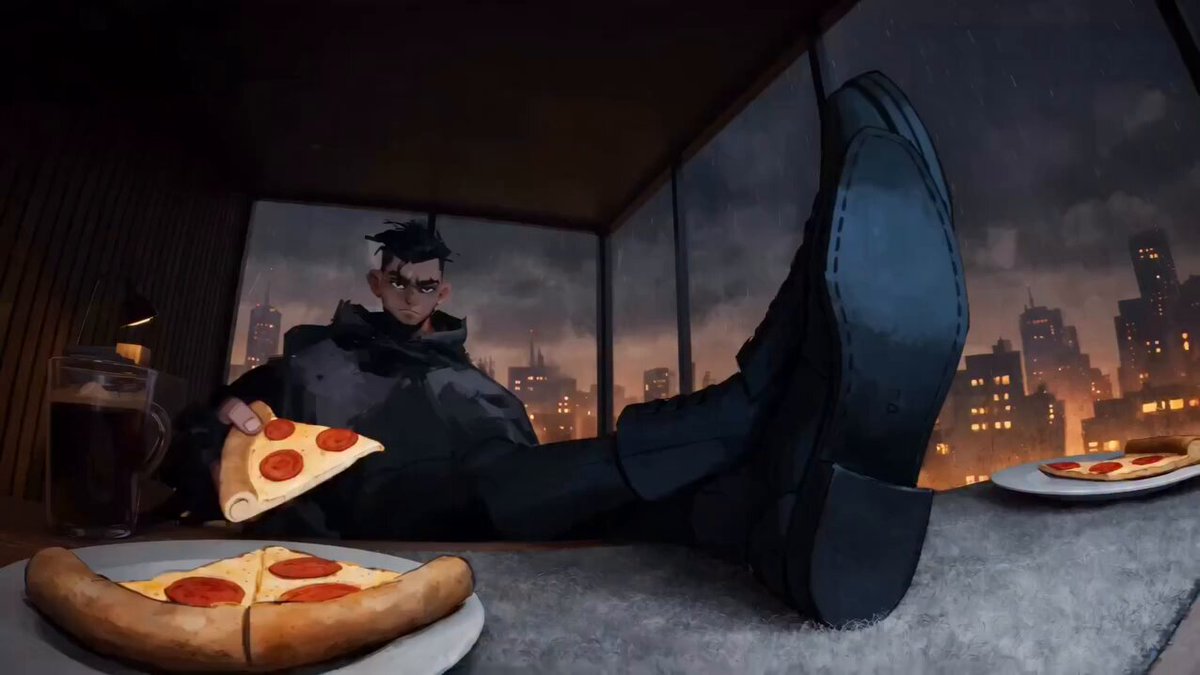
Consistent AI Video Style: A Practical Workflow Guide
Oct 1, 2026
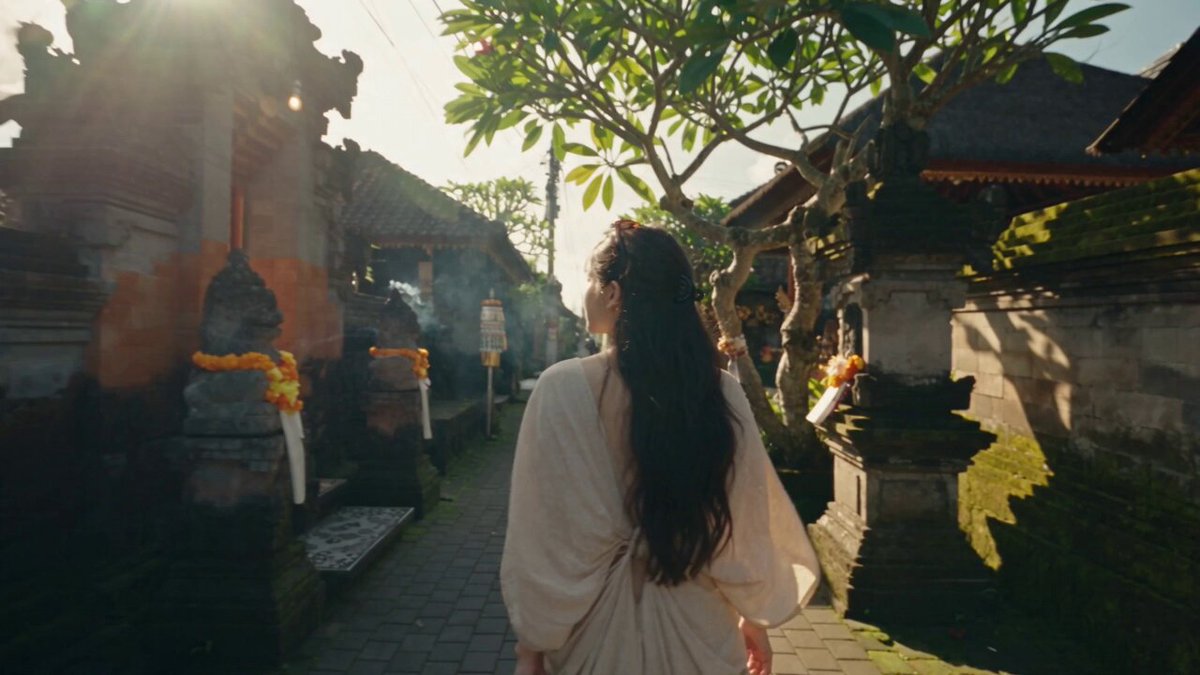
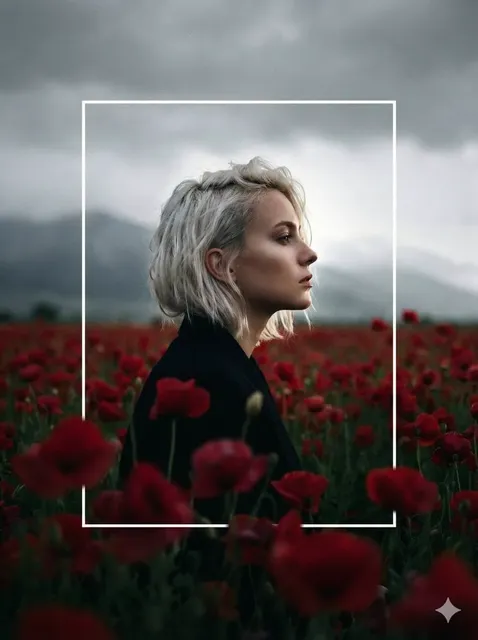
Generating one beautiful shot with an AI video model is easy. Generating forty shots that look like they belong to the same film is the hard part. Style drift, shifting character faces, and mismatched lighting are the three problems that turn an exciting demo into an unusable edit. This guide lays out a practical, tool-agnostic workflow for locking visual style across an entire AI-generated sequence — from the first style kit to the final render — using modular image preparation, reference tiles, layered compositing, and disciplined prompt architecture.
Why Style Drift Breaks AI Video Projects
Style drift is the slow divergence of visual language across shots. Shot one has warm amber light and a 35mm film look. Shot twelve has cool blue light, sharper contrast, and a completely different skin tone on the same character. Individually, every frame might be attractive. Stitched together, the sequence feels broken.
Drift happens for structural reasons, not because you wrote bad prompts.
- Independent sampling. Most video models generate each clip from scratch. Nothing in the pipeline remembers what shot three looked like, so small prompt variations compound into large visual differences.
- Seed sensitivity. Change the seed, the sampler, or the aspect ratio and the model reinterprets everything — including faces, wardrobe, and color grading.
- Model switching. Different models interpret the same prompt differently. "Cinematic" means one thing to one engine and something else to another.
- Vague style language. Words like "beautiful," "moody," or "high quality" carry almost no stable visual meaning. The model fills the gap randomly each time.
- Compression and upscaling. Repeated upscaling, interpolation, or format conversion can shift color and contrast between shots.
The practical consequence is that you spend more time in post trying to rescue continuity than you spend creating. The fix is to stop treating style as a prompt phrase and start treating it as a reusable asset.
The Core Idea: Treat a Visual Style as Modular Tiles
The most reliable mental model is modular construction. Instead of describing a whole look in one sentence, you decompose it into small, repeatable components — the visual equivalent of interlocking tiles — and reuse those components in every generation.
A style decomposes into roughly six reusable layers:
- Palette. Four to six named colors with approximate hex values, plus one accent.
- Lighting. Direction, quality (hard or soft), color temperature, and contrast ratio.
- Texture. Grain, halation, film stock emulation, digital sharpness, or painterly surface.
- Lens and framing. Focal length feel, depth of field, camera height, and composition rules.
- Materials and environment. Clothing fabrics, architecture, vegetation, surface wear.
- Motion signature. How the camera moves and how fast subjects move within frame.
Once each layer is written down as a short, concrete fragment, you can reassemble them per shot without inventing new language. The palette fragment stays identical across all forty shots. Only the subject and action change. That single discipline removes most drift before it starts.
Think of it as a build system: reusable blocks, consistent interfaces, predictable output. The creative decisions happen once, at the kit stage, instead of forty times under deadline pressure.
Building a Style Kit Before You Generate Anything
A style kit is a one-page document plus a folder of reference images. It takes about an hour to assemble and saves many hours of correction.
Write the palette and lighting once
Pick your colors from real references, not from imagination. Name them and assign approximate values so you can reuse them in prompts, color grading, and compositing:
- Base: deep indigo
#1B2A4A - Mid: warm sand
#D8B98A - Highlight: pale gold
#F2E2B8 - Accent: rust
#B4552D - Shadow: near-black
#0D1117
Then define lighting in physical terms: "low sun from camera left, soft falloff, warm 3200K key, cool 5600K fill from window." Physical descriptions survive model changes far better than adjectives.
Capture representative frames
Collect eight to twelve reference stills that match the target look. They do not need to come from one source. What matters is that they agree on palette, contrast, and texture. Include at least:
- One wide establishing frame
- One medium shot with a character
- One close-up for skin and eye detail
- One interior and one exterior
- One night or low-light frame
Define the forbidden list
Explicitly write what should never appear: neon pink, heavy lens flare, fisheye distortion, anime shading, snow, wet streets, anamorphic streaks. Negative direction is as valuable as positive direction, and it stops the model from "improving" your look with trendy artifacts.
Freeze the technical parameters
Record resolution, aspect ratio, frame rate, and target duration per shot. Changing aspect ratio mid-project forces recomposition and often shifts grading. Choose once, then hold.
Layered Image Preparation for Reusable Assets
This is where most creators underinvest. Rather than feeding the model a single flat reference, break your key art into semantic layers and generate from the assembled result.
Segment the frame into meaningful parts
Split a hero frame into: background environment, mid-ground props, character body, character head and face, wardrobe, and lighting overlay. Use a matting or segmentation model to produce alpha masks for each. The point is not perfection — it is separation of concerns.
Preserve identity in its own layer
Faces carry the strongest continuity signal for viewers. Keep a dedicated face layer with clean, evenly lit, front-facing reference at multiple angles. When the model needs to render a new angle, composite from that layer rather than relying on text description alone.
Composite, then generate
Build a rough composite from your layers — even a crude one — and use it as an image-to-video input or a structural guide. The model inherits the palette, proportions, and spatial relationships from the composite, which drastically reduces reinterpretation.
Keep a master lighting pass
Create a single lighting overlay (gradient map, color wash, or grain plate) and apply it consistently across every composite. This is the cheapest and most effective continuity tool available: one plate, applied everywhere, instantly unifies otherwise mismatched shots.
Version your layers
Treat the layer stack like source code. Name files predictably (char-a_head_neutral_v3.png), keep a changelog, and never overwrite a working stack. When continuity breaks at shot twenty-nine, you want to diff against a known-good build.
Prompt Architecture for Cross-Shot Consistency
Prompts should be structured, not poetic. Use a fixed slot system and change only one slot per shot.
The five-slot template
[STYLE BLOCK] + [LIGHTING BLOCK] + [SUBJECT] + [ACTION] + [CAMERA]
Example style block, reused verbatim in every shot: "35mm film emulation, fine grain, muted desaturated palette, deep indigo shadows, warm sand midtones, soft halation on highlights, natural skin texture, no digital sharpening."
Example lighting block, reused verbatim for a scene: "low golden sun from camera left, soft shadow falloff, cool ambient bounce from behind."
Only SUBJECT, ACTION, and CAMERA change between shots. Everything else is copy-pasted. This is the single highest-leverage habit in the entire workflow.
Control variation deliberately
When you do change the camera slot, change one variable at a time. Wide to medium, or left profile to right profile — not both plus a new location. Sequential changes let you diagnose which shift caused which inconsistency.
Write stable negatives
Keep a fixed negative set: "extra fingers, warped hands, text artifacts, watermark, oversaturated colors, extreme wide-angle distortion, flickering edges, identity change." Reuse it unchanged across the project.
Avoid re-rolling blindly
If a shot drifts, do not reroll five times and hope. Identify which layer broke — palette, pose, or light — and fix that layer in the input image or reference set. Rerolling without a diagnosis just adds randomness you then have to reverse-engineer.
Keeping Characters Recognizable Across Scenes and Angles
Character continuity deserves its own process because it is the most visible failure mode.
Build a character sheet, not a single photo
Collect or generate a turntable of views: frontal, three-quarter left, three-quarter right, profile, back. Consistent lighting across the sheet matters more than beauty. Add expression variants (neutral, smiling, strained) and wardrobe variants if the story requires them.
Lock wardrobe as a hard constraint
Describe garments with material, color, and silhouette: "charcoal wool overcoat, oversized shoulders, matte finish, brass buttons." Vague wardrobe descriptions are the second most common cause of continuity complaints after faces.
Anchor identity with reference-image conditioning
Use identity-conditioning techniques — reference adapters, face-swap passes, or structural guides — rather than relying on text. Text alone rarely holds a specific face across forty shots.
Check the "same person" test
Place five frames from different shots side by side as thumbnails. If a stranger could not tell they are the same character, the identity layer needs work before you continue. Fixing continuity at shot five is cheap; fixing it at shot thirty-five is expensive.
Watch secondary features
Hair length, eyebrow shape, eye color, scars, and jewelry drift quietly. Add them explicitly to the character sheet and audit them periodically.
A Step-by-Step Production Workflow
Here is a repeatable sequence you can adapt to any pipeline, whether you are working with text-to-video engines, image-to-video engines, or a hybrid compositing approach.
Step 1 — Lock the kit. Finalize palette, lighting, texture, lens language, and the forbidden list. Write them into a reusable prompt block that you will paste hundreds of times.
Step 2 — Build the layer library. Segment hero frames, build the character sheet, create the master lighting plate and grain plate. Store everything in a versioned folder.
Step 3 — Storyboard in thumbnails. Sketch every shot at low fidelity. Mark which shots share a location, a lighting condition, and a character. Group them so you generate related shots back to back.
Step 4 — Generate test frames before test clips. Produce a still for each shot first. Stills are faster and cheaper to iterate than video, and they expose palette and composition problems immediately. Only move to motion when a still passes.
Step 5 — Generate in scene batches. Do all shots of a single scene in one session with one seed family, one model version, and one style block. Batching reduces accumulated drift and keeps your head in one visual context.
Step 6 — Grade globally, not per clip. Bring everything into an editor and apply one grade, one grain plate, and one contrast curve across the timeline. Per-clip grading reintroduces the inconsistency you just removed.
Step 7 — Audit for continuity. Watch the sequence at 2x speed with no sound. Fast playback makes flicker, jumpy exposure, and identity changes obvious in a way frame-by-frame inspection does not.
Step 8 — Repair, do not regenerate. Small fixes — a shifted hand, an off face, a color spike — are often cheaper to solve with masks, morph cuts, and short holds than with new generations.
Step 9 — Render once, in one pass. Concatenate, normalize audio, and export with settings that match your delivery target. Avoid repeated re-encodes, which quietly shift color and gamma.
Tool Choices and Decision Criteria
You do not need one tool that does everything. You need the right category of tool for each layer.
- Style exploration: fast image generators for palette and texture testing. Iterate widely here; nothing is locked yet.
- Structured stills: diffusion pipelines with structural guides (depth, pose, edge maps) when you need precise composition control.
- Identity conditioning: reference adapters and face-preserving passes for character continuity.
- Image-to-video: engines that accept a first frame or a keyframe pair. Accepting a keyframe is the strongest continuity lever most engines offer.
- Video-to-video: for restyling an existing edit — useful when live-action plates need an animated look.
- Post and finishing: a node-based compositor plus a color-grade suite. This is where global unification actually happens.
- Asset management: any versioned folder structure or lightweight database. Discipline beats sophistication here.
Decision criteria, in priority order:
- Does it accept a reference frame? Without one, continuity becomes guesswork.
- Does it let you set and reuse a seed? Reproducibility matters more than novelty.
- Can you control motion strength? Over-animated shots are hard to match with calmer ones.
- Is the output stable across sessions? A model that changes behavior between sessions breaks a project silently.
- How much manual compositing will it require? Budget your hours honestly.
The honest answer for most projects is a hybrid stack: one engine for wide environment shots, one for character close-ups, and a compositor to unify them. Trying to force a single engine to do everything usually produces a sequence that looks like three different films.
Common Mistakes and How to Fix Them
Mistake: Rewriting the style prompt for each shot. Fix: freeze a style block and paste it verbatim. Creativity belongs in the action and camera slots.
Mistake: Generating video before stills. Fix: validate composition and color on stills first. You will discard far fewer clips.
Mistake: Using one reference photo for a character. Fix: build a multi-angle character sheet with consistent light.
Mistake: Mixing aspect ratios and frame rates. Fix: lock technical parameters at the kit stage and never change them mid-project.
Mistake: Grading each clip separately. Fix: one timeline, one global grade, one grain plate.
Mistake: Chasing novel models mid-project. Fix: finish the sequence on the stack you started with. Test new tools on the next project, not this one.
Mistake: Ignoring secondary characters. Fix: continuity applies to every recurring face, costume, and prop — not just the lead.
Mistake: No negative prompt discipline. Fix: keep negatives fixed and identical across the whole sequence.
Mistake: Repeated re-encoding. Fix: assemble in a high-quality intermediate format and export once at the end.
Mistake: Auditing at normal speed. Fix: watch at double speed, muted, and on a small screen. Problems hide in careful viewing.
FAQ: Style Consistency in AI Video
How long should a style kit take? One to two hours. If it takes longer, you are over-designing. If you skip it, you will spend that time three times over in post.
Can I keep a consistent style without reference images? Partially, with a very detailed style block and fixed seeds, but consistency will be noticeably weaker — especially for faces and wardrobe. Reference conditioning is the difference between "same genre" and "same film."
What is the fastest way to fix one drifting shot? Compose the problem shot from your existing layers, generate again with the same seed and style block, or mask-and-replace the drifting region in post. Regenerating the entire shot from scratch is the slowest option.
Do I need a character sheet for background characters? Yes, if they appear in more than two shots or share a scene with the lead. Background continuity failures are subtle but they accumulate.
How do I match a live-action plate with generated shots? Extract the plate's palette and grain, apply them as an overlay to the generated shots, and match the black point. Matching grain and black point does more for believability than matching color alone.
How many shots can one style kit cover? In practice, a well-built kit holds a short film, a product series, or a season of social content. The kit is not per-shot; it is per-project or per-brand.
What is the biggest continuity risk? Changing your model, seed, or aspect ratio mid-project. Almost every severe continuity failure traces back to one of those three switches.
Should I generate shots in story order? Not necessarily — but always generate within scene order, batching all shots that share a location and lighting condition. Story order is irrelevant to the model; visual context is not.
The through-line for all of this is simple: decide the look once, encode it into reusable assets, and change only what the story requires. Do that, and a sequence of separately generated clips stops looking like a sequence of separately generated clips.

Alexander
More Blogs
Read MoreThumbnail efficaci per TikTok e YouTube: guida pratica
Come progettare thumbnail che fermano lo scroll: strumenti, workflow, criteri di test e ottimizzazione per TikTok e YouTube, con esempi pratici.
Cómo descargar portadas de Reels de Instagram con criterio
Guía práctica para descargar, elegir y reutilizar portadas de Reels de Instagram sin perder calidad, con flujos de trabajo, errores y consejos de diseño.
AI Voiceover and Music Workflows for Better Video Sound
Build a repeatable workflow for AI voiceover and generated music: script prep, voice selection, mixing levels, loudness targets, and QA checks.