

Desktop AI Video Creation: Best PC Workflows and Tools
Oct 13, 2026
Why Desktop AI Video Generation Became a Serious Production Path
For a long time, AI video lived in browser tabs. You typed a sentence, waited, and received a few seconds of slightly melting imagery that was impressive as a demo and useless as a deliverable. That phase is finished. Desktop-class generative video has moved into real production pipelines, and the reasons are practical rather than hype-driven.
The first reason is file handling. Real projects involve dozens or hundreds of clips, reference images, audio stems, project files, and proxy media. Working on a PC means those assets live on fast local storage instead of being uploaded one by one through a web form. Iteration speed changes completely when a re-render does not require a round trip over a home connection.
The second reason is control. Desktop tools expose parameters that browser wrappers hide: sampling steps, motion strength, seed locking, frame interpolation, resolution scaling, and batch sizes. When a shot needs to match the previous one exactly, seed control and consistent reference conditioning matter more than the quality of any single frame.
The third reason is integration. A PC already runs your editor, your color tools, your audio mixer, and your delivery encoder. AI generation becomes one stage in a chain rather than a separate universe. You generate, you bring the result into your timeline, you cut it, you grade it, and you export it without ever leaving the machine.
The result is a workflow that looks a lot like traditional post-production, with one stage swapped out. Instead of booking a camera crew for a product insert shot, you generate it. Instead of building a motion graphic from scratch, you prompt it, then refine it. That shift is what makes desktop AI video worth learning properly.
What Modern PC AI Video Tools Actually Do
It helps to separate capability categories, because buyers often compare tools that solve different problems. A generator that produces beautiful eight-second landscapes may be nearly useless for a talking-head explainer. Understanding the categories prevents expensive mistakes.
Text-to-video and image-to-video
Text-to-video converts a written prompt into a moving sequence. Modern implementations handle camera movement, subject motion, lighting, and basic physics, though complex interactions such as hands manipulating objects still degrade quickly. Image-to-video takes a still frame as the starting point and animates it, which is far more controllable. If you have a product render, a character design, or a storyboard frame, image-to-video gives you a repeatable anchor and dramatically reduces randomness.
Reference conditioning and character consistency
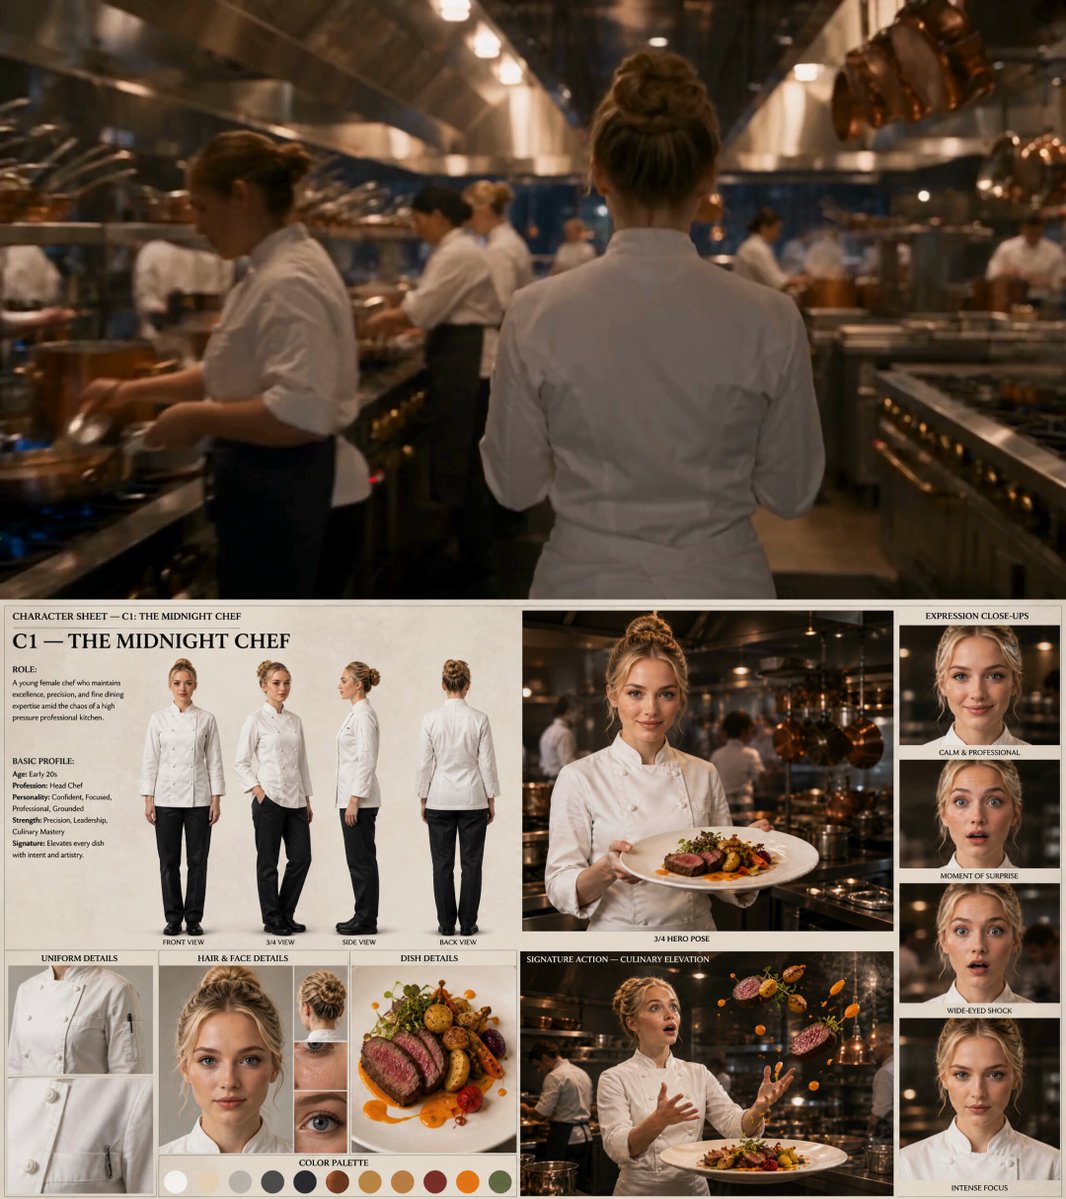
Consistency is the hardest problem in AI video. A character who looks right in shot three and wrong in shot seven destroys the illusion. Desktop tools address this through reference images, identity embeddings, and multi-image conditioning that keeps facial structure, wardrobe, and palette stable across a sequence. When evaluating a tool, test consistency before you test beauty. Generate the same character in five different compositions and compare.
Motion, camera, and temporal control
Good tools let you describe camera behavior separately from subject behavior: slow dolly in, handheld drift, locked-off wide, crane up. Some support motion brushes or trajectory maps so you can draw where an element should travel. Temporal controls such as frame rate, duration, and interpolation determine whether the final clip feels cinematic or stuttery when slowed down in the edit.
Audio, lip sync, and voice
Dialogue is now part of the desktop pipeline. Voice synthesis, lip synchronization, and ambience generation can be handled locally or through a connected service. The practical question is whether the tool exports clean audio stems you can mix, or bakes a single flattened track you cannot repair later. Always prefer separable audio.
Hardware Planning: The Real Bottlenecks on a PC
AI video is one of the few workloads that punishes optimism. A machine that handles 4K editing comfortably can still choke on generation. Plan around the following constraints rather than buying the fastest chip you can afford and hoping.
GPU and VRAM tiers
Video generation is memory-hungry. Roughly speaking, an 8 GB GPU handles lower resolutions, short durations, and highly optimized models. A 12–16 GB card opens up 1080p generation and longer clips with fewer compromises. A 24 GB card and above lets you run larger models, batch generations, and use fewer aggressive optimizations. If you plan to upscale output or run a second model in the same pipeline, headroom matters more than raw clock speed.
RAM, storage, and project structure
System RAM matters less than GPU memory but still matters: 32 GB is a sensible floor, 64 GB is comfortable. Storage is the silent killer. Generated clips are large, and you will produce far more of them than you keep. A fast NVMe drive for active projects and a separate large drive for archives keeps things sane. Organize by project, then by shot, then by generation attempt, with a simple naming convention you can parse at a glance.
Thermals, power, and noise
Sustained generation loads a GPU differently than gaming does. Long runs at high utilization expose weak cooling, and thermal throttling turns a twenty-minute render into a forty-minute one. Check your power supply headroom and consider undervolting. If you record voiceover in the same room, fan noise becomes a production problem, not just an annoyance.
Local Generation vs Cloud-Assisted Workflows: How to Decide
The honest answer is that most serious creators use both, but the split should be deliberate.
Choose local generation when you need privacy, when you are iterating constantly on the same shot, when you want unlimited experimentation without per-run costs, when you have no reliable upload bandwidth, or when you need deterministic results from a fixed model version. Local work is also better for long batch jobs you want running overnight.
Choose a hosted service when you need the largest models, when a specific capability exists only in the cloud, when your hardware cannot reach the target resolution, or when you need burst capacity for a deadline. Hosted generation also removes maintenance: no driver conflicts, no dependency hell, no model updates breaking your pipeline mid-project.
A practical hybrid pattern: prototype locally at low resolution to nail composition and timing, then send only the final approved prompts to a higher-capacity service or a stronger local model for the master render. This keeps iteration cheap and final quality high.
A Repeatable Production Workflow from Script to Final Cut
Ad-hoc prompting produces ad-hoc results. A structured pipeline turns AI video from a slot machine into a craft.
Stage 1: Pre-production and shot list
Write the script first, then convert it into a shot list with one line per shot: subject, action, camera, duration, and mood. This document becomes your prompt source. Creators who skip this step end up generating hundreds of clips and editing by accident rather than design.
Stage 2: Reference and prompt preparation
Build a reference library per project: character sheets, product angles, location stills, color palettes. Write prompts in a consistent template, for example subject, action, environment, lighting, lens, camera motion, style. Consistency in prompt structure produces consistency in output far more reliably than long poetic descriptions.
Stage 3: Batch generation and selection
Generate in batches, then select ruthlessly. A good ratio is four to eight candidates per approved shot, with the best one promoted to a review folder. Lock your seeds for approved shots so you can regenerate at higher resolution without changing the composition. Delete rejects aggressively; a bloated library slows every later stage.
Stage 4: Assembly, upscaling, and sound
Bring selects into your editor. Trim to the beat, establish rhythm, and use AI upscaling only on the clips you keep. Add sound early, because audio reveals pacing problems that are invisible on mute. Ambience, foley, and music do more for perceived realism than another generation pass.
Stage 5: Export and delivery
Match export settings to the platform. Vertical social cuts tolerate more compression and benefit from tighter framing. Broadcast or client deliverables need higher bitrates and careful color handling. Keep a master export at maximum quality and derive platform versions from it.
Tool Categories Worth Knowing
You do not need one tool that does everything. You need a stack that covers four jobs.
Generative engines handle text-to-video and image-to-video. Look for resolution flexibility, seed control, reference conditioning, and predictable pricing.
Upscalers and frame interpolators turn a soft 720p generation into a clean 1080p or 4K deliverable and smooth low frame rates into fluid motion. These tools quietly rescue otherwise unusable footage.
Voice and lip-sync tools handle narration, dubbing, and character dialogue. Prioritize natural prosody and the ability to export separate stems.
Editors with AI-aware features handle assembly, captions, noise removal, and automatic scene cuts. Choose based on your existing skill set rather than feature checklists.
Mistakes That Quietly Ruin AI Video Projects
The most common failure is prompting for beauty instead of function. A gorgeous shot that does not fit the sequence is waste. Generate for the cut.
The second is ignoring aspect ratio until the end. Reframing after the fact crops composition and softens detail. Decide delivery format before the first prompt.
The third is over-reliance on a single long prompt. Break complex shots into simpler ones and combine them in the edit. Two clear clips cut together usually beat one ambitious clip that fails.
The fourth is skipping audio. Silent AI footage feels synthetic; the same footage with footsteps, room tone, and a music bed feels intentional.
The fifth is version drift. When a tool updates its model, your carefully tuned prompts may behave differently. Export and archive approved masters immediately, and keep a note of the settings that produced them. Reproducibility is a production asset.
Budgeting, Licensing, and Commercial Use
Two questions decide most purchasing decisions: what does this cost at my actual volume, and can I legally use the output?
On cost, model subscriptions are predictable, usage-based services scale with output, and local generation trades money for hardware and electricity. Estimate your monthly clip count, multiply by an average of several attempts per approved shot, and compare the resulting numbers honestly. Most creators underestimate attempts per approved shot by a factor of three.
On licensing, read the terms for commercial use, model training rights, and restrictions on depicting real people or trademarked material. Keep documentation of your source assets, especially reference images. If you generate a character based on a licensed illustration, the license follows the output.
FAQ: Desktop AI Video Creation
Do I need a workstation GPU to start? No. Begin at lower resolution with an optimized model and accept longer render times. Upgrade when the bottleneck becomes painful rather than theoretical.
How long should a generated clip be? Five to ten seconds per shot is the practical sweet spot. Longer clips increase the chance of artifacts and reduce your editing flexibility.
Can AI video replace filming entirely? For abstract, conceptual, and product-style content, often yes. For authentic human moments, interviews, and documentary work, no. Use it where it is strong.
Why does my output look slightly wrong even when it looks good? Usually inconsistent lighting direction between shots, mismatched color temperature, or motion that does not follow a physical camera. Unify lighting language in your prompts and correct color in post.
How do I keep characters consistent? Use fixed reference images, lock seeds, keep wardrobe descriptions identical, and avoid changing the lens or lighting direction between shots of the same character.
Is local generation slower than cloud? Often yes in wall-clock terms, but it is faster in iteration terms because there is no upload, queue, or per-run cost. Speed of experimentation usually matters more than raw render speed.
Practical Checklist Before You Commit to a Pipeline
Before investing time in a specific stack, verify six things. First, that your hardware can complete a full-resolution render of a ten-second clip without failing. Second, that the tool exports formats your editor accepts natively. Third, that seed and reference controls exist and behave predictably. Fourth, that licensing permits your intended use. Fifth, that you can reproduce an approved render later from saved settings. Sixth, that your storage plan survives a month of real output.
If all six hold, you have a pipeline rather than a toy. The rest is craft: writing better shot lists, generating with intent, cutting with rhythm, and treating AI output as raw footage to be shaped rather than a finished product. That mindset is what separates creators who ship consistently from those who accumulate folders of beautiful, unused clips.

Alexander
More Blogs
Read MoreVidu Q4 Alternatives: 4K AI Video Models Compared (2026)
Vidu Q4 alternatives compared: Kling 4.0, Seedance 2.5, Wan 3.0, and Runway Gen-4 — 4K support, input modes, durations, audio, and what each costs in credits on Domer.
Top 4K AI Image Generators in 2026: 5 Models Compared on Real Costs
The top 4K AI image generators on Domer compared: Flux 3 Klein, Nano Banana 2.1, GPT Image 2.5, GPT Image 2, and Nano Banana Pro — 4K credit costs, reference limits, and speed.
Nano Banana 2.1 vs GPT Image 2.5: Which Image Model Should You Use? (2026)
Nano Banana 2.1 vs GPT Image 2.5 Flare compared: credit costs per resolution, aspect ratios, reference images, text rendering, and which tasks fit each model.