
OpenAI Image Generator Alternatives: A Creator's Workflow Guide
Oct 13, 2026
Why a Single Image Generator Is Rarely Enough
Text-to-image models changed the economics of visual production almost overnight. A single well-crafted prompt could replace a stock photo search, a rough storyboard sketch, or a mockup that used to take an afternoon. For a while, one strong image model was enough for most teams.
That assumption breaks down quickly once you move from a one-off image to a repeatable output. A marketing team needs twenty variations of the same product shot with a consistent lighting setup. A solo filmmaker needs keyframes that can be animated into motion. A game studio needs concept art that matches an established palette across dozens of assets. A social media manager needs a vertical clip with burned-in captions, a voiceover, and a hook in the first two seconds.
Each of those jobs stresses a different part of the stack: consistency, motion, audio, aspect ratio control, iteration speed, or output resolution. No single generator is best at all of them, and that is exactly why creators now assemble small pipelines rather than committing to one tool.
The practical question is no longer "which model is best" but "which combination of models gets me to a finished asset fastest without losing control." This guide walks through how modern pipelines are structured, how the major model families differ, and how to choose and sequence tools without burning a week on trial and error.
How a Modern Visual Pipeline Is Put Together
Most professional AI visual work follows four stages. Skipping any of them usually shows up later as rework.
Stage 1: Ideation and keyframe generation
This is where text-to-image models do their best work. You generate a spread of directions cheaply and quickly, then narrow down. The goal here is not a final asset; it is a decision. You want enough variety to judge composition, palette, and mood before you commit to motion.
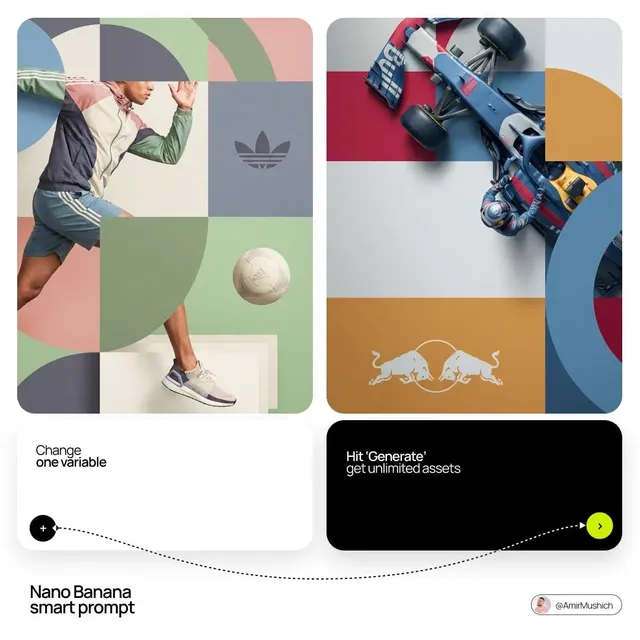
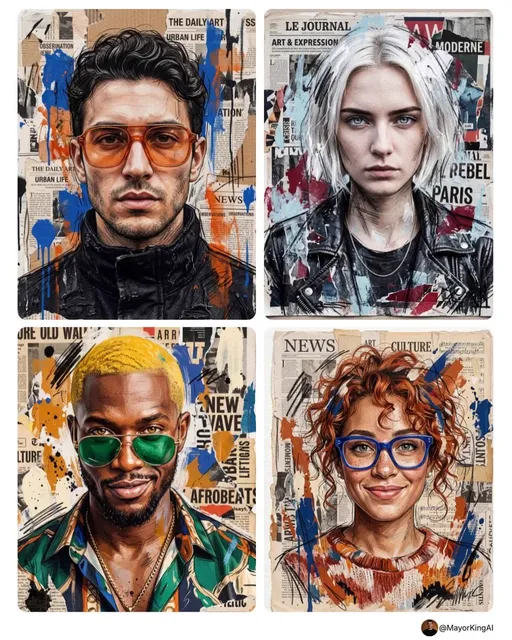
A useful habit is to generate in batches of four to nine images per prompt and treat the batch as a single experiment. Change one variable at a time — lens, lighting, wardrobe, framing — so you learn something from each round instead of guessing.
Stage 2: Motion and image-to-video
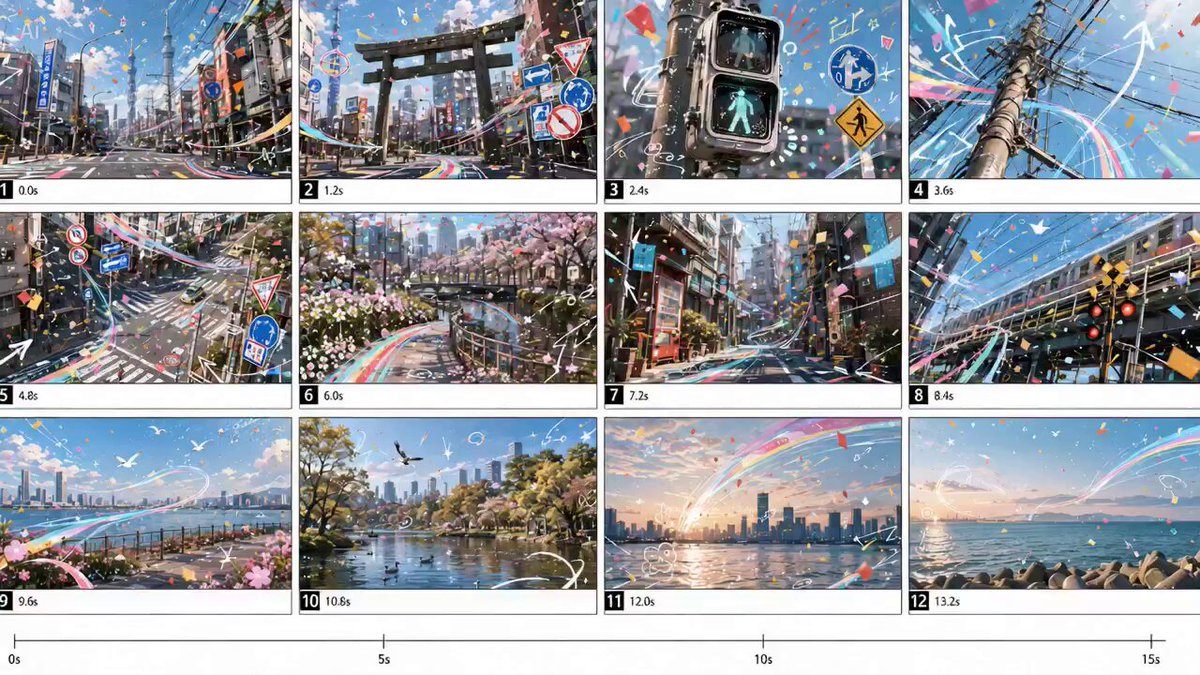
Once a keyframe is approved, image-to-video models animate it. This preserves the look you already signed off on, which is far more reliable than trying to describe the same scene again in text. Most motion work is short: three to eight seconds per shot, stitched later.
Camera language matters more here than prompt poetry. Terms like slow dolly in, handheld drift, static tripod, or orbit left produce more predictable results than abstract descriptions of mood.
Stage 3: Voice, music, and sound design
Audio is the stage most often bolted on at the end, and it is usually the difference between a clip that feels amateur and one that feels finished. Text-to-speech tools handle narration, music generators handle beds and stingers, and a small library of whooshes, ambience, and impacts carries most of the perceived production value.
A simple rule: build the sound design against the picture, not after it. Deciding where the music drops before you animate will change how you time the cuts.
Stage 4: Assembly and finishing
Editing, color consistency, captions, and delivery formats. This is unglamorous and essential. Standardize on one editing timeline, one color pipeline, and one export preset per platform so you are not rebuilding settings every time.
Comparing Today's Model Families
Model names change fast, but the families they belong to are stable. Understanding the categories helps you evaluate whatever launches next.
Photoreal and stylized image models
Flagship diffusion image models — Flux, the Stable Diffusion lineage, and commercial competitors — compete mainly on prompt adherence, text rendering inside images, and photoreal texture. If your work involves typography on packaging, realistic skin, or product photography, prioritize prompt adherence and legibility testing over artistic flair.
Stylized models, meanwhile, often handle illustration, anime, and painterly looks better out of the box than general-purpose photoreal models. If your brand has a strong illustrative identity, test stylized checkpoints before defaulting to the biggest general model.
Cinematic video models
Runway and Sora-class models target narrative and commercial work: longer shot lengths, better physical coherence, and stronger camera control. They tend to be slower and more expensive per second of output, which is fine when a shot needs to hold up on a large screen.
Use these for hero shots, opening sequences, and anything with human faces in motion. Faces and hands remain the most common failure points, so budget extra iterations for any shot where a person is the focus.
Fast, social-first generators
Kling, PixVerse, MiniMax, Luma and similar tools optimize for speed and vertical formats. They are ideal for high-volume content: trend-driven clips, ad variations, and A/B tests where you need ten versions by tomorrow rather than one perfect version by next week.
Quality varies more between prompts here. The winning strategy is volume: generate more candidates, accept a lower hit rate, and move on quickly.
Open-weight and locally hosted options
Running models on your own hardware gives you privacy, unlimited iteration, and full control over style through fine-tuning. The trade-offs are setup time, hardware cost, and the maintenance burden of keeping a stack current.
Local generation is the right call when you handle sensitive material, need a highly specific visual style repeated across hundreds of assets, or want to avoid per-generation costs at scale.
A Decision Framework: Six Questions Before You Pick a Tool
Run any candidate tool through these questions before you build a workflow around it.
- Does it solve the specific bottleneck? Consistency, motion, audio, resolution, and speed are different problems. Name your bottleneck first, then shop.
- How good is the reference-image handling? For commercial work, the ability to lock a character, product, or palette matters more than raw image quality.
- What is the iteration loop like? A model that is 10% better but takes three times as long to queue will slow your project down.
- What aspect ratios and durations does it support natively? Cropping a 16:9 generation into 9:16 usually costs you composition.
- Where does your data go? Check the terms for commercial use, training on your inputs, and retention. This matters for client work and anything involving people.
- Can you export cleanly? Intermediate formats, watermarks, and resolution ceilings decide whether a tool is a sketchpad or a production node.
Score each candidate one to five on these six axes. The totals usually make the decision obvious, and the exercise stops you from adopting a tool because of a single impressive demo.
A Practical Walkthrough: Sixty-Second Product Clip
Here is how the stages come together on a realistic brief: a sixty-second vertical clip for a skincare product, no live-action shoot.
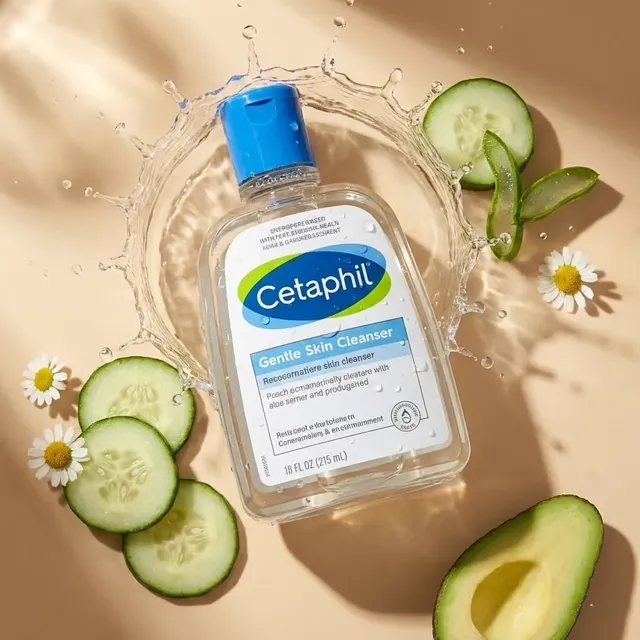
Step 1 — Reference and mood. Collect five reference images: two product shots, one lighting reference, one skin-texture reference, one typography reference. References reduce prompt drift more than any wording trick.
Step 2 — Keyframes. Generate a batch of product hero frames on a clean surface, then a batch of lifestyle frames showing hands and ambient light. Keep the same color temperature across both batches by repeating the lighting phrase in every prompt.
Step 3 — Motion. Animate three hero frames as short, restrained moves: a slow push-in, a gentle rotation, and a liquid pour. Restraint reads as premium; fast motion reads as chaotic for this category.
Step 4 — Narration and sound. Write a forty-five-word script, generate a calm voiceover, then add a soft ambient bed and two transition sounds. Keep music low under narration.
Step 5 — Assembly. Cut to a simple structure: hook (3s), problem (8s), demo (20s), proof (15s), call to action (8s), plus a few seconds of breathing room. Add captions, keep text inside safe margins, and export one master file plus platform variants.
Total time for a first attempt is usually two to four hours once your stack is set up. The second clip in the same series takes half that, because the prompts, references, and export presets already exist.
Prompt Craft: Images and Video Need Different Approaches
Prompting is often described as one skill. It is really two.
For images, be specific about nouns and adjectives. Subject, wardrobe, environment, lighting direction, lens, and composition. Concrete physical description outperforms emotional description. "Overcast north-facing window light, 50mm, shallow depth of field" gives you more control than "beautiful soft mood."
For video, be specific about verbs and camera motion. The model already knows what the frame looks like because you supplied it. What it needs is what changes: who walks in, what the liquid does, how the camera moves, how long the shot lasts.
A reusable structure for motion prompts looks like this:
- Subject action: what moves and how
- Camera: static, push, pan, orbit, handheld
- Speed: slow, moderate, continuous
- Duration: explicit seconds
- Constraint: what must stay unchanged
That last line is underrated. Telling a model what should not change — wardrobe, background, product label — measurably improves consistency across a shot sequence.
Keeping Characters, Products, and Style Consistent
Consistency is the single hardest problem in AI visual production, and it is the reason multi-image fusion and style transfer features matter so much.
Three approaches work in practice:
Reference locking. Supply the same character or product image with every generation. Most modern tools support image references, style references, or both. Keep a small, curated reference folder rather than a huge one; too many references dilutes the signal.
Style transfer from a single master frame. Generate one image you love, then use it as a style anchor for every subsequent frame. This produces a cohesive look far faster than re-describing a style in words.
Fine-tuning or training a small custom model. When you need the same face, product, or illustration style across hundreds of assets, training on a curated set of twenty to fifty images pays for itself. It is the closest thing to a brand style guide that a model can read.
Test consistency by placing three shots side by side and asking whether they look like they came from the same project. If the answer is no, fix the pipeline before generating more.
Common Mistakes and How to Fix Them
Generating final assets too early. Use low-resolution drafts for exploration and only invest in high-resolution renders once a direction is locked. Most wasted time comes from polishing the wrong idea.
Changing too many variables at once. If a result is bad, adjust one element — camera, lighting, or wording — so you can attribute the improvement.
Ignoring aspect ratio until the end. Compose for the final delivery format from the first keyframe. Cropping is not composition.
Overloading prompts. Long prompts with contradictory details produce muddy results. Two clear sentences beat ten vague ones.
Skipping audio planning. A clip cut to music is a different edit than one cut to narration. Decide before you animate.
Treating every shot equally. Hero shots deserve extra iterations; connective shots do not. Allocate effort where viewers actually look.
No naming convention. Within a week you will not remember which prompt produced which frame. Use a simple versioning scheme from day one.
Managing Time, Resolution, and Iteration
Every AI visual project is a negotiation between three constraints: how good it needs to be, how fast you need it, and how much compute you are willing to spend.
A practical approach is tiered quality:
- Tier 1 — Draft. Fast, low resolution, many candidates. Used for direction and client feedback.
- Tier 2 — Select. Medium resolution, fewer candidates, longer durations. Used for internal review.
- Tier 3 — Final. Highest available resolution, upscaled, color-consistent, sound-designed. Used for delivery.
Most teams waste the most time in Tier 1 without realizing it, iterating endlessly on ideas that were never approved. Setting a hard limit — three rounds of exploration, then decide — keeps projects moving.
Also decide upfront how you will handle upscaling. Generating at final resolution is often slower and less controllable than generating at a solid working resolution and upscaling with a dedicated tool. Test both on one shot before committing your whole timeline to a method.
Frequently Asked Questions
Do I need more than one image generator?
Usually yes, but not many. Two or three tools that cover distinct needs — photoreal work, stylized work, and motion — is a healthier stack than a dozen half-learned apps. Add tools only when you can name the specific job they do better.
Is a paid model always better than a free one?
No. Paid tools tend to offer higher resolution, better commercial terms, and faster queues, but free tiers are excellent for exploration and style testing. Decide based on the bottleneck, not the price tag.
How do I stop characters from changing between shots?
Use image references consistently, keep the reference set small, and repeat explicit constraints in every prompt. For recurring characters, training a small custom model on a curated image set is the most reliable long-term fix.
What is the best resolution to generate at?
Generate at the resolution you can evaluate and iterate on quickly, then upscale for delivery. Working at extreme resolutions early slows iteration without improving creative decisions.
Can AI-generated video be used commercially?
It depends on the specific tool's terms, the jurisdiction, and the content itself. Check the licensing language for every model in your pipeline, keep records of your inputs, and be cautious with anything resembling a real person, logo, or protected character.
How long should an AI-generated shot be?
Three to eight seconds is the practical sweet spot. Short shots hide artifacts, edit easily, and keep pace. Longer shots are possible but need more iterations to hold up.
Do I still need an editor?
Yes. Editing is where pacing, sound, and story are decided. Generation produces raw material; the timeline turns it into something people will actually watch to the end.
Building a Repeatable Stack
The most valuable thing you can do is not find the perfect model — it is build a pipeline you can run again next week. That means a fixed set of references, a documented prompt structure, a tiered quality process, and export presets for every platform you publish on.
Start small. Pick one image model, one motion model, one audio tool, and one editor. Run a single complete project through all four. Note where you lost the most time, then swap in a better tool for that specific stage.
Repeat that cycle and within a few projects you will have a stack that is genuinely yours: tuned to your subjects, your formats, and your deadlines. Models will keep changing. The workflow around them is what compounds.

Alexander
More Blogs
Read MoreVidu Q4 Alternatives: 4K AI Video Models Compared (2026)
Vidu Q4 alternatives compared: Kling 4.0, Seedance 2.5, Wan 3.0, and Runway Gen-4 — 4K support, input modes, durations, audio, and what each costs in credits on Domer.
Top 4K AI Image Generators in 2026: 5 Models Compared on Real Costs
The top 4K AI image generators on Domer compared: Flux 3 Klein, Nano Banana 2.1, GPT Image 2.5, GPT Image 2, and Nano Banana Pro — 4K credit costs, reference limits, and speed.
Nano Banana 2.1 vs GPT Image 2.5: Which Image Model Should You Use? (2026)
Nano Banana 2.1 vs GPT Image 2.5 Flare compared: credit costs per resolution, aspect ratios, reference images, text rendering, and which tasks fit each model.