
Photorealistic AI Cinematography: A Complete Workflow Guide
Nov 5, 2026
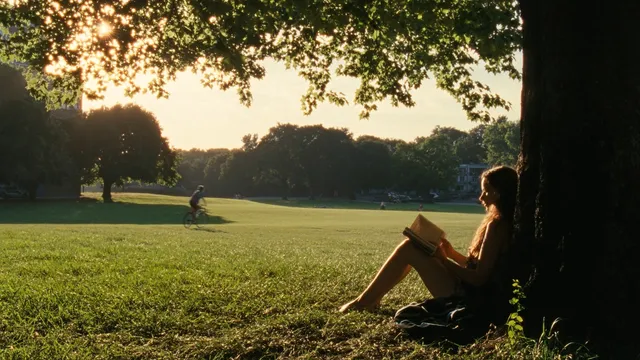
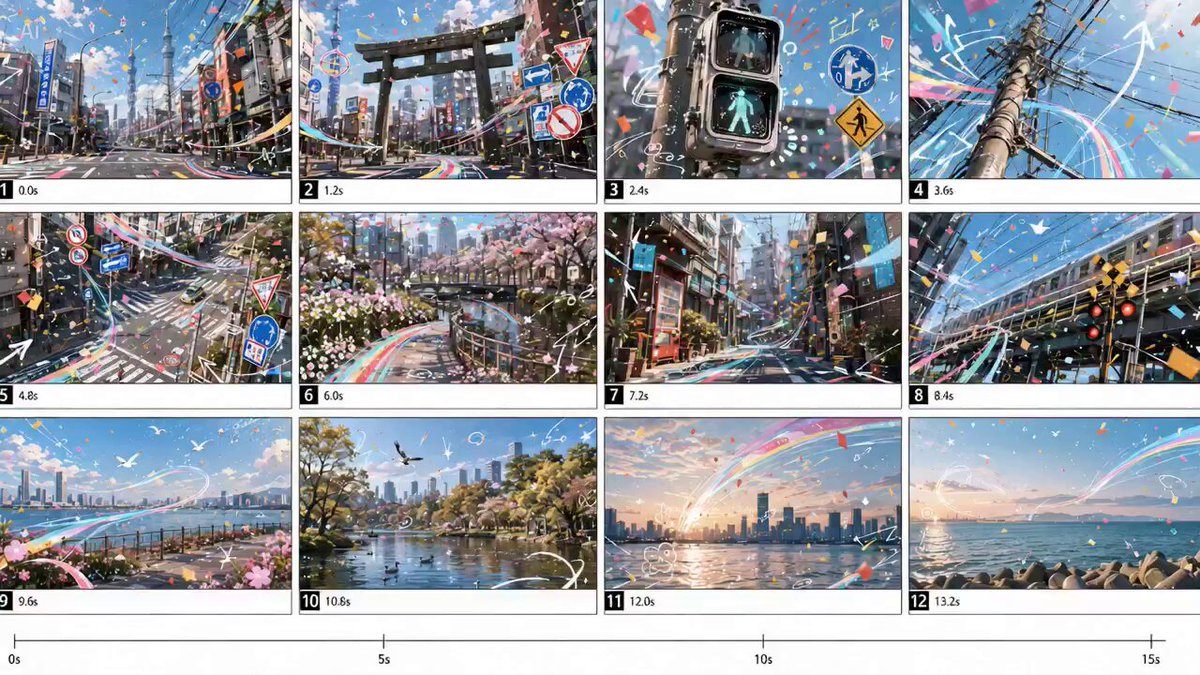
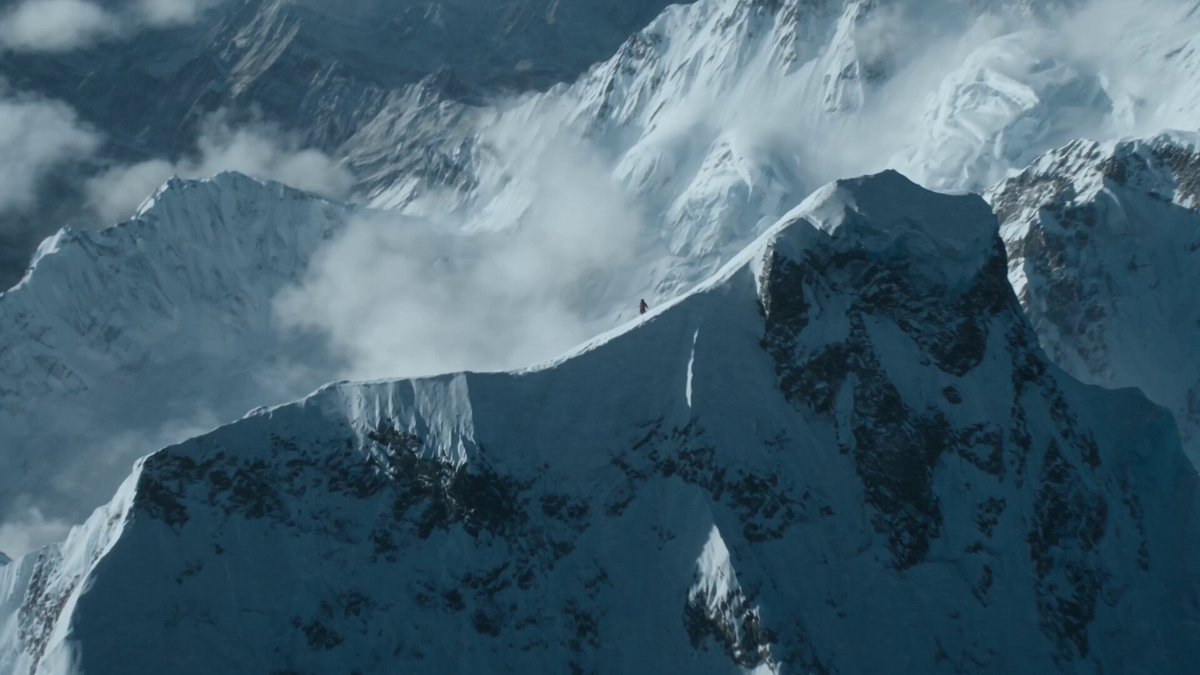
Photorealistic AI cinematography is often marketed as a push-button shortcut, but the strongest results still come from filmmaking discipline. The tools can render skin, rain, glass, and city light with startling believability, yet they cannot infer your story, protect continuity, or decide where the camera should be. A convincing AI-generated scene is built through a series of deliberate choices: a clear visual thesis, a shot list designed for short generations, strong reference frames, controlled motion, consistent characters, and a post-production pass that hides the seams.
This guide walks through a practical workflow for moving from concept to final cut. It is written for directors, editors, content teams, and solo creators who want photorealistic results without treating generation as a slot machine. The emphasis is on repeatable decisions, not secret prompts. Tool names change quickly, but the underlying craft is stable: design the shot, constrain the variables, generate enough coverage, and finish the image with sound and texture.
Start With a Visual Thesis, Not a Prompt
A visual thesis is a one-sentence description of how the film should feel and behave. It is more useful than a folder of random references because it gives every shot a shared standard. For example: a rainy bus stop at night, observed through wet glass, with sodium-vapor light, restrained camera movement, and a lonely, documentary-like tone. That sentence already implies lens choice, color palette, pacing, and performance style.
Before generating anything, write a compact lookbook. Include three to five reference images for lighting and palette, a short list of camera references, and a note on what must never appear. If the scene is set in a specific region or era, define architecture, signage, clothing, and vehicle types. AI models fill gaps with averages, and averages are where photorealism fails.
Separate Story Truth From Rendering Detail
List the elements that carry meaning: the character's face, a wedding ring, the time of day, the direction of approach, the emotional temperature. Then list elements that can vary: background extras, passing cars, leaf placement, minor reflections. This distinction keeps you from over-controlling every pixel while protecting the details audiences will notice.
Write a One-Page Lookbook
Use plain language and visual examples. A useful lookbook has four blocks: palette, light, lens, and motion. Palette defines the dominant and accent colors. Light defines source, quality, direction, and contrast. Lens defines focal length, depth of field, and distortion. Motion defines camera movement, subject movement, and cut rhythm. Keep it short enough that every collaborator can read it before a review.
Design Shots That AI Video Can Reproduce
AI video works best when each generation has a clear beginning, middle, and end. Treat each clip as a shot rather than a scene. A five-second shot of a character turning from a window toward the camera is easier to control than a twenty-second sequence with dialogue, walking, and a costume change. Build the scene from coverage, the same way an editor builds a sequence from takes.
Start with a shot list organized by function: establishing shot, character introduction, reaction, detail insert, transition, and closing image. For each shot, specify subject, action, camera position, lens, movement, lighting, duration, and the cut that follows. This sounds bureaucratic, but it prevents the most common failure: generating beautiful clips that cannot be edited together.
Use Focal Length, Height, and Movement as Prompts
Camera language is a compression system. A 24mm lens close to a face creates intimacy and mild distortion. A 50mm lens feels neutral and observational. An 85mm lens compresses the background and isolates the subject. Low angles imply power; eye-level angles imply neutrality; high angles imply vulnerability. A slow push-in builds attention, while a handheld drift suggests immediacy.
Put these choices into the prompt as behavior, not poetry. Instead of asking for a cinematic masterpiece, specify: eye-level medium close-up, 50mm lens, shallow depth of field, subject remains still while background traffic moves left to right, slow handheld drift, practical streetlight from screen left. The model has a better chance of obeying concrete spatial instructions.
Build Coverage Around Cut Points
Generate handles: a little extra time before and after the action so the editor can trim cleanly. Match screen direction across shots. If a character exits frame right, the next shot should respect that geography. Keep eyelines consistent. When a shot includes a moving background, avoid cutting to another shot with a radically different background speed unless the change is motivated.
Choose the Right Generation Approach for Each Shot
There is no single best mode for every shot. Text-to-video is useful for exploration and simple atmospheric shots. Image-to-video is stronger for character consistency, product accuracy, and controlled composition. Video-to-video is valuable for restyling existing footage, adjusting pace, or adding atmospheric effects. Hybrid workflows usually win: generate or photograph a hero frame, animate it, then repair specific moments in post.
When to Start From a Still
Start from a still when identity, wardrobe, framing, or product detail matters. A strong hero frame gives the model a visual anchor and reduces drift. It also makes review easier because you can approve the composition before spending time on motion. For dialogue scenes, generate a clean portrait with neutral expression, then animate small head movement, blinking, and a subtle shift in gaze. Avoid asking a single generation to invent a face, change expression, walk, and speak.
Model Selection Criteria That Matter
Compare tools on practical dimensions: prompt adherence, motion realism, temporal stability, resolution, maximum duration, image-to-video quality, character reference support, camera control, generation speed, and export options. A model that produces gorgeous stills may struggle with walking shots. A model with excellent motion may ignore lens instructions. Test the same five-shot sequence across candidate tools and judge the edited result, not the isolated demo clip.
Use different models for different jobs. One may be best for landscapes, another for faces, another for product inserts. Keep a simple shot-to-tool log so the team knows what worked. The goal is not brand loyalty; it is predictable output.
Light, Lenses, and Materials: The Language of Realism
Photorealism is largely a matter of light behaving correctly. Audiences forgive a slightly stylized face more easily than a shadow that falls in the wrong direction. Define a motivated source: window, streetlamp, practical lamp, overcast sky, phone screen, or fire. Then decide quality, direction, color temperature, and contrast. Soft light wraps; hard light defines edges. Low contrast feels naturalistic; high contrast feels dramatic.
Prompt Light Like a Gaffer
Describe the setup in production terms. Use phrases such as soft window light from screen right, bounced fill from a white wall, warm practical lamp behind the subject, cool ambient shadow, gentle falloff on the background. Mention time of day and weather because they affect color and atmosphere. If a scene takes place at dusk, specify the mix of fading daylight and artificial sources. That mixed color temperature is a strong realism cue.
Materials and Surfaces That Sell Reality
Skin needs subsurface softness, subtle oil, and tiny imperfections. Fabric needs weight and a visible weave. Wet asphalt should reflect light in broken patches, not a mirror. Glass needs refraction, smudges, and edge highlights. Dust, haze, and smoke give depth to empty space. Add these details selectively. A prompt stuffed with every surface description can become noisy; choose the two or three materials that dominate the frame.
Keep Characters, Props, and Places Consistent
Consistency is a production system, not a single setting. Create a character bible with front, three-quarter, and profile views; neutral and expressive faces; full-body wardrobe references; and notes on hair, age, build, and distinguishing features. Do the same for key props and locations. When a tool supports reference images or character conditioning, use clean references rather than collages with conflicting light.
A Practical Continuity Checklist
Before approving a shot, check face shape, hairline, eye color, wardrobe, accessories, prop placement, time of day, weather, background architecture, lens character, and color grade. Check screen direction and eyeline. Check that the character's energy matches the previous shot. Continuity errors are easier to catch in a contact sheet than in a timeline, so assemble thumbnails of all shots in sequence.
Handle Hands, Text, and Crowds Carefully
Hands, readable text, and dense crowds remain common failure points. Reduce risk by designing shots that do not depend on them. Prefer a medium shot with hands out of frame over an extreme close-up of fingers. Use fictional signage or blank labels when text is not essential. For crowds, keep them soft, backlit, or partially obscured. If a shot absolutely requires complex hand interaction or legible text, plan a post-production fix or a practical insert.
Temporal Coherence: Fix the Moments That Break Illusion
Temporal coherence is the art of making time feel continuous. Common problems include flicker, texture crawl, warping edges, morphing faces, background objects that slide, and speed changes that feel unnatural. Many issues begin with an overcomplicated prompt or too much action in one clip. Shorten the shot, simplify the motion, and give the model a clear start and end state.
Generate Short, Then Extend
Generate three to five seconds at a time. Approve the motion and composition before extending. When extending, overlap a few frames or match the final pose precisely. If the model supports continuation from the last frame, use it. If not, generate a new shot from the final frame and cut on motion. Avoid extending a shot just because the tool allows it; an editor's cut is often more convincing than a long, drifting take.
Use Motion Blur and Frame Rate Deliberately
Cinematic motion does not mean constant camera movement. A locked-off shot with a moving subject can feel more real than a sweeping drone move. Use 24fps for a filmic feel, but avoid adding artificial blur to every frame. Motion blur should match the shutter angle and the speed of the action. For social formats, a crisper 30fps or 60fps look may be appropriate, but choose it for a reason.
Regenerate or Repair?
Regenerate when the composition is wrong, the face is drifting, or the camera move contradicts the story. Repair in post when the issue is localized: a minor warp, a flickering highlight, a small background artifact, or a continuity mismatch that can be masked with a cutaway. Keep a repair list and judge severity by how long the flaw appears on screen. A single bad frame is invisible at speed; a two-second facial melt is not.
A Production Pipeline From Concept to Final Cut
A reliable pipeline reduces random iteration. Start with the brief and lookbook. Board the sequence with rough frames or a written shot list. Build an animatic using stills and temporary sound. Generate hero frames for the most important shots. Animate from approved frames, generating multiple variants for each shot. Select the best takes, assemble a rough cut, and identify missing coverage. Repair or regenerate only what the cut requires. Finish with sound, color, grain, and quality control.
A Simple Review Workflow
Name files with scene, shot, version, and take number. Keep a contact sheet for each scene. Review at normal speed first, then frame by frame only when something feels wrong. Make notes in categories: composition, motion, continuity, artifacts, and sound. This prevents vague feedback such as make it more cinematic. A useful note is: shot 12, face drifts at two seconds, use take 3 but replace the background plate.
Where Teams Usually Lose Time
Teams lose time by generating before locking the look, changing aspect ratios mid-project, using inconsistent references, and reviewing clips outside the edit. Another common mistake is overloading a single tool. If a model cannot handle a specific shot, switch approaches instead of generating twenty near-identical failures. The fastest path is often a hybrid: a still, a short motion pass, and a post-production repair.
Post-Production: The Invisible Forty Percent
The final photorealistic look is rarely finished in the generator. Post-production stabilizes, unifies, and textures the image. Add subtle grain, a controlled color grade, lens vignetting, halation around bright sources, and slight chromatic aberration at the edges. These imperfections mimic real optics and camera sensors. Keep them restrained; too much faux film damage reads as a filter rather than realism.
Sound Makes AI Video Believable
Footsteps, cloth movement, room tone, distant traffic, and breathing do more for realism than another generation pass. Build an ambience bed and layer spot effects. Match reverb to the space: a small room, a wet street, and a large hall should not share the same acoustic. If dialogue is present, record or synthesize it carefully, then add room tone to remove the sterile feeling of isolated audio.
Final Quality Control
Watch the finished piece on a phone, a laptop, and a larger screen. Check for frozen frames, sudden sharpness changes, banding, mismatched black levels, and audio pops. Confirm that the aspect ratio and safe areas are correct for every delivery platform. Export a clean master before creating platform-specific versions.
Common Mistakes and Practical Fixes
Overstuffed prompts are a frequent problem. A prompt that tries to describe a whole scene, five actions, three camera moves, and every material often produces a soft compromise. Write one clear action and one clear camera behavior per shot. Another mistake is ignoring physics: liquids that do not splash, hair that does not react to wind, or fabric that moves without weight. Simplify the action or generate the effect in post.
Inconsistent lighting is another silent killer. If shot one is warm dusk and shot two is cold noon, the sequence will feel assembled rather than directed. Lock the time of day and color palette in the lookbook. Finally, do not skip coverage. A beautiful hero shot with no reaction, insert, or transition will leave the editor trapped. Generate the boring shots too: hands, feet, doors, cups, skies, and empty rooms.
Frequently Asked Questions
Is photorealistic AI video good enough for client work?
It can be, especially for backgrounds, product inserts, atmospheric sequences, social content, and previsualization. The key is scoping. Use AI where its strengths match the brief, and combine it with practical footage, stock, motion graphics, or traditional VFX when a shot demands precise human interaction or legal accuracy.
How long should each generated clip be?
Start with three to five seconds. Short clips are easier to control and edit. Extend only when the motion is clean and the cut needs a longer hold. A sequence of well-matched short shots usually feels more cinematic than one long, drifting generation.
Do I need reference images?
Yes, for any project that depends on character identity, product accuracy, or a specific location. Reference images reduce drift and make reviews objective. Use clean, well-lit references that match the intended angle and expression.
How do I avoid the uncanny face problem?
Use a strong hero frame, keep head movement small, avoid extreme expressions in the first generation, and check the face at normal speed. If the face still drifts, shorten the shot, generate a new take from the best frame, or replace the face in post. Consistent lighting and a neutral starting expression help more than excessive detail prompts.
Can I reuse the same character across multiple scenes?
Yes, if you maintain a character bible and use reference conditioning consistently. Keep wardrobe, hair, and age markers stable. Test the character in a neutral shot before building complex scenes around them. Expect some manual repair when lighting or angle changes dramatically.
What frame rate and resolution should I use?
Choose based on delivery. A filmic project may suit 24fps; social or product content may benefit from 30fps or 60fps. Generate at the highest practical resolution, but do not rely on resolution to fix weak composition. A well-lit, well-blocked shot at moderate resolution often looks better than a soft image upscaled.
How much post-production is normal?
Plan for substantial finishing work: assembly, stabilization, retiming, masking, grain, grade, sound design, and quality control. The exact amount depends on the shot, but treat post as part of the workflow rather than an emergency cleanup phase.
What traditional skills transfer most directly?
Shot design, lighting, blocking, continuity, editing, and sound. Cinematography is still about guiding attention and maintaining spatial logic. AI changes the execution layer, not the grammar. Directors who can storyboard clearly and editors who can build rhythm will get better results faster than creators who only collect prompts.
The most reliable path to photorealistic AI cinematography is not a magic model or a secret phrase. It is a disciplined loop: define the look, design reproducible shots, control references, generate short coverage, repair selectively, and finish with sound and texture. Treat the generator as a camera department, not a finished film. When the concept, the cut, and the sound work together, the audience stops asking whether the image is real and starts following the story.

Alexander
More Blogs
Read MoreFrom Text to Short Film: A Practical AI Video Workflow
Learn how to turn a written idea into a polished short film with AI video tools: scripting, model choice, shot consistency, sound design, and editing.
AI Transcription and Seamless Video Editing Workflows
Learn how AI transcription enables text-based editing, faster reviews, accessibility, and reliable post-production workflows from rough cut to final delivery.
Photorealistic AI Video Production: A Practical Workflow Guide
Learn a repeatable workflow for photorealistic AI video: model selection, shot planning, prompt design, continuity, audio, and quality control.