
Photorealistic AI Video With Offline Attribution Workflows
Oct 13, 2026

Why a local photorealistic video pipeline is worth building
Most teams begin with a hosted text-to-video service, and that is a sensible first move. The friction appears later. You cannot pin a model version, the same prompt produces noticeably different results three weeks apart, and every iteration sits in a queue you do not control. When a client asks for a variation of a shot you delivered last quarter, you need to rebuild the original conditions, not approximate them.
A local pipeline solves a different problem than raw speed. It gives you three things a hosted tool rarely offers together:
- A fixed environment. The exact model weights, sampler, scheduler, and post-processing chain stay constant until you deliberately change them.
- Throughput you can schedule. Renders run on your hardware on your timetable, which matters when a sequence needs forty variations overnight.
- Provenance you own. Every output carries a record of how it was made, stored next to the file rather than inside someone else's dashboard.
That last point is the quiet one. Photorealistic video is increasingly treated as evidence of something — a product, a person, a place. If you cannot say which model, which prompt, and which seed produced a frame, you cannot defend it, revise it, or prove it is yours.
What photorealism actually demands from a generation model
"Photorealistic" is not one property. It is a bundle of failures waiting to happen, and knowing which one you are fighting changes the model you choose.
Temporal consistency
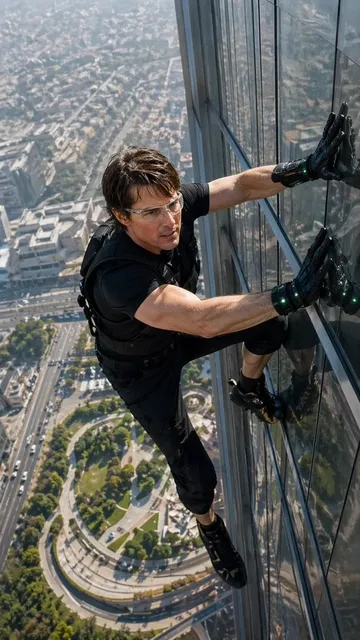
A single convincing frame is easy. A convincing five-second shot means identity, clothing folds, background geometry, and lighting all survive motion. Watch for flicker in hair edges, drifting skin tone, and backgrounds that subtly rearrange between frames. Temporal consistency is usually the first thing to degrade when you push resolution or length, so test new models with motion-heavy shots rather than static portraits.
Material and skin realism
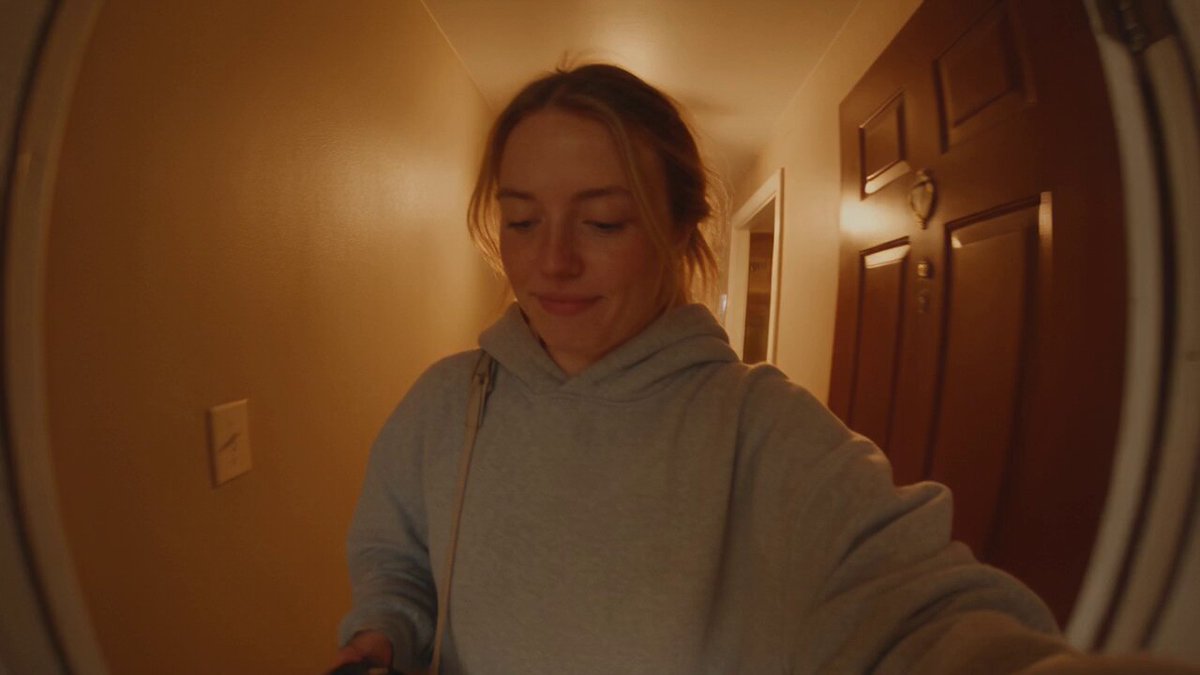
Human skin is the hardest surface in the business. It needs subsurface scattering, visible pores, fine vellus hair, and specular highlights that shift correctly as the subject turns. Fabric is a close second: denim weave, knit loops, and satin sheen all read as fake when a model treats them as flat texture. Before committing to a model, render a close-up of a hand and a close-up of a jacket sleeve. If those hold up, the wide shot almost certainly will.
Camera and lens simulation
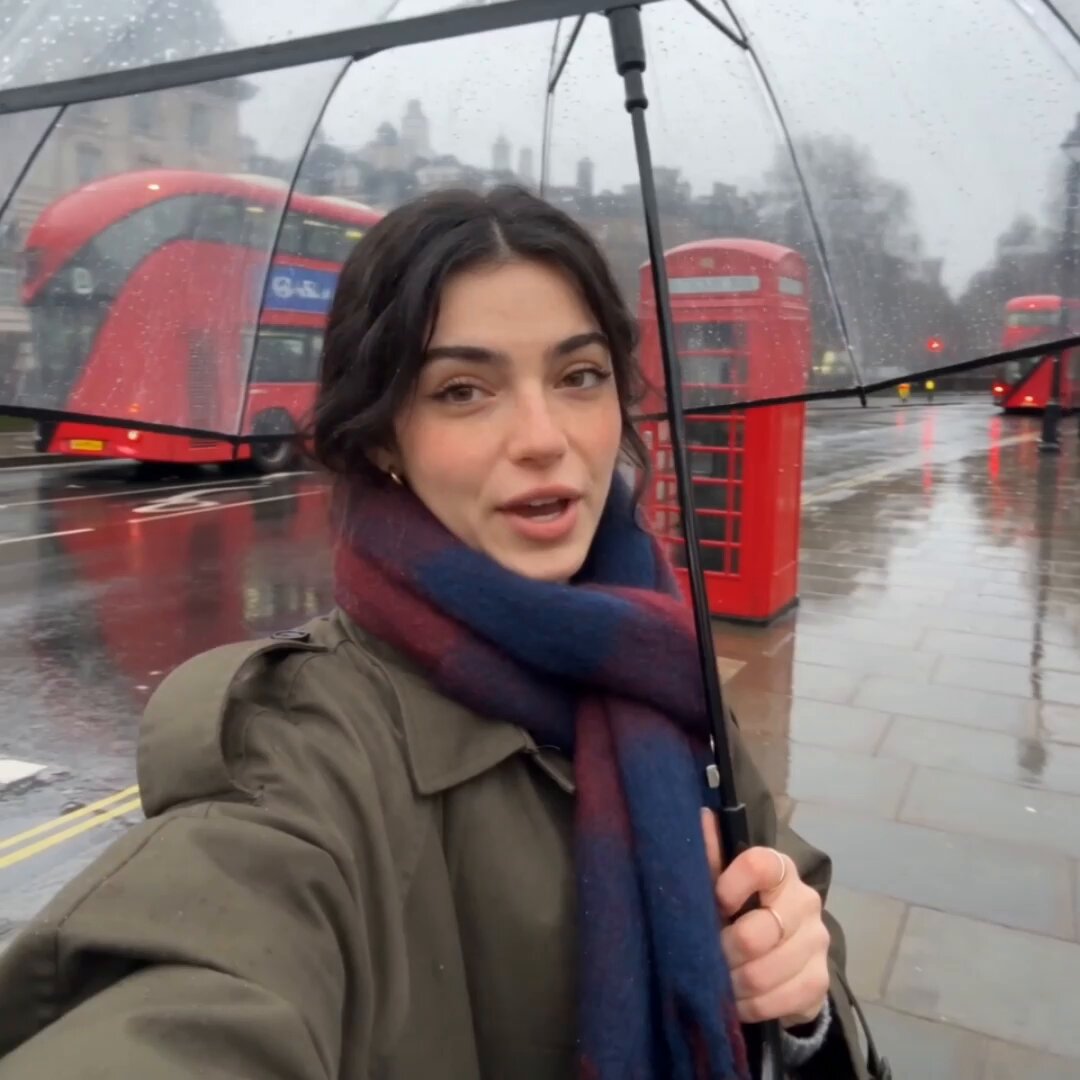
Real footage is not neutral. It has depth of field, motion blur, lens breathing, chromatic aberration at the edges, and a specific focal length. Models that simulate a camera rather than a scene look dramatically more believable. When prompting, describe the shot the way a cinematographer would — "85mm, shallow focus, soft window light from camera left" — instead of describing the subject's appearance alone.
Physics plausibility
Liquids pour, cloth drapes, hair settles, and objects obey weight. Photorealistic video collapses instantly when a cup refills itself mid-shot or a scarf passes through a shoulder. Physics is also the area where model generations differ most, so keep a small library of stress-test shots: pouring water, turning fabric, walking through a doorway.
Choosing your model mix without over-engineering
When a single model is enough
If your output is short, stylistically consistent, and mostly human-scale, one strong model plus a good upscaler will beat a complicated stack. Fewer moving parts means fewer places for quality to leak, and your attribution records stay simple. This is the right default for social cuts, product loops, and abstract b-roll.
When orchestration earns its complexity
Multi-model workflows pay off when different stages have genuinely different strengths. A common split looks like this:
- Draft pass — a fast model generates several low-resolution candidates per shot so you can pick composition before spending time on detail.
- Refinement pass — a slower, higher-fidelity model regenerates the chosen candidate with tighter control over identity and motion.
- Detail pass — a dedicated upscaler or detail model adds pore-level texture and stabilizes edges frame by frame.
- Restoration pass — a final cleanup step removes compression artifacts and smooths flicker before delivery.
Each transition is a place where identity can drift. Always carry a reference frame or an identity embedding forward so the refinement model knows what it is preserving.
Hardware planning: memory, throughput, and storage tiers
Local generation is a resource allocation problem before it is a creative one. Treat memory as the primary constraint: a model that fits comfortably at 720p may fail at 1080p once you add temporal attention. Plan three storage tiers — fast scratch space for intermediate frames, working storage for project assets, and cold archive for finished masters plus their attribution records. Video pipelines fill disks faster than almost any other creative workload, and frame sequences are the biggest offenders.
Designing an offline render queue that does not collapse
Job intake and validation
Every render job should enter the system through one validated path. A job description contains the model version, prompt text, negative prompt, seed, resolution, frame count, frame rate, reference assets, and the identity of the person requesting it. Validation rejects jobs with missing references or unsupported resolutions before they consume GPU time. Five minutes of validation saves hours of failed overnight renders.
Scheduling, batching, and retries
Batch by resource profile rather than by project. Low-resolution drafts can run concurrently on modest hardware; high-resolution detail passes need exclusive access. Give each job a retry policy with a maximum attempt count, and log the failure reason. Distinguish between deterministic failures (bad input, unsupported parameters) and transient ones (out-of-memory spikes, preempted processes). Only the transient class deserves a retry.
Caching and asset hygiene
Cache aggressively but deliberately. A seed plus a prompt plus a model version should map to a stored result so you never regenerate the same clip twice. Name files with a scheme that encodes project, shot, pass, and version. When you change a model version, the cache key must change with it, otherwise you will silently compare outputs from two different systems and misread the quality difference.
Attribution records: the part almost everyone skips
Offline attribution means writing down how a piece of media was produced, storing that record alongside the file, and making it verifiable later. It is the technical sibling of a paper trail, and it is becoming a normal expectation in client work.
Fields every durable record needs
- Model name and exact version or weight hash
- Sampler, scheduler, guidance scale, and step count
- Prompt and negative prompt, verbatim
- Seed and any identity or style references used
- Resolution, frame rate, and total frame count
- Post-processing steps, including upscalers and restoration
- Timestamp of generation and the operator
- Hash of the final delivered file
Store this as a human-readable sidecar (JSON or YAML) next to the asset, and also embed a compact summary inside the container metadata when your delivery format allows it.
Hashing and reproducibility
The point of a hash is that it proves a specific file came from a specific process. Hash the final master, not the intermediate frames. If you regenerate from the same seed and the same model version, you should get a bit-comparable or perceptually identical result; if you do not, your environment has drifted and the record is telling you something important.
Signing and verification
Provenance standards such as C2PA content credentials exist precisely so a viewer or platform can verify where media came from. Adopting them early is cheap. Signing an export with a verifiable manifest, storing the signing key separately, and keeping an internal verification script means you can answer "is this ours and was it edited?" in seconds rather than in an afternoon of forensics.
A step-by-step workflow for a single shot
Step 1 — Brief and shot list
Write the shot list before opening any tool. Each line should specify duration, framing, lighting, subject action, and audio intent. A shot list turns a vague creative request into parameters you can validate, and it becomes the first field of the attribution record.
Step 2 — References and prompt preparation
Collect reference stills for lighting, wardrobe, and lens character. Convert each shot into a structured prompt: subject, action, environment, camera, lighting, mood. Keep negative prompts consistent across a project so the visual language does not wander between shots.
Step 3 — Draft pass
Generate four to six low-resolution candidates per shot with different seeds. Judge them on motion and composition only. It is a waste of time to critique skin detail that the refinement pass will replace.
Step 4 — Refinement and detail pass
Take the strongest candidate forward at target resolution. Lock identity with a reference frame. Then run the detail pass and inspect at 200 percent zoom on faces, hands, and any area where fabric meets skin.
Step 5 — Edit, sound, and color
Cut the shots together, then add audio. Voice, ambience, and foley change how viewers perceive image quality more than most editors expect — a clip that looks slightly synthetic often reads as real once the sound design is convincing. Finish with a light grade rather than a heavy one; aggressive grading exposes generated artifacts.
Step 6 — Publish attribution and archive
Export the master, write the sidecar record, sign the manifest, hash the file, and move the whole package to archive. Do not defer this step. Reconstructing provenance a month later is close to impossible.
Quality control: catching uncanny results early
Review at three distances. First, play the shot at normal speed on a phone-sized display; this catches timing and motion problems. Second, watch it full-screen to catch composition and lighting inconsistencies. Third, freeze individual frames and zoom into faces, hands, teeth, and background text. Text and hands remain the most common failure points in photorealistic generation, so build a habit of checking them first.
Keep a rejection log. When you discard a candidate, note the specific reason: flicker, identity drift, warped hand, mismatched shadow. Patterns in that log tell you whether the problem is your prompt, your model version, or your post-processing chain.
Common mistakes that ruin photorealistic output
- Over-prompting. Stacking adjectives confuses models. Ten precise words beat forty vague ones.
- Changing two variables at once. If you switch model version and prompt style simultaneously, you learn nothing from the result.
- Skipping the draft pass. Going straight to high resolution is slower in total wall-clock time, not faster.
- Ignoring frame rate. Generating at one frame rate and delivering at another creates interpolation artifacts that read as fake.
- No version control on prompts. A prompt is a config file. Treat it like one.
- Attribution as an afterthought. A record written after the fact is a guess, not documentation.
FAQ
Do I need a local pipeline to get photorealistic results?
No. Hosted models can be excellent. Local execution helps most when you need reproducibility, privacy, or high iteration volume with predictable scheduling.
How much hardware is enough?
Start with what you have and measure. Run a single target-resolution shot end to end and record time and peak memory. Scale from that measurement rather than from spec sheets.
Is offline attribution legally required?
Requirements vary by jurisdiction and by client. Even where it is not mandated, having a verifiable record makes review, revision, and licensing conversations dramatically easier.
Can I edit a generated clip after recording attribution?
Yes, but the record must reflect the edit. Append a new entry describing the change, the tool used, and the new file hash rather than overwriting the original entry.
What is the single highest-impact upgrade?
A consistent reference-based identity lock between the draft and refinement passes. It prevents the drift that forces most reshoots.
A short checklist before you render
- Shot list written and approved
- Model version pinned and recorded
- References collected and attached to the job
- Prompts and negative prompts stored as files, not typed ad hoc
- Storage tiers confirmed with headroom
- Queue validation rules in place
- Attribution template ready to fill
- Verification script tested at least once
Build the pipeline once and it stops being overhead. The renders get faster, the records get cleaner, and the next project starts from a known-good baseline instead of a blank page.

Alexander
More Blogs
Read MoreVidu Q4 Alternatives: 4K AI Video Models Compared (2026)
Vidu Q4 alternatives compared: Kling 4.0, Seedance 2.5, Wan 3.0, and Runway Gen-4 — 4K support, input modes, durations, audio, and what each costs in credits on Domer.
Top 4K AI Image Generators in 2026: 5 Models Compared on Real Costs
The top 4K AI image generators on Domer compared: Flux 3 Klein, Nano Banana 2.1, GPT Image 2.5, GPT Image 2, and Nano Banana Pro — 4K credit costs, reference limits, and speed.
Nano Banana 2.1 vs GPT Image 2.5: Which Image Model Should You Use? (2026)
Nano Banana 2.1 vs GPT Image 2.5 Flare compared: credit costs per resolution, aspect ratios, reference images, text rendering, and which tasks fit each model.